Willkommen zu einem weiteren herrlich leckeren und gesunden Rezept auf Carina Berry! Heute zeige ich dir, wie du ein erfrischendes und zuckerfreies Zitronenmousse zubereiten kannst. Dieses leichte Dessert ist nicht nur ein Genuss für deinen Gaumen, sondern auch gut für deine Gesundheit. Mit nur wenigen Zutaten und einer einfachen Zubereitung kannst du dich auf eine erfrischende Leckerei freuen. Ohne dich schuldig zu fühlen.
Der erfrischende Zitronengeschmack:
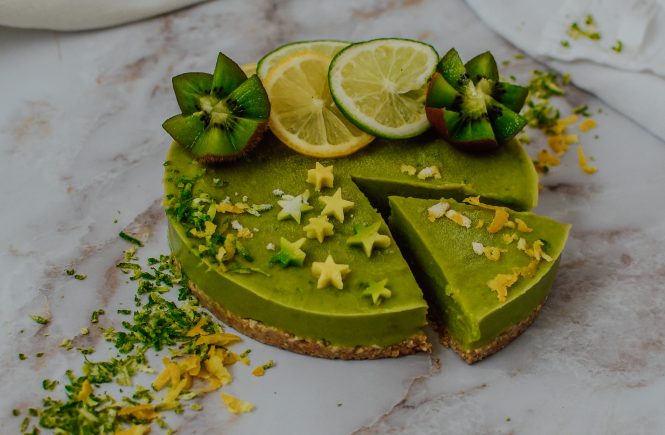
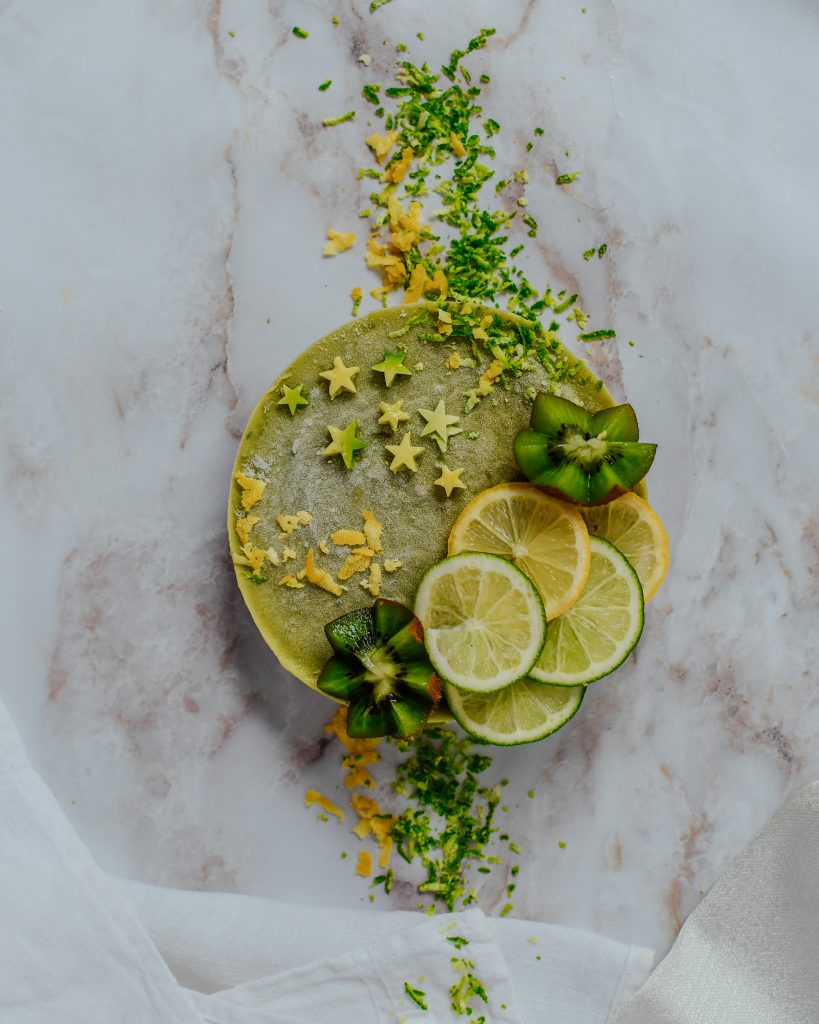
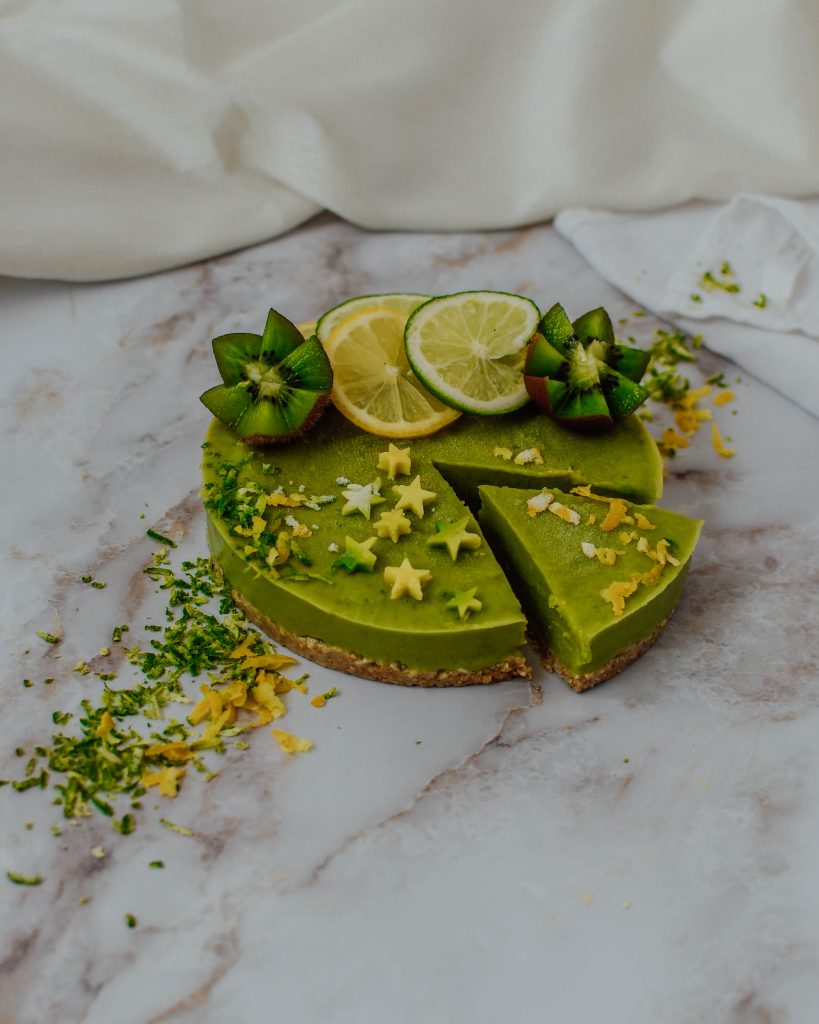
Zitronen sind nicht nur bekannt für ihren herrlichen Duft, sondern auch für ihren erfrischenden Geschmack. Die Kombination aus 100 ml Zitronensaft und 1 TL geriebener Zitronenschale verleiht diesem Mousse eine intensive Zitrusnote, die deinen Gaumen erfreut und deine Sinne belebt.
Gesunde Alternativen:
Um dieses Rezept zuckerfrei zu halten, verwenden wir Erythrit oder Xylit als Zuckerersatz. Diese natürlichen Süßungsmittel sind kalorienarm. Sie haben keinen Einfluss auf deinen Blutzuckerspiegel. Das macht sie zu einer idealen Wahl für dich, wenn du deinen Zuckerkonsum reduzieren möchtest.
Griechisches Joghurt – cremig und proteinreich! Eine weitere gesunde Zutat in diesem Mousse ist griechisches Joghurt. Mit seinem cremigen Geschmack und der seidigen Konsistenz ist griechisches Joghurt die perfekte Basis für ein leichtes Dessert. Es ist auch eine ausgezeichnete Proteinquelle. Proteine verleihen dir ein angenehmes Sättigungsgefühl und unterstützen deinen Muskelaufbau.
Die Zubereitung des Zitronenmousse
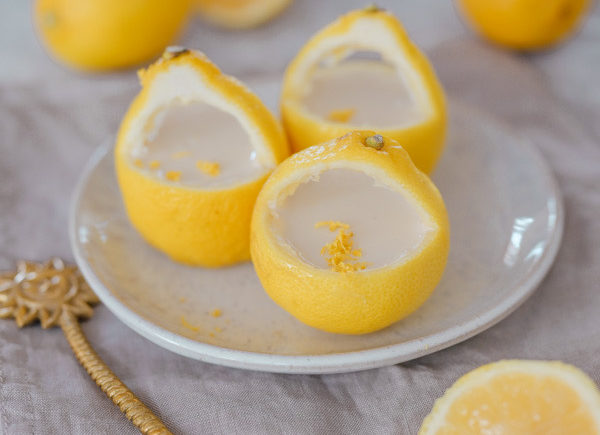
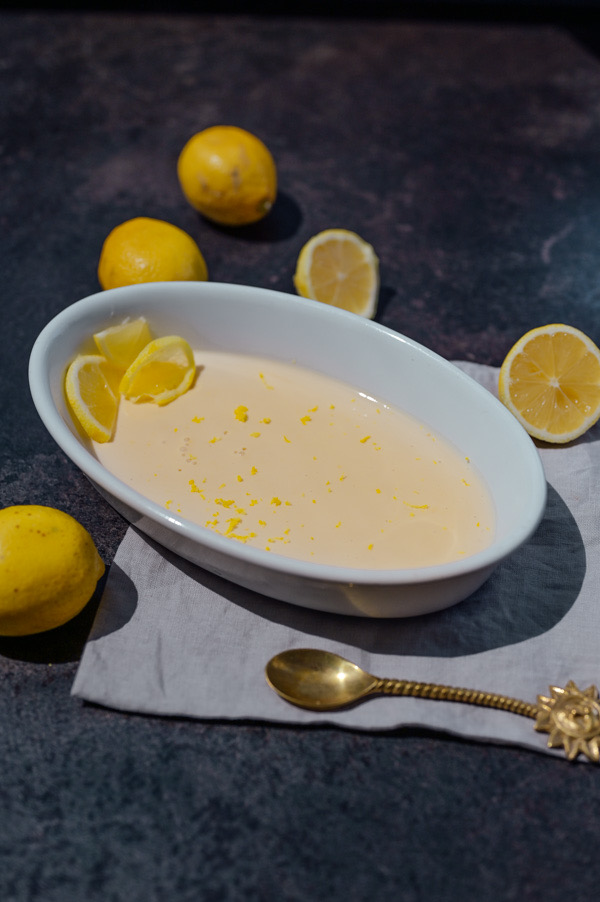
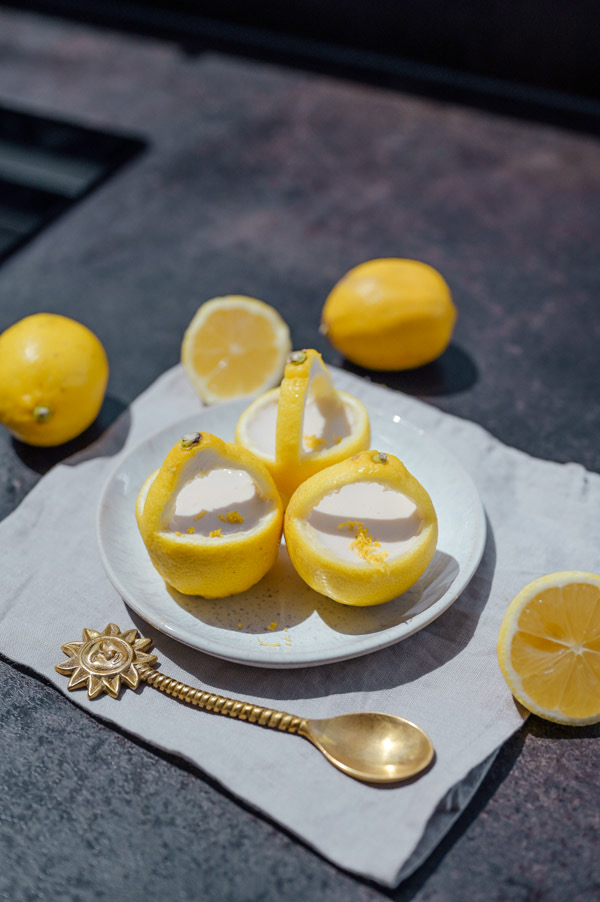
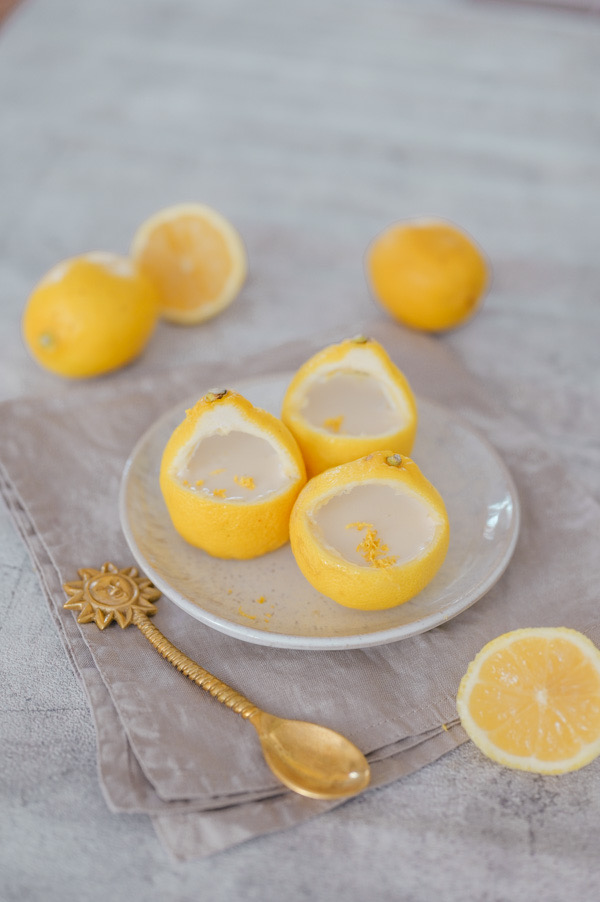
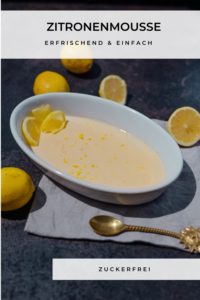
Die Zubereitung dieses zuckerfreien Zitronenmousses ist sehr einfach. Zuerst weichst du die Gelatine in kaltem Wasser ein, bis sie weich wird. Drücke anschließend überschüssiges Wasser aus und erwärme den Zitronensaft zusammen mit dem Zuckerersatz und der Gelatine in einem Topf, bis sich alles gut auflöst. Rühre die Mischung in das griechische Joghurt ein und fülle sie entweder in eine Auflaufform oder in leere Zitronenhälften. Lasse das Mousse mindestens 2 Stunden im Kühlschrank fest werden.

Zitronenmousse
Leichtes und erfrischendes zuckerfreies Zitronenmousse für einen gesunden Lebensstil
Zutaten
- 100 ml Zitronensaft
- 1 TL Zitronenschale gerieben
- 2 Blätter Gelatine
- 250 g Griechisches Joghurt
- 50 g Erythrit oder Xylit
Anleitungen
Gelatine in kaltem Wasser einweichen und auspressen.
In einem Topf den Zitronensaft mit Zuckerersatz und Gelatine erhitzen (nicht kochen) bis sich alles gut aufgelöst hat.
Flüssigkeit in das griechische Joghurt unterrühren.
Nun in eine Auflaufform füllen oder in die leeren Zitronenkörbe und mindestens für 2h in den Kühlschrank stellen.
Zitronenmousse – Genuss ohne Reue:
Das besondere an diesem Zitronenmousse ist, dass es ohne Schuldgefühle genossen werden kann. Es ist eine gesunde Alternative zu traditionellen Desserts. Diese sind oft voller raffiniertem Zucker und leeren Kalorien. Mit diesem Rezept kannst du deine süße Zahnfreude befriedigen, während du gleichzeitig auf deine Gesundheit achtest.
Variationen und Ergänzungen:
Du kannst dieses Zitronenmousse nach Belieben anpassen und ergänzen. Füge zum Beispiel frische Beeren oder Minze hinzu, um einen zusätzlichen Geschmackskick zu erhalten. Oder probiere es mit einer Prise Zimt oder Vanille für eine aromatische Note. Die Möglichkeiten sind endlos. Und du kannst deiner Kreativität freien Lauf lassen, um das Mousse deinen persönlichen Vorlieben anzupassen.
Fazit:
Mit diesem einfachen und gesunden Rezept hast du eine wunderbare Möglichkeit, deinen Zitronenhunger zu stillen. Ohne dabei auf Zucker oder Kalorien achten zu müssen. Das zuckerfreie Zitronenmousse ist eine erfrischende und leichte Leckerei. Welche sich perfekt als Dessert oder als erfrischender Snack für zwischendurch eignet. Probiere es aus und lass dich von seinem erfrischenden Geschmack verzaubern. Deine Gesundheit wird es dir danken!
Du willst weitere gesunde Desserts ausprobieren? Ich verlinke dir hier meine liebsten Rezepte für den Sommer:
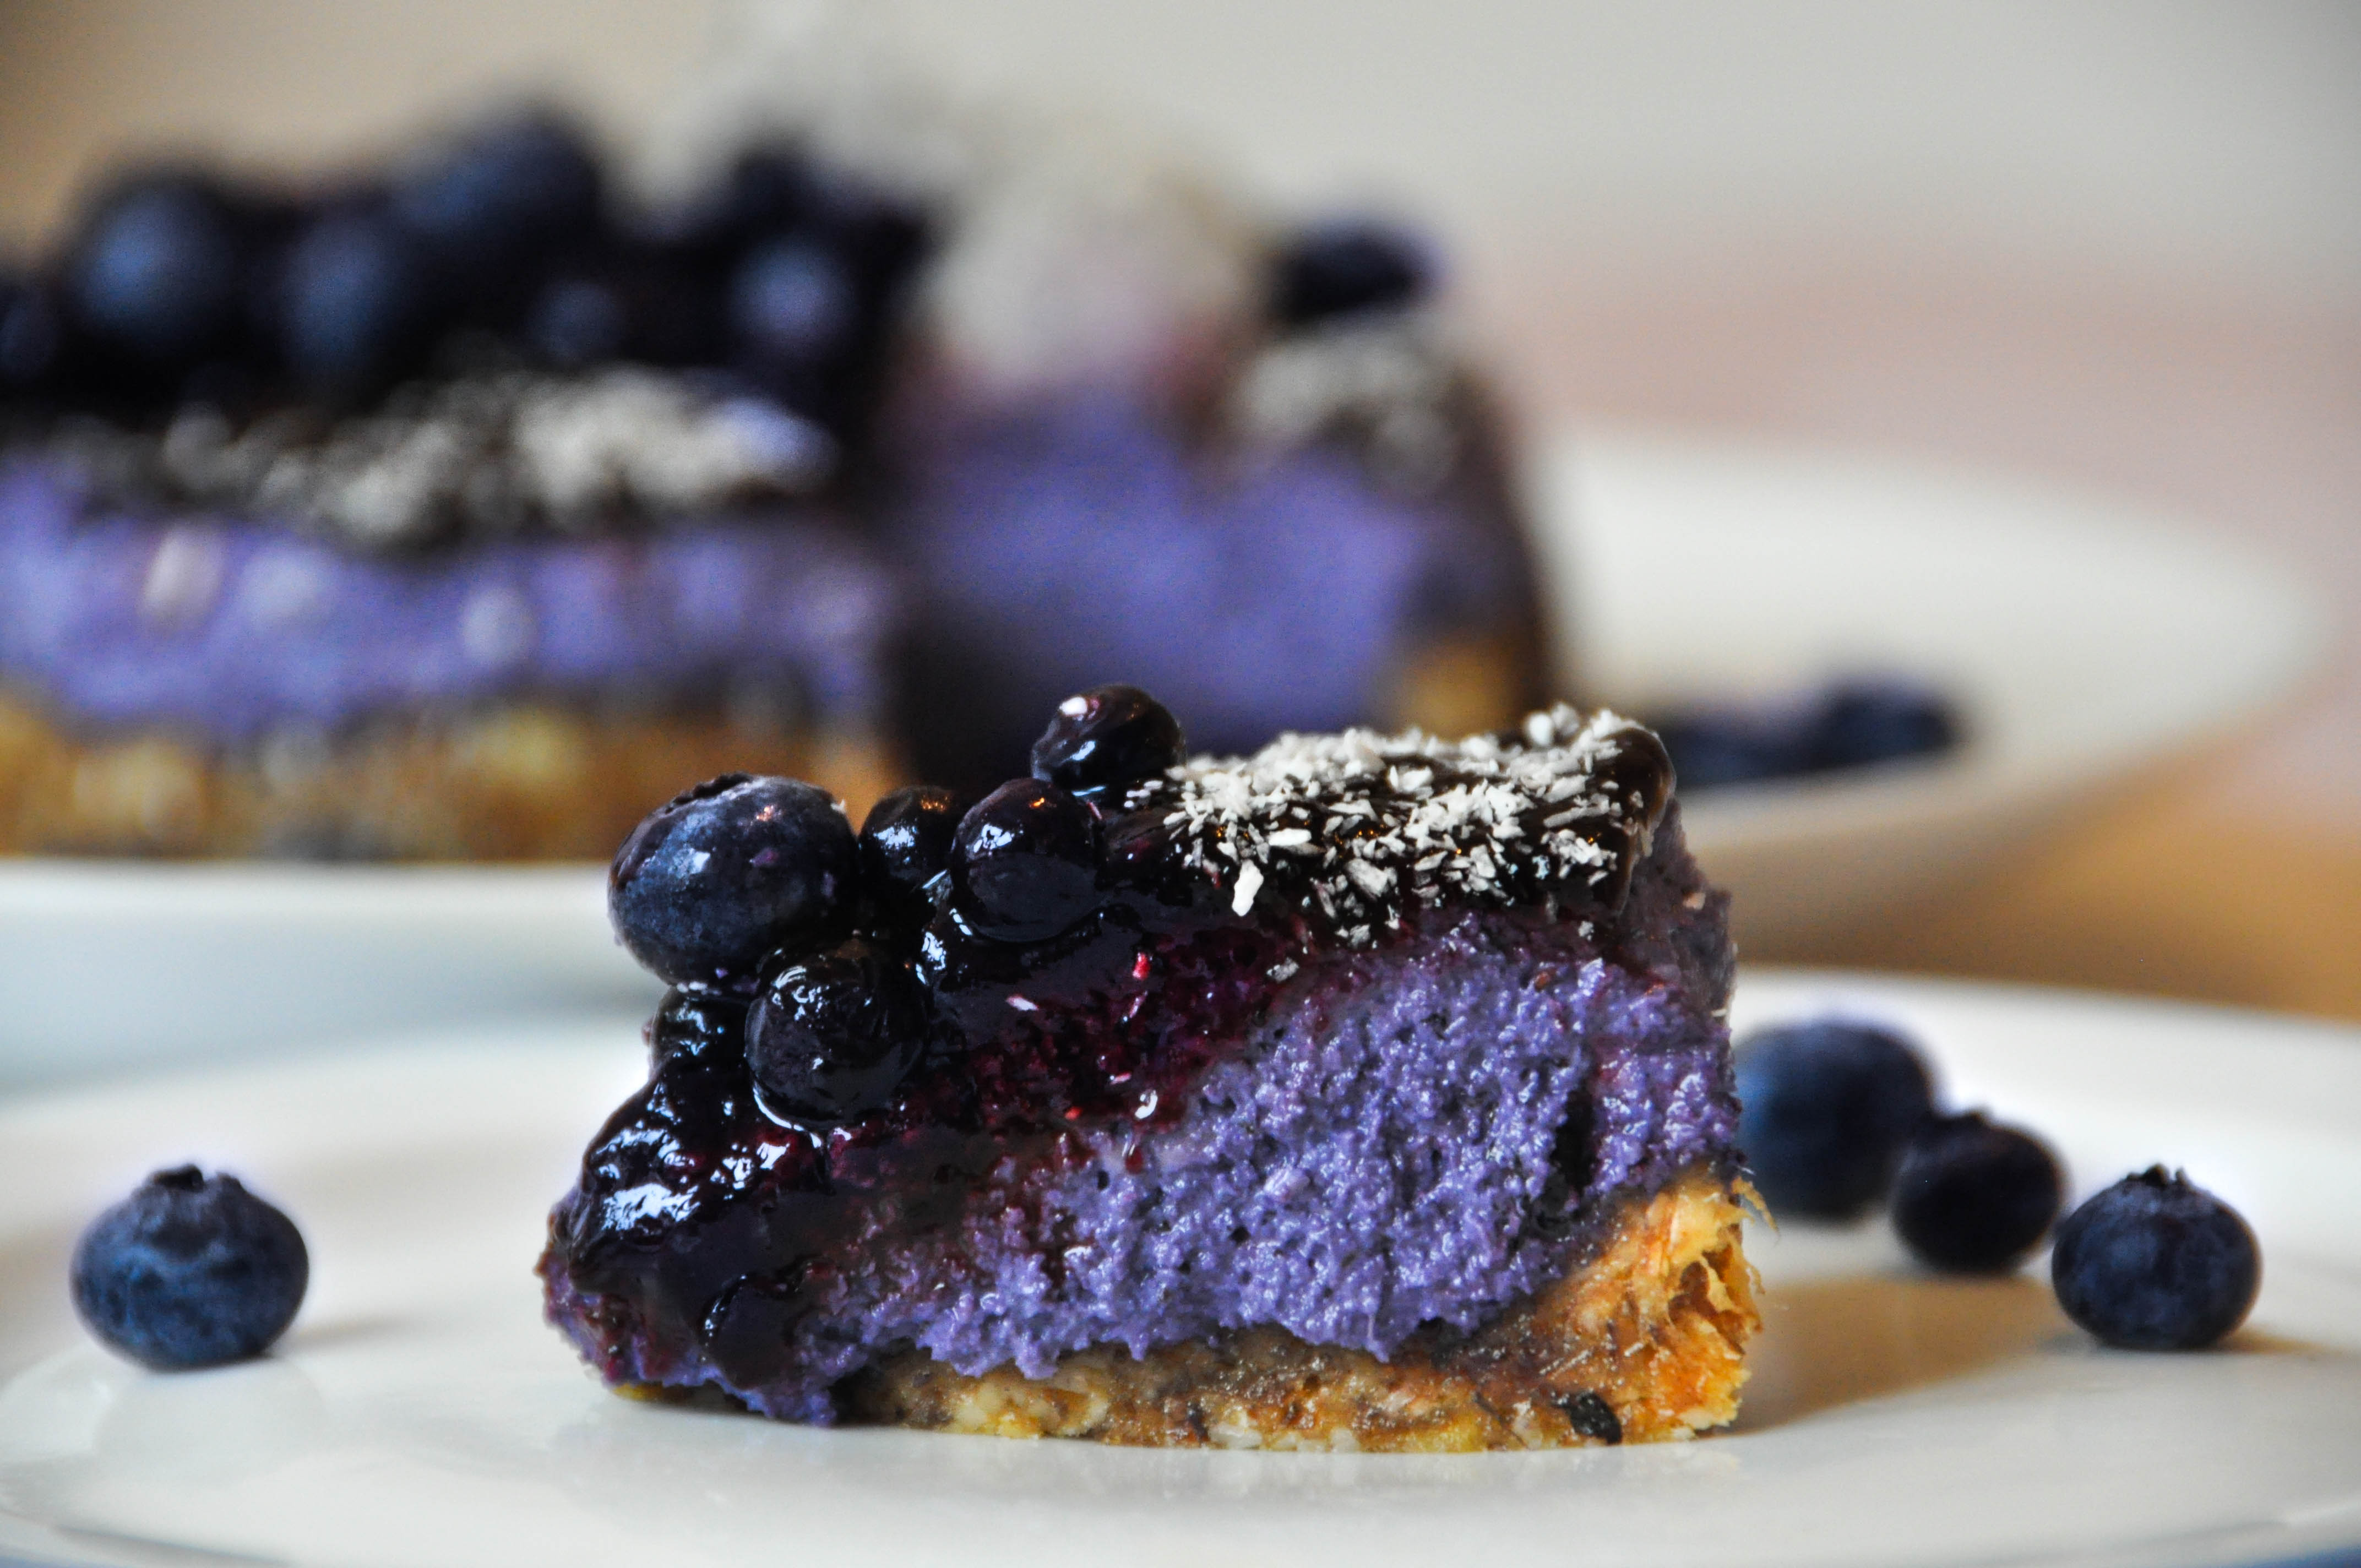
- Vegane Zitronentorte – proteinreich und zuckerfrei
- Frozen Joghurt Bars mit Blaubeeren selber machen!
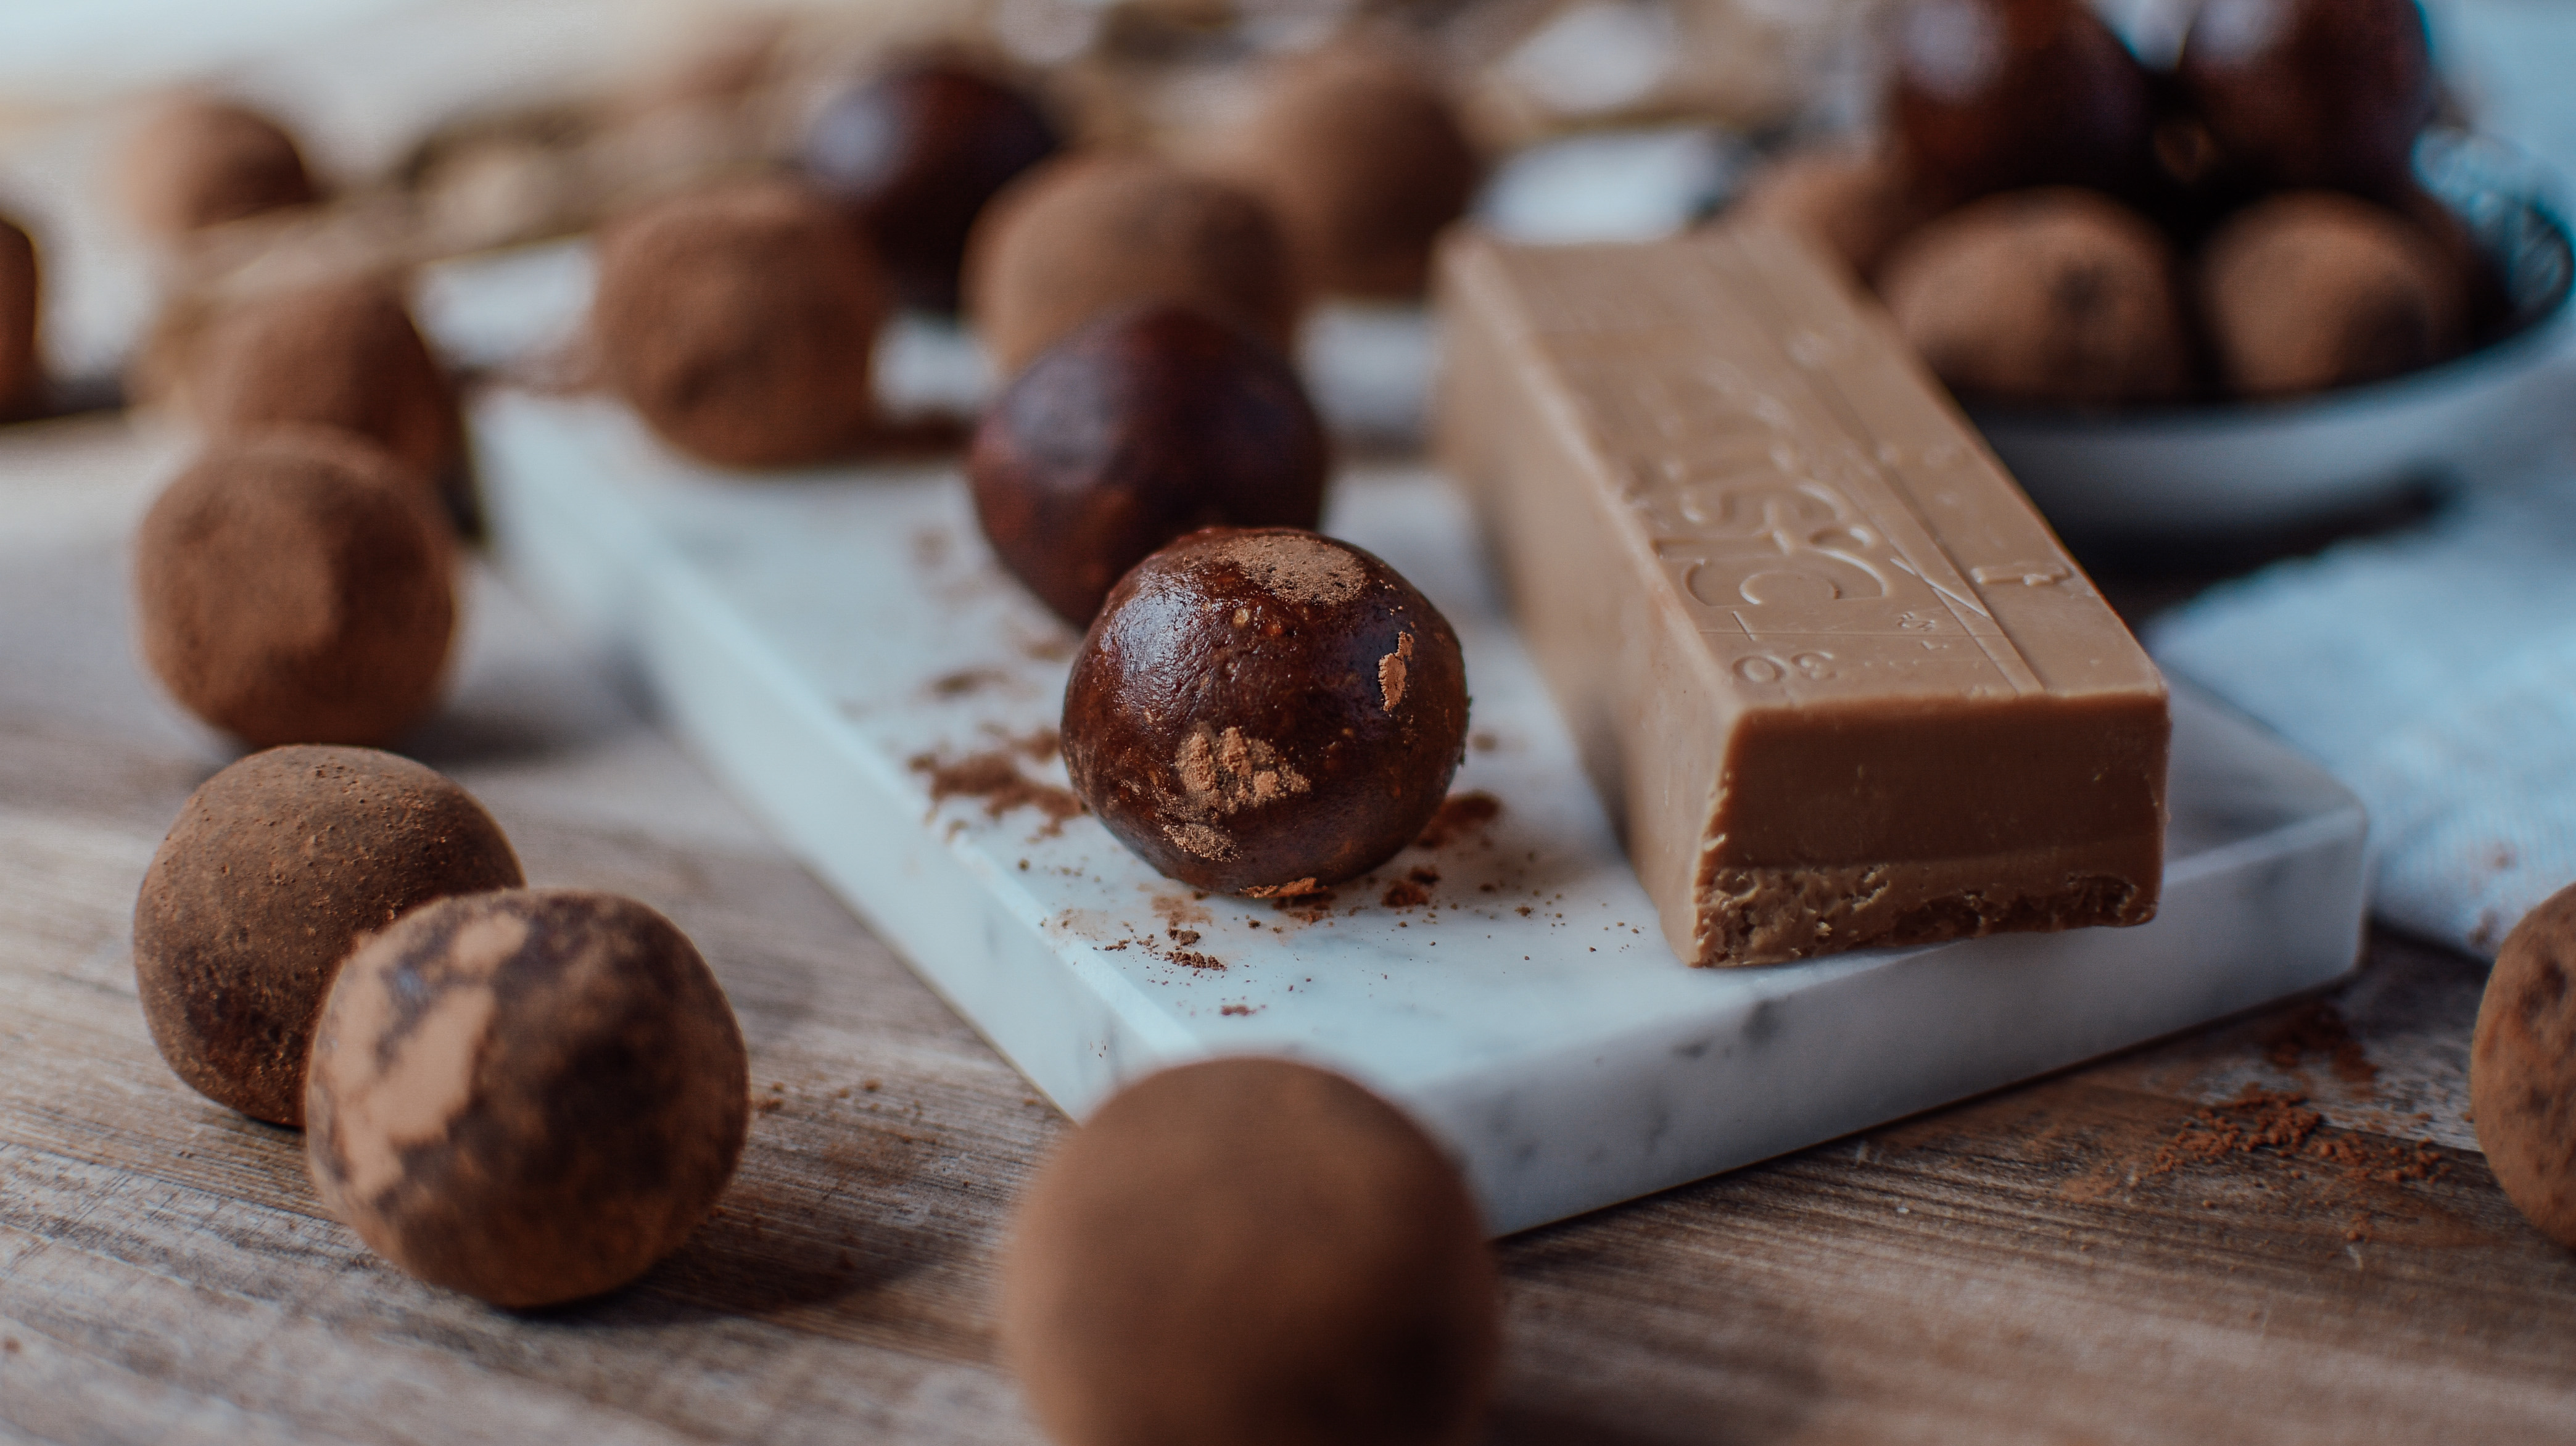
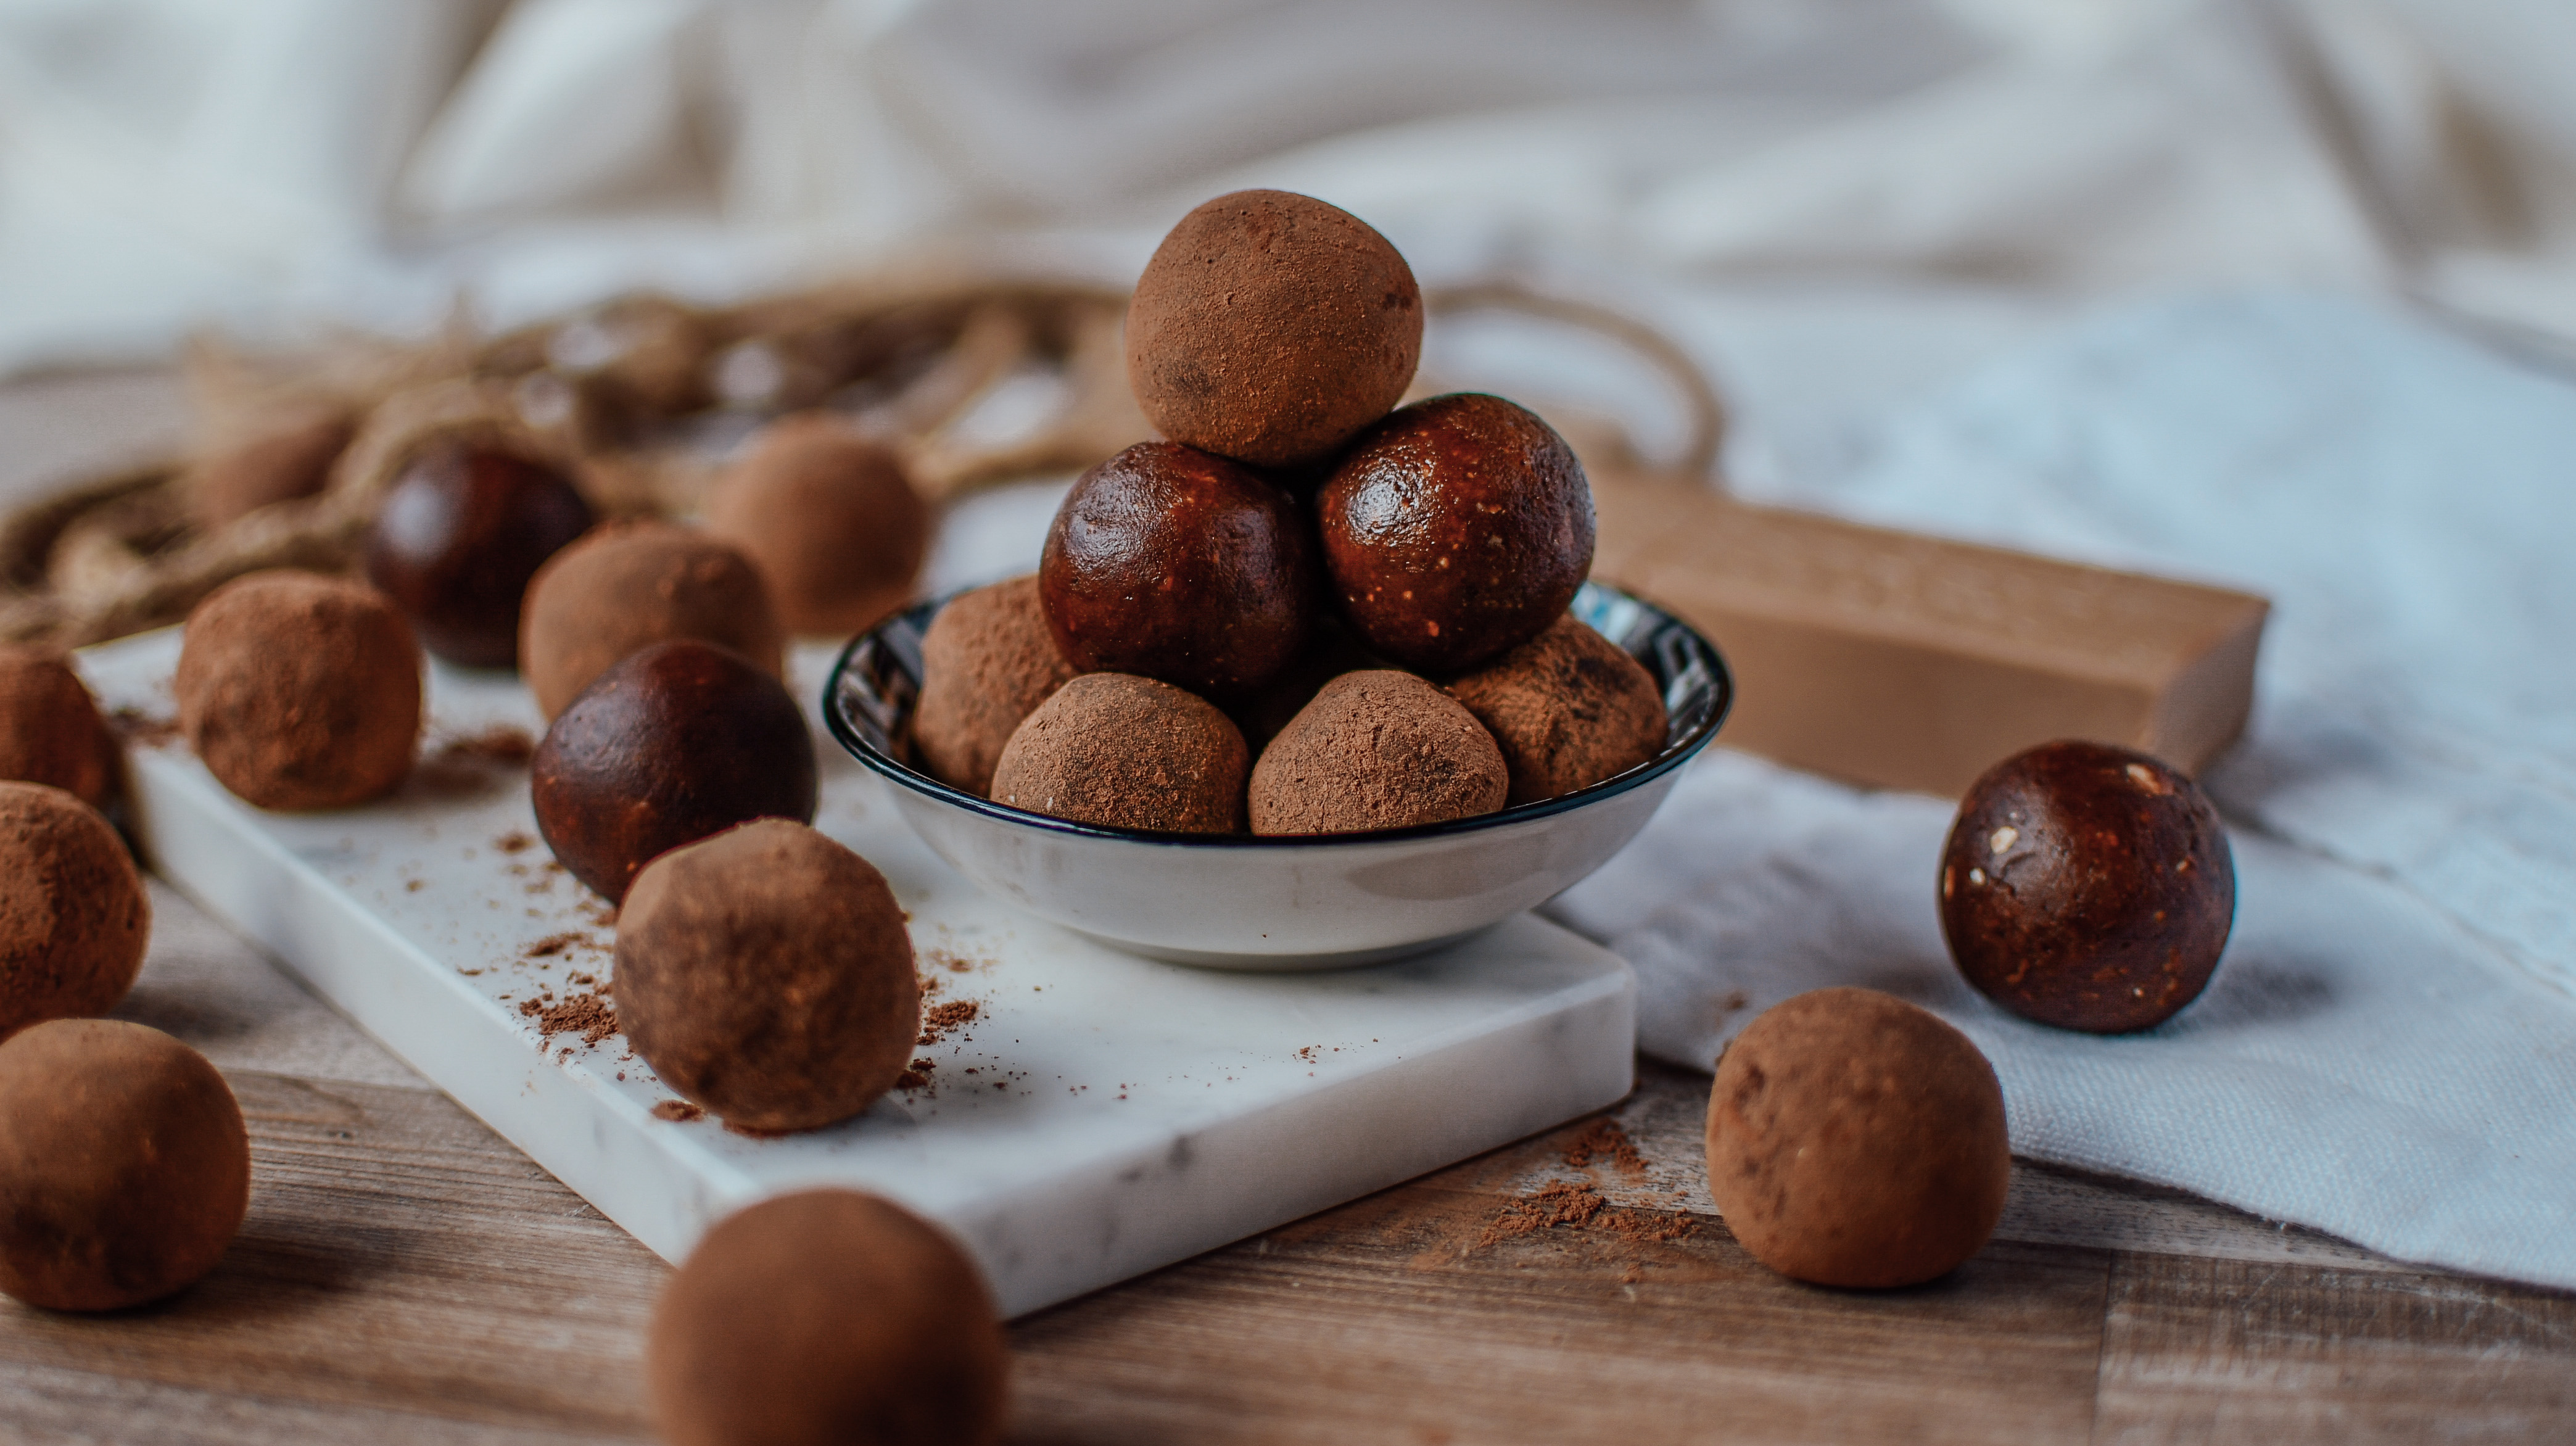
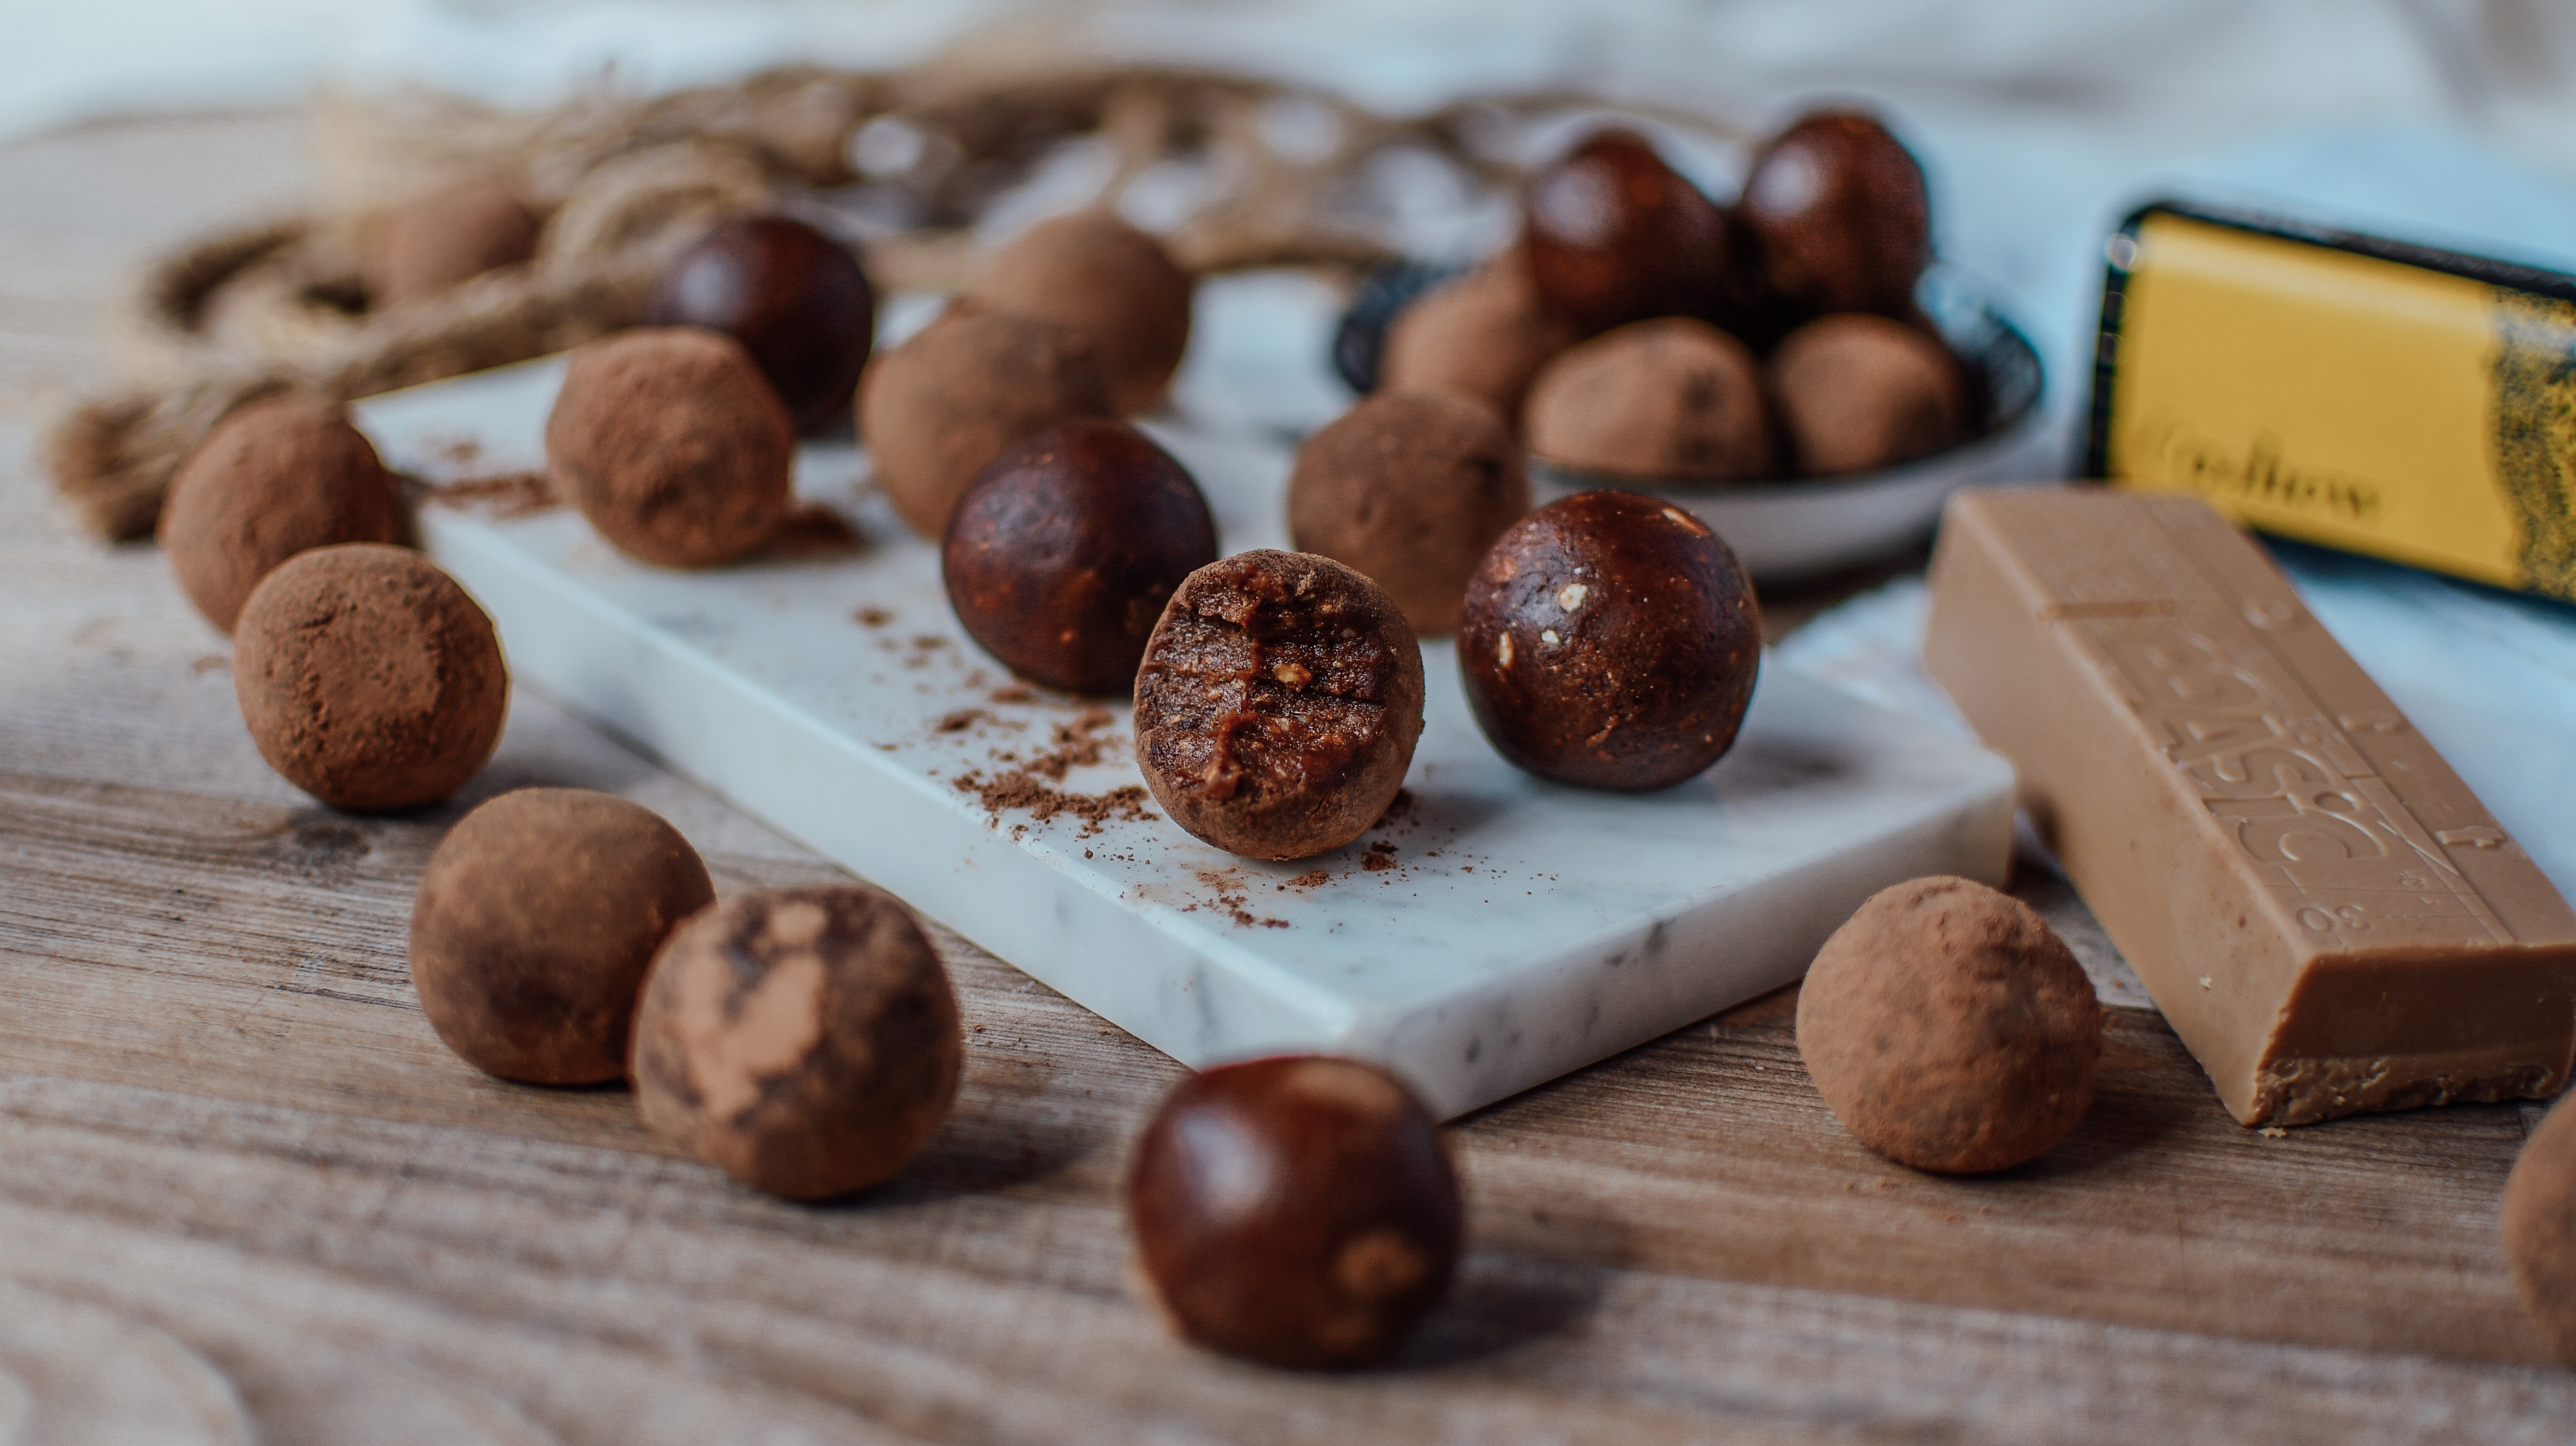
- Veganes mousse au chocolat mit Seidentofu
Hast du das Rezept nachgemacht?
Dann markiere mich mit @carina_berry auf Instagram oder verwende den Hashtag #carinaberry
Ich teile immer wieder nachgemachte Rezepte auf meiner Instastory <3
xoxo,

Hier für deine Pinnwand:


 Das Rezept