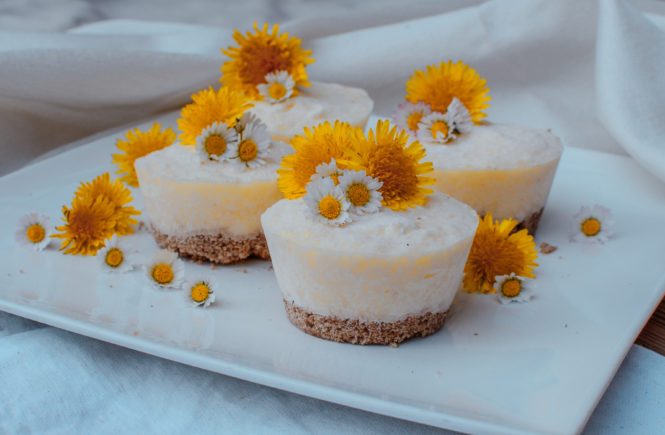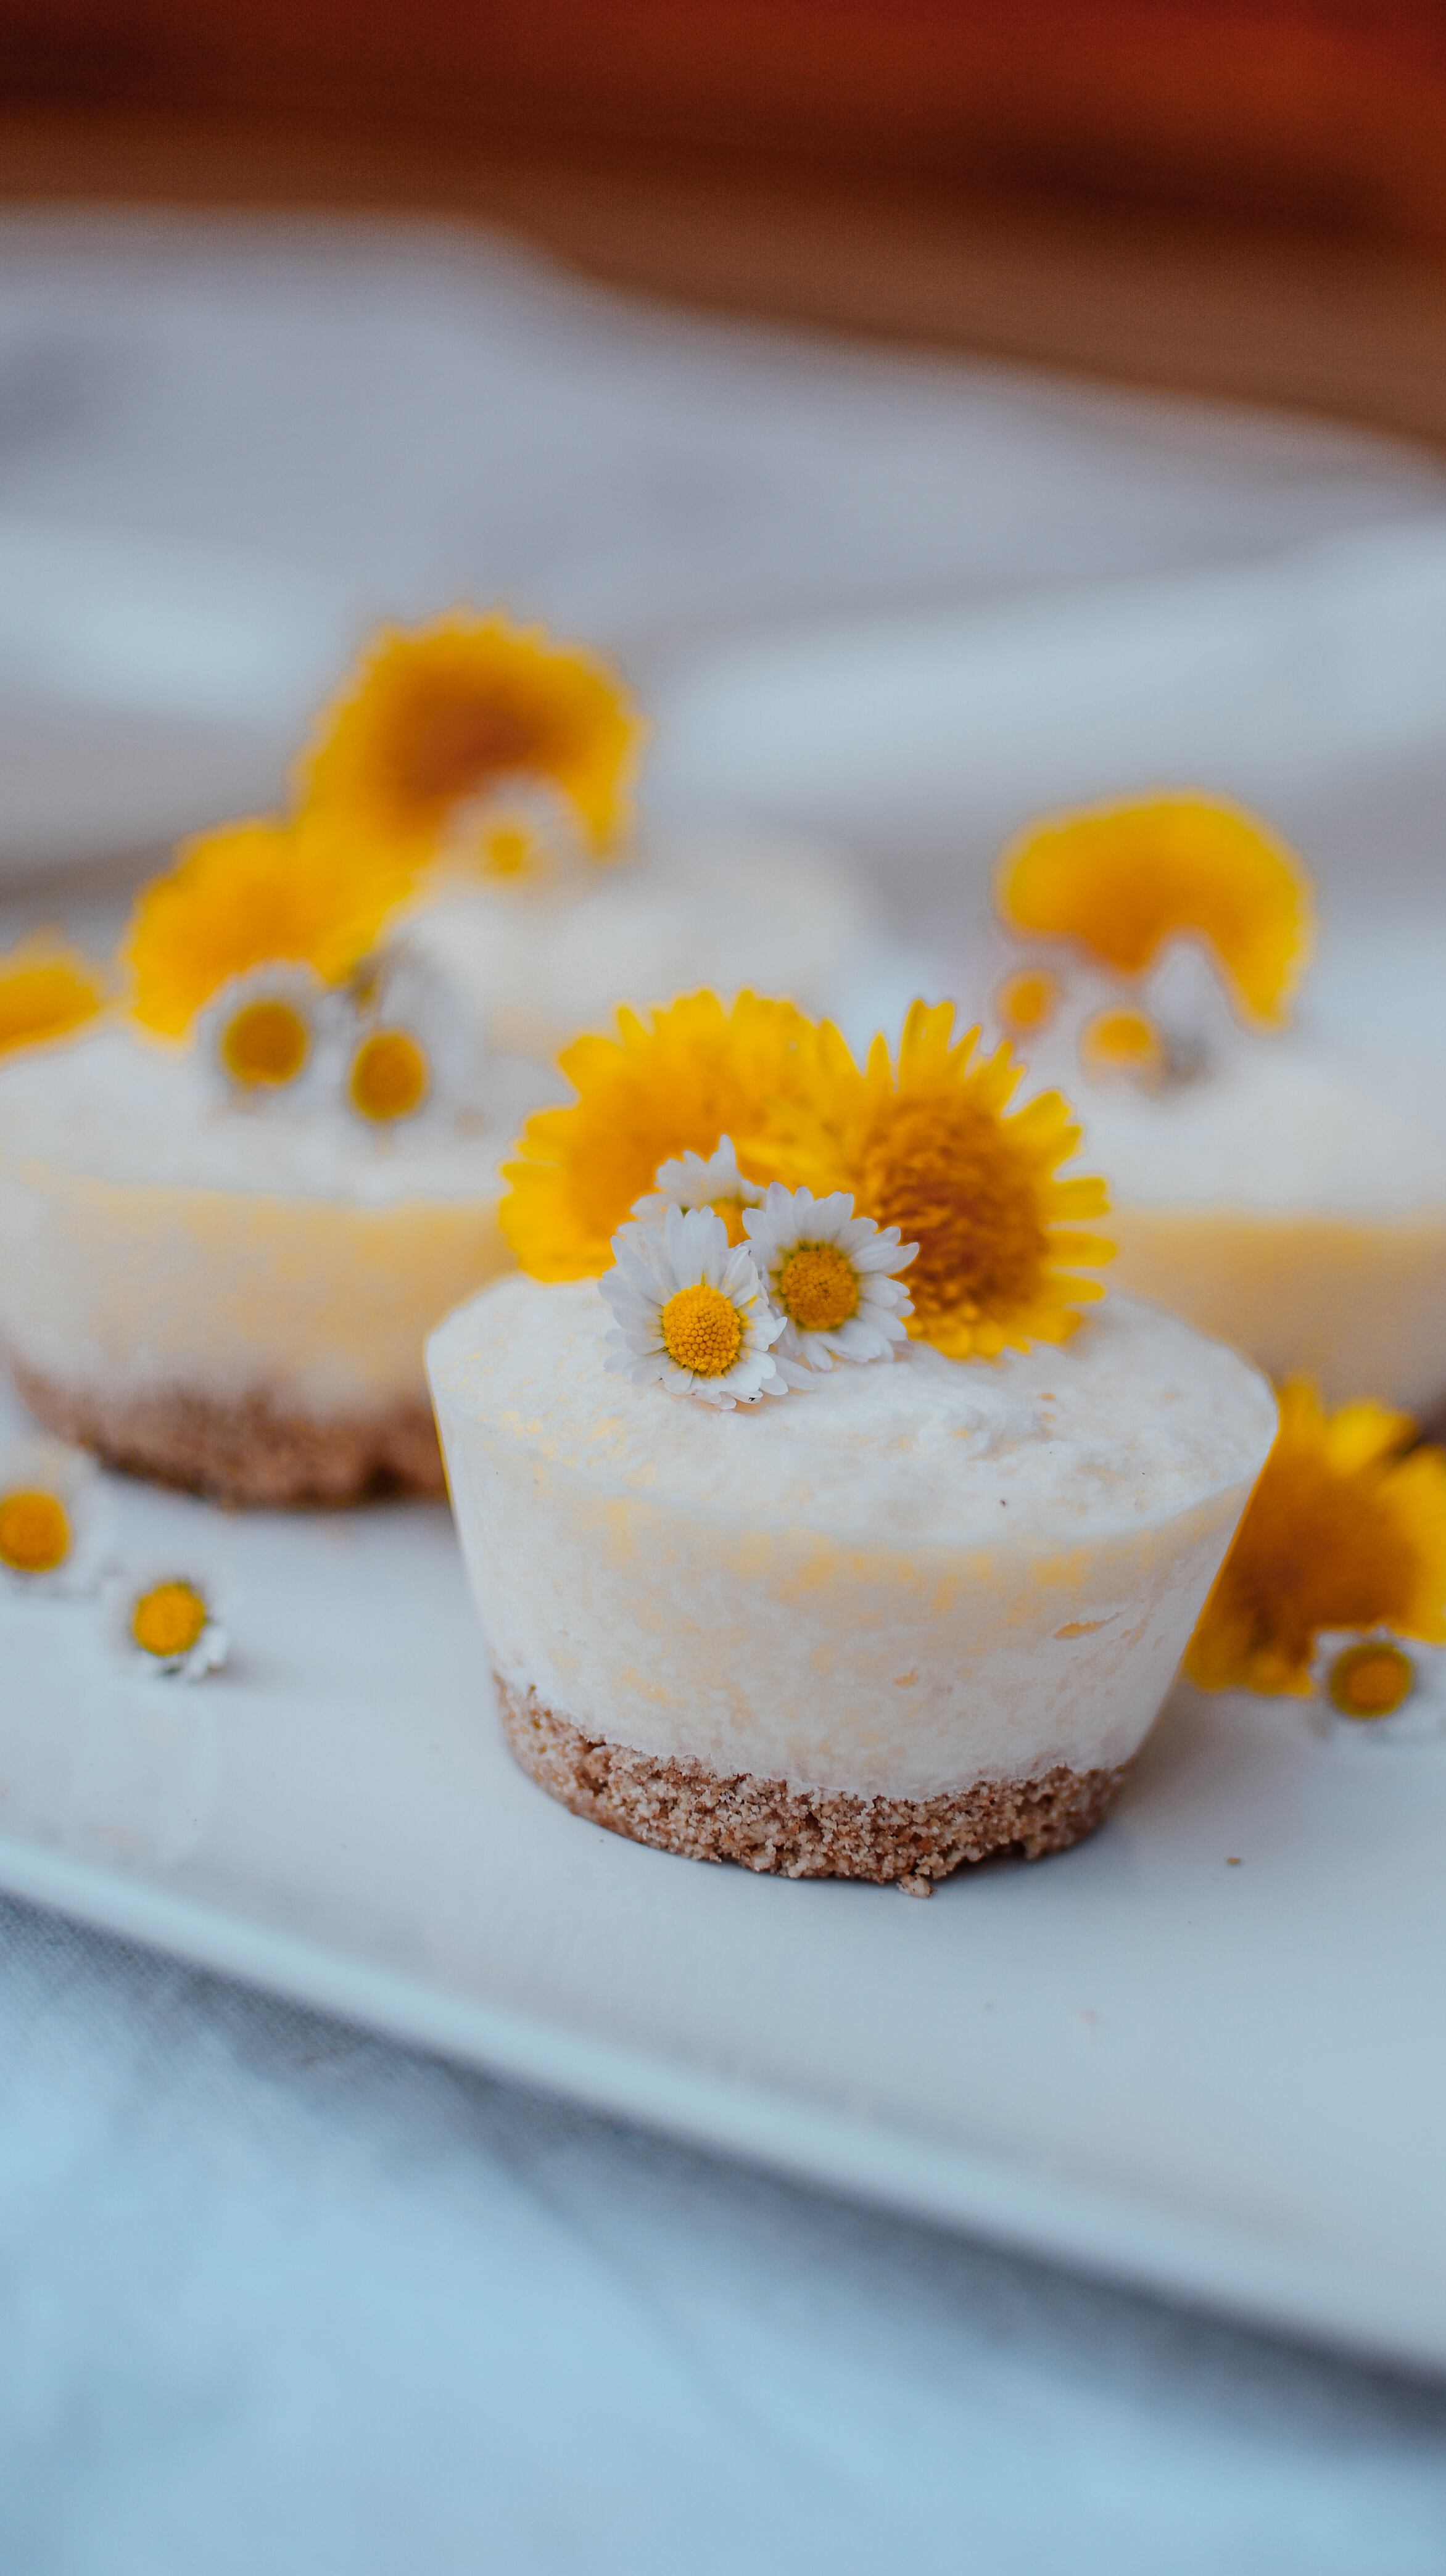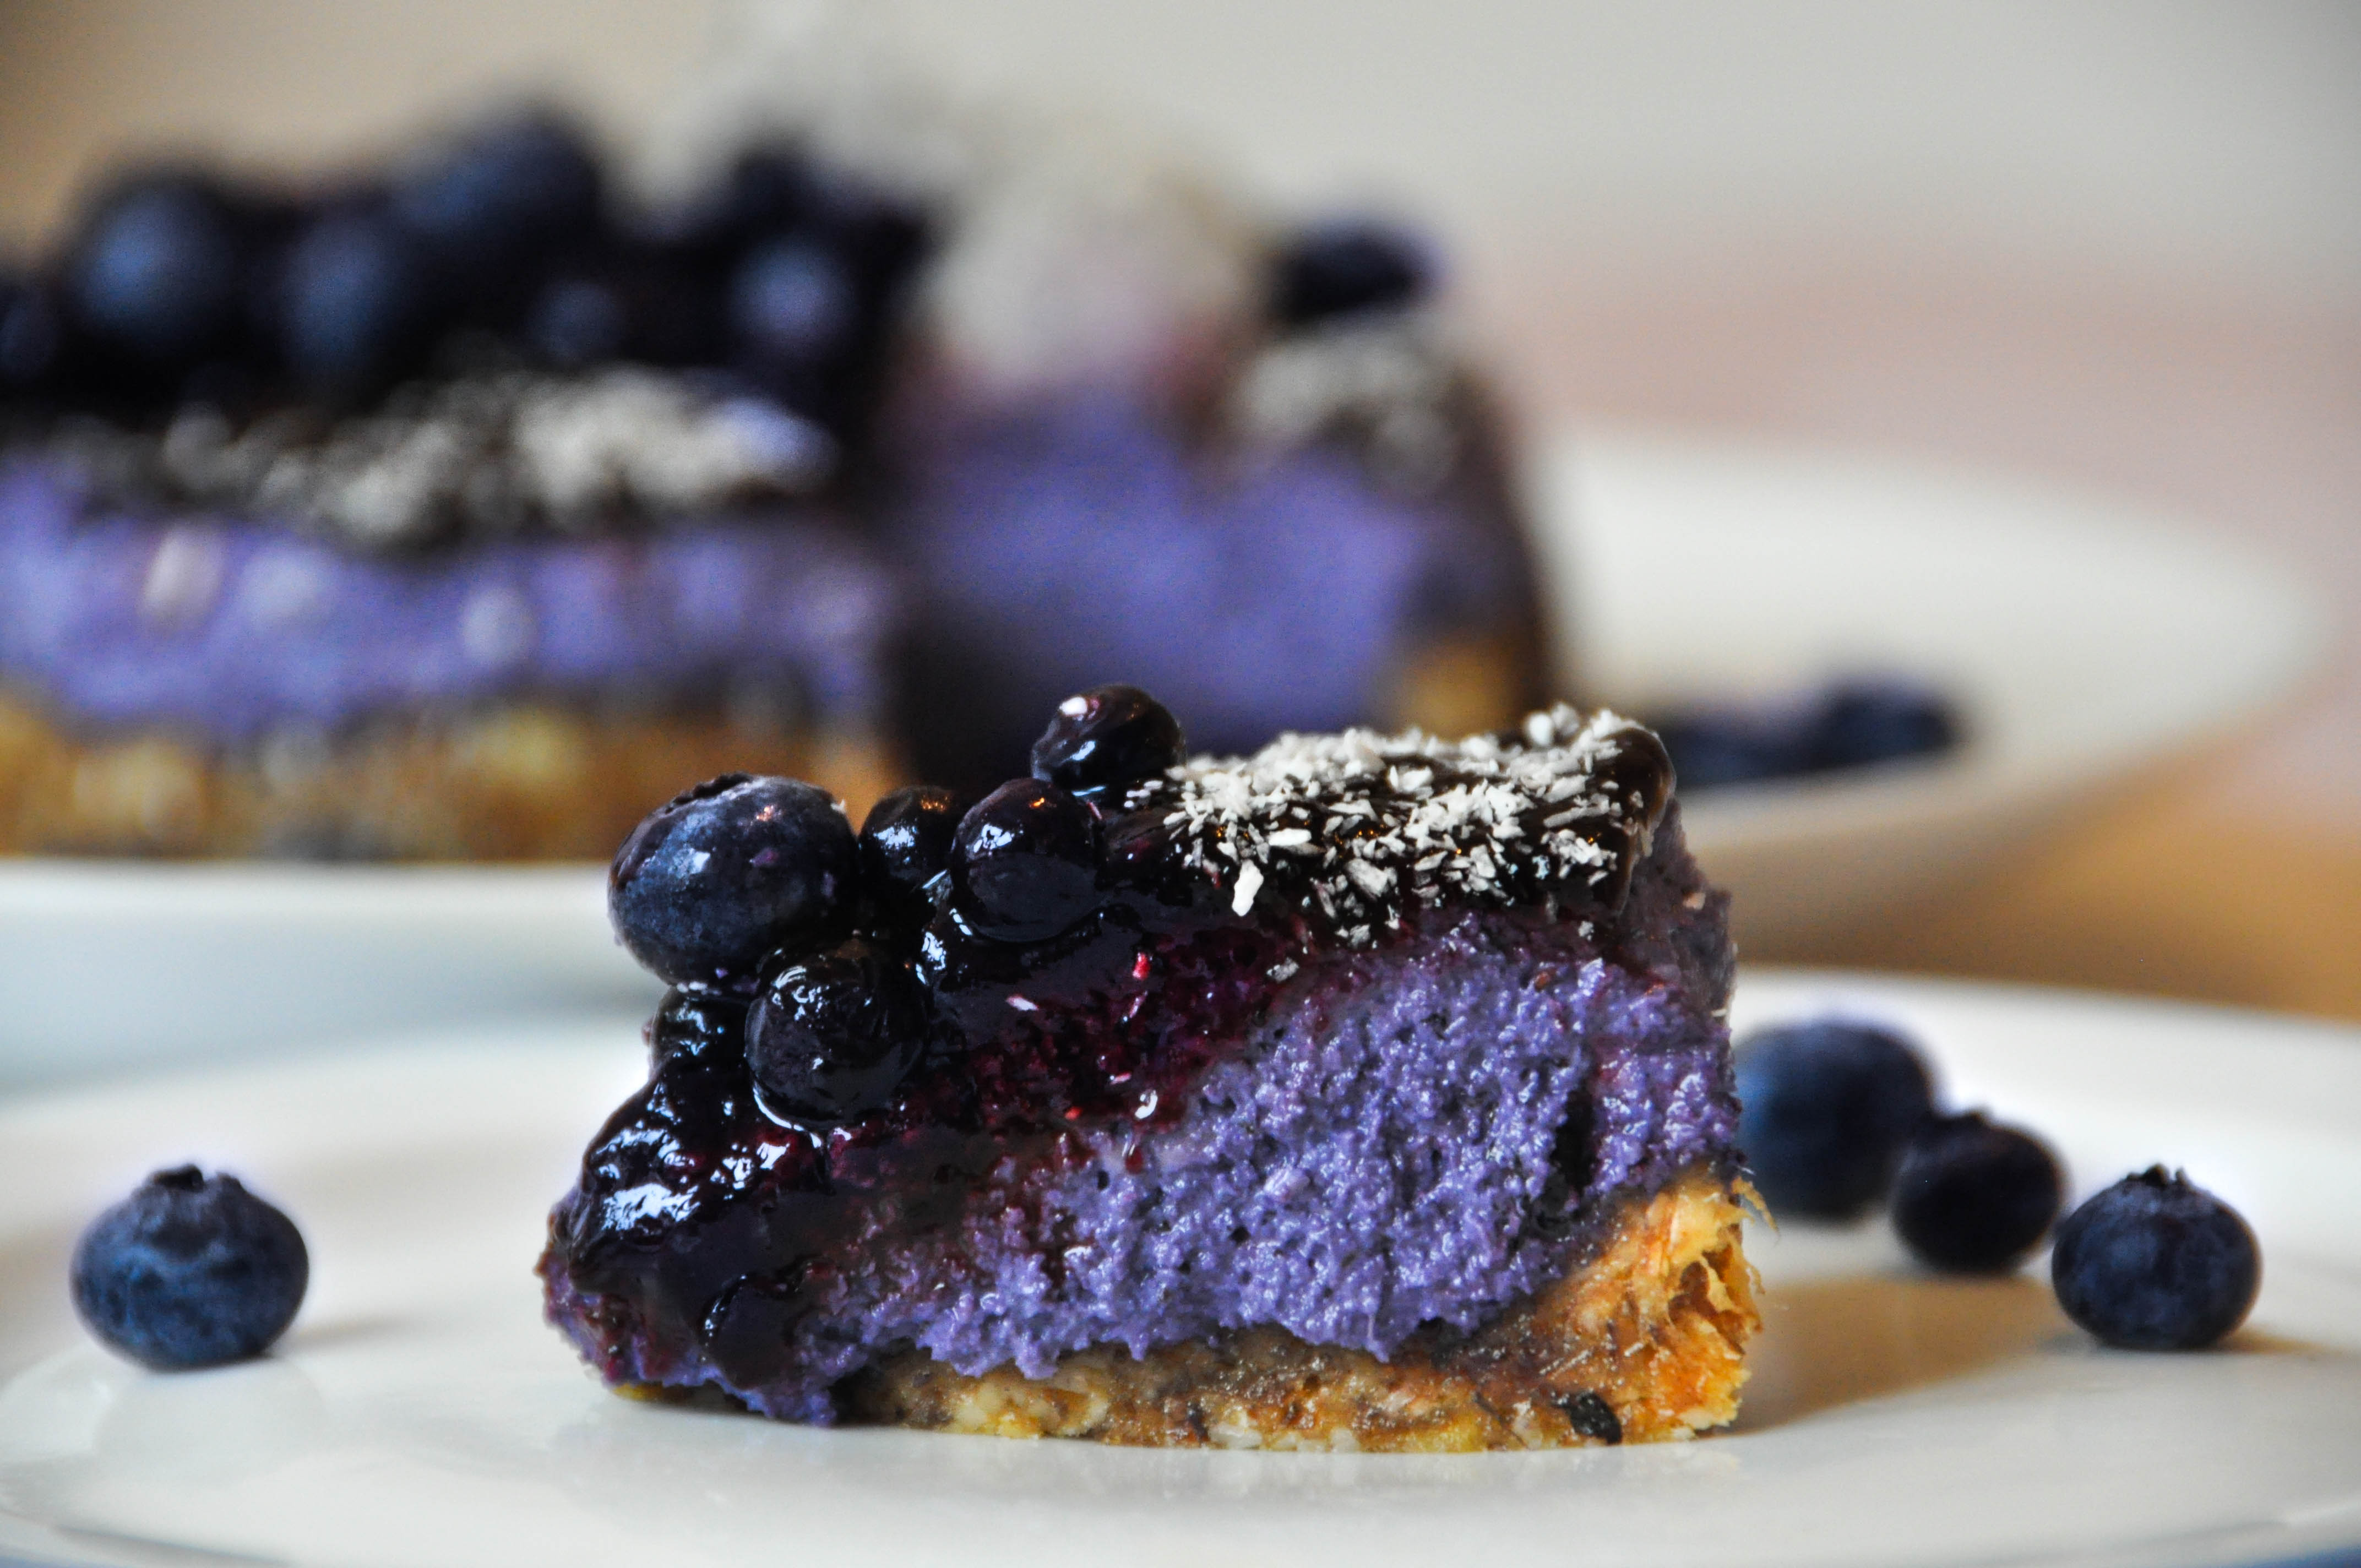
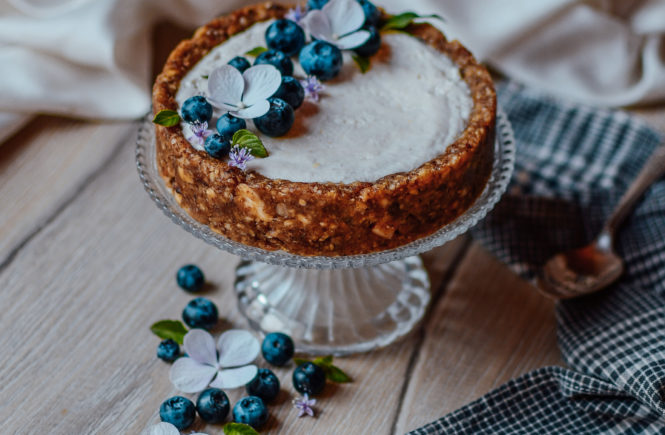
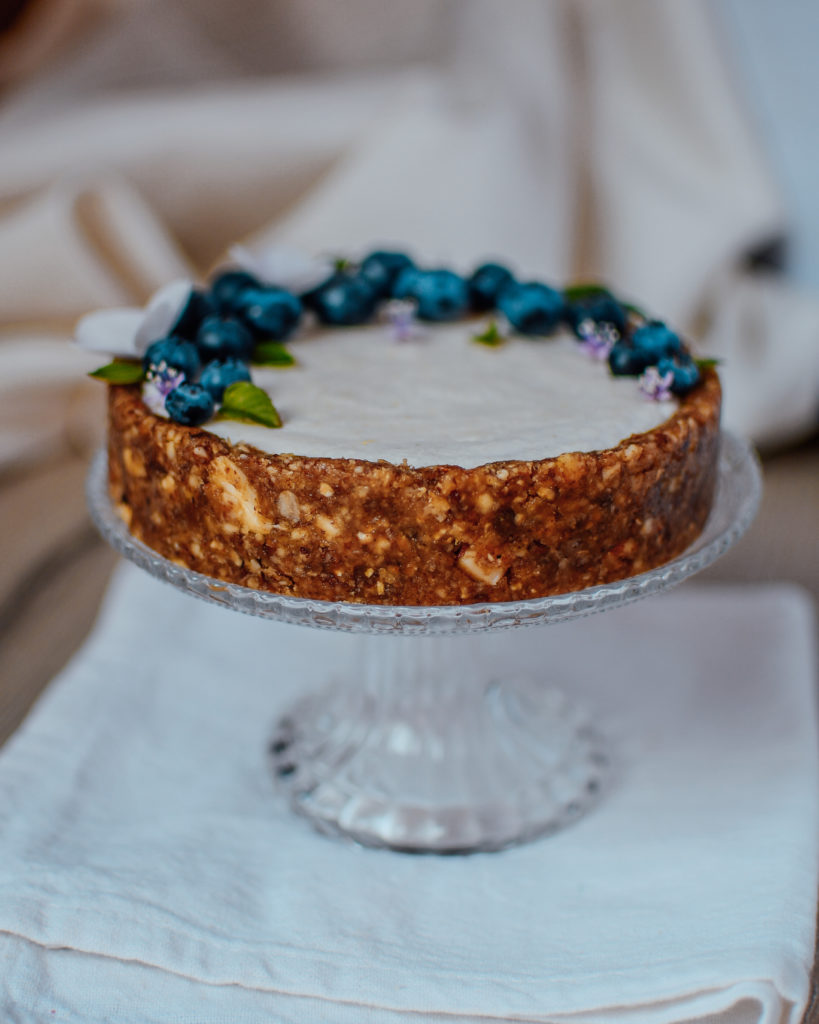
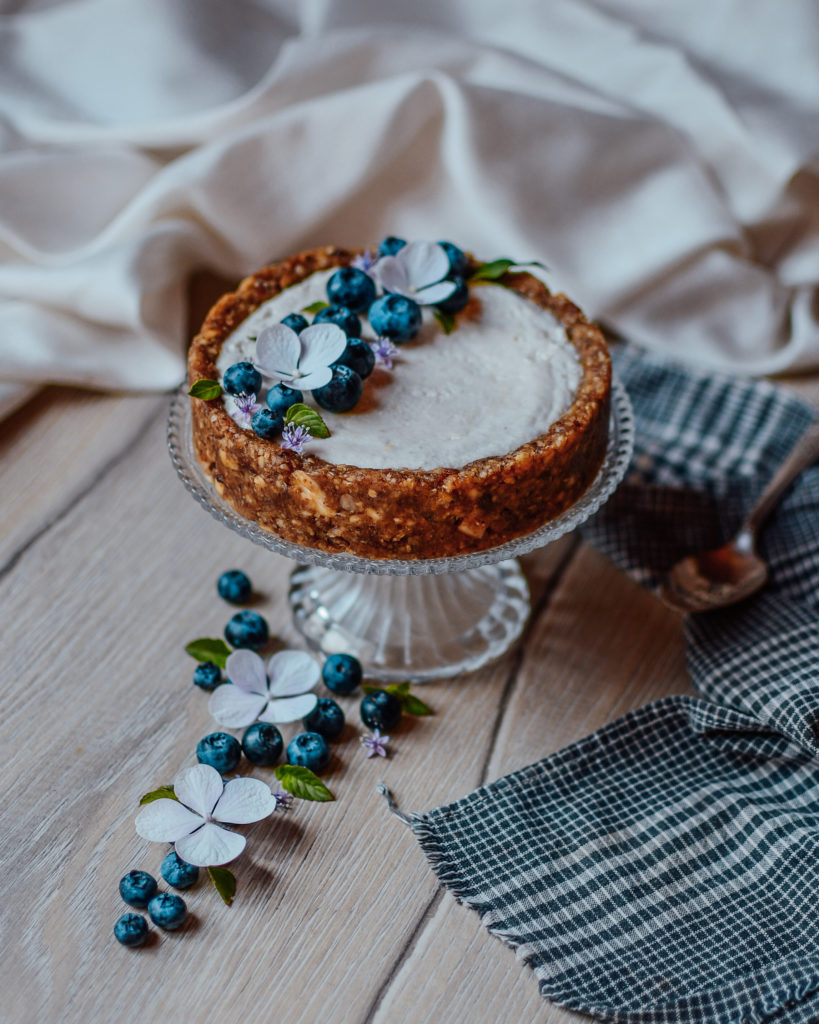
Have you ever tried raw vegan cheesecake? Most people think that raw food can’t possibly taste great. Raw and vegan?! Well that has to be horrible than right?! This is absolutely not the case with this delicious, creamy and tasty raw vegan cashew cheesecake!
Why do I share a raw vegan recipe this time?
I took part in a blogger event this week and learnt that on August 2nd 2018 we had the Earth Overshoot Day. This is the day that we have used up more resources than the planet can regenerate in one year. This really made me realize how terrible we are treating our environment. Each year this day is coming earlier and we are already using 1.7 Earths right now! I believe we ALL need to do something against this. I think it can already be small steps that all of us take that will make a big difference. These could be better choices regarding the food you eat, the way you live, the waste you produce and the way you care about the environment.
Personally, I decided to introduce one vegan day of the week! Most carbone dioxide emissions come from animal production. By giving up meat and dairy products for a day I can already reduce my personal animal product consumption. To be honest, I am yet not totally able to give up meat and dairy completely, but already one day of the week will make a difference!
And that is why I am especially sharing a raw vegan recipe this time!
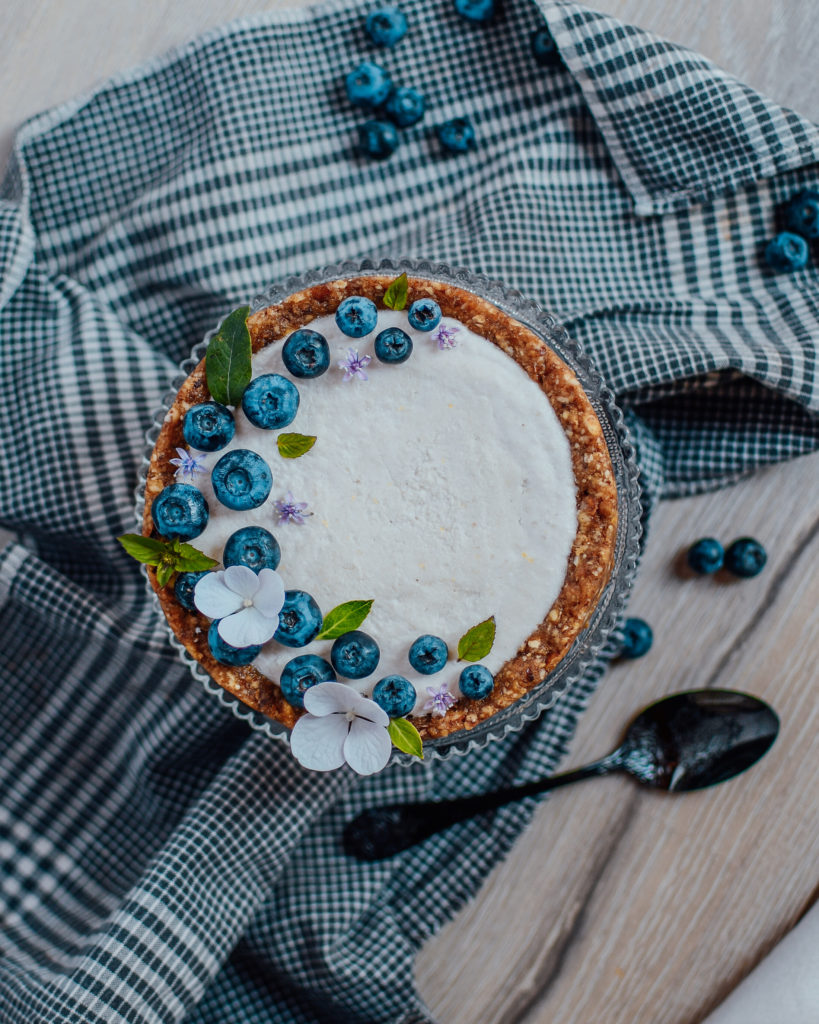
Raw Vegan Cashew Cheesecake Recipe
The recipe itself is super easy, like most of the recipes I share here. It basically consists of throwing stuff into a blender. So no cooking skills needed here 🙂
The crust recipe is actually from my lovely food blogging friend @foodie.yuki , who I definitely need to give credits here for her AMAZING crust recipe!
The filling I made up myself and you wont need more than 3 ingredients to make it and trust me you will fall in love with the marvelous creamy texture it has <3
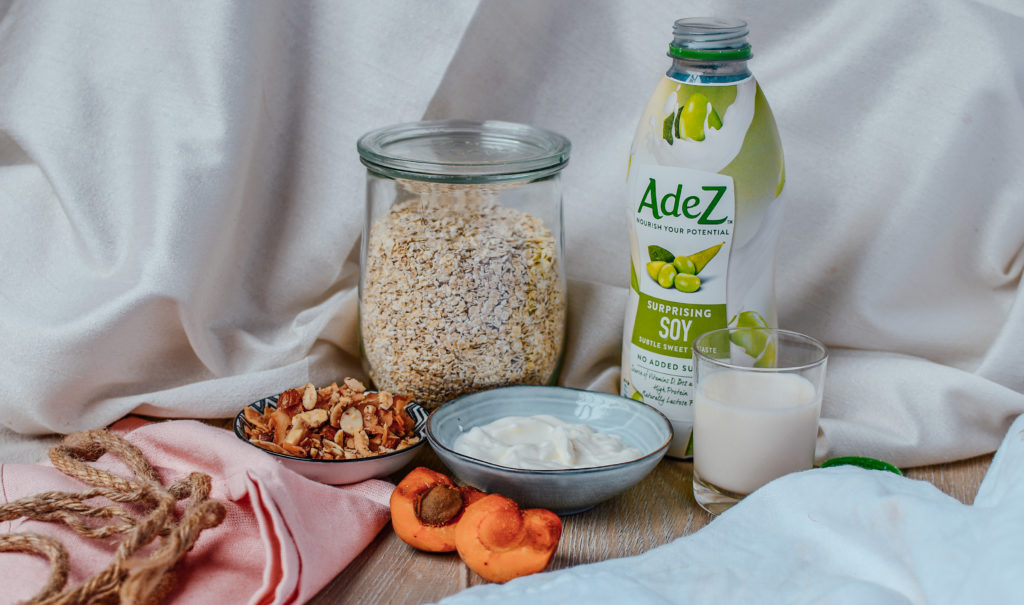
I recommend you already soak the cashews overnight to have them ready in the morning for your raw vegan cheesecake. The whole recipe will take around 30 min. So lets jump right in:

- Crust
- 340g chopped almonds
- 170g oats
- 1 TBSP almond butter
- 9 dates, pitted and chopped
- 1 TBSP water
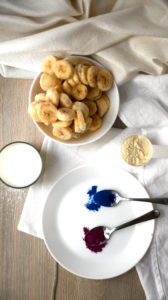
- Filling
- 200g cashew nuts (soaked overnight)
- 200ml coconut milk
- 70g Xylit
- zest of half a lemon
- Starting with the crust put all the ingredients into a food processor and mix well. Press the sticky mixture onto a tart form and put it into the refrigerator while working on the filling.
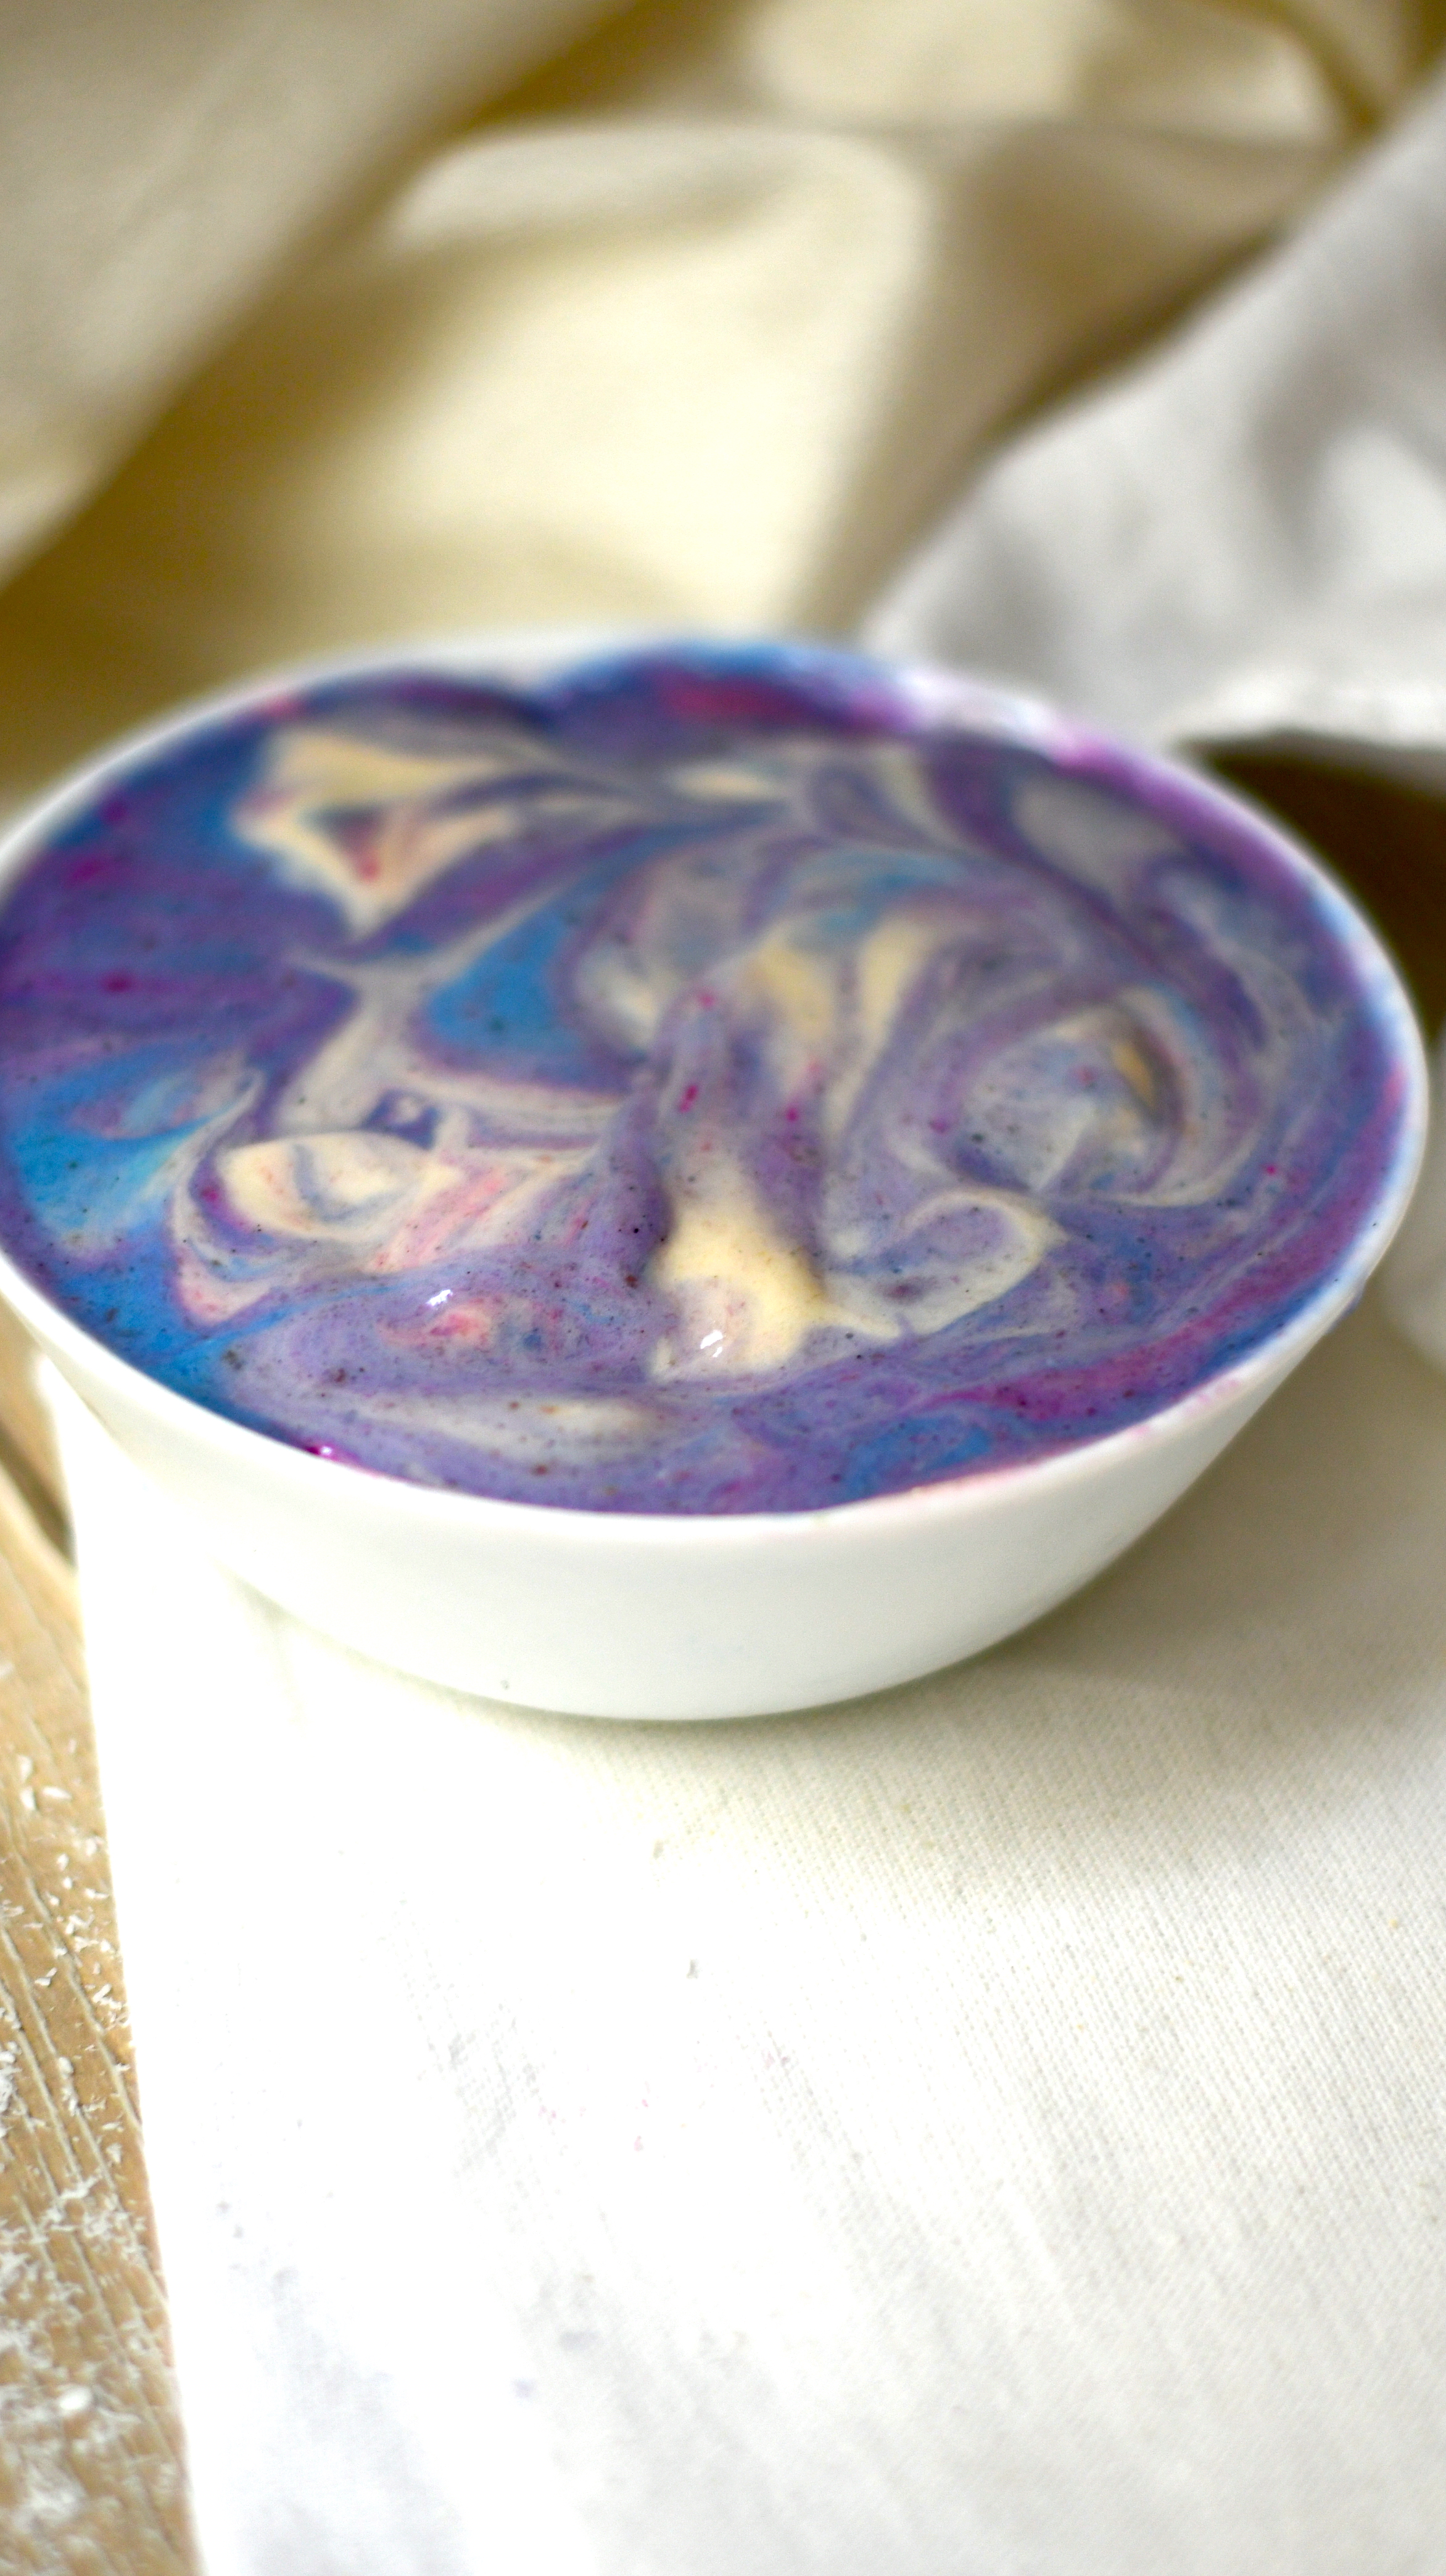
- For the filling put all the ingredients again in the food processor and mix until well combined. Then transfer the batter into the tart form and brush out evenly to the edges.
- Put the cheesecake back into the refrigerator for another 2 hours.
- Best when served cold.
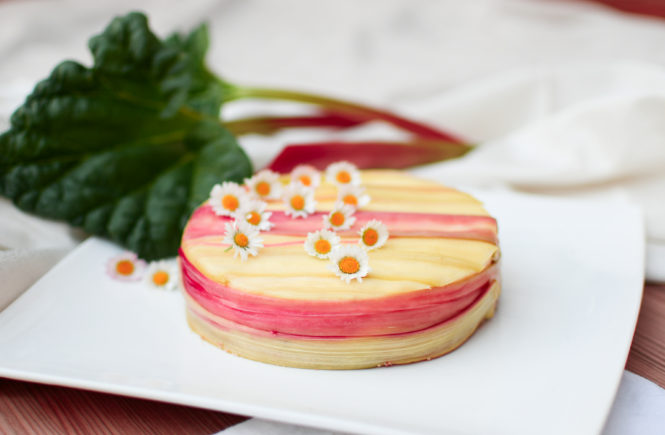
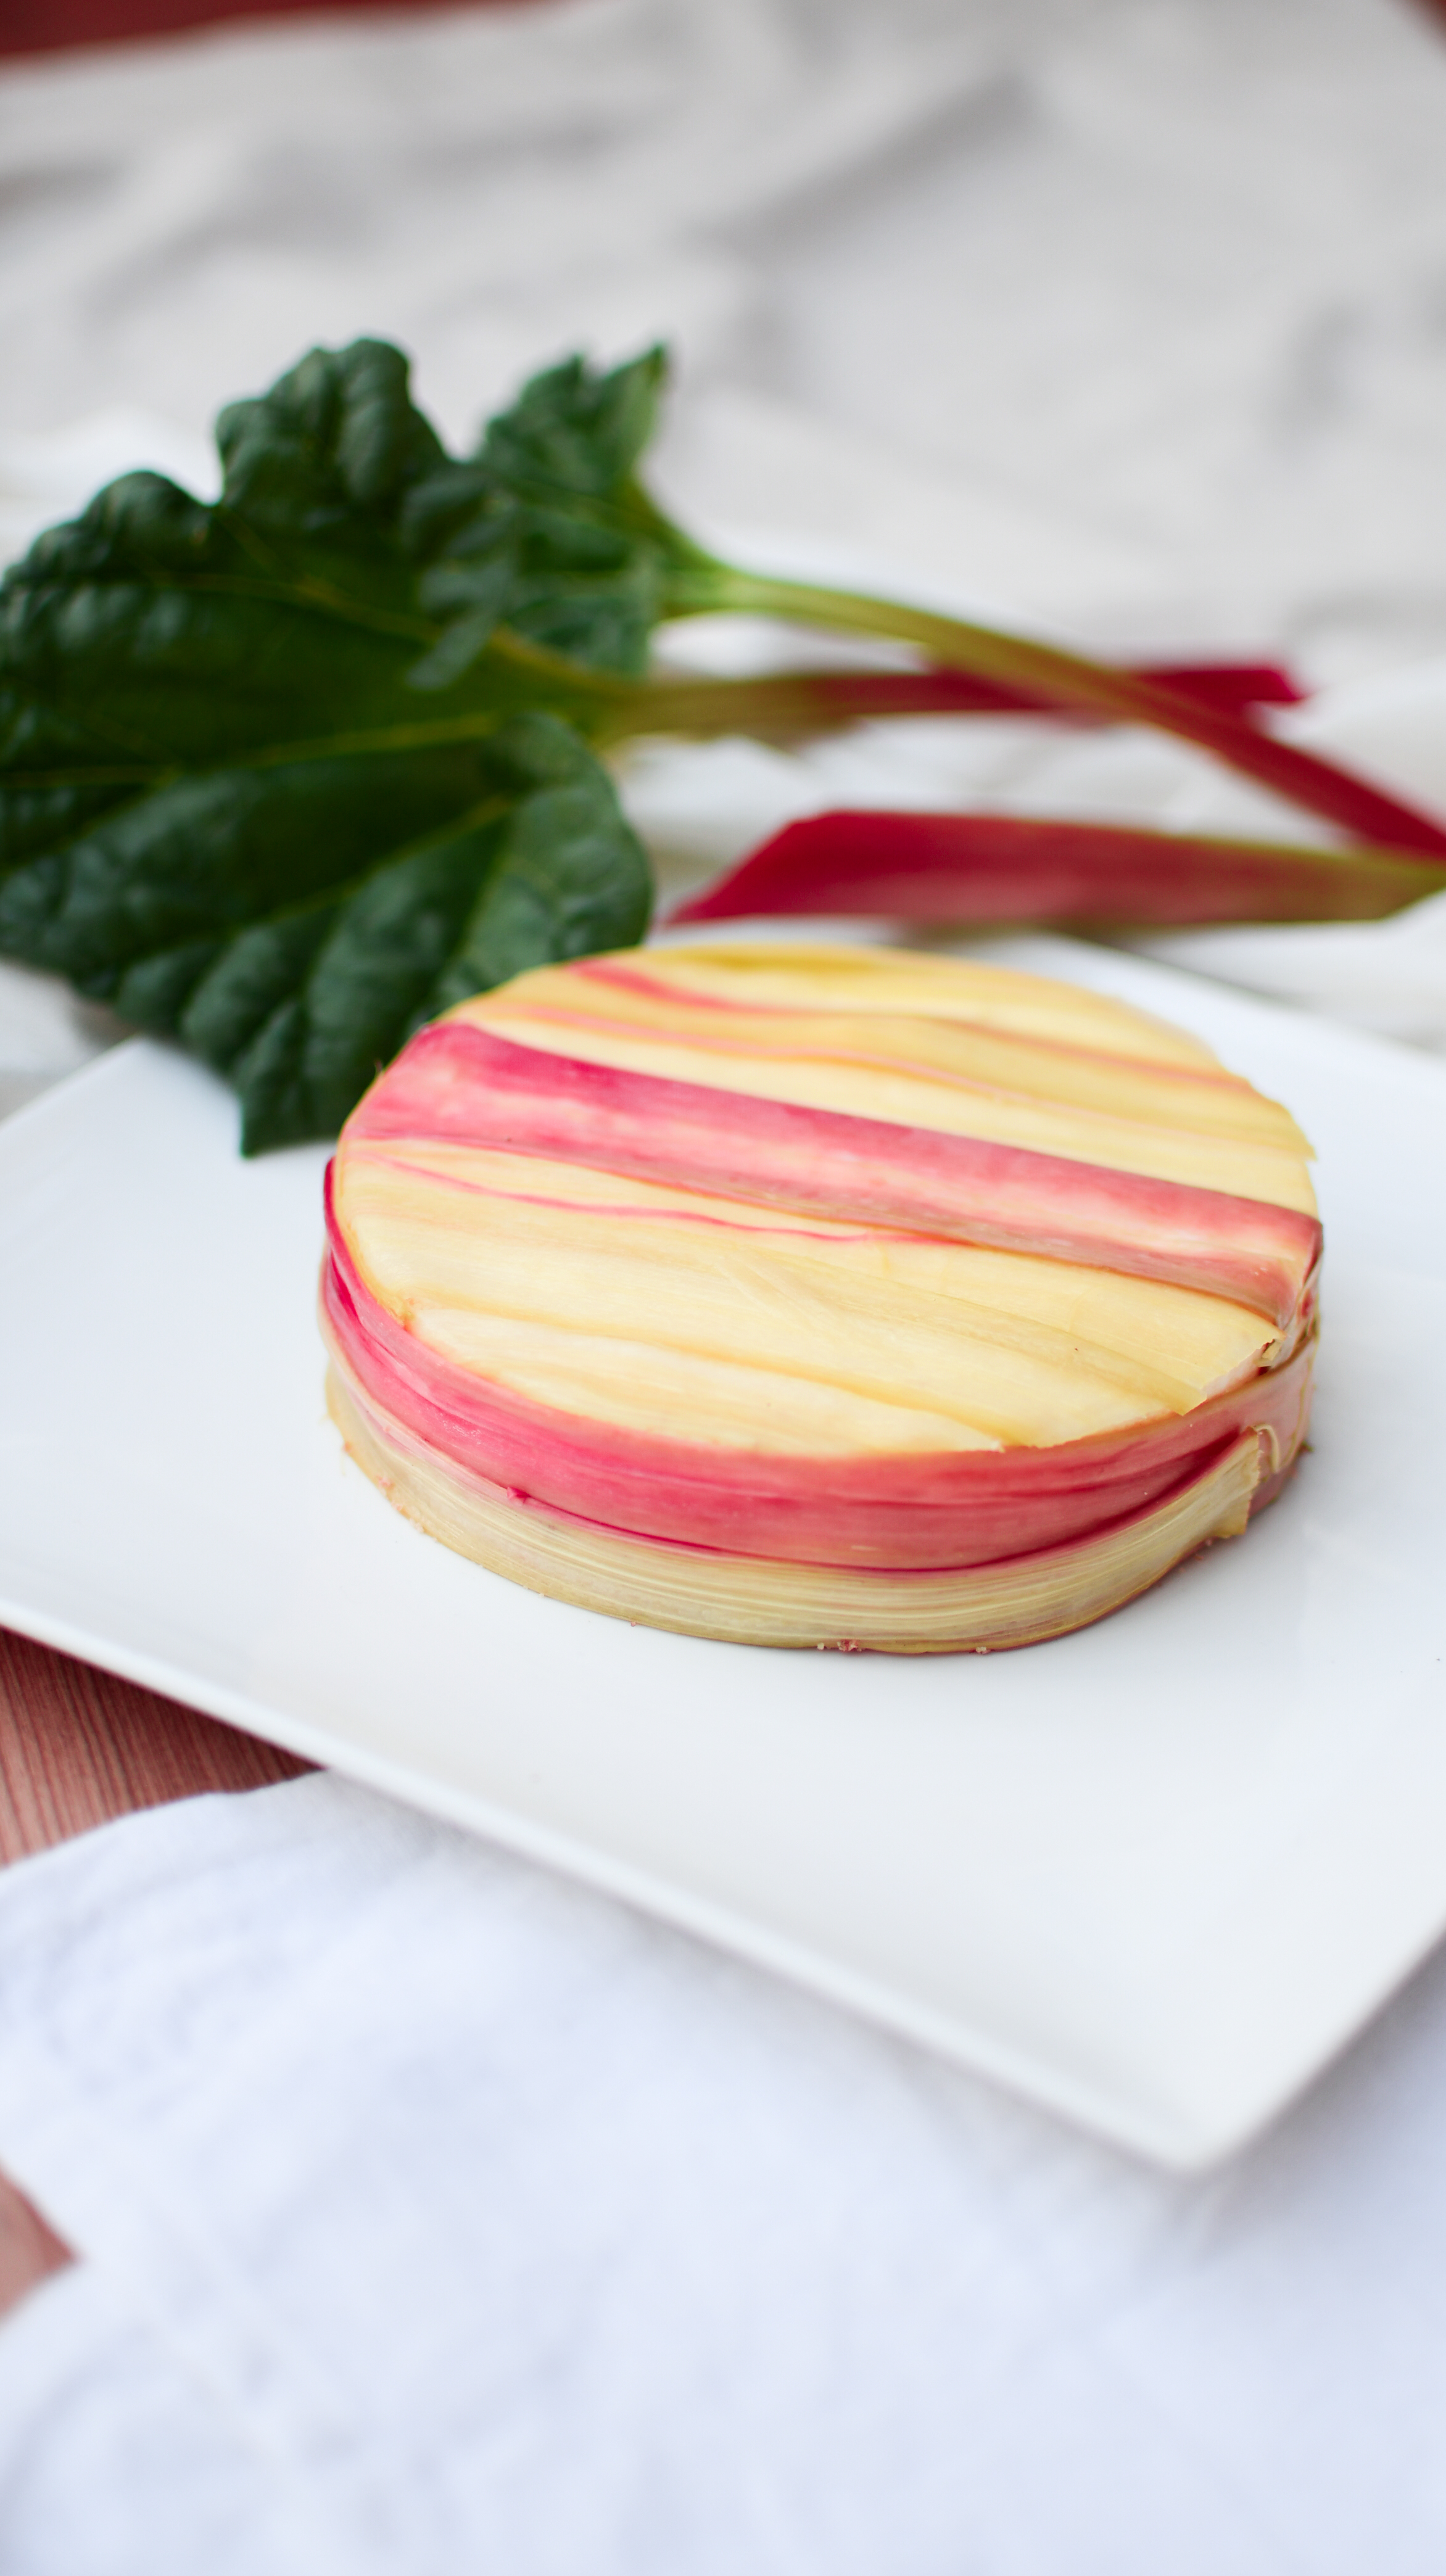
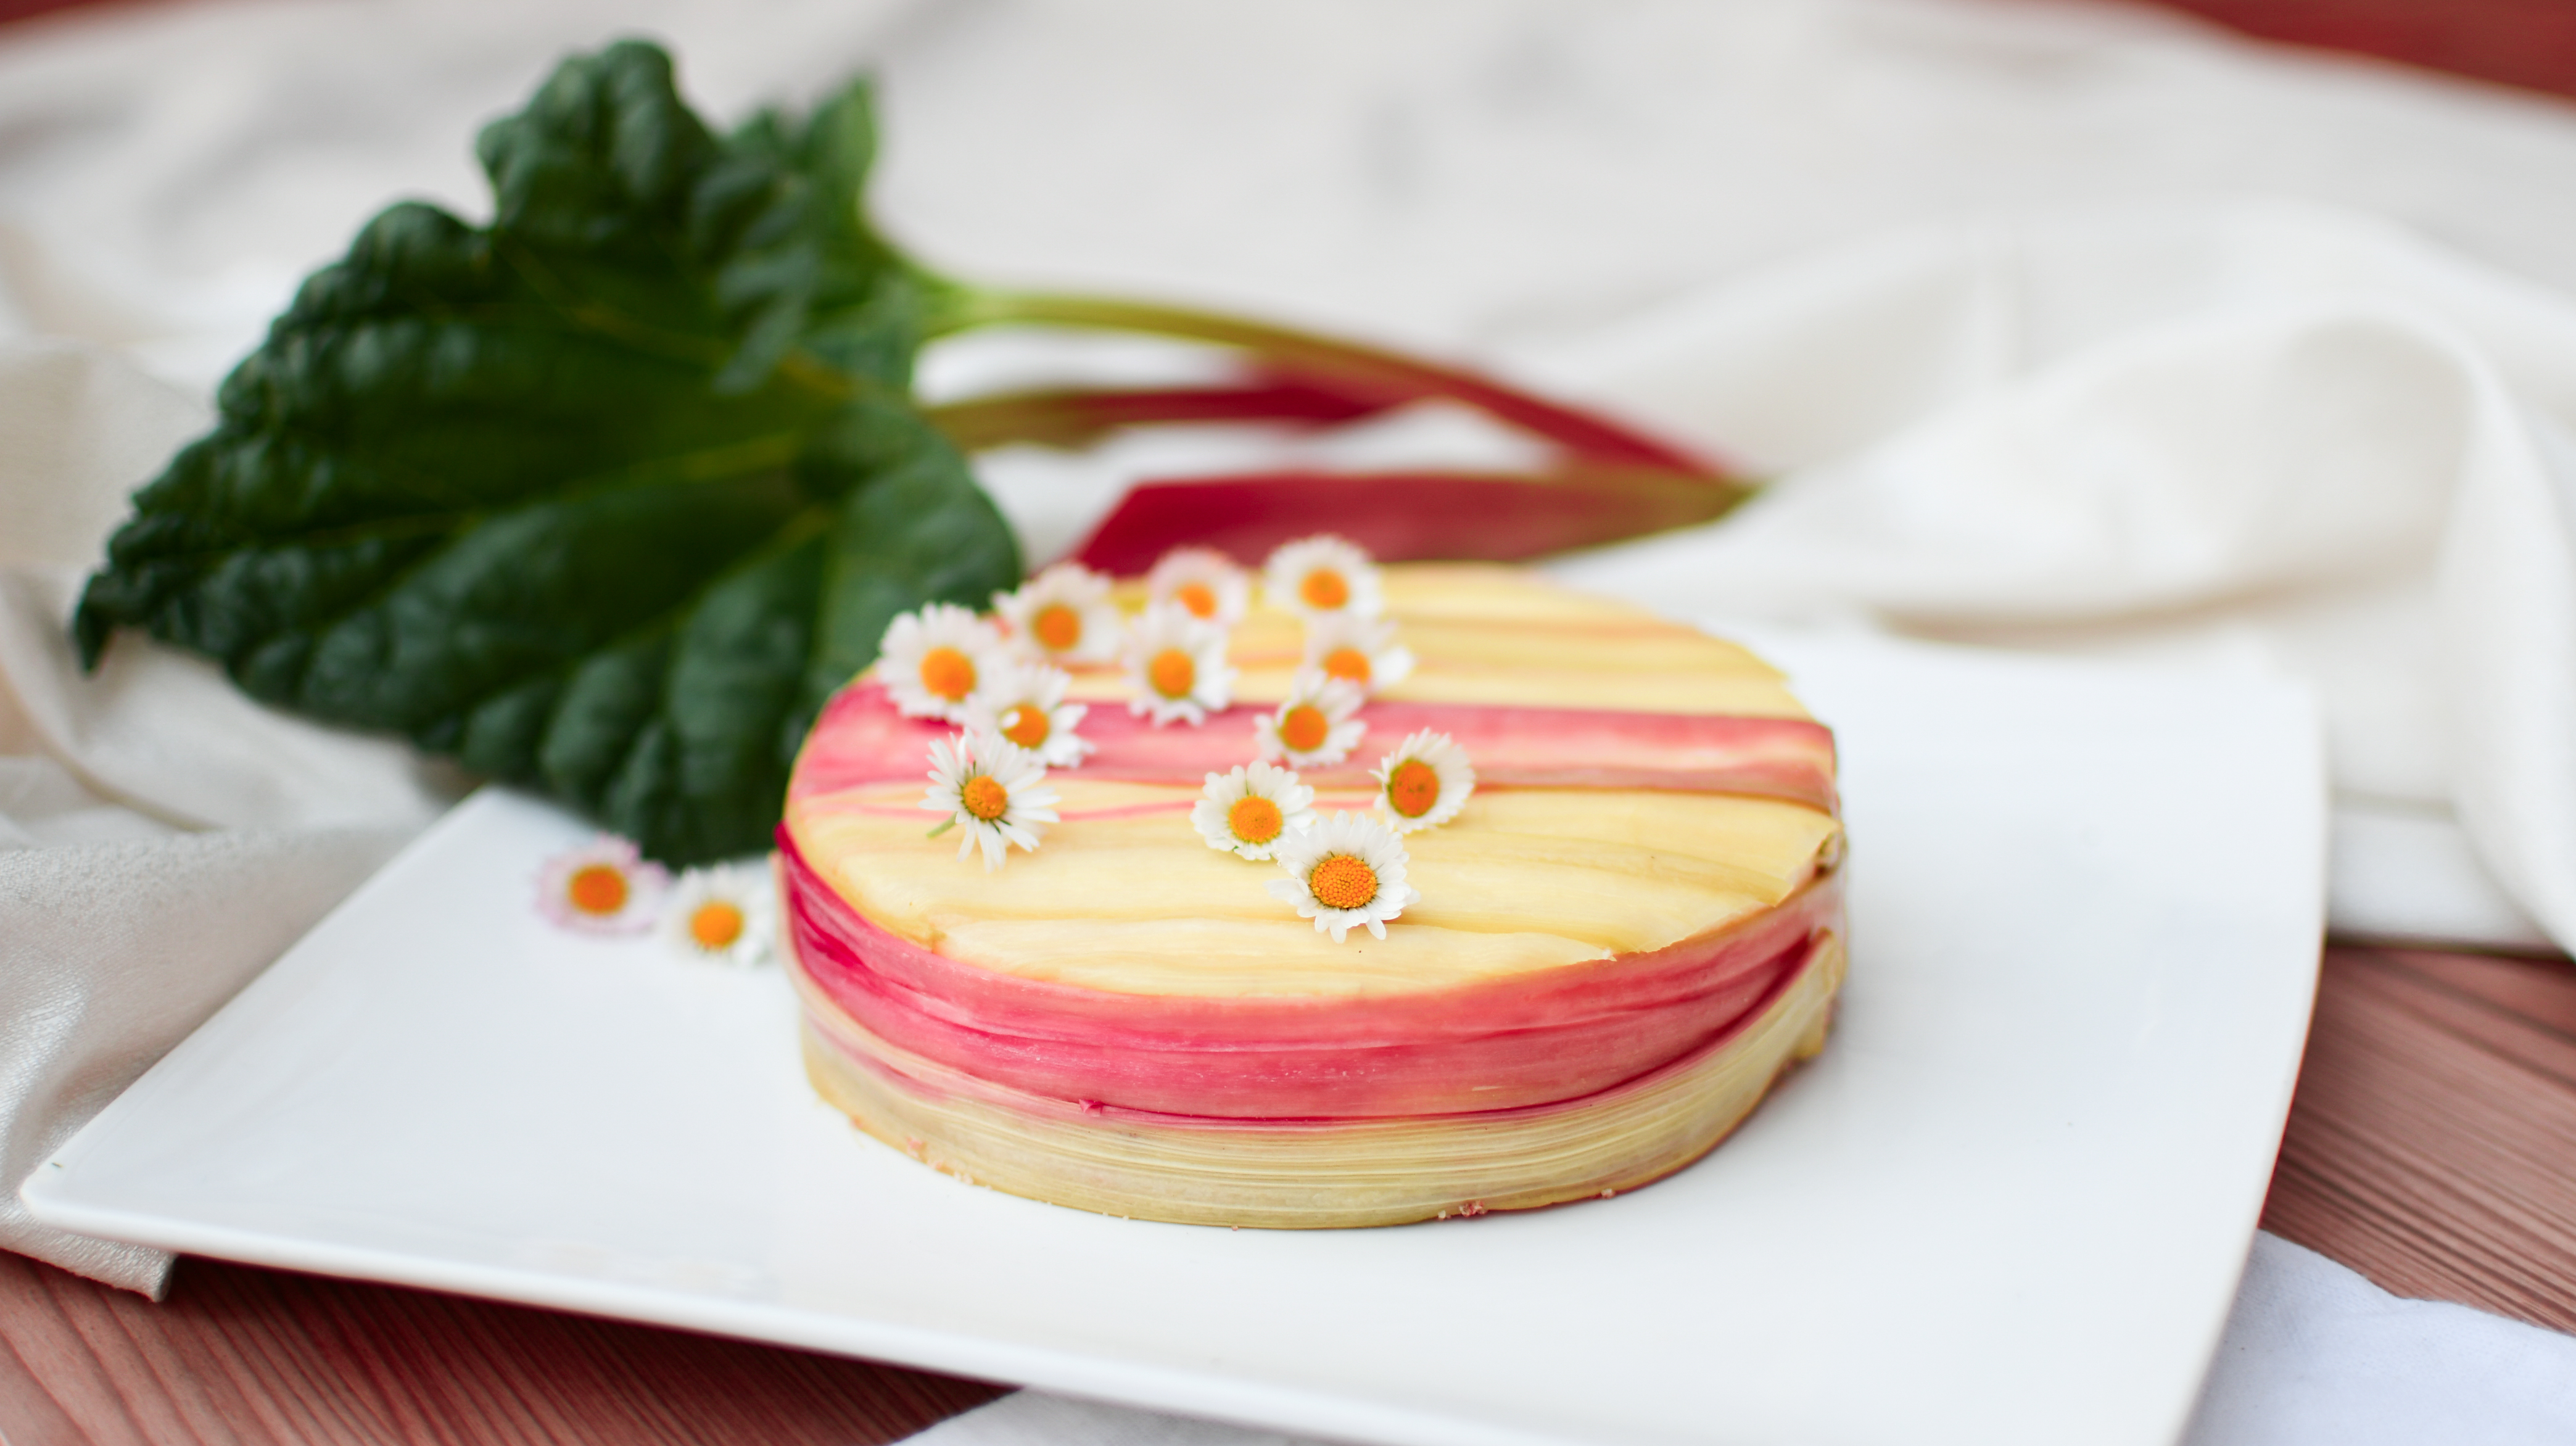
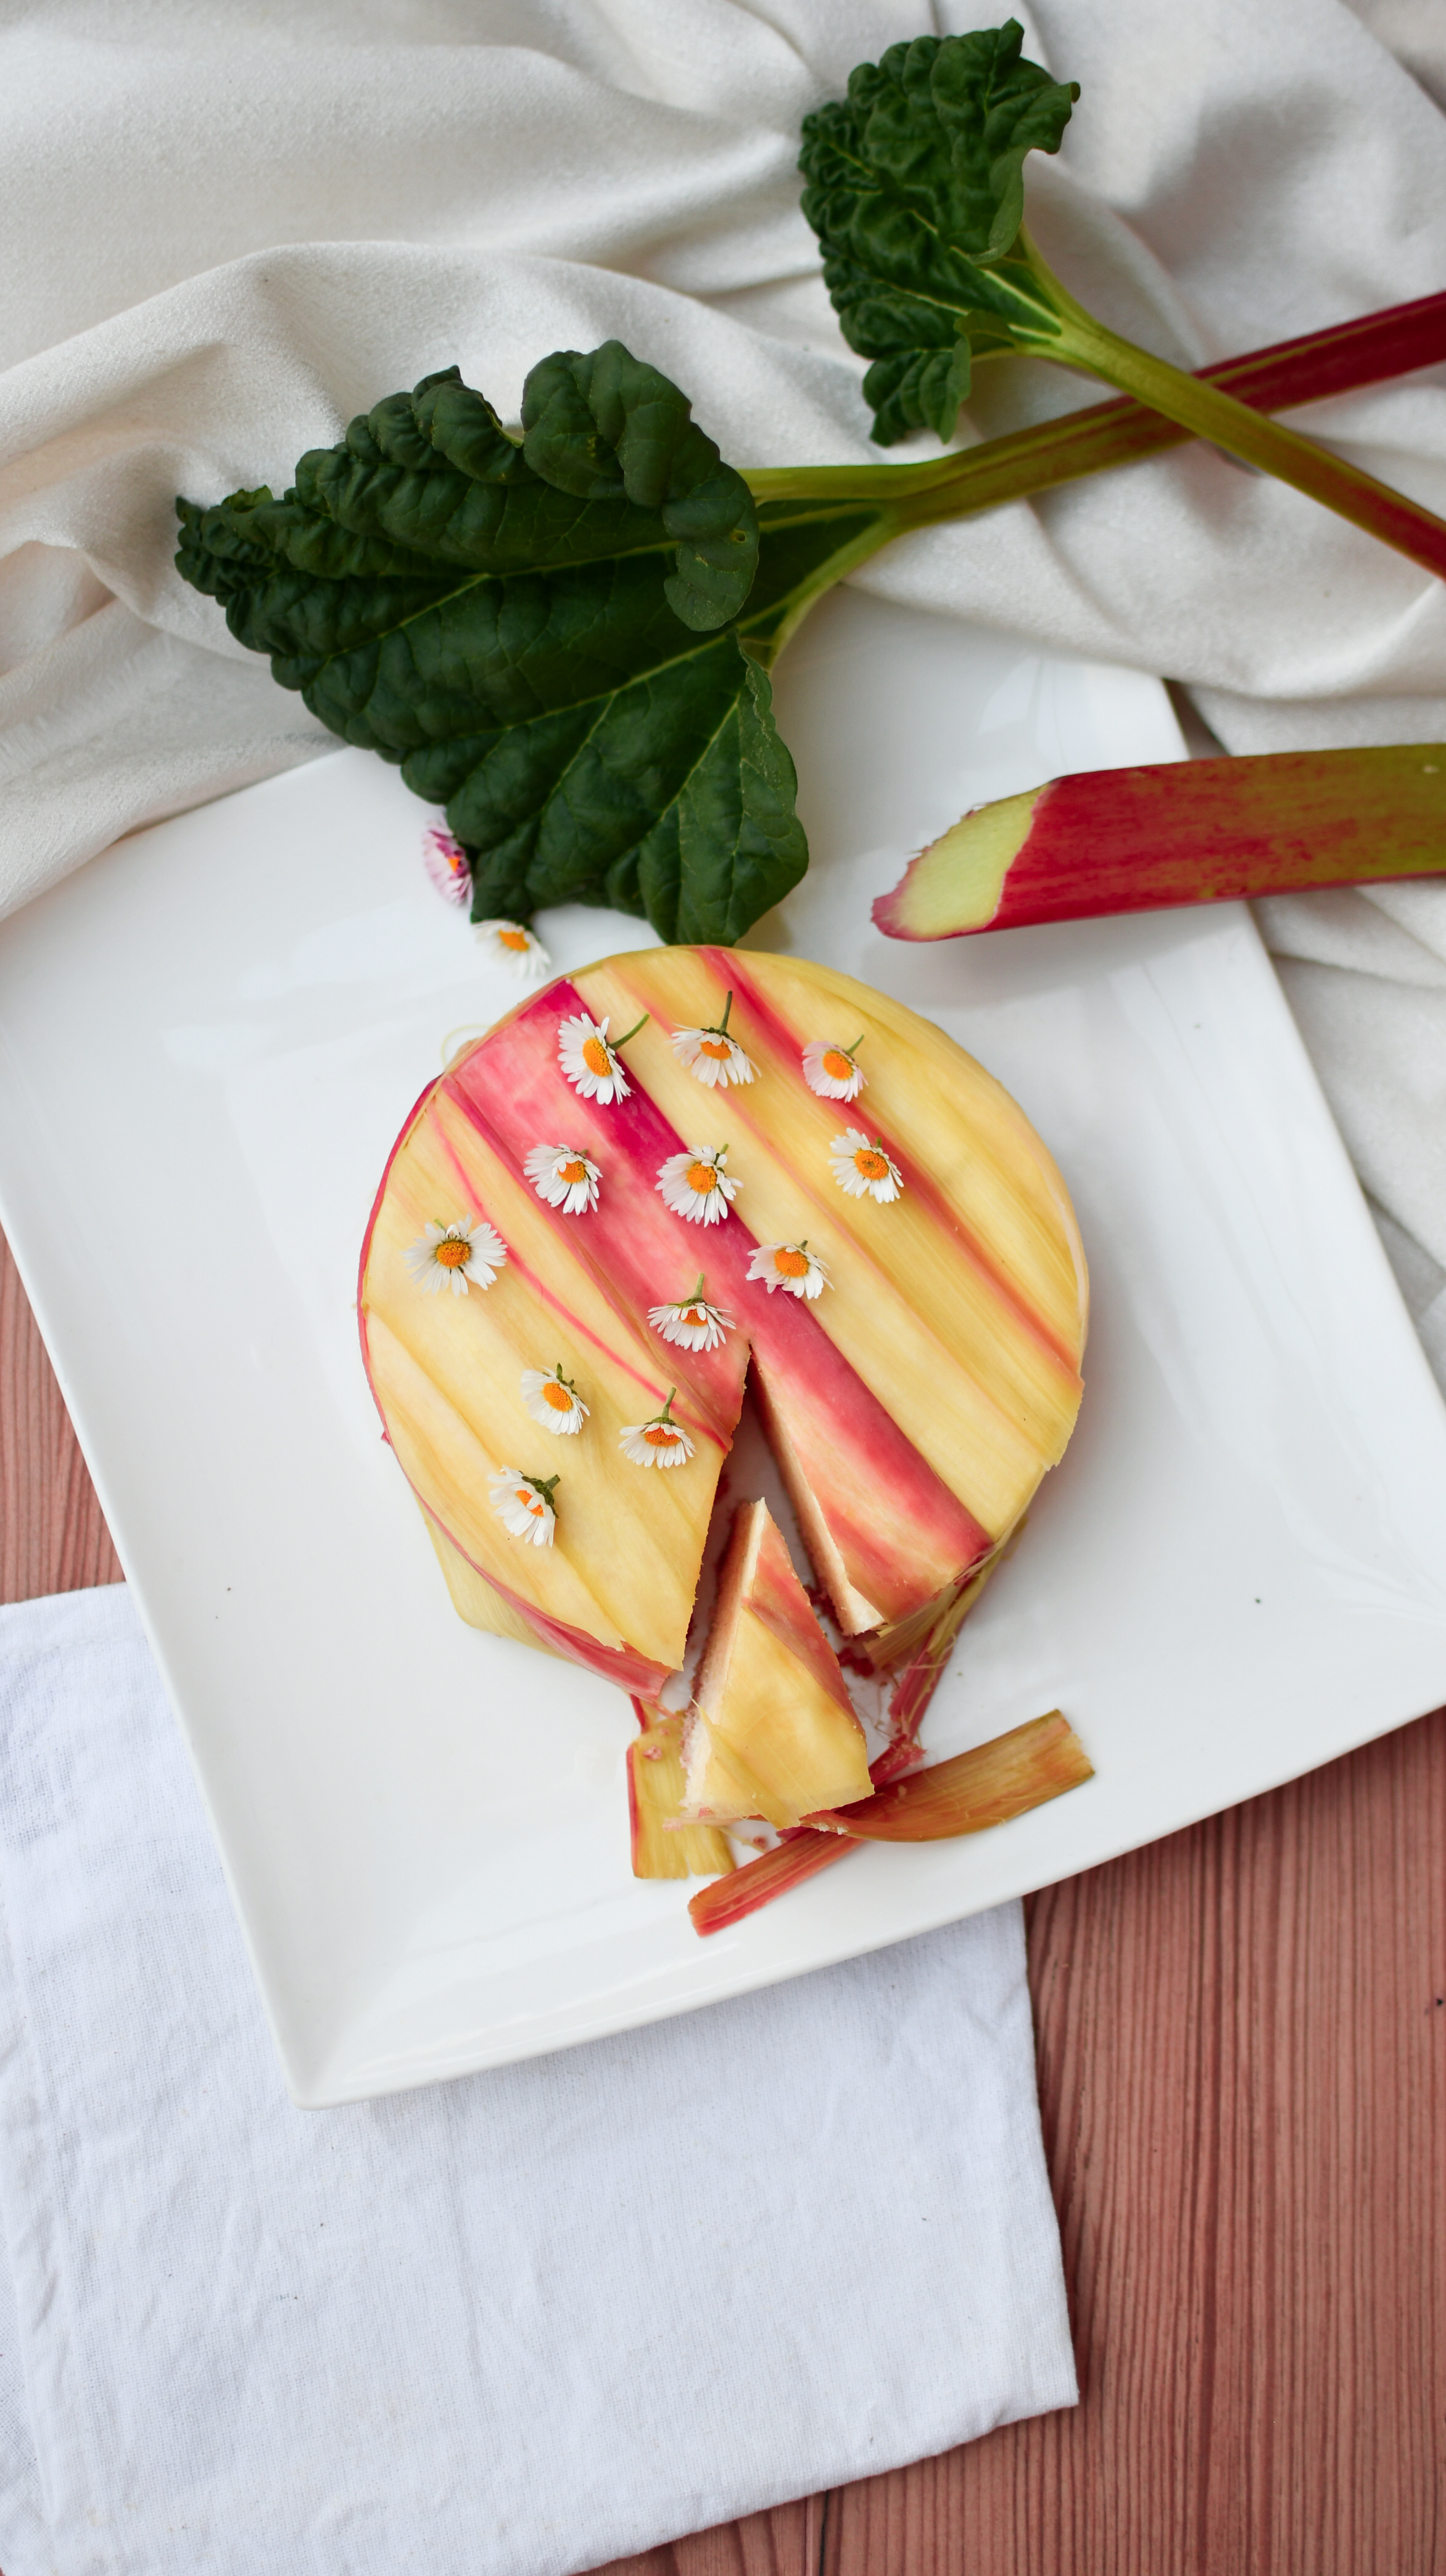
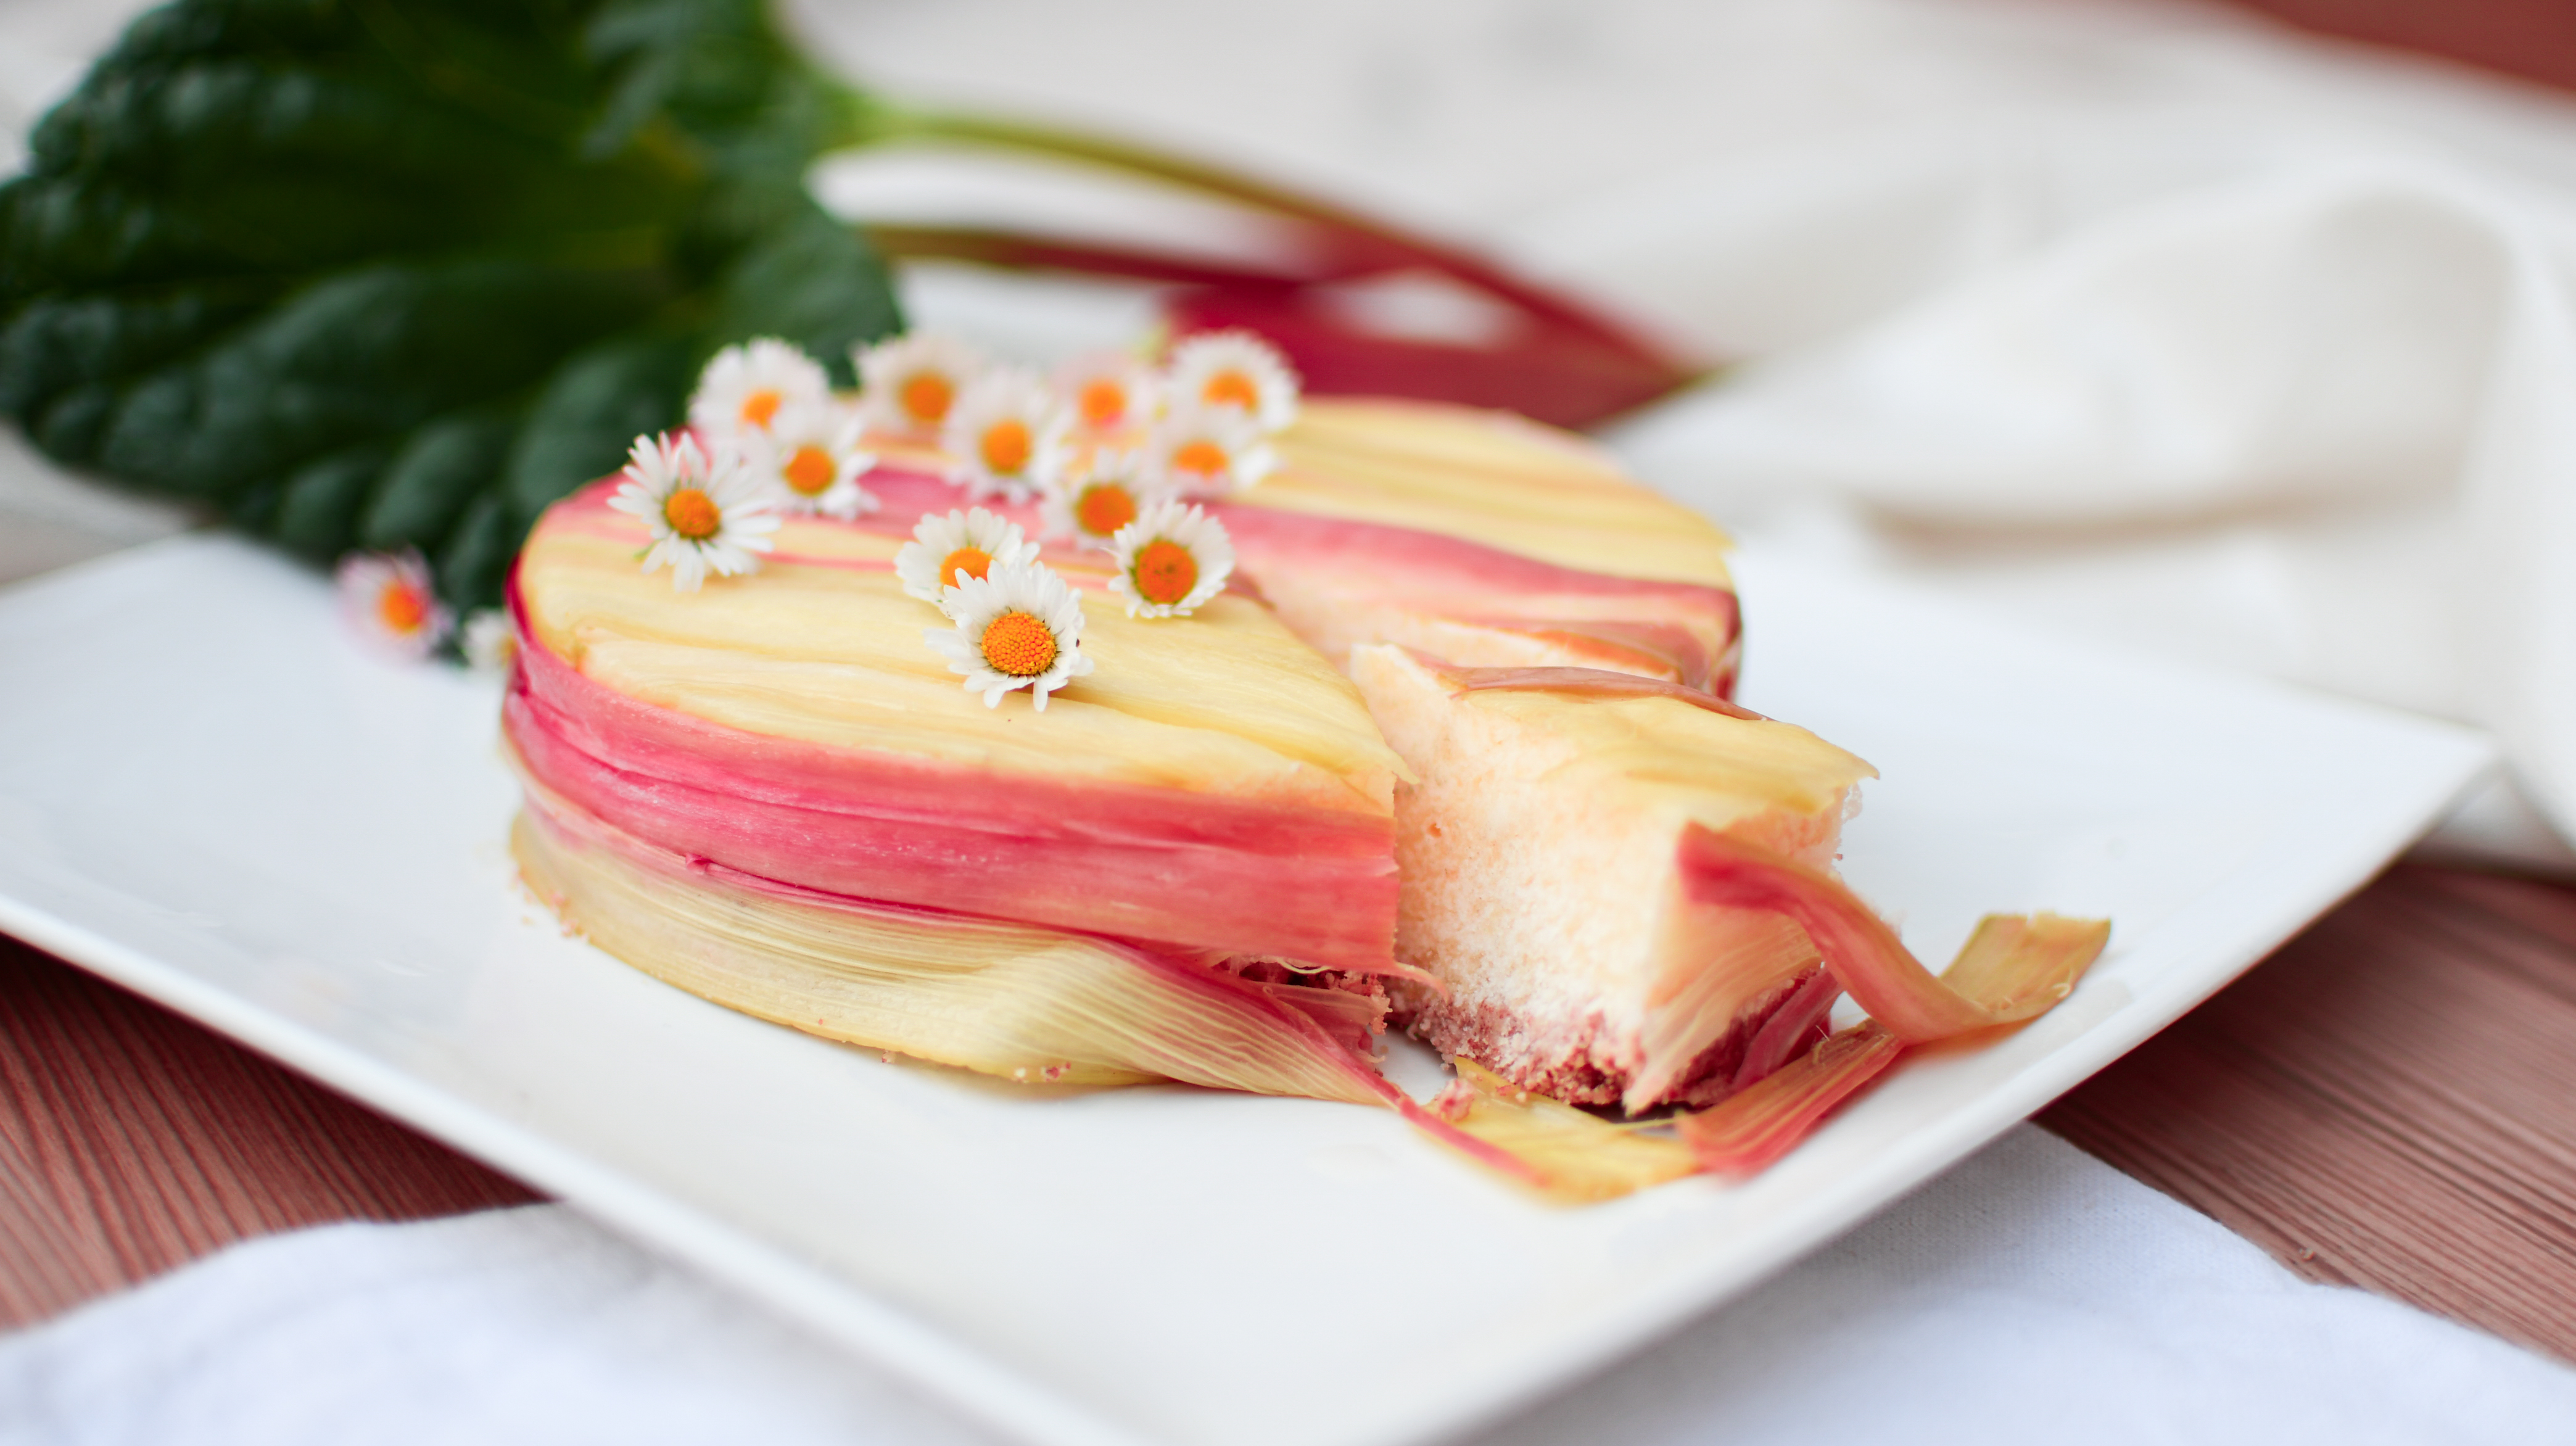
If you are interested in more vegan cheesecake recipes? Check out my vegan rhubarb summer cake here!
If you make this recipe and want to share it on your Instagram make sure to tag me in the photo and use the #carinaberry. I am always featuring posts on my story!
xoxo,

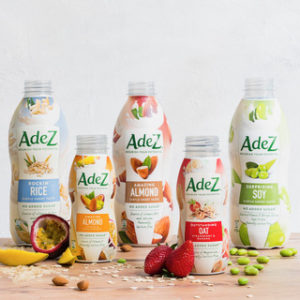 Passionfruit“ erhältlich. Outstanding Oat Strawberry & Banana” hat den Haferdrink als Basis und “Amazing Almond Mango & Passionfruit“ den Mandeldrink. Beide sind mit leckerem Fruchtsaft/-püree verfeinert. Ich verwende die on-the-go Drinks gerne als Snack für Zwischendurch wenn der kleine Hunger aufkommt.