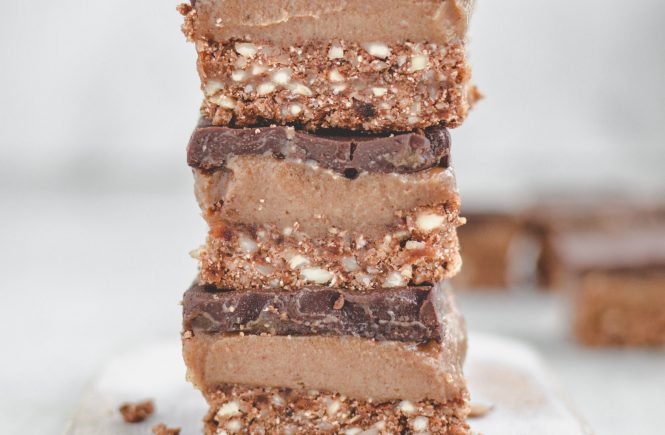
No-bake chocolate caramel slices

Chocolate Caramel Slice

 Welcome to this special blog post! Today I would like to introduce one of my best foodie friends Zoe! She will tell you a bit about herself and share a delicious treat (chocolate caramel slices) with you in the end!

A wild blend 

Zoe and I met on Instagram actually and are planning on meeting up in February when Zoe comes to visit her parents in Graz. She is originally from Austria, but moved to Australia a long while ago where she married and had the most wonderful wedding. I keep melting away every time she posts one of her wedding photos.
I connect with Zoe on multiple levels. She also really loves to work out and lift weights, has a sweet tooth like me and adores all kinds of natural food. I love her mantra of eating wild, natural foods that nourish the body and soul. She created her label Wildblend which transmits the love for everything that is wild & natural. Zoe’s recipes are focused on fresh seasonal ingredients, and celebrate unprocessed, healthy whole foods with a dash of superfoods. Sounds amazing, right? Thats why I love to follow this girl and her recipes on Instagram 🙂

Zoe_WildBlend

But her blog topics go well beyond the love for fitness food. Zoe also talks about a balanced lifestyle in her blog posts, shares her photography knowledge and foodie travel tips. I especially love her food guides for Hong Kong and Shanghai!

Today Zoe is sharing one of her most popular recipes on my blog. Her healthy no-bake chocolate caramel slices. Delicious caramel sandwiched between a healthy chocolate and gluten-free biscuit layers will rock your taste buds. This recipe is totally guilt free since it is vegan, paleo, no bake and refined sugar free!

So lets hand it over to Zoe to guide you through the recipe:

Let’s get to know Zoe

Hi there,

My name is Zoe and I’m a blogger, recipe writer and food photographer from Brisbane, Australia. My label Wildblend is here to inspire people to create healthy dream foods that taste amazing, look amazing and are also really good for you. If looking at my Instagram feed makes you smile then I’ve accomplished my mission. I love sharing my passion for fresh seasonal ingredients, natural food colours, and unprocessed, healthy whole foods. Growing up, my mum taught me how to cook from scratch and since then I’ve been curious about turning just about every recipe I loved as a child into a healthy gluten-free and dairy-free version that anyone can enjoy.Zoe_WildBlend

On my blog wildblend.co I focus on simple recipes with minimal ingredients. Most of my creations are also Paleo and Vegan-friendly. I host food photography workshops in Australia and hopefully also in other places around the world during my travels next year. Moreover, I love teaching and sharing my passion just as much as I love cooking. Therefore, I hope that my journey will inspire someone else to follow their passion and turn their dream into their day-to-day job. If I can do it, then you can do it too. Instagram has enabled me to collaborate with amazing human beings such as Carina and it’s such a wonderful platform to make friends online and offline.

As I’m writing this, I’m sitting in an Airbnb in Melbourne to apply for my US visa. My husband and I are planning to go on a 12-month honeymoon/work-and-travel adventure around the world and hopefully I’ll get to catch up with Carina along the way. Today, I’m sharing an all-time blog favourite, my Healthy No-Bake Chocolate Caramel Slices. It’s a fan favourite and a huge hit in my household. The secret of this slice are the three layers, nutty base, caramel-y middle, and a chocolatey topping! Trust me, you won’t want to miss out—this is the perfect Christmas holiday treat the whole family will love. Enjoy!
chocolate caramel slices

No-Bake Chocolate Caramel Slices

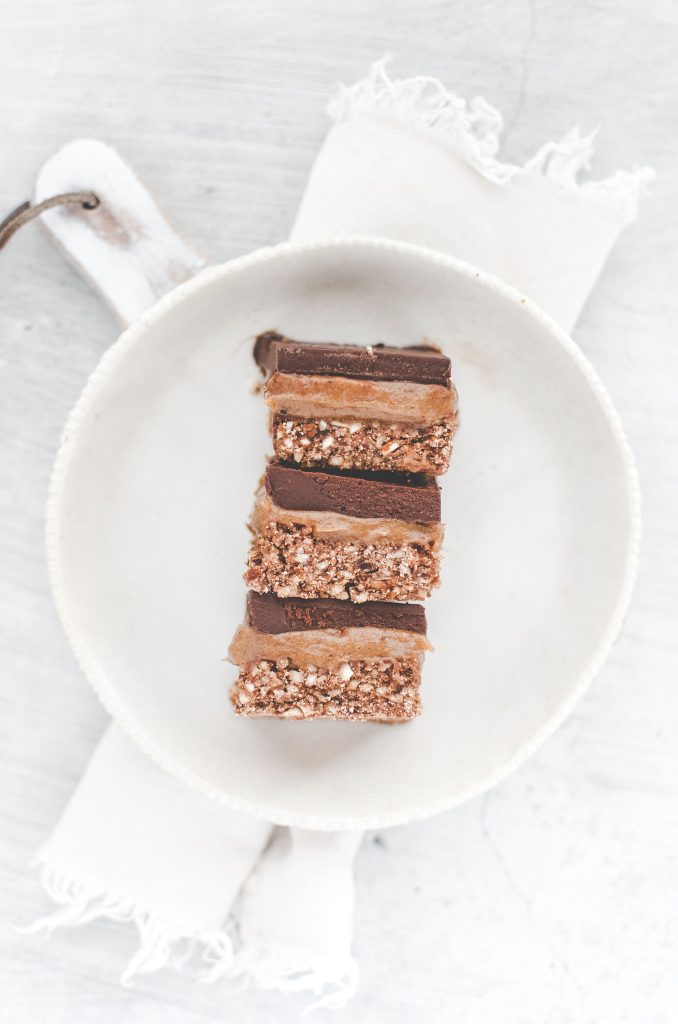
These no-bake caramel chocolate slices is a healthy twist on classic caramel slice. The caramel made from gooey Medjool dates, soaked cashews and almond butter—is much healthier and easier to make than conventional caramel. Medjool dates have a rich, almost caramel-like taste and a soft, chewy texture. They are bigger, softer and gooier than regular dried dates. If you can’t get them, use dried dates, but be sure to soak them in water to soften them before blending.

This date caramel is so silky, rich, and sweet (everything you’d ever expect from caramel), that you’d never know it’s vegan, dairy-free, and Paleo, with zero added sugar! It’s sandwiched between a 3-ingredient chocolate layer and a crunchy almond and coconut base. I recommend using raw organic cacao powder (over baking cacao) for the chocolate layer to reap the full benefits of it. Raw cacao has more calcium than cow’s milk, over 40 times the antioxidants of blueberries, and is the highest plant-based source of iron. In other words, it’s a true superfood perfect for Vegans. I’m a huge fan of no-bake dessert because you don’t have to turn on the oven to make them. All you need is a freezer and a little bit of patience. I guarantee these decadent treats are worth the wait.
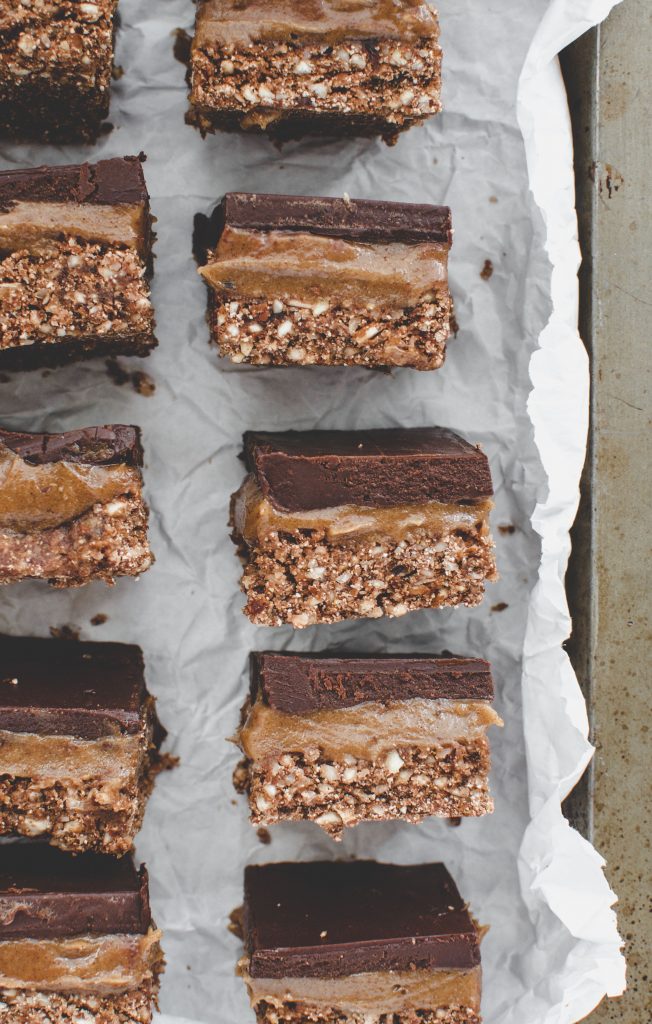
chocolate caramel slices

The recipe

Here is Zoe’s incredible recipe for her chocolate caramel slices:

Ingredients
(makes 16 slices)

Base

  • 1 cups raw almonds
  • ½ cup coconut flour
  • ¾ cup Medjool dates (soaked and pitted)
  • 1 Tbsp raw cacao powder

Caramel

  • 1 cup Medjool dates (pitted)
  • ½ cup cashews (soaked & pitted)
  • 2 Tbsp rice malt syrup
  • 2 Tbsp almond butter
  • 4 Tbsp coconut oil
  • 4 Tbsp coconut milk
  • 1 tsp vanilla extract

Chocolate Layer

  • 1/3 cup raw cacao powder
  • ½ cup coconut oil
  • ¼ cup maple syrup

Instructions:

  1. For the base, add all ingredients to a high-speed blender and blend until a sticky cookie dough forms.
  2. Press base into a lined (20 x 20cm) baking pan until firmly packed. Set aside.
  3. For the caramel add all ingredients to a high-speed blender and blend until creamy and smooth.
  4. Spread the caramel evenly onto the base and place in freezer to set.
  5. For the chocolate top, whisk together the ingredients until smooth.
  6. Once the caramel has set, spread the chocolate sauce evenly on top the caramel layer and smooth it with a silicone spatula.
  7. Place it back in the freezer for 2 hours or until set.
  8. Carefully remove from the pan, slice it up and store in an airtight container in the fridge and ready are your chocolate caramel slices.
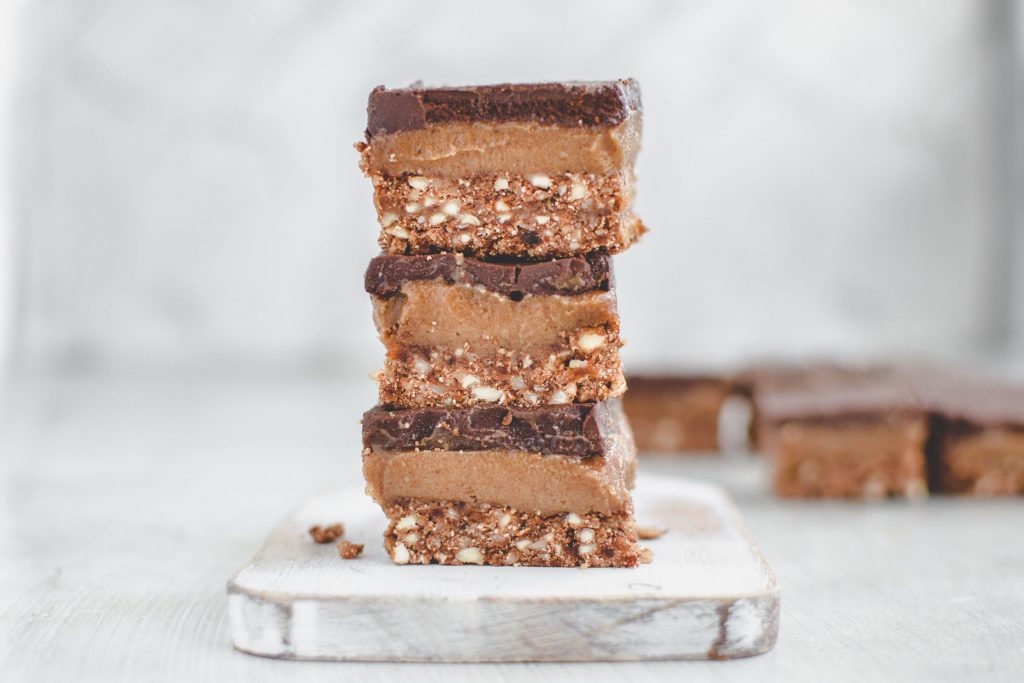
Chocolate Caramel Slices

I hope you enjoyed learning how to make these wonderful chocolate caramel slices by Zoe and will check her out on social media, she is a wonderful soul and a great friend! 

If you end up making the caramel slices  make sure to tag us on Instagram @carina_berry & @wilblend we would love to see your creations 🙂 
For more caramel yumminess you can look up my protein caramel cheesecake

xoxo, 

Carina & Zoe 

Save this to your favorite Pinterest board:
Chocolate Caramel Slices

Weiterlesen

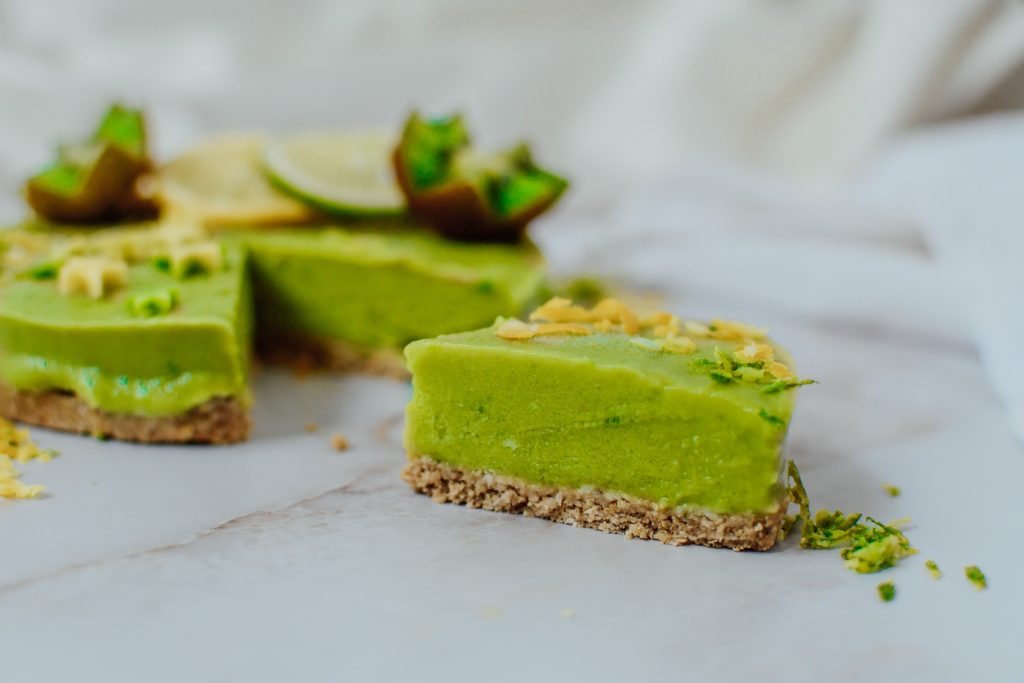
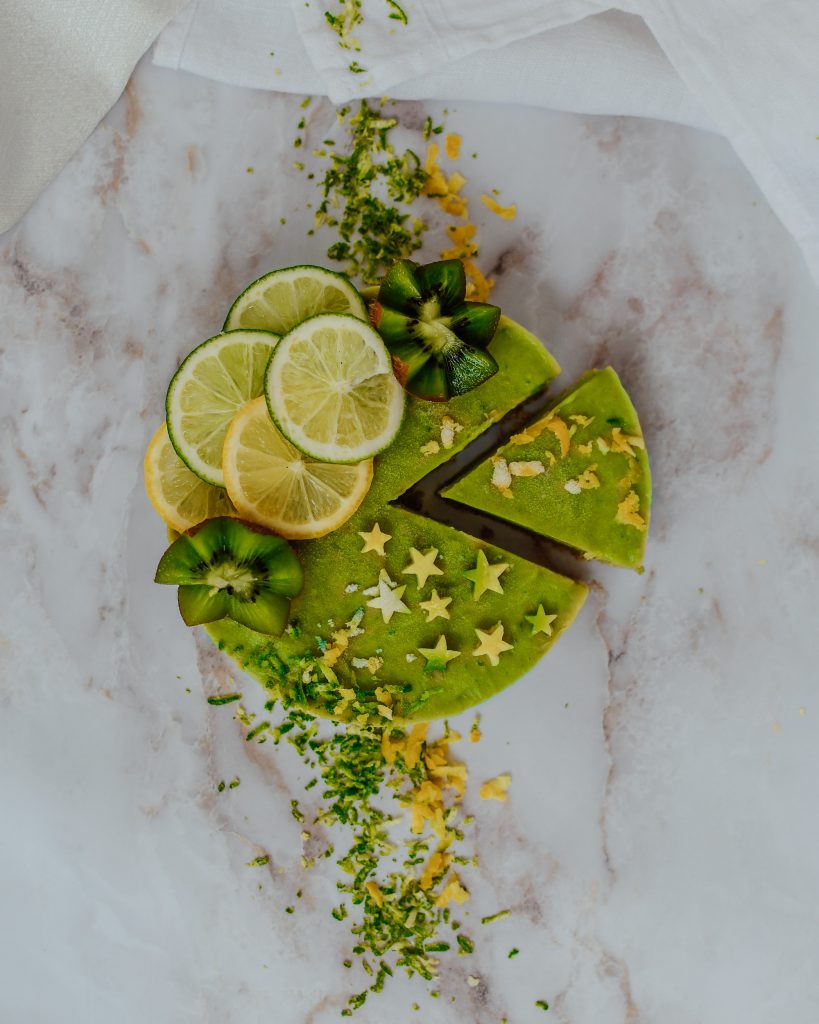
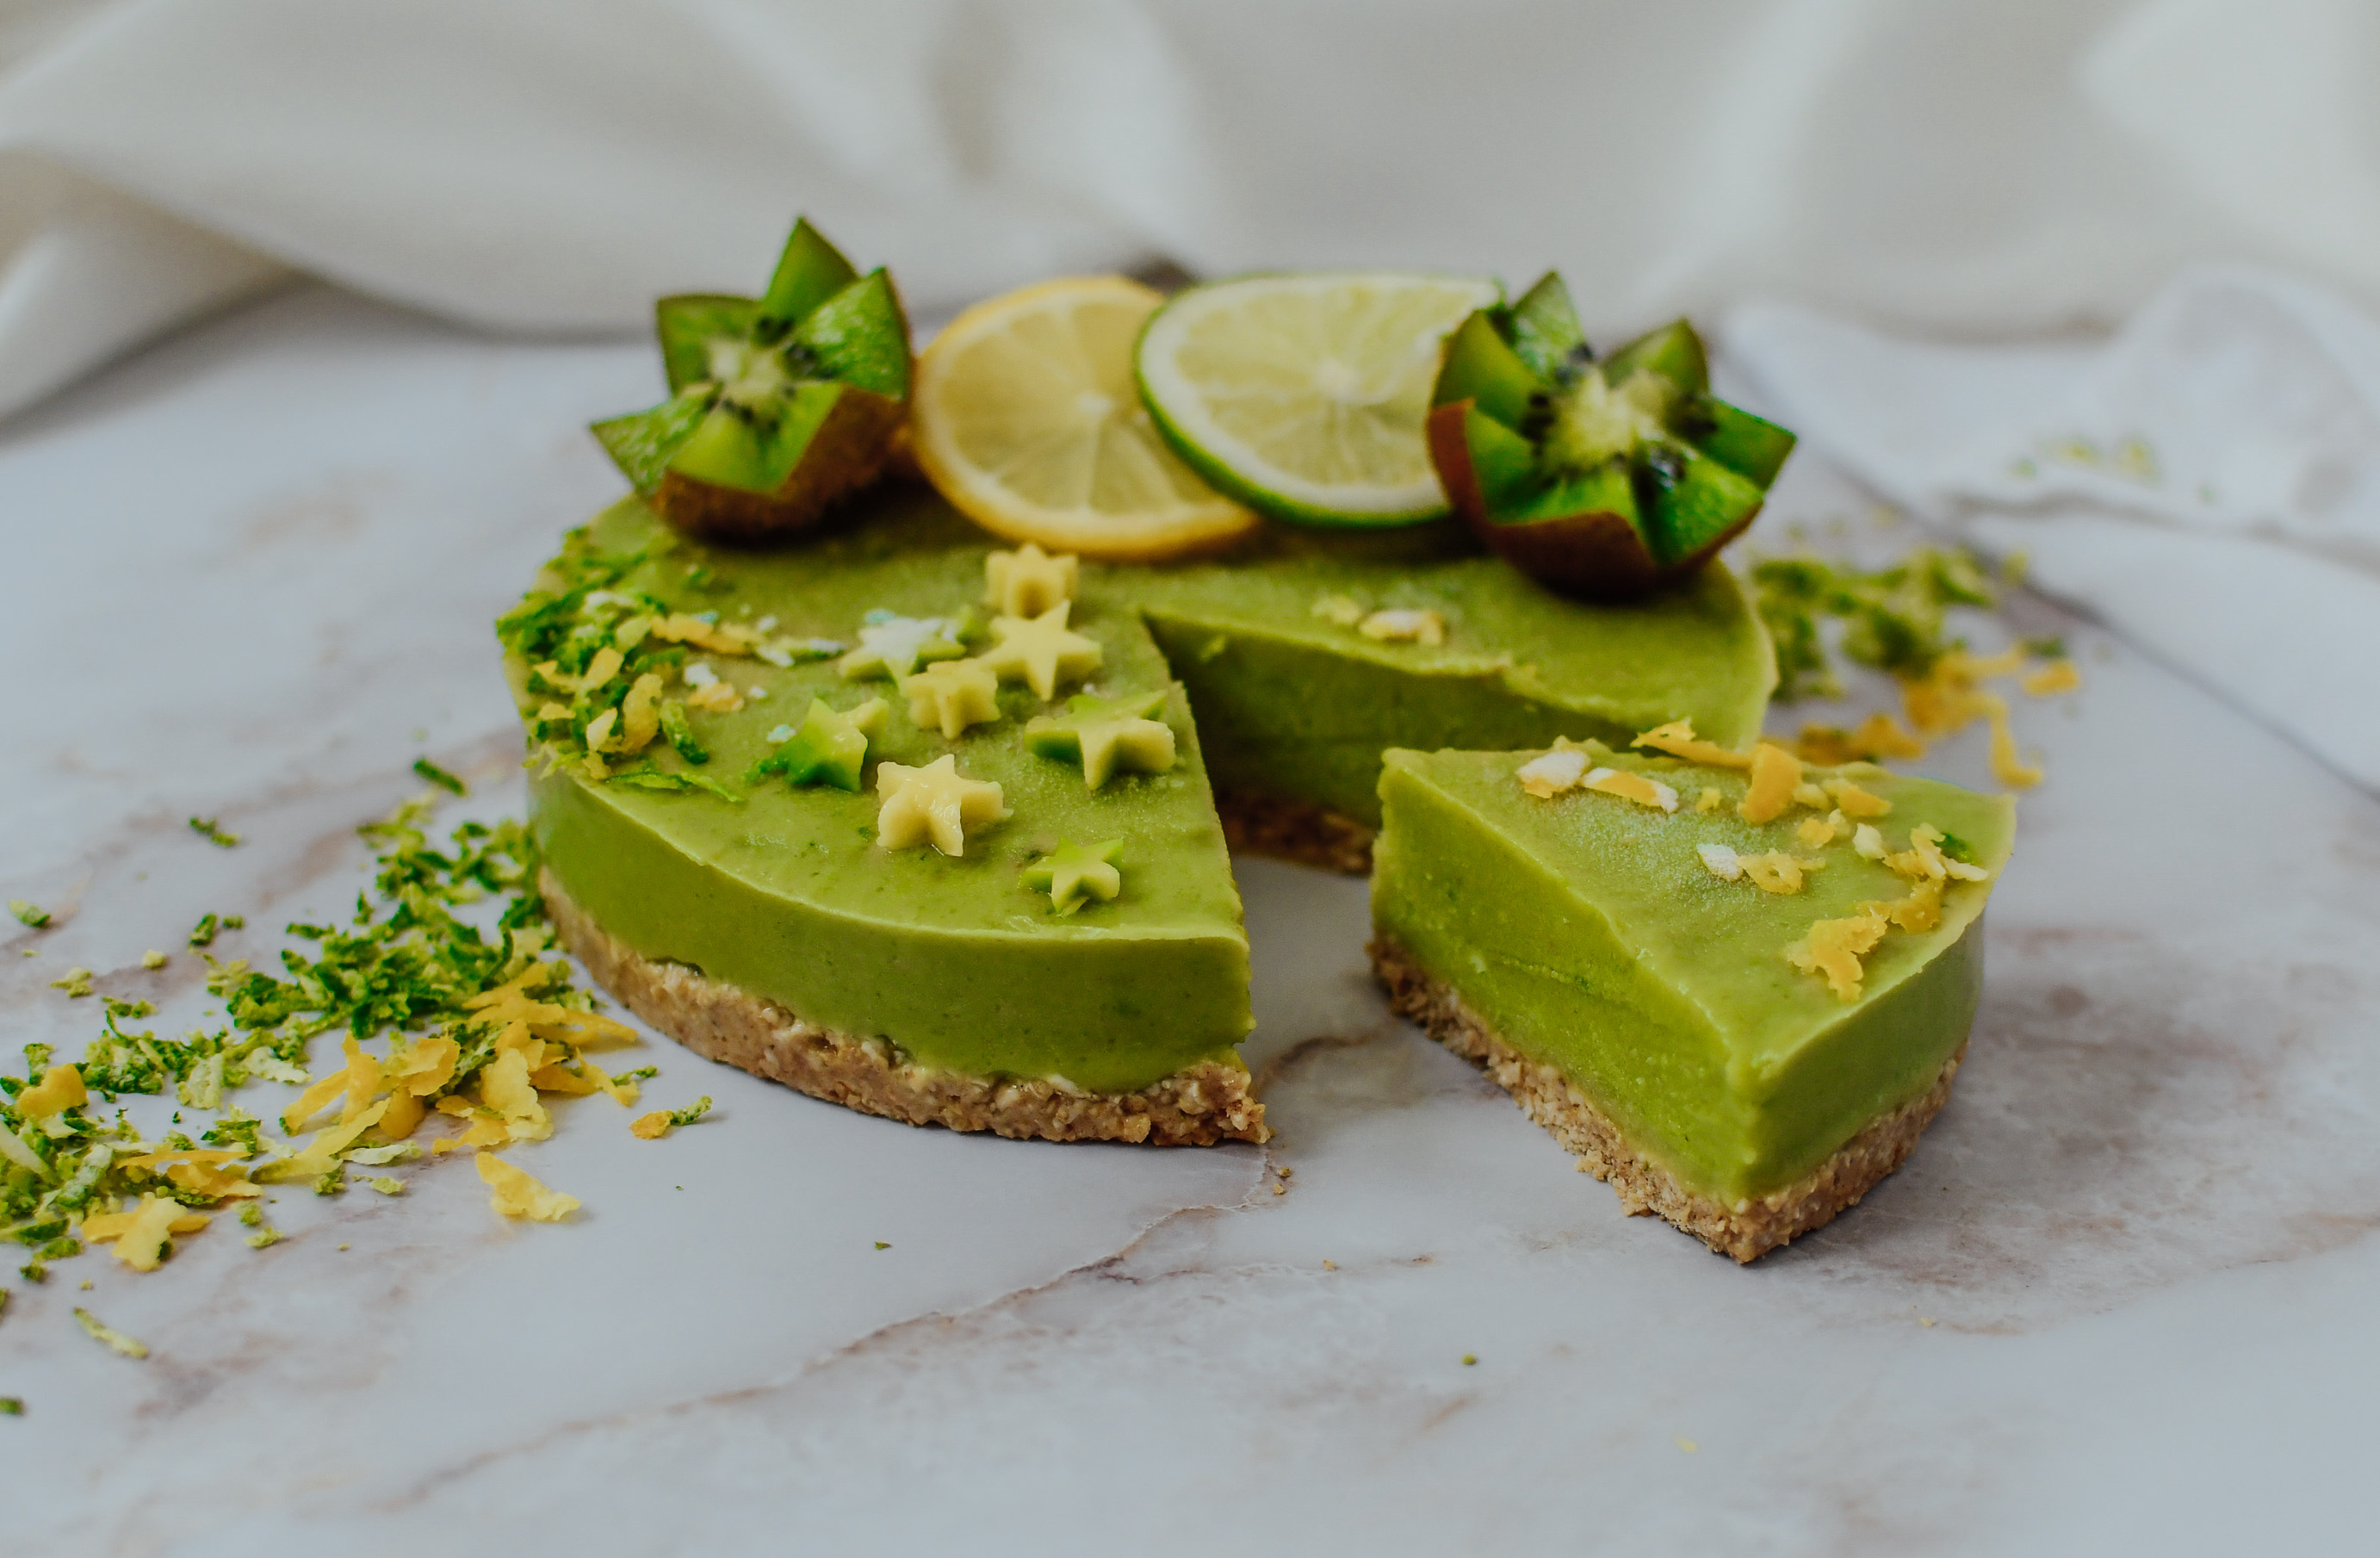
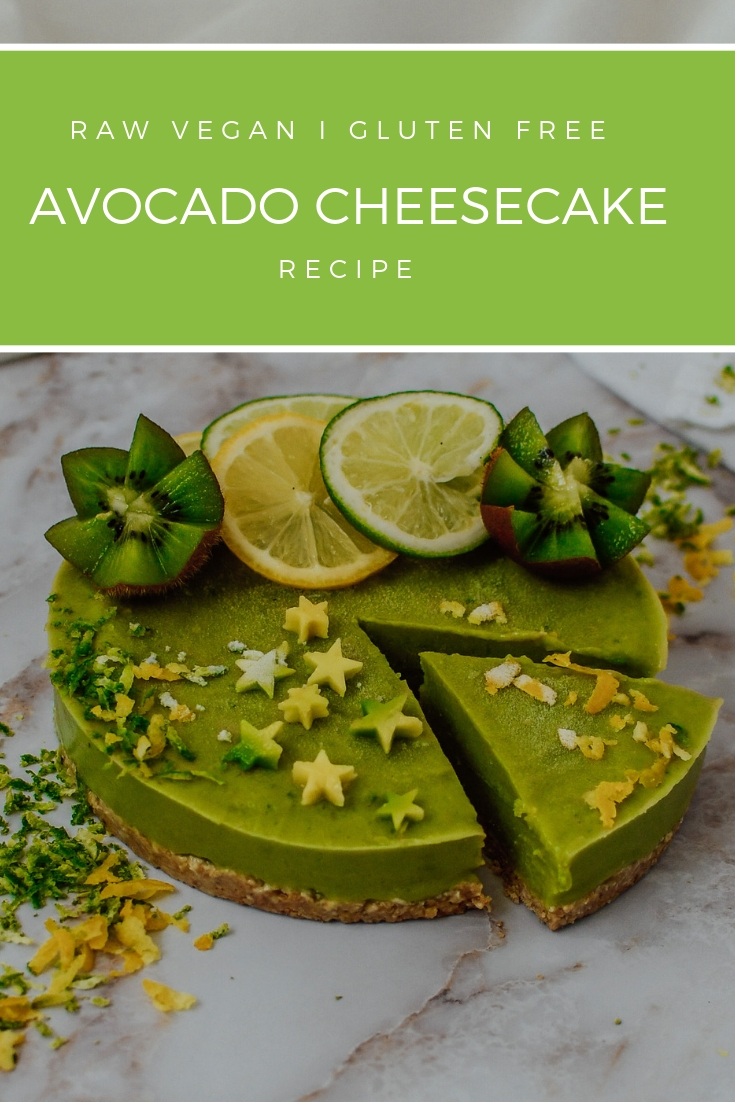
Avocado cheesecake – delicious raw and vegan recipe!

Raw Vegan Avocado Cheesecake

Avocado cheesecake for dessert? Definitely something new to try, right? 
I promise you will love the creamy and smooth texture of the avocado. Lime zest and just add that extra tang that makes this dessert so interesting. 

Recipe Inspiration

I just recently came up with this dessert traveling through central America since we eat so many delicious avocados here. The other day we went to a local farmers market and bought three avocados. As luck had it they became ripe all at the same time and I had to find a way to quickly use as much avocado as possible. That’s by the way also how my stuffed avocado recipe came along. Yes – we were eating a lot of avocado that day 😀 Well anyways, so I had a bunch of limes laying around and I needed to make something green for my Instagram feed. Put those factors together and you get avocado cheesecake! All of a sudden it just made so much sense since the buttery avocado and zesty lime just go together so well. 

Raw Vegan Avocado Cheesecake

Fitness Food

This recipe is free from all the bad stuff you can imagine. My avocado cheese cake is a raw, dairy-free, gluten-free, refined sugar-free dessert. Say what? Yes its possible and you will see! What  I also really love about this avocado cheesecake is that it it is loaded with healthy fats. Avocado has a lot of unsaturated fats which are so good for your body! Since this is a no bake avocado cheesecake recipe you will preserve all the healthy vitamins inside the cake. 

Furthermore this cake is super low carb actually. My boyfriend is currently on a very strict diet, as he is training for the Mr.World competition in January. So all the recipes I am currently making need to be 100% clean. If you might remember my Instastory from that day – he ate half of the cake at once! 

Raw Vegan Avocado Cheesecake

How to make it avocado cheesecake

Its is a really easy avocado cheesecake recipe as most of it comes together quickly in a blender or food processor. Its a no-bake cake so it also won’t take you a long time to make it. 
You will start by making the crust. Combine all ingredients and then press them onto the bottom of a silicon mold. After that you will be blending all the ingredients for the filling in a food processor and simply pour it over the crust. Next you will want to freeze your cake for 2 hours and its ready to be enjoyed. Yes, its as easy as that! 

Raw Vegan Avocado Cheesecake

Decoration Tips

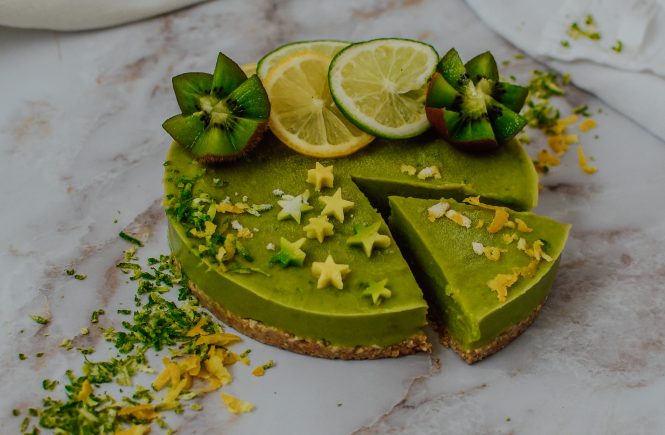
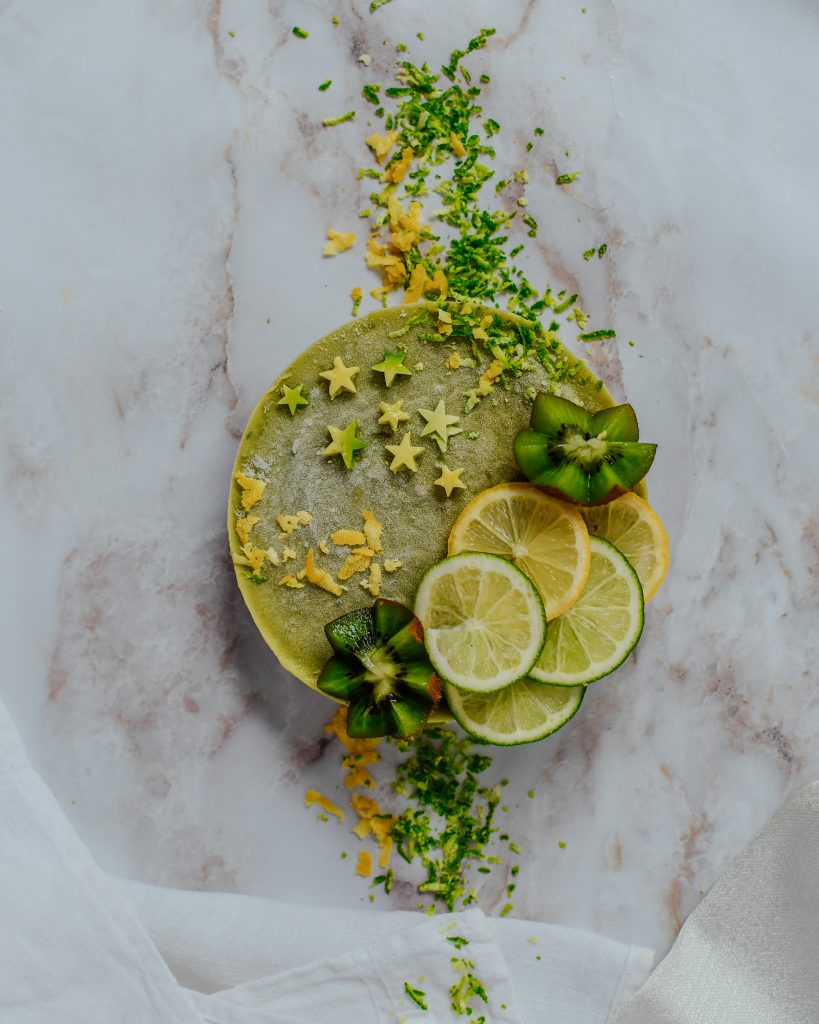
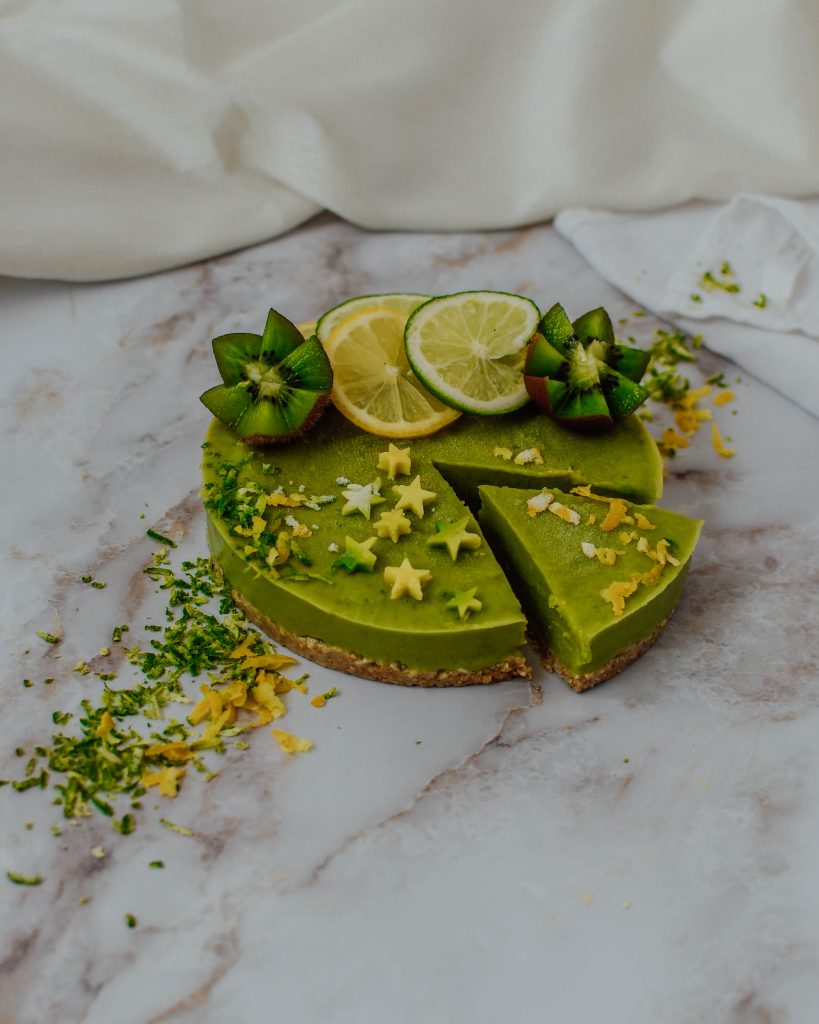
You might want to decorate your avocado cheesecake a bit. I sliced some limes and lemons and put them on the cake. It also looks super beautiful if you grate some lime zest and sprinkle that over your cake. Since kiwis also have a really nice green color I used them for decoration as well. If you have tiny little cookie cutters you can cut out stars or hearts from an avocado and place that on top of the cake as well. 

Raw Vegan Avocado Cheesecake

The recipe

Raw Vegan Avocado Cheesecake
Serves 3
A raw, dairy-free, gluten-free, refined sugar-free dessert.
Write a review
Print
Total Time
20 min
Total Time
20 min
Ingredients
  1. 2 large avocado (ripe)
  2. 1 tsp lime zest
  3. Juice of 2 limes
  4. 30g of Xylit or Erythrit or a couple Flavdrops
  5. 2 tbsp full fat coconut cream
Crust
  1. 100g fine oats
  2. 3 tbsp peanut butter
  3. 1 tbsp honey
  4. 1 tsp cinnamon
  5. 50 ml water
Instructions
  1. For the crust, mix all ingredients into a crumbly mixture.
  2. Press on the bottom of a small silicon mold.
  3. In a blender, finely puree all the ingredients for the filling.
  4. Fill the mass in the silicone mold and place in the freezer for 2 hours.
  5. Remove the frozen cake from the mold and decorate with lime slices, zest and kiwis.
Notes
  1. I made this recipe with a SMALL silicon mold. If you only have a big one I recommend you double to ingredients. You can also make the same recipe in little muffin molds.
carinaberry.com https://carinaberry.com/

Looking for more inspirations? 

If you are looking for more vegan cakes I can really recommend my raw vegan cashew cheesecake. It is one of my all time favorite recipes!  Another interesting dessert idea are my vegan pineapple cups. Maybe also worth a try. 
Also you can head over to my YouTube for more recipe videos or my food blogging online course for more foodie tips and tricks. 

Free Fitness Cookbook

Today I would also love to share my Clean & Lean E-book with you! It’s my own E-book which I published last year filled with delicious, healthy recipes. Sign up for my fit food tribe and receive it for free! 


Did you make this recipe? 

Did you make this recipe?

Tag  @carina_berry and use the Hashtag #carinaberry to get the possibility for a shoutout on my Instagram! 

Finally, I always love to see your wonderful creations and it makes me so happy to see you guys actually making my recipes. 

xoxo,

Pin this raw avocado cheesecake recipe:
Raw vegan avocado cheesecake


Weiterlesen

Stuffed Avocado – Israeli Style

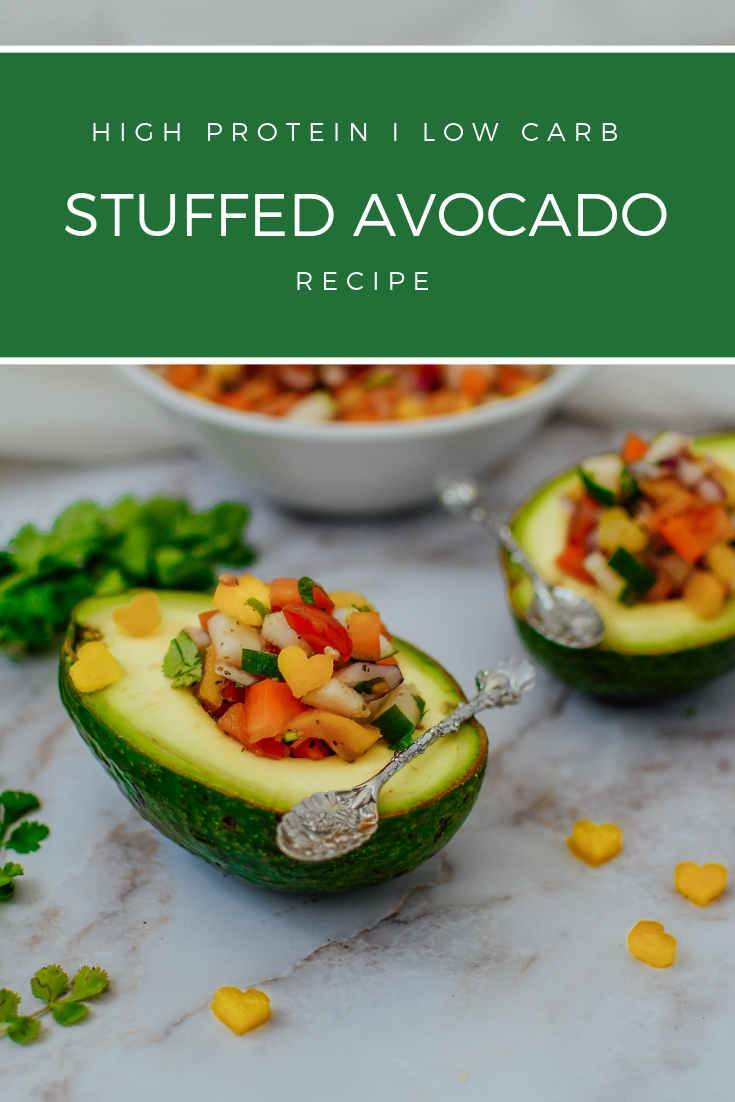
Stuffed Avocado Salad Israeli Style

Today I wanted to show you a healthy stuffed avocado recipe. Something savory for a change! 
Avocado is simply such a wonderful invention. There are so many different things to make with it. 

To start off this is actually a vegetarian stuffed avocado version. Now that I think of it, it is actually completely vegan! As I am writing this it is actually World Vegan Day. So what a perfect coincidence for such a healthy recipe. 

Stuffed Avocado Salad Israeli Style

My inspiration for this recipe

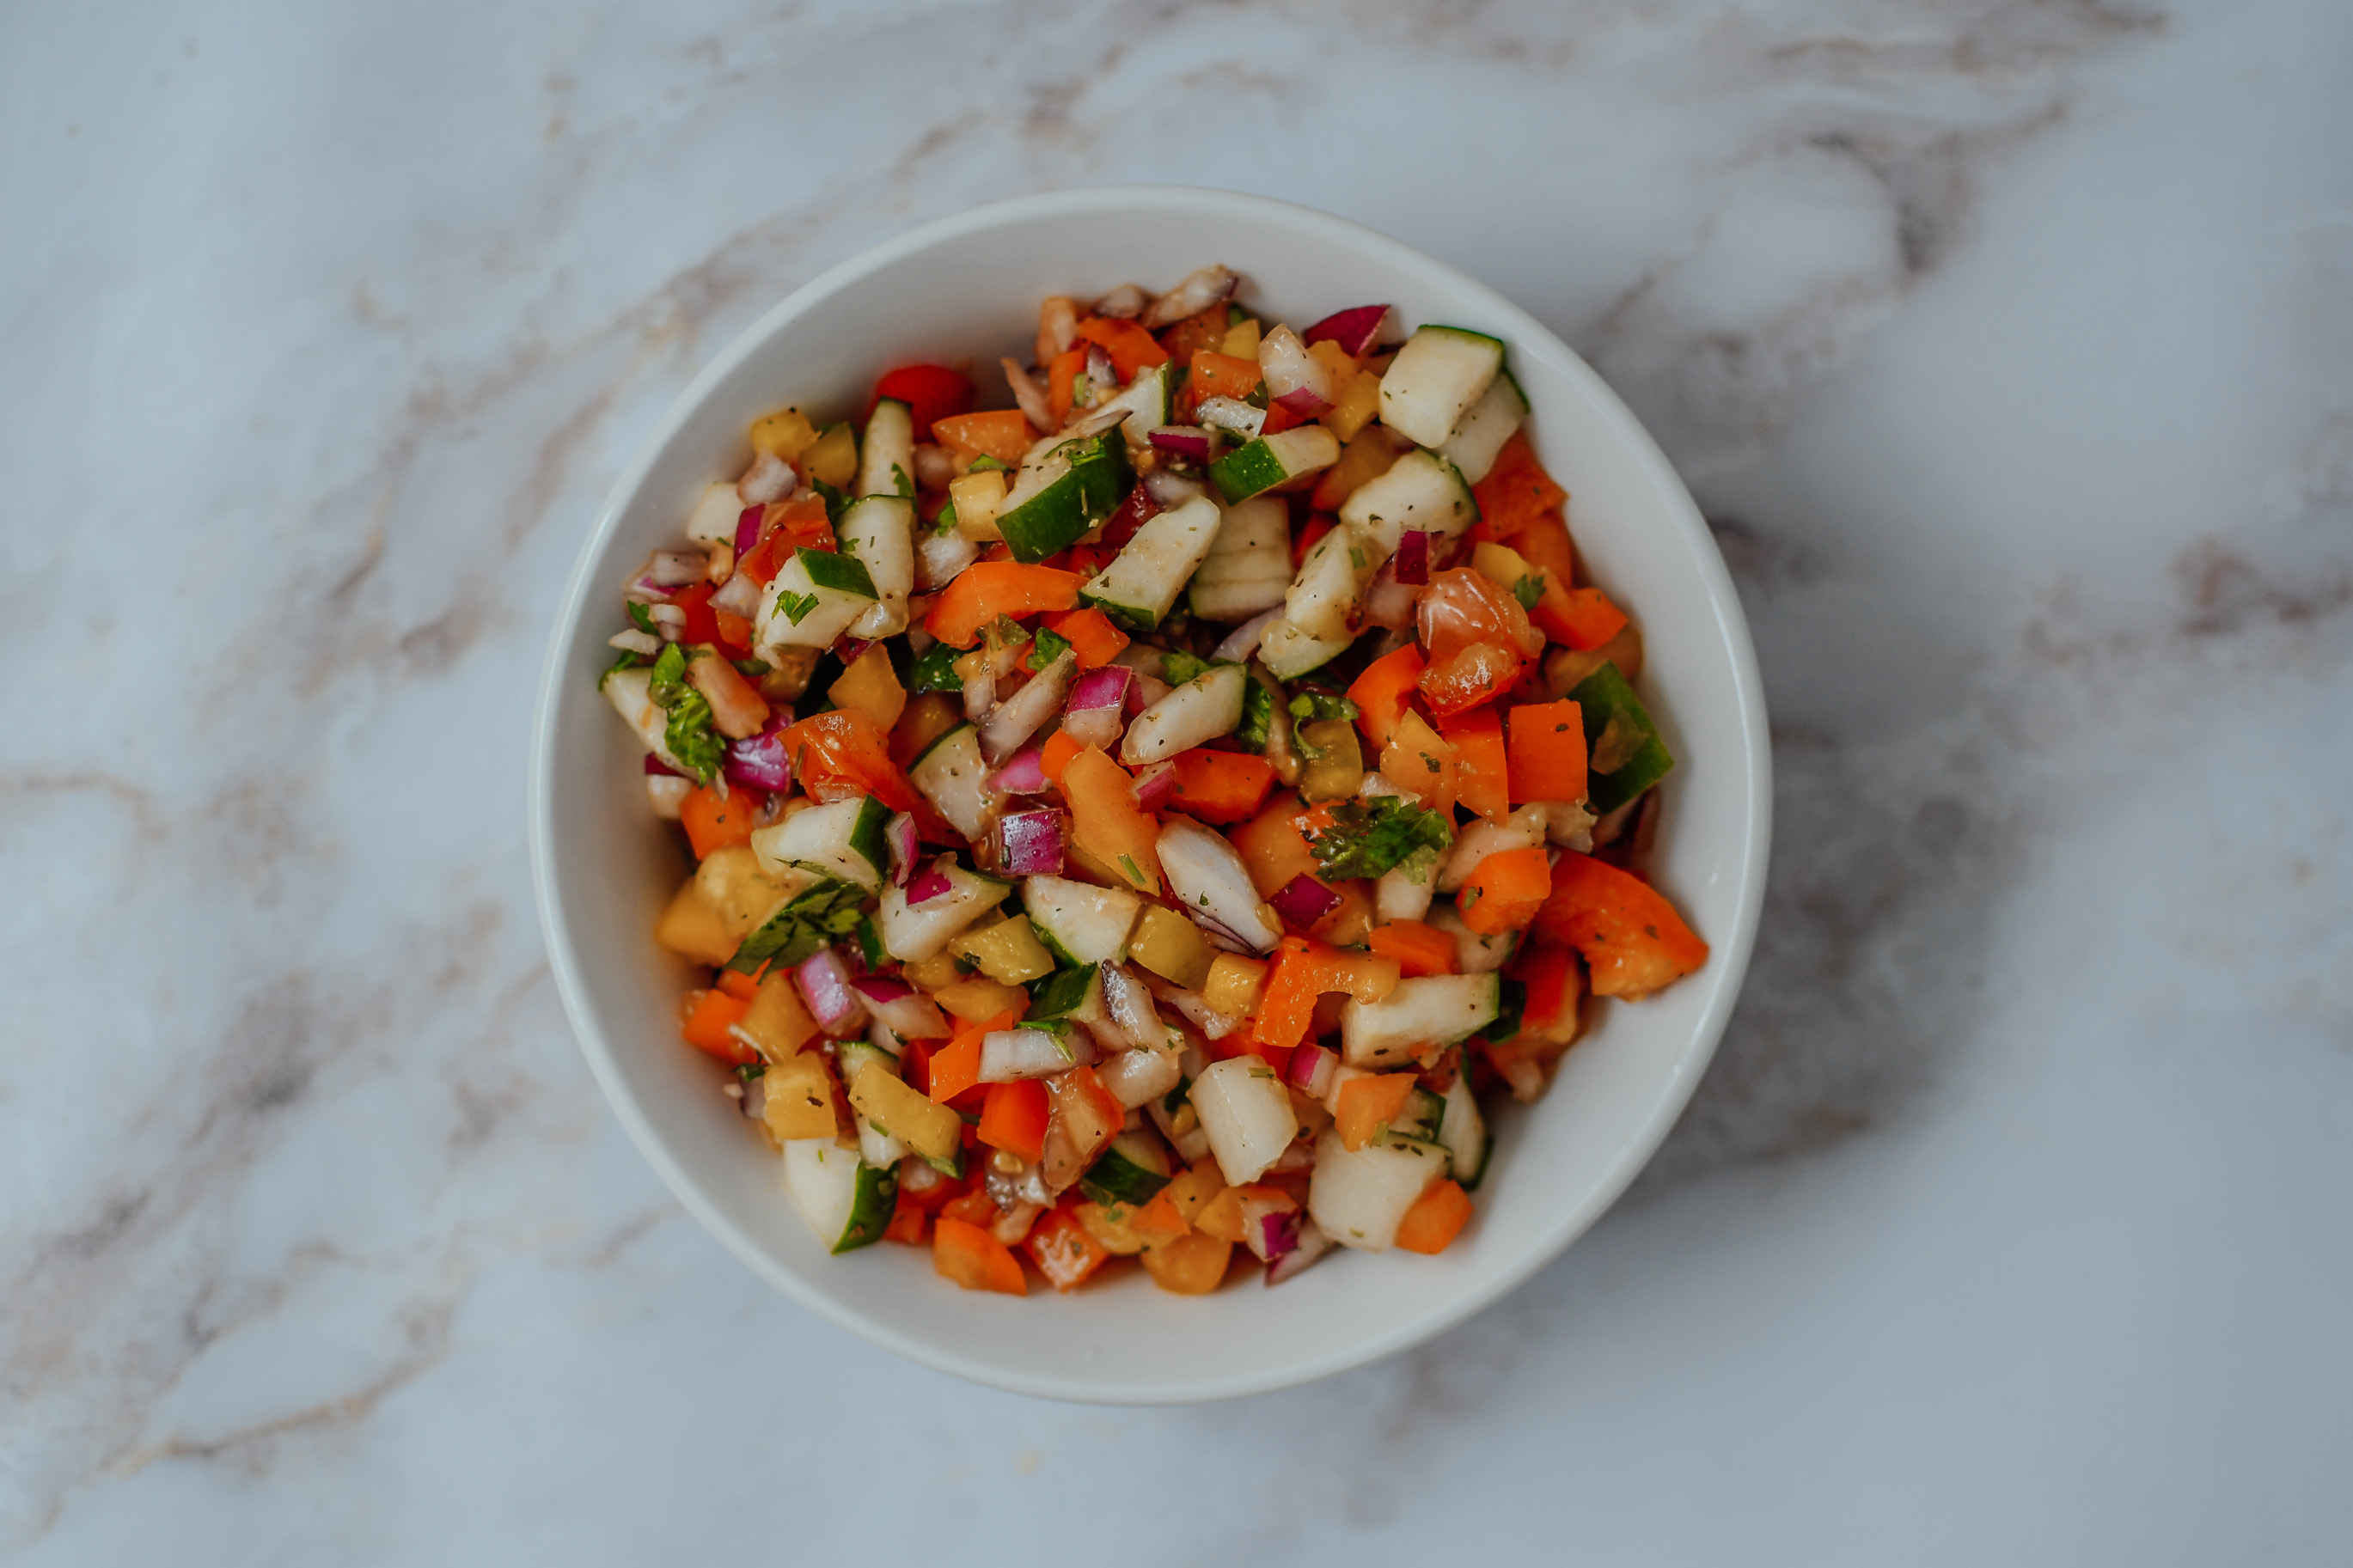
I got inspired for this recipe on my trip to Tel Aviv, Israel last year. We ate a lot of the famous typical salad there! Israeli salad is a chopped salad of finely diced tomato, onion, cucumber, and bell or chili peppers. It has been described as the „most well-known national dish of Israel“, and is a standard accompaniment to most Israeli meals. What I really love about this salad is the unique Cilantro taste. You will learn how to make it in a bit. It is super easy and inexpensive to make. 
Since I am here in Panama now and there are avocados around every corner I wanted to try this recipe with a slightly new twist. I know there are a lot of bakes stuffed avocado recipes, but I have tried baking them and honestly I am just not the biggest fan of it. So I came up with this salad dish thats perfect for a side of your lunch or dinner. 

Israeli Salad 

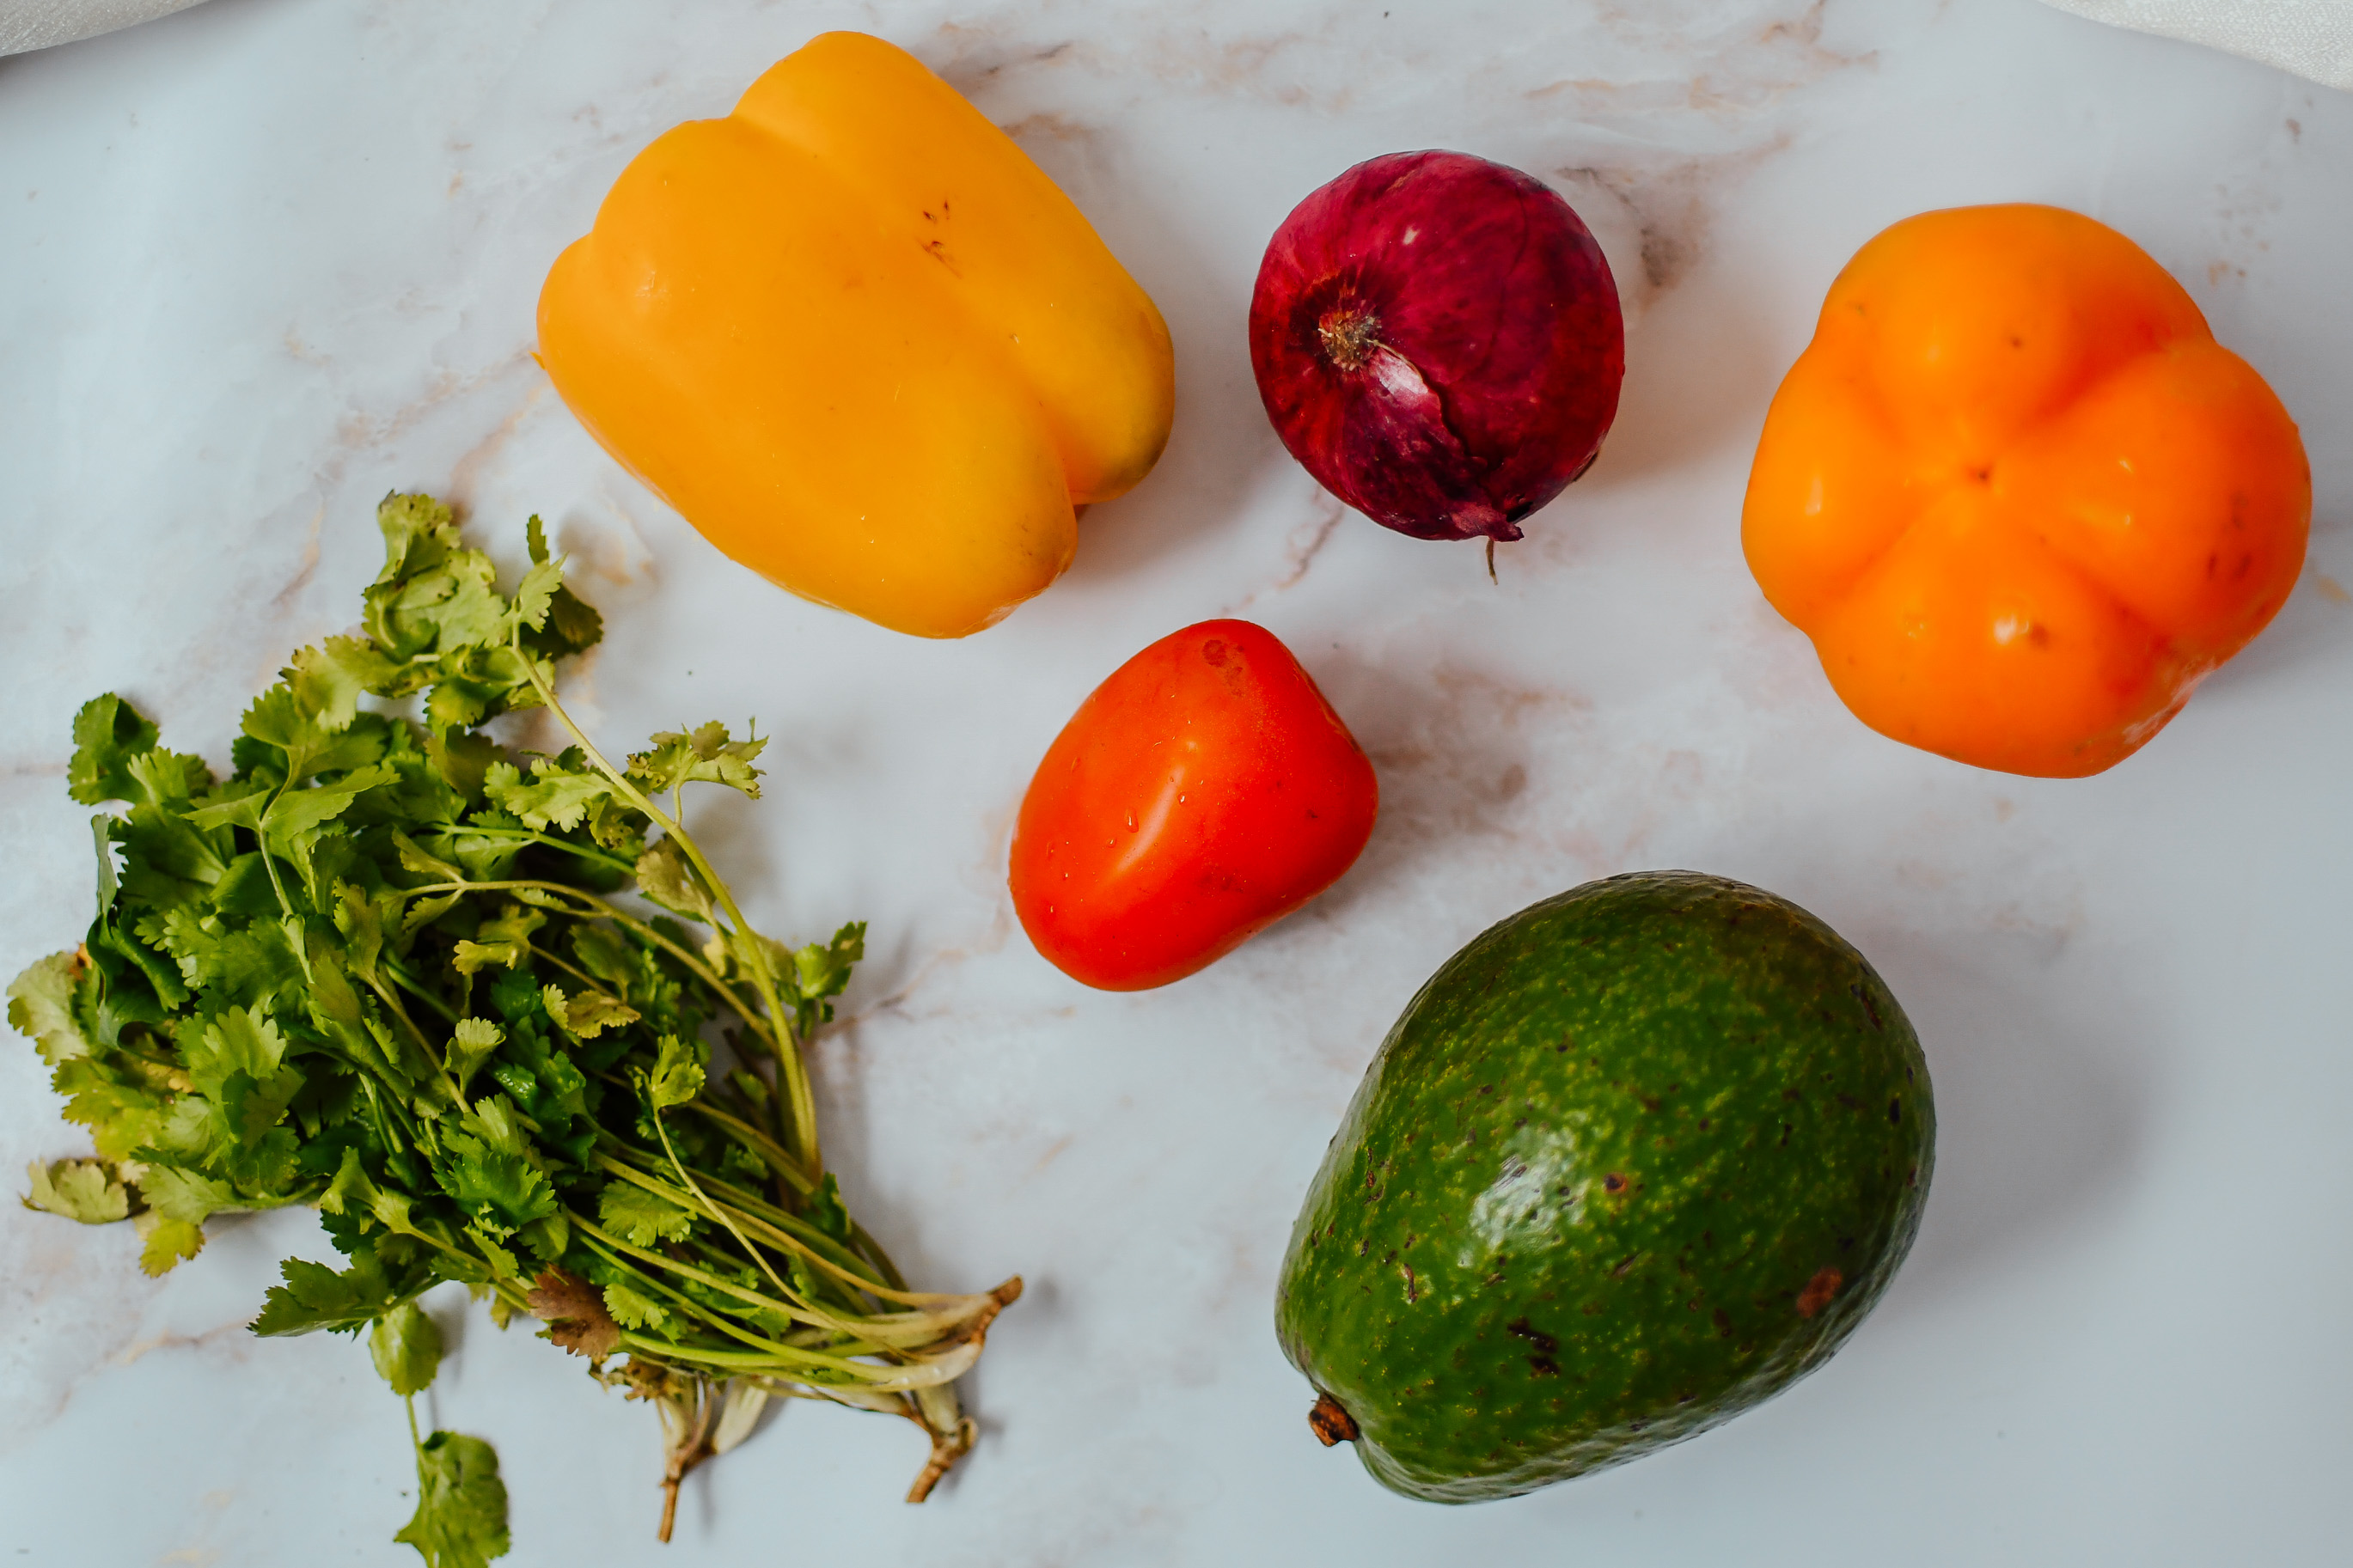
First we start by making the salad. You really just need a couple of very basic veggies. The only exotic ingredient you need – and that is a must for this recipe – is the Cilantro. Because of this it gives the salad this very specific aroma! 

Stuffed Avocado Salad Israeli Style

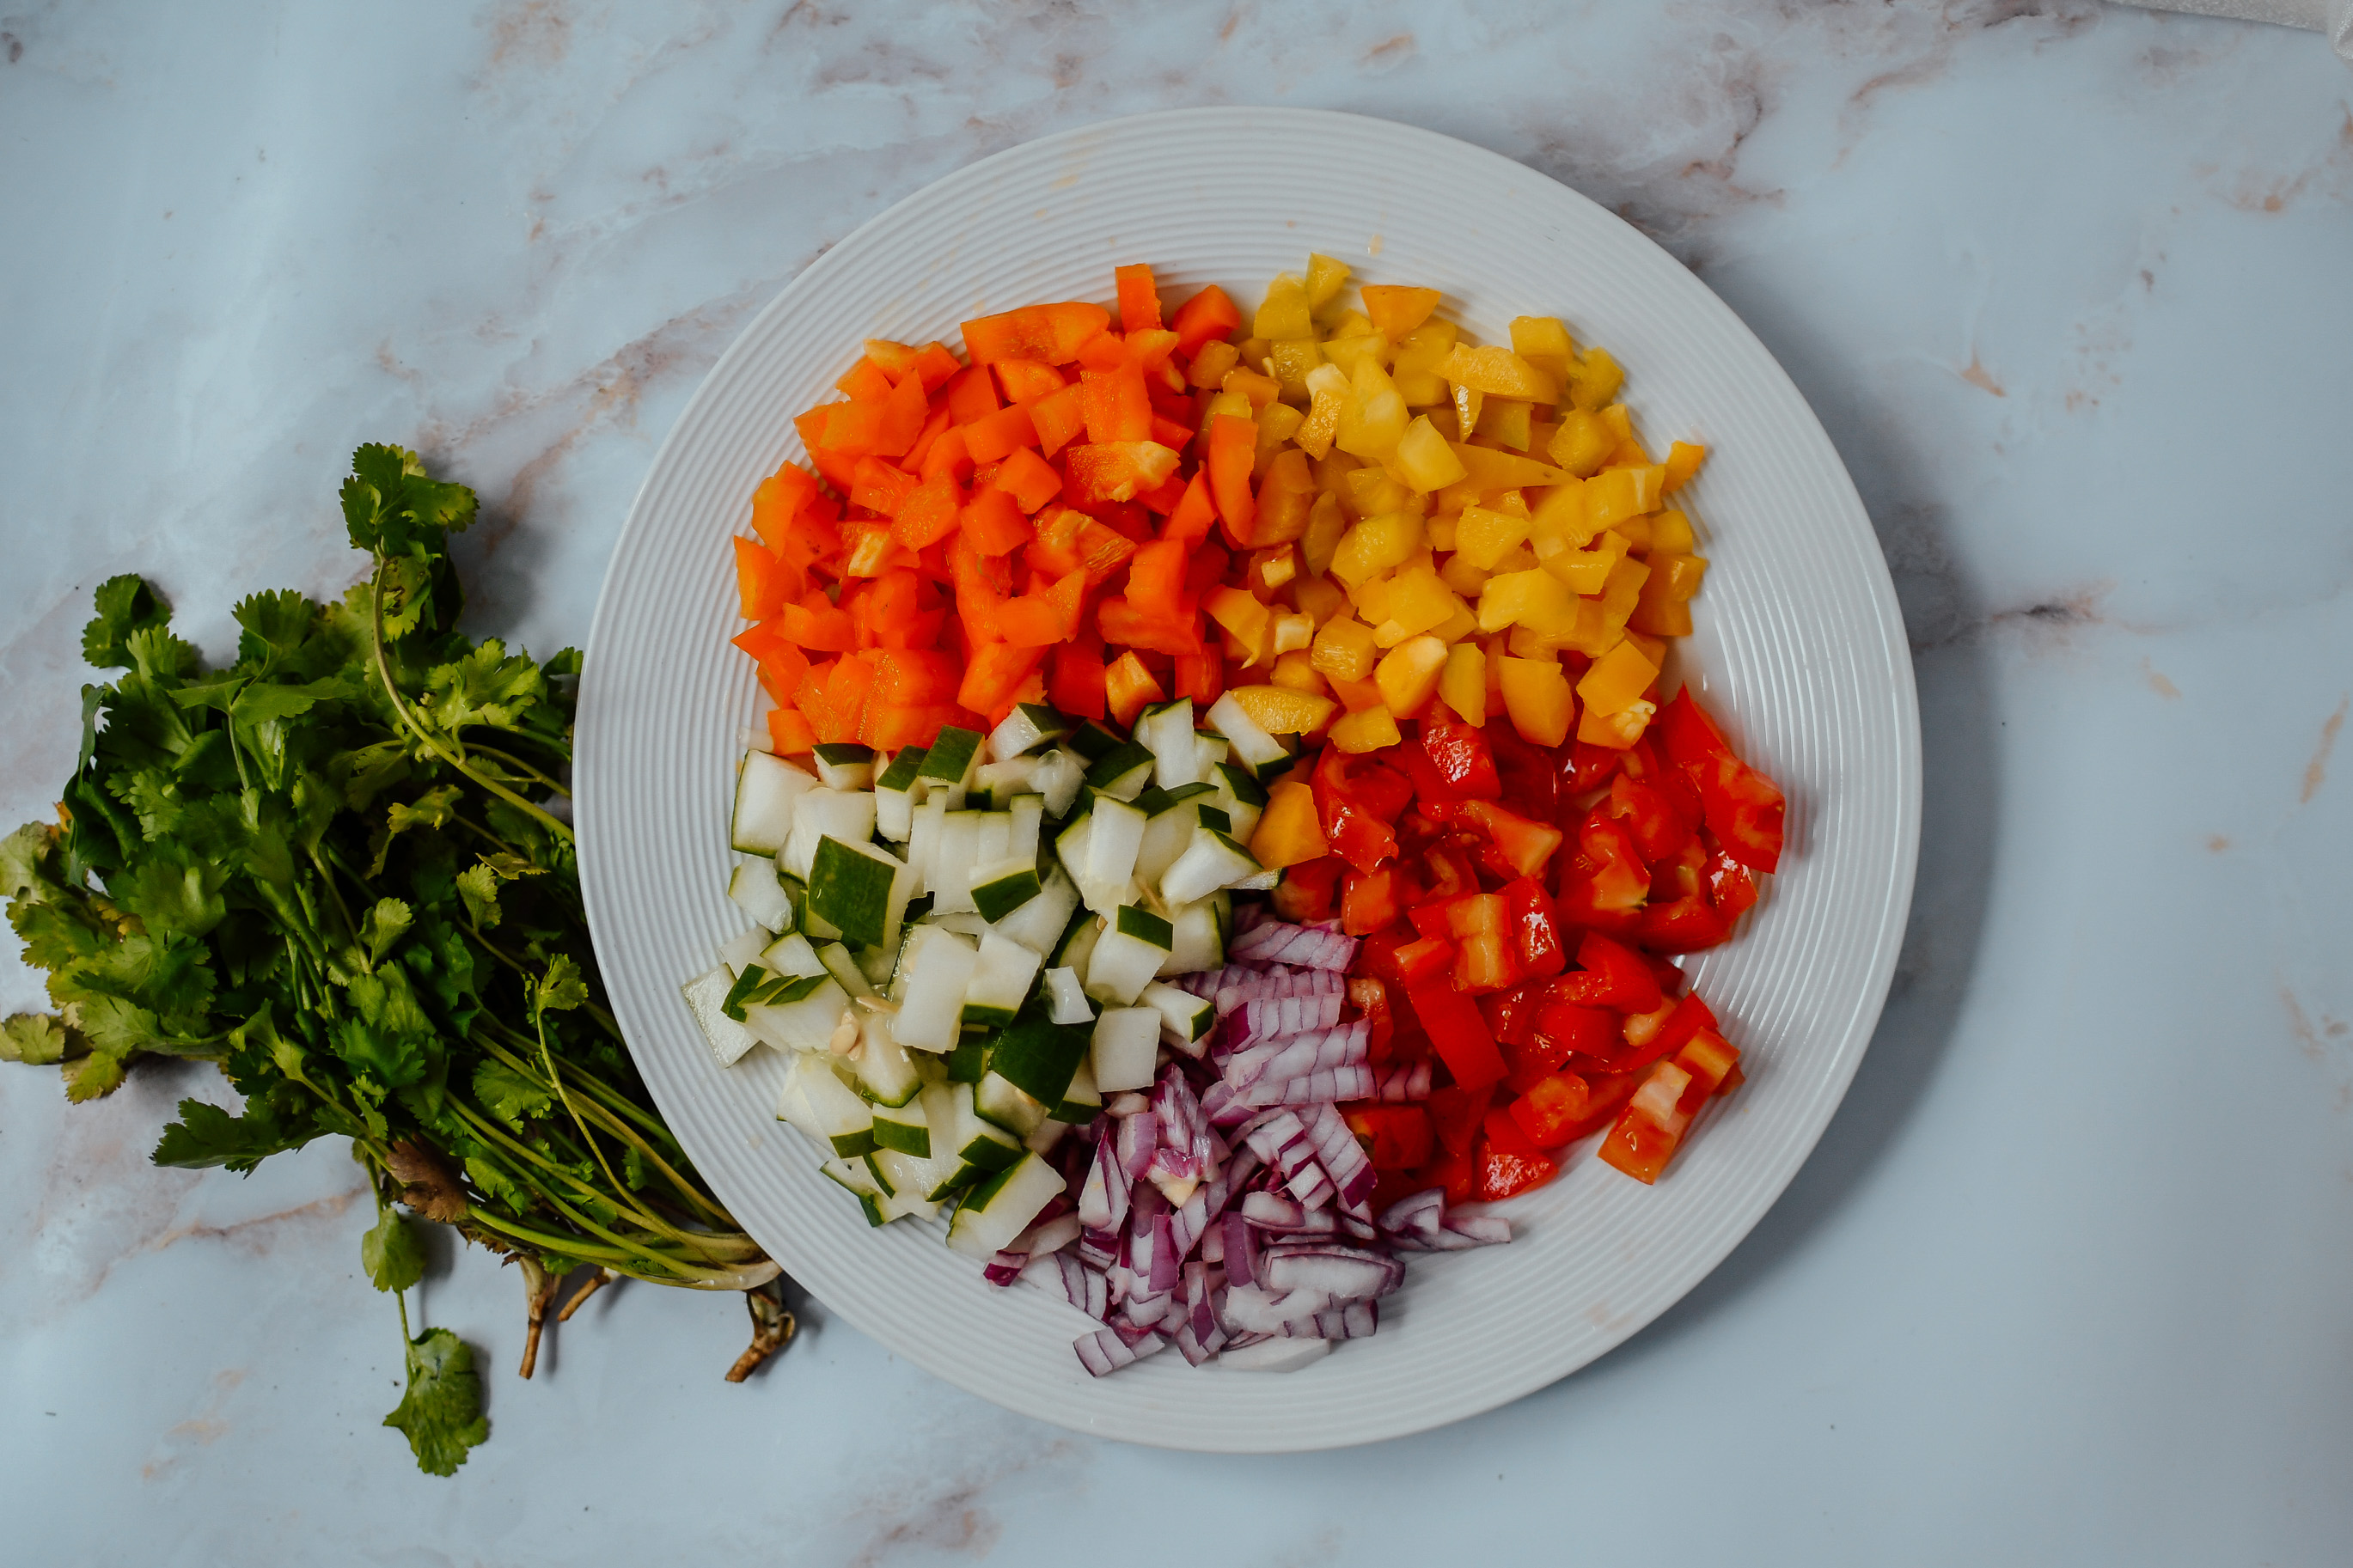
Next you take your veggies and chop them up super thin. Little cubes work best for the tomatoes and peppers. I used an orange and a yellow pepper because like this I got so many different colors for the salad. To be honest I am not sure why, but I somehow forgot to put the cucumber on the picture. Therefore, you will also need a cucumber! 

Stuffed Avocado Salad Israeli Style

Once you chopped up everything and have a nice rainbow of colors you can throw them all together into a big bowl and mix them up. After that it is time to season your salad. This is super simple, since the Cilantro will give it most of its taste. Finely chop up the Cilantro and mix under the veggies. Next take the juice of a lime and mix again well. Add salt and pepper and ready is your Israeli salad. 

Stuffed Avocado Salad Israeli Style

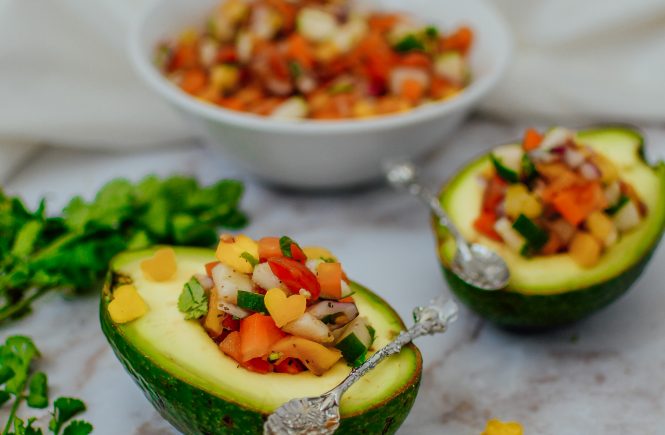
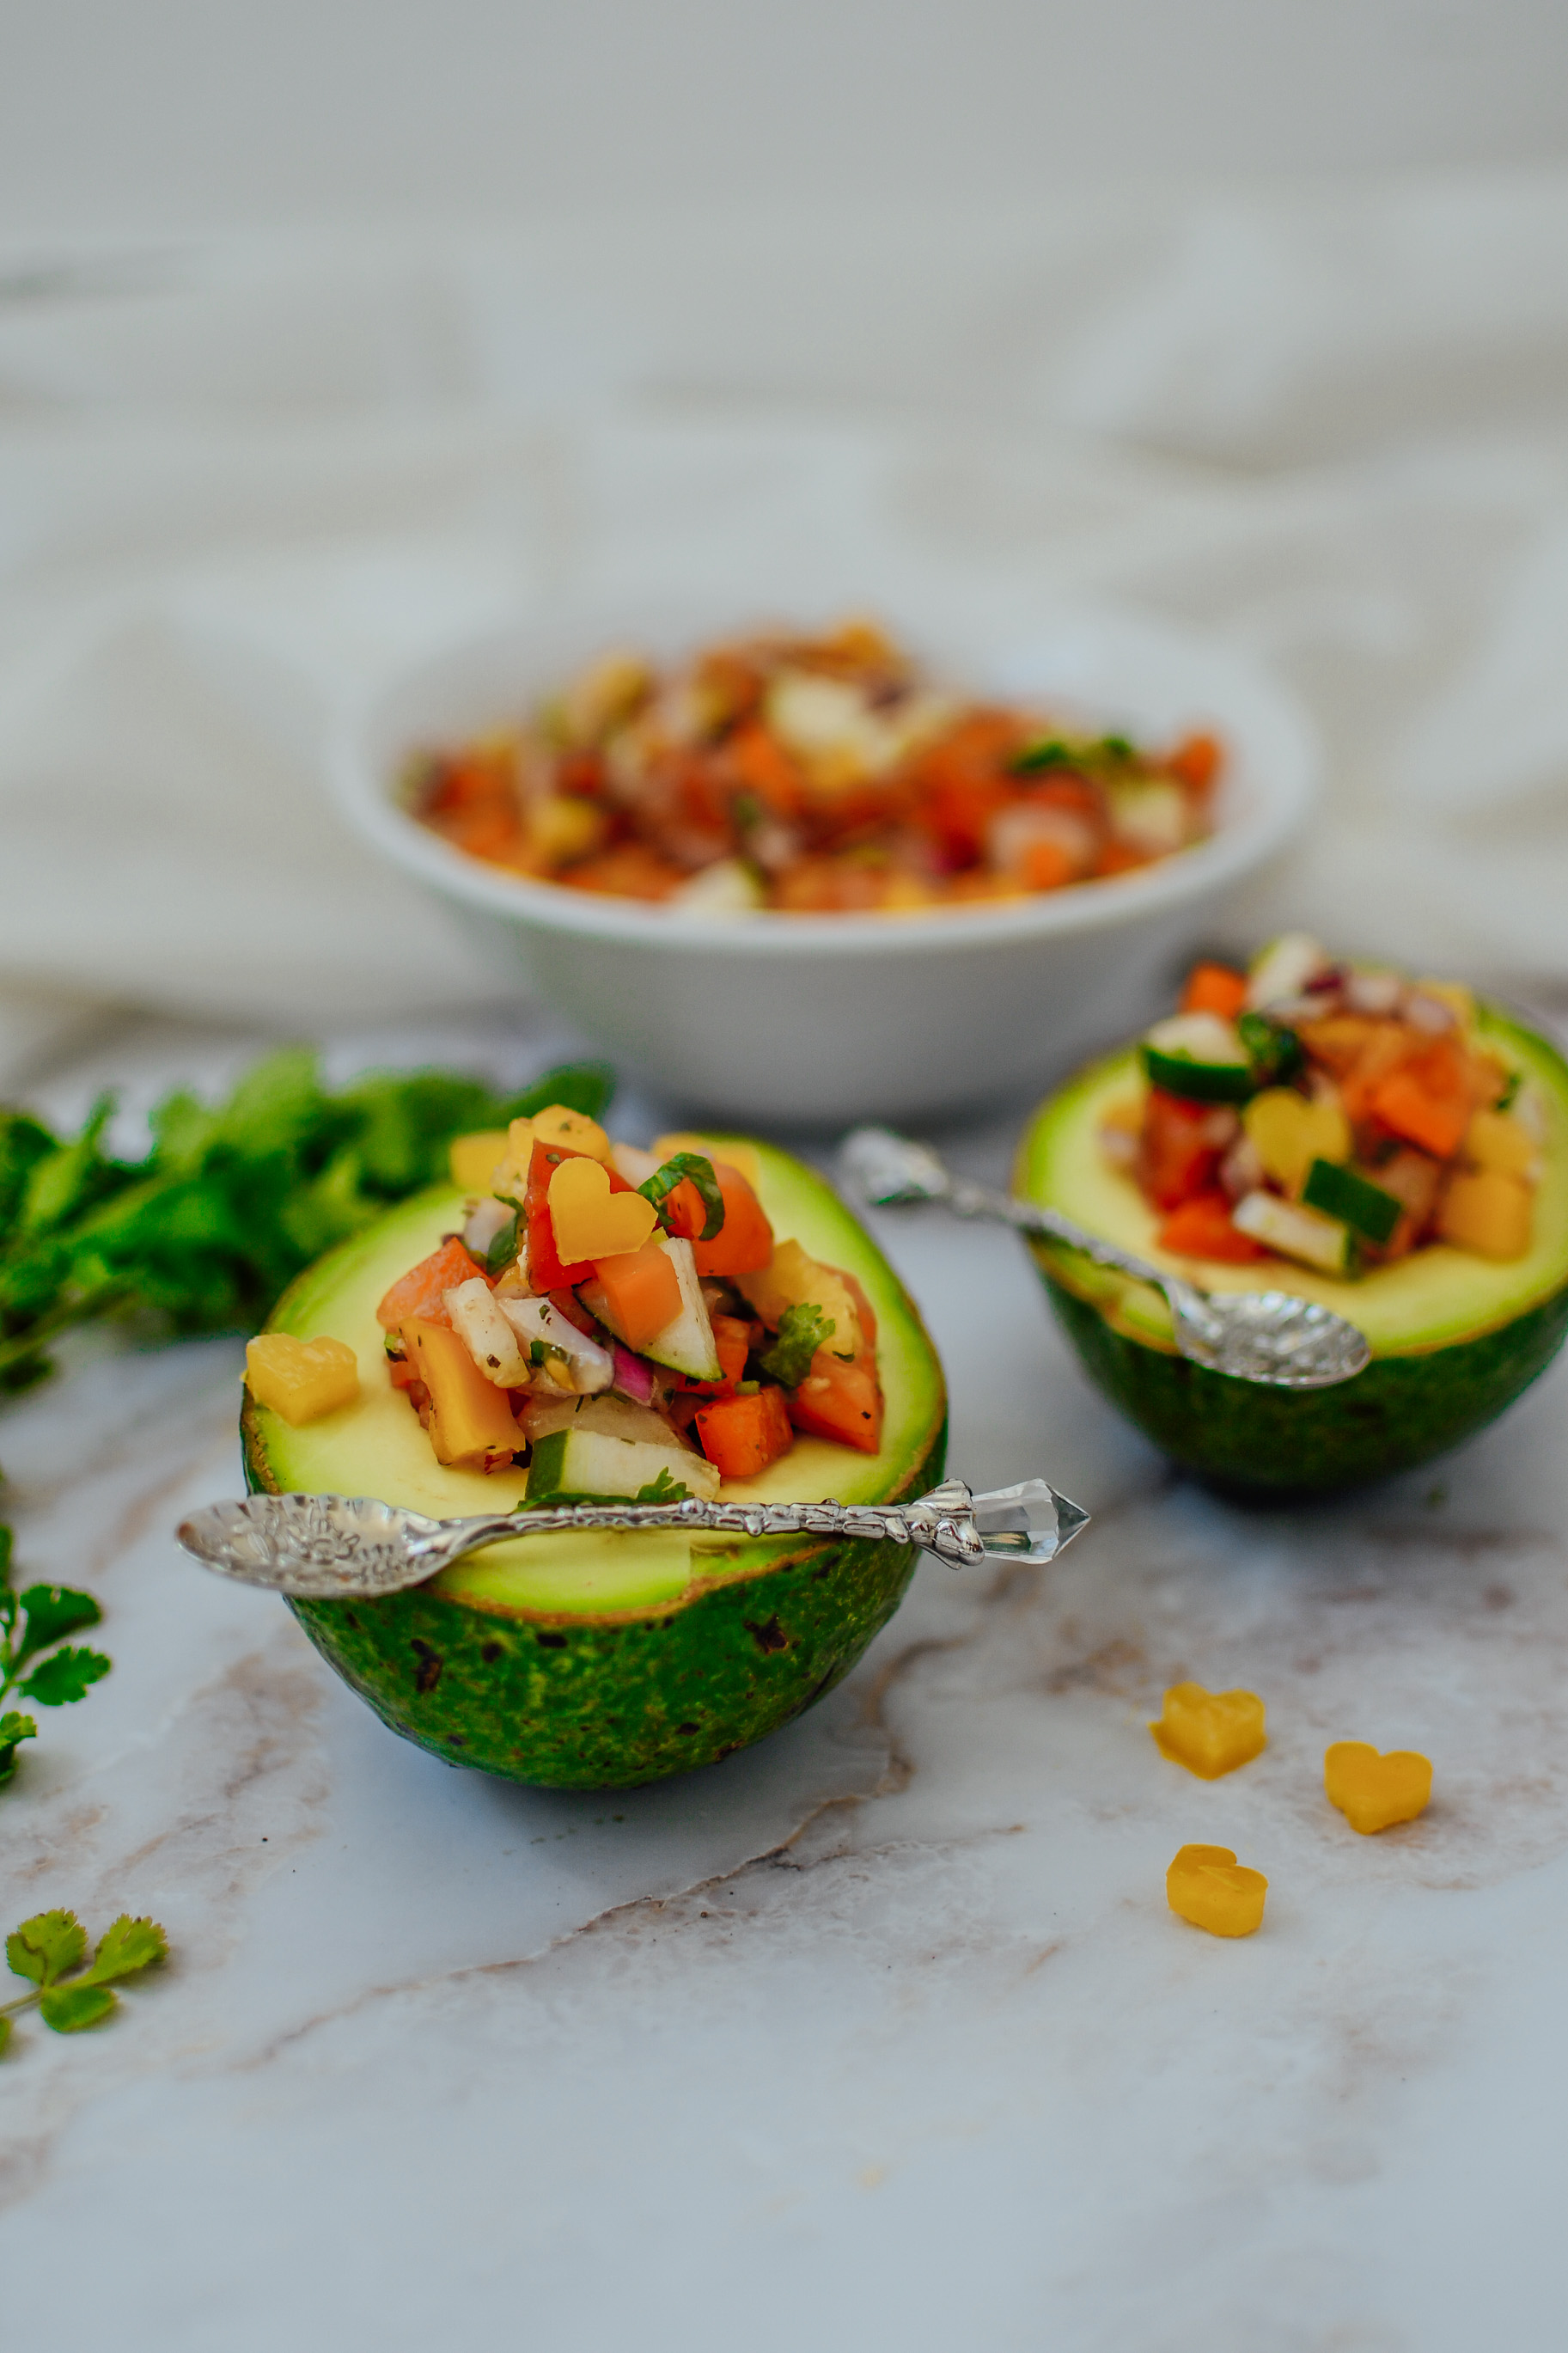
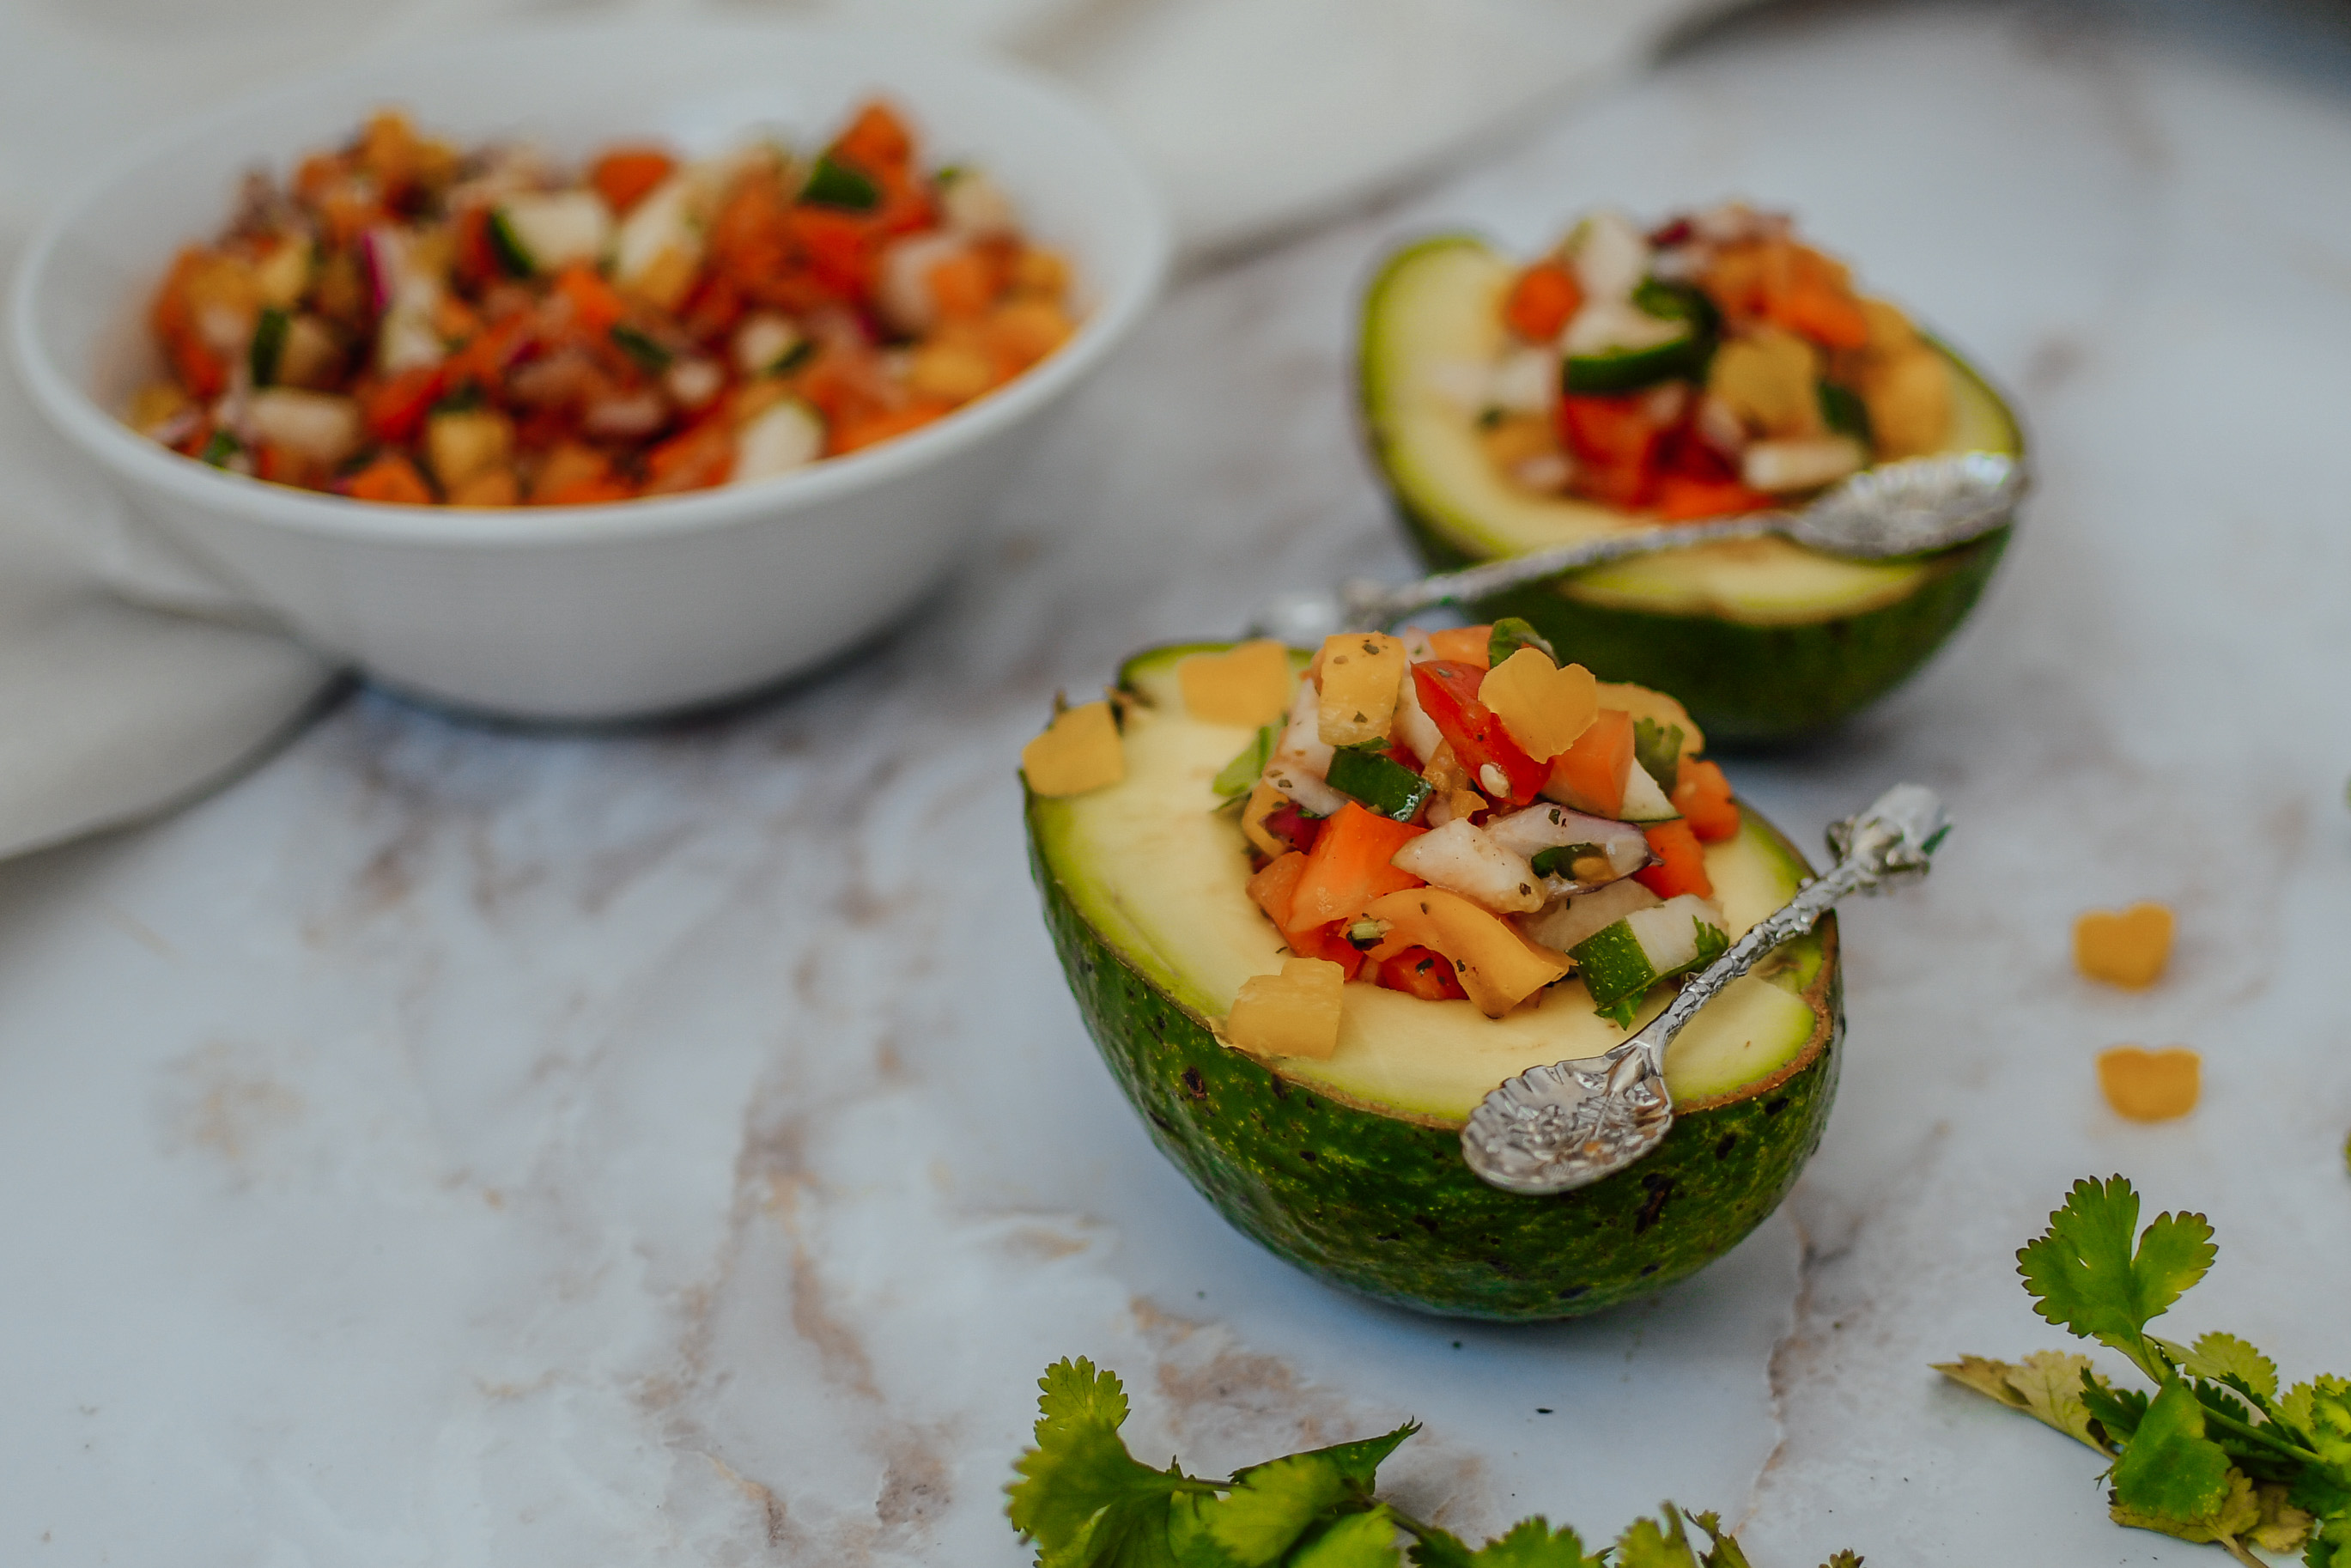
The rest is pretty simple. Take your avocado and carefully cut it in half. Take out the big seed. With a spoon take out a bit more of its flesh to fit more of the salad in there. Now fill it up with your Israeli salad and its all ready to be served. As simple as that 🙂 
Now I know you will be left with a lot more salad than you can fit into the avocado. They avocado really just serves as the eye catcher. You can always fill it up again with the remaining salad or just keep snacking out of the bowl! 

Stuffed Avocado Salad Israeli Style

Fitness Food

Most importantly the recipe is really healthy. It is filled with so many important vitamins for you and on top of that totally low carb. This is even a keto stuffed avocado recipe! If you eat this with some chicken breast it is the perfect fitness meal. Just be careful with the avocado as it obviously does have a lot of fat. Healthy fat though 🙂 

I really hope you enjoyed this savory recipe. If you are looking for another great low carb recipe I can really recommend my zucchini pasta. In case you are in the mood for something sweet why not check out my carrot cake bars. Also you can hit up my YouTube for more recipe videos. 

Stuffed Avocado Salad Recipe


Stuffed Avocado Salad Israeli Style

Stuffed Avocado Salad - Israeli Style
Yields 2
A low carb salad.
Write a review
Print
Prep Time
15 min
Prep Time
15 min
Ingredients
  1. 1/2 red pepper
  2. 1/2 orange pepper
  3. 1/2 cucumber
  4. 1 onion
  5. 1 big tomato
  6. 1 lime
  7. 1 avocado
  8. Salt & pepper
  9. Cilantro
Instructions
  1. Chop up all the veggies into little cubes.
  2. Mix together in a bowl.
  3. Squeeze the juice of one lime and add to the salad.
  4. Chop the Cilantro and add to the salad.
  5. Season with salt and pepper, mix well again.
  6. Cut the avocado in half and take out the seed.
  7. Fill the hole with the Israeli salad.
Notes
  1. You will be left with quite some salad, since you won't be able to stuff it all inside the avocado.
carinaberry.com https://carinaberry.com/

Did you make this recipe? 

Did you make this recipe?

Tag  @carina_berry and use the Hashtag #carinaberry to get the possibility for a shoutout on my Instagram! 

Finally, I always love to see your wonderful creations and it makes me so happy to see you guys actually making my recipes. 

xoxo,

Weiterlesen

Feigenporridge mit AdeZ Amazing Almond

Werbung – Kooperation mit AdeZ

Wo sind meine Porridge Liebhaber? Heute möchte ich euch meinen super leckeren Feigenporridge zeigen, den ihr ganz leicht zu Hause nachmachen könnt. 

Bevor wir beginnen möchte ich euch erzählen wie ich zu diesem Rezept gekommen bin. 

AdeZ Blogger Brunch 

Anfang August hat AdeZ einen Blogger Brunch in einem Fitnessstudio organisiert. Hier lag der Fokus auf veganer Ernährung, Fitness und Nachhaltigkeit. 
Begonnen hat der Workshop mit einer Yogastunde. Danach gab es einen Ernährungsworkshop bei welchem wir die Einzelheiten einer pflanzenbasierten Ernährung uns angesehen haben. Zum Abschluss gab es dann noch ein Fingerfood Buffet und die leckeren Drinks von AdeZ. 

Welterschöpfungstag

Im Zuge des Ernährungsworkshops habe ich dann von dem Welterschöpfungstag erfahren. Dieser war am 1. August in diesem Jahr. Der Welterschöpfungstag markiert den Tag an welchem wir die Resourcen der Erde für das bestehende Jahr aufgebraucht haben. Also mehr als die Erde bis zum Ende des Jahres wieder nachproduzieren kann. Im Moment brauchen wir beinahe 1.7 Planeten. 

Das zu hören hat mich tief betroffen. Wir zerstören uns den Planeten selbst. Das Streben nach immer mehr wird uns irgendwann einholen. Ich habe dann auch erfahren, dass die Fleisch- und Milchproduktion einen großen Anteil an der schlechten Gesundheit unserer Erde hat. 

Ich dachte mir dann ich möchte hier einfach etwas unternehmen um das Datum nach hinten zu verschieben. #MOVETHEDAY

Wisst ihr, dass wenn wir den globalen Fleischkonsum allein um 50% reduzieren und diese Kalorien durch eine vegetarische Ernährung ersetzen würden, würden wir den Overshoot Day schon um ganze 5 Tage verschieben.

Deshalb habe ich mich dazu entschieden die Bewegung #VEGANMONDAYS ins Leben zu rufen

#VEGANMONDAYS

Seit August ernähre ich mich also jeden Montag vegan. Somit kann ich auch meinen, auch wenn nur kleinen Teil, für eine gesündere Erde beitragen. 
Ich habe dies auf meinem Instagram kommuniziert und mittlerweile nehmen jede Woche schon ganz viele meiner Follower an dem Movement teil und markieren mich in ihren Stories und Posts, in welchen sie mir ihre veganen Köstlichkeiten zeigen. 
Ganz vegan zu gehen ist für mich im Moment noch nicht vorstellbar, da ich Fleisch schon gerne esse. Jedoch habe ich mich fest entschlossen Fleisch- und Milchprodukte ab jetzt viel bewusster zu genießen und auch immer nach der Herkunft dieser Produkte zu fragen. 

Wenn ihr nun auch Lust bekommen habt, dann versucht doch auch einmal einen Tag vegan zu essen. Ihr werdet sehen, es ist gar nicht so schwer! 

Rezepte mit AdeZ

Aus dieser Motivation heraus ist nun auch dieser Feigenporridge entstanden. Es war mal wieder ein Montag und ich wollte trotzdem meinen leckeren Frühstückshaferbrei essen. 
Hier muss ich gestehen sind die alternativen Pflanzendrinks von AdeZ wirklich perfekt. Die Drinks sind nämlich komplett vegan, ohne zugesetzten Zucker, schmecken aber trotzdem durch das natürliche Stevia leicht süß! 

Was ich auch noch kurz herausheben möchte ist die Flasche in der die alternativen Pflanzendrinks kommen.  Ich stehe ja Plastikflaschen unglaublich kritisch gegenüber und setze im Moment alles daran meinen eigenen Plastikmüll so gut es geht zu reduzieren. Die Flasche von AdeZ ist eine PlantBottleTM. Sie besteht bis zu 30% aus pflanzlichem Material und ist zu 100% recyclebar! Die PlantBottleTM ist umweltfreundlicher als Tetrapack. Perfekt also um mich bei meinem Vorhaben den Welterschöpfungstag nach hinten zu verschieben zu unterstützen. 

Amazing Almond

Für den leckeren Feigenporridge habe ich  AdeZ Amazing Almond verwendet. Dieser Geschmack begeistert mich besonders. Ich liebe die süßliche Note der fein gemahlenen Mandeln und mag wie cremig dieser Drink ist. Außerdem, bin ich der Meinung, dass er sich deshalb so gut für süße Frühstücksrezepte eignet.

Zubereitung Feigenporridge

Zutaten:

150ml AdeZ Amazing Almond  
30g Hafermark
20g Xylit 
1 Brise Zimt
25 g veganes Proteinpulver (optional)
2 Feigen
1/2 Banane
15g Walnüsse
1 EL Maple oder Dattel Sirup
15g Frühstückgranola

Zubereitung:
In einem Topf den Hafer unter ständigem Rühren in dem AdeZ Drink aufkochen.
Xylit, Proteinpulver (optional) und Zimt hinzu geben. Umrühren, bis alles gut vermischt ist. Porridge in eine Schüssel füllen. Banane schneiden und auf den Porridge legen. Erdnussbutter über den Porridge geben und noch mit dem Granola, Maple Sirup, Feigen und Nüssen dekorieren.

Schlussendlich noch warm genießen und einfach schmecken lassen! 

Ihr könnt auch gerne noch meinen Blogpost vom Juni auschecken falls ihr an mehr Infos zu AdeZ und den tollen alternativen Pflanzendrinks interessiert seit.

Hast du das Rezept nachgemacht?

Dann tagge mich mit @carina_berry und @adezaustria auf Instagram verwende den Hashtag #carinaberry

Ich teile immer wieder nachgemachte Rezepte auf meiner Instastory  <3

xoxo,

Weiterlesen

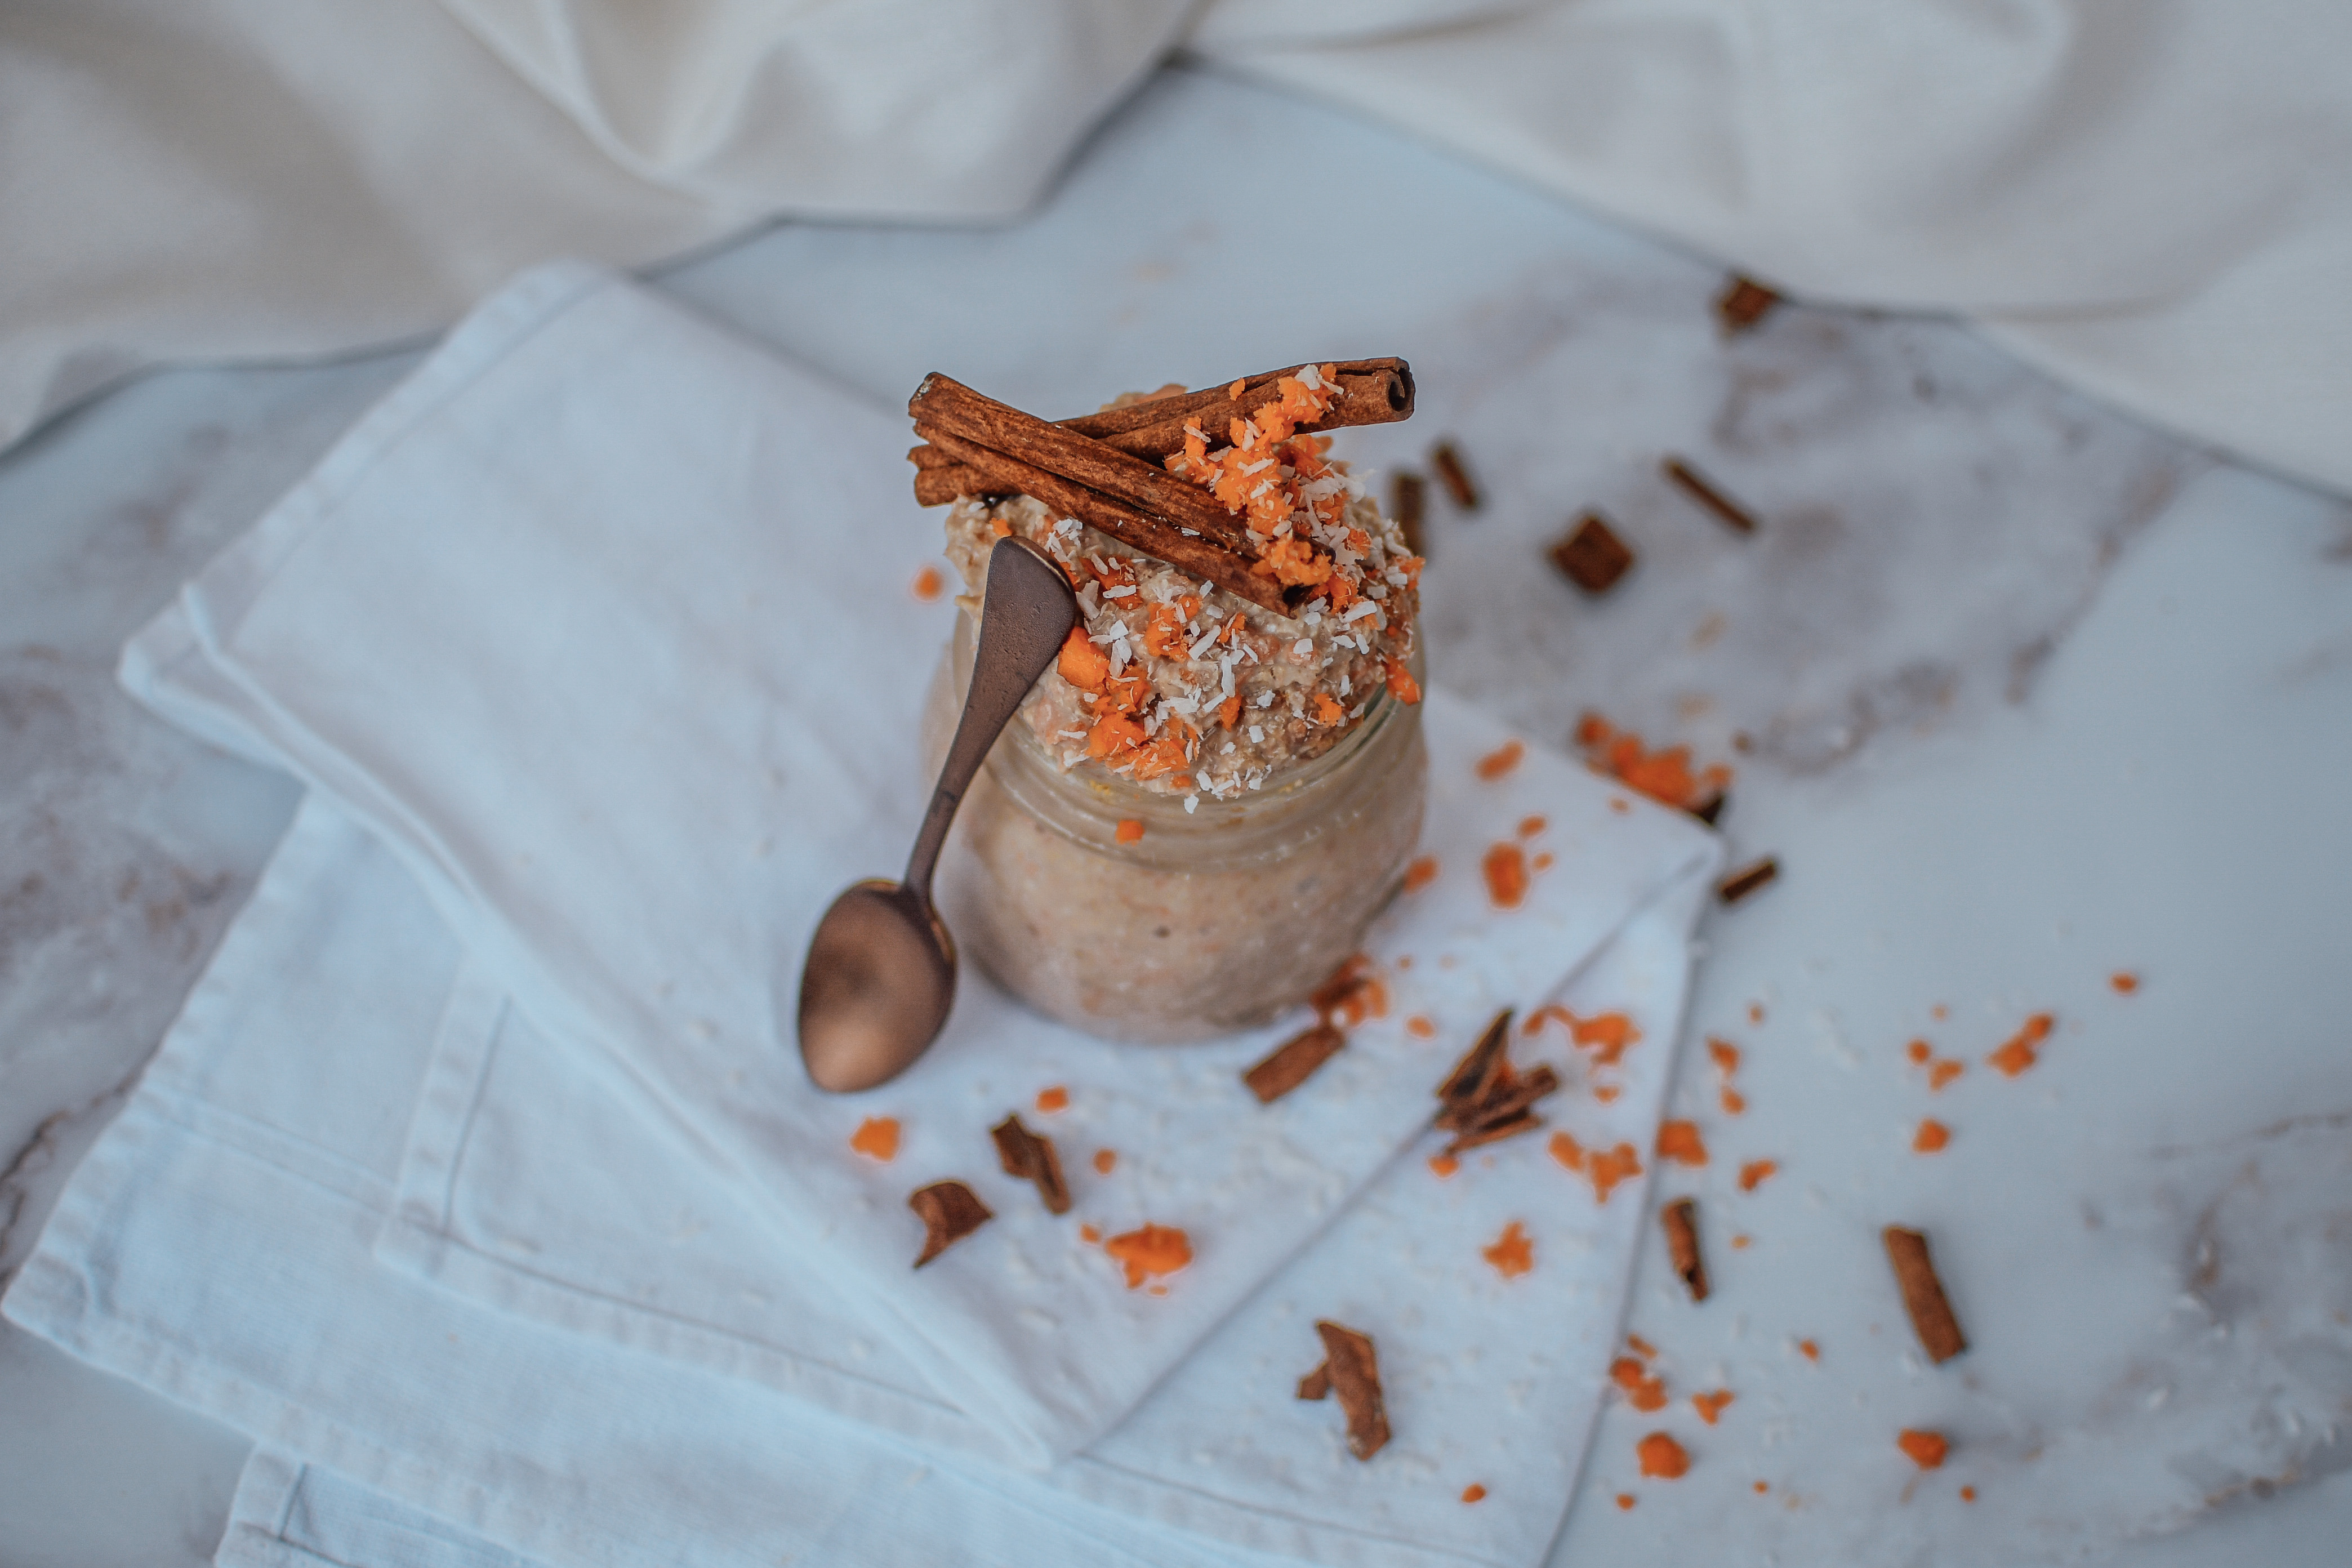
Overnight oats with yoghurt and carrots

Overnight Oats with Carrots

Overnight oats – the perfect, easy and super quick breakfast recipe for a healthy start into the day! 

On-the-go breakfast 

What I love about these healthy overnight oats is that you can prepare them already the day before and simply need to take them out of the fridge the next morning and off you go. That is why this recipe is perfect for an on-the-go breakfast. You can carry it with you in a nice glass jar and eat it on your way to work or university. 

 overnight oats with yoghurt

Overnight Oats Variation

The basic overnight oats recipe can be adapted in different directions, depending on your liking, season and flavor cravings that special day. In todays recipe I am showing you a delicious variation of overnight oats with yoghurt and carrots. I like the carrots because I feel they fit perfectly to the fall harvest. The yoghurt just gives it a nice soft texture. If you can make these overnight oats with greek yoghurt. It has a thicker consistency which makes the taste experience even better in my opinion. 

You will see these simple overnight oats will melt your heart and give you a nice reason to wake up to delicious breakfast in the morning. 

Vegan options

So this basic oat recipe is actually perfectly suited for vegans. You can make this 100% vegan my replacing normal milk with almond/rice/oat or any other kind of alternative milk. The greek yoghurt can be substituted for coconut or soy yoghurt and it will work just as fine. You know how much I like to add protein powder to my recipes. Also here there are so many different vegan options for you. I love to use sunflower seed protein or hemp protein. Moreover, rice protein also works really nice. 

overnight oats with yoghurt

Filled with complex carbs 

I love to use oats for my recipe because they are made out of a lot of complex carbs. These will slowly release energy for your body to use over a longer period of time than for example just a plain wheat breakfast roll. Oats are actually gluten-free and a great source of vitamins, minerals and antioxidants. they also have quite a high amount of fiber, which is always good for your digestion. 
Oats really are one of my favorite fitness food ingredients and I make almost all my breakfast dishes with them. 

Overnight oats with yoghurt
Serves 1
A quick but healthy on-the-go breakfast.
Write a review
Print
Total Time
15 min
Total Time
15 min
Ingredients
  1. 30g oats
  2. 100ml milk (vegans use milk alternative)
  3. 100g greek yoghurt 0% (vegans use coconut/soy yoghurt)
  4. 25g protein (vegans use rice/soy/hemp/sunflower protein)
  5. 1tbsp grated coconut
  6. 1 grated carrot
  7. 1/2 tsp cinnamon
  8. 15g Erythrit or Xylit or Honey
Instructions
  1. Mix everything together in a bowl and stir well.
  2. Put the jar into the fridge.
  3. Let soak in the fridge overnight.
carinaberry.com https://carinaberry.com/
Overnight oats with yoghurt

If you are interested in more healthy breakfast recipes you can check out my pancakes made out of oat flour or the vegan version of them. I also recommend you to check my YouTube channel for more healthy recipe videos. 

Did you make this recipe? 

Did you make this recipe?

Tag  @carina_berry and use the Hashtag #carinaberry to get the possibility for a shoutout on my Instagram! 

Finally, I always love to see your wonderful creations and it makes me so happy to see you guys actually making my recipes. 

Weiterlesen

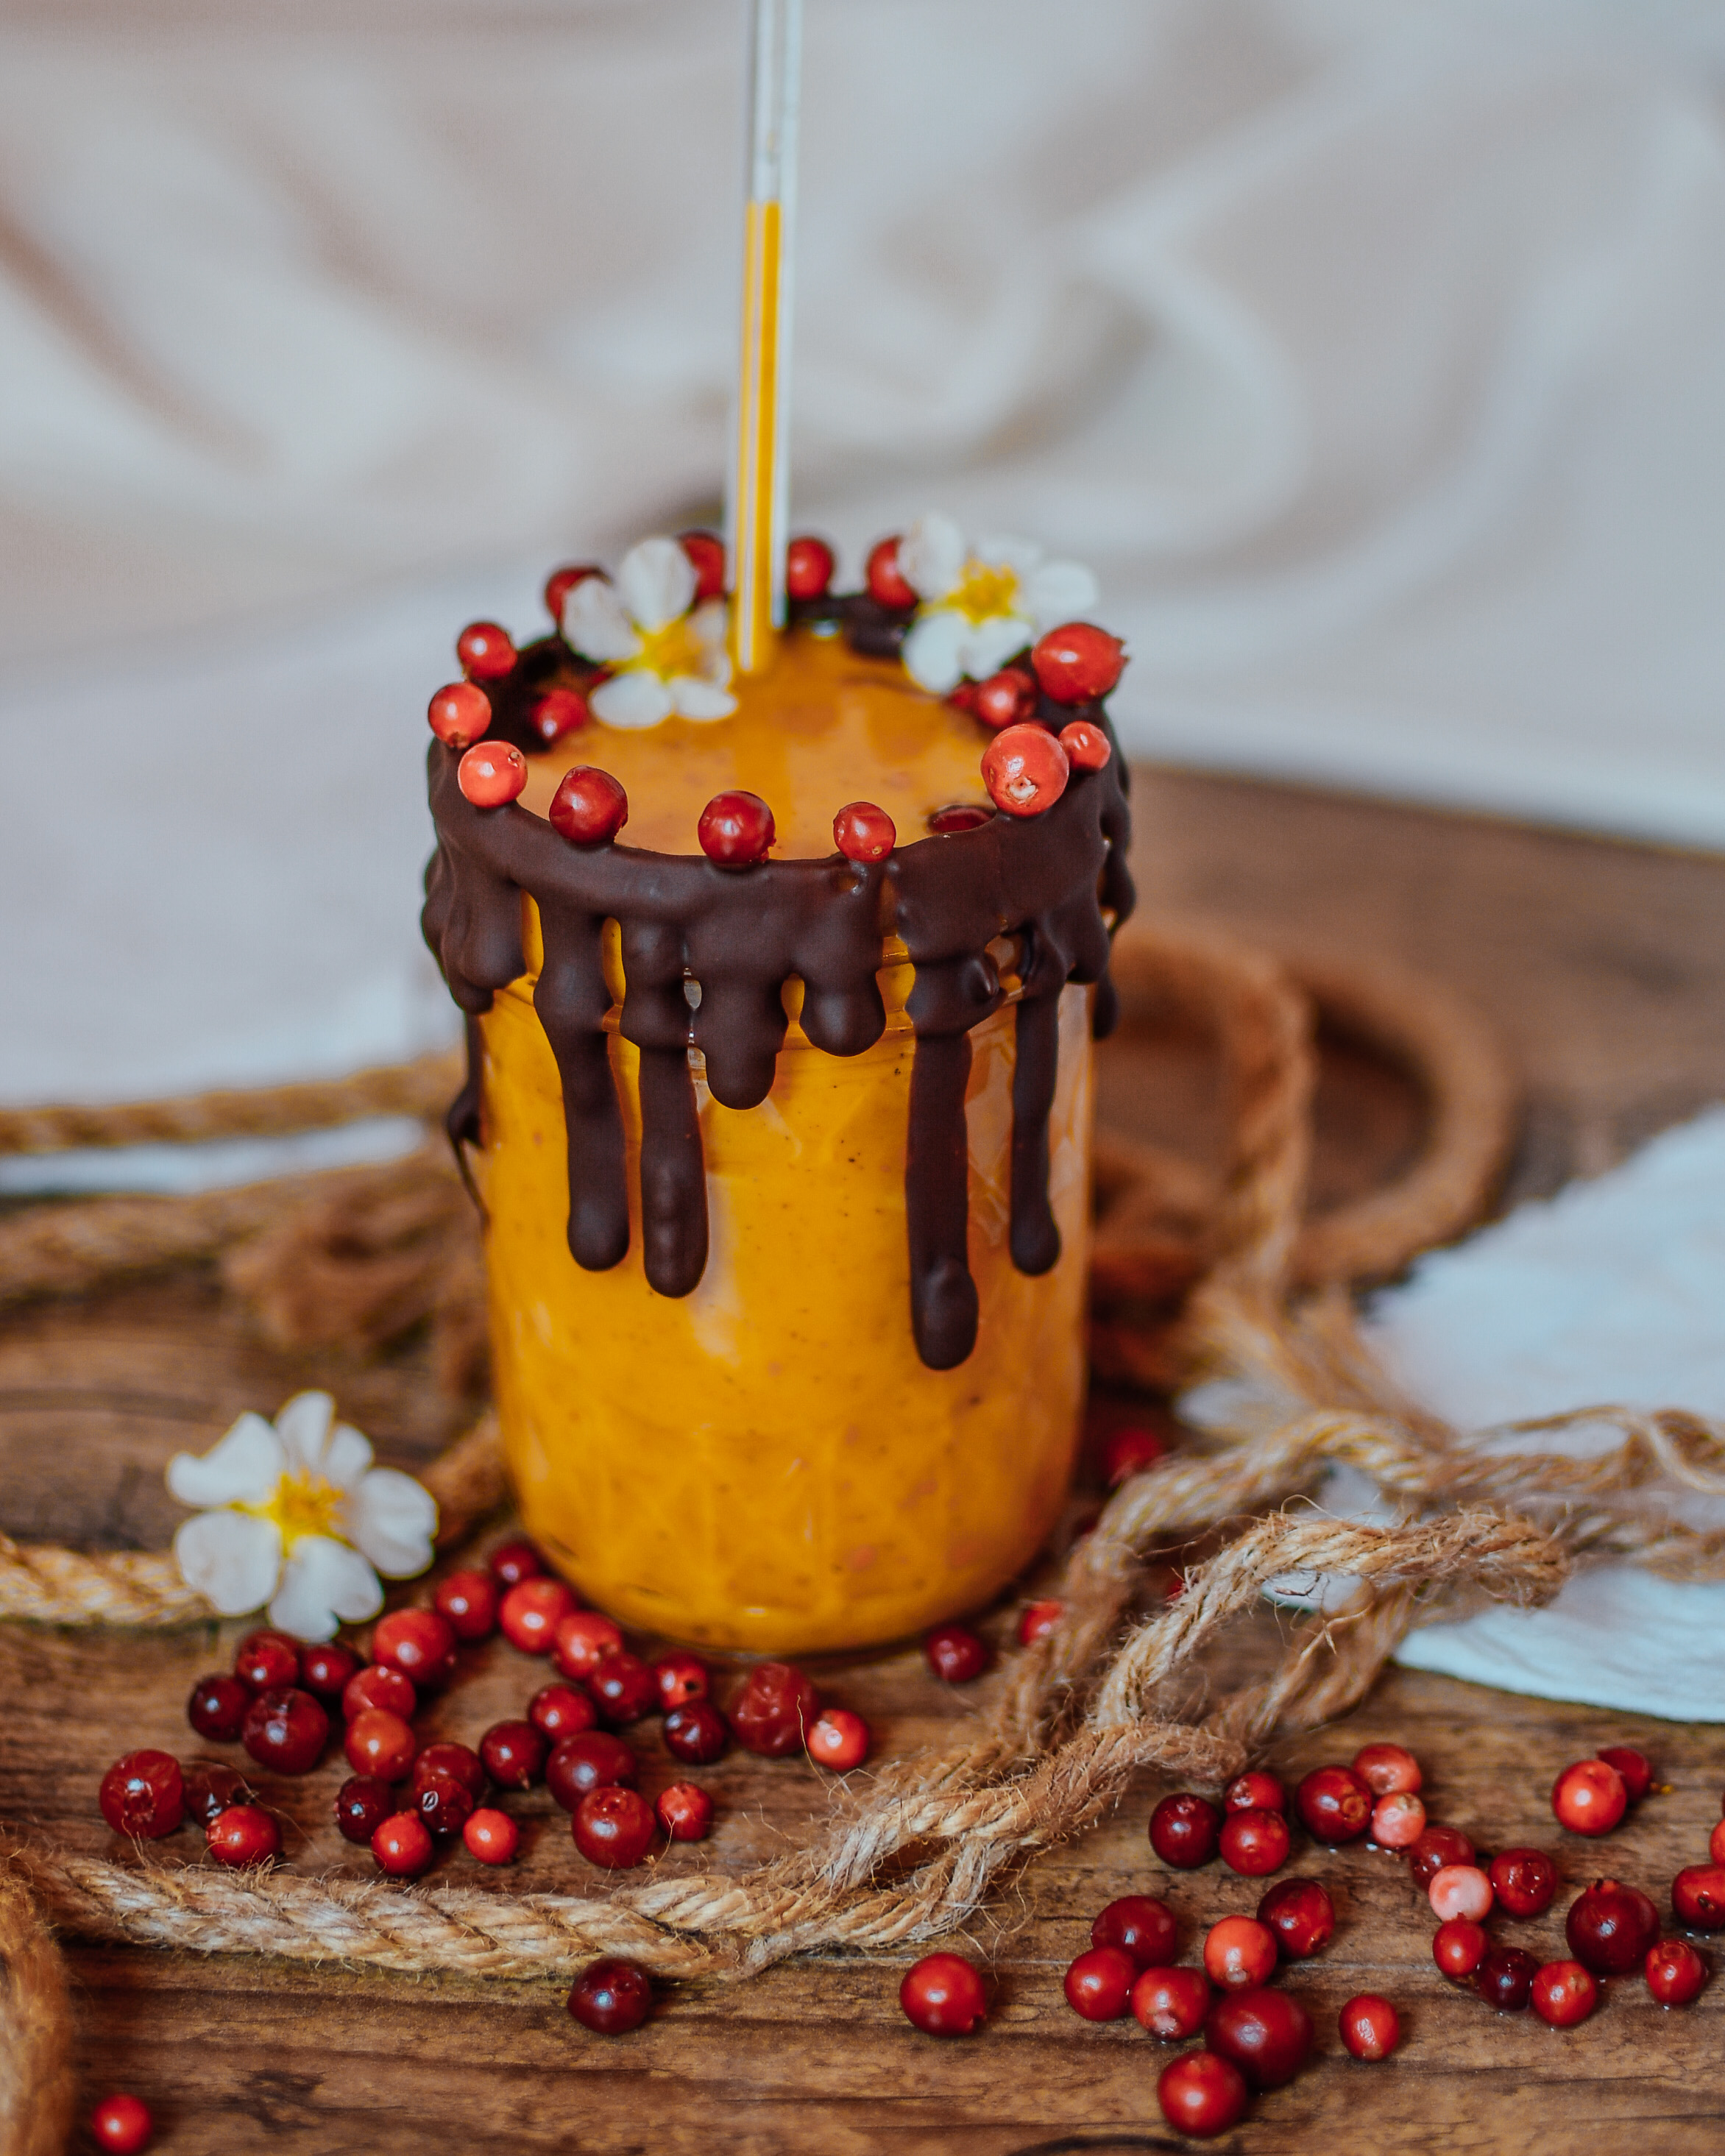
Low Carb Pumpkin Spice Latte

Pumpkin Spice Latte

What better way to enjoy a cold November morning than with a hot cup of low carb pumpkin spice latte! Full flavor and none of the guilt. 

Pumpkin Lover

Okay I just need to say it again: I ADORE PUMPKIN! Literally these days everything I eat contains pumpkin. So why not also my drink? Let me show you in this recipe how you can make a delicious pumpkin spice latte for yourself. 

Pumpkin Spice Latte

So, since I don’t really drink coffee I am always looking for other yummy alternatives that I can enjoy in the morning. Usually I drink tea, but in the fall pumpkin is just way too yummy to not make a delicious, creamy drink with it. That is why I came up with my own favorite pumpkin spice latte recipe. 

You know what really surprises me? They also have a ton of pumpkin here in Costa Rica. I have seen everything from a Hokaido pumpkin to Muscat to butternut squash! So happy about this because it means I don’t have to miss out on more awesome fall food the next weeks!

Pumpkin Spice Latte

Regarding your choice of protein you can either make this low carb pumpkin spice latte totally vegan by using rice/pea or sunflower protein. Of course you can also use whey protein. Here I recommend the flavors cookies & cream as well as plain vanilla. 

Did you know that a cup of a Starbucks pumpkin spice latte has almost 500kcal? This recipe isdefinitely a healthier alternative!

The recipe

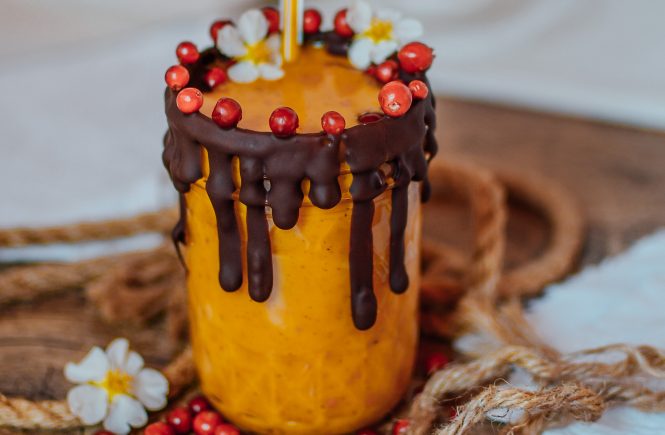
So for this special pumpkin photoshoot I made a super fancy dark chocolate decoration around the jar. You don’t need that though really. I just thought it looks cool 🙂 

Pumpkin Spice Latte
A warm and creamy drink for cold autumn mornings!
Write a review
Print
Prep Time
5 min
Cook Time
10 min
Total Time
15 min
Prep Time
5 min
Cook Time
10 min
Total Time
15 min
Ingredients
  1. 200ml almond drink
  2. 50g pumpkin puree
  3. 1/2 tsp pumpkin spice
  4. 1 tbsp protein powder
  5. 20g Xylit
  6. 40g dark chocolate if you want the jar decoration
  7. Optional: low fat whipped cream for topping
Instructions
  1. If you want the beautiful jar decoration, melt the chocolate in a water bath.
  2. With a spoon, run the chocolate down the rim of the glass.
  3. Then put the fridge.
  4. Mix almond milk with pumpkin puree in a saucepan over low heat.
  5. Stir in pumpkin spice, protein and Xylit.
  6. Pour pumpkin beverage into the chocolate glass.
Notes
  1. If you want you can top the drink with low fat whipped cream.
carinaberry.com https://carinaberry.com/
Looking for more amazing pumpkin recipes? Then I would recommend you check out my all time favorite pumpkin spice porridge breakfast bowl! 

Did you make this recipe? 

Did you make this recipe?

Tag  @carina_berry and use the Hashtag #carinaberry to get the possibility for a shoutout on my Instagram! 

Finally, I always love to see your wonderful creations and it makes me so happy to see you guys actually making my recipes. 

xoxo,

Weiterlesen

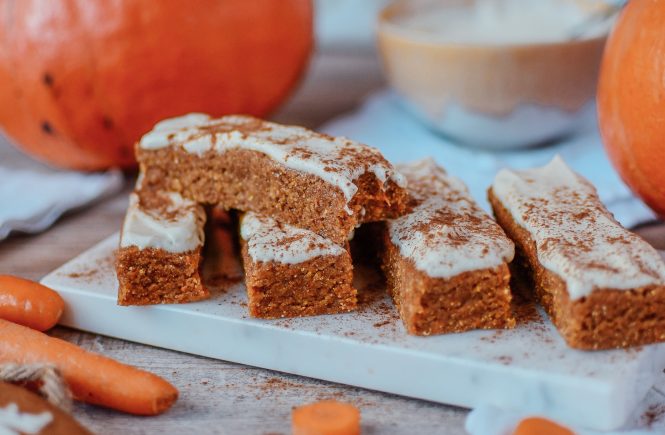
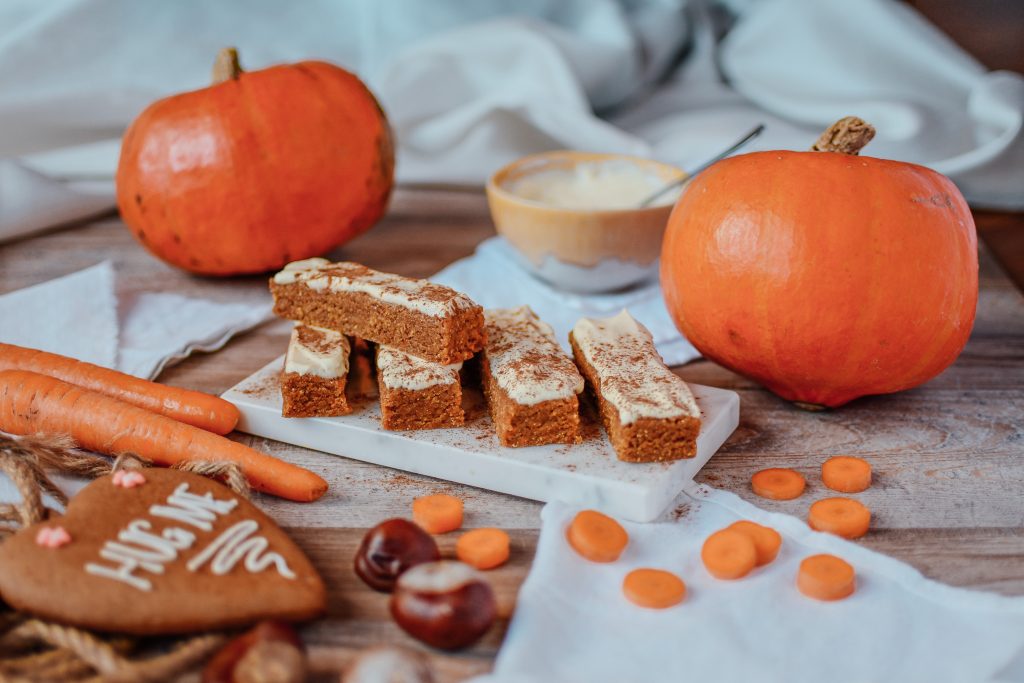
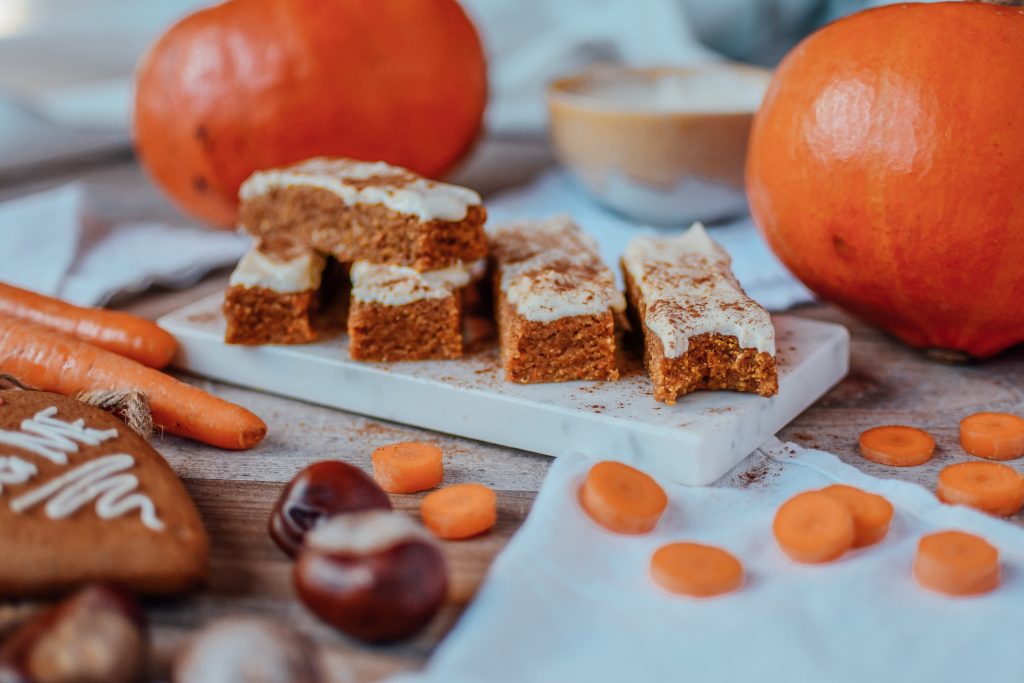
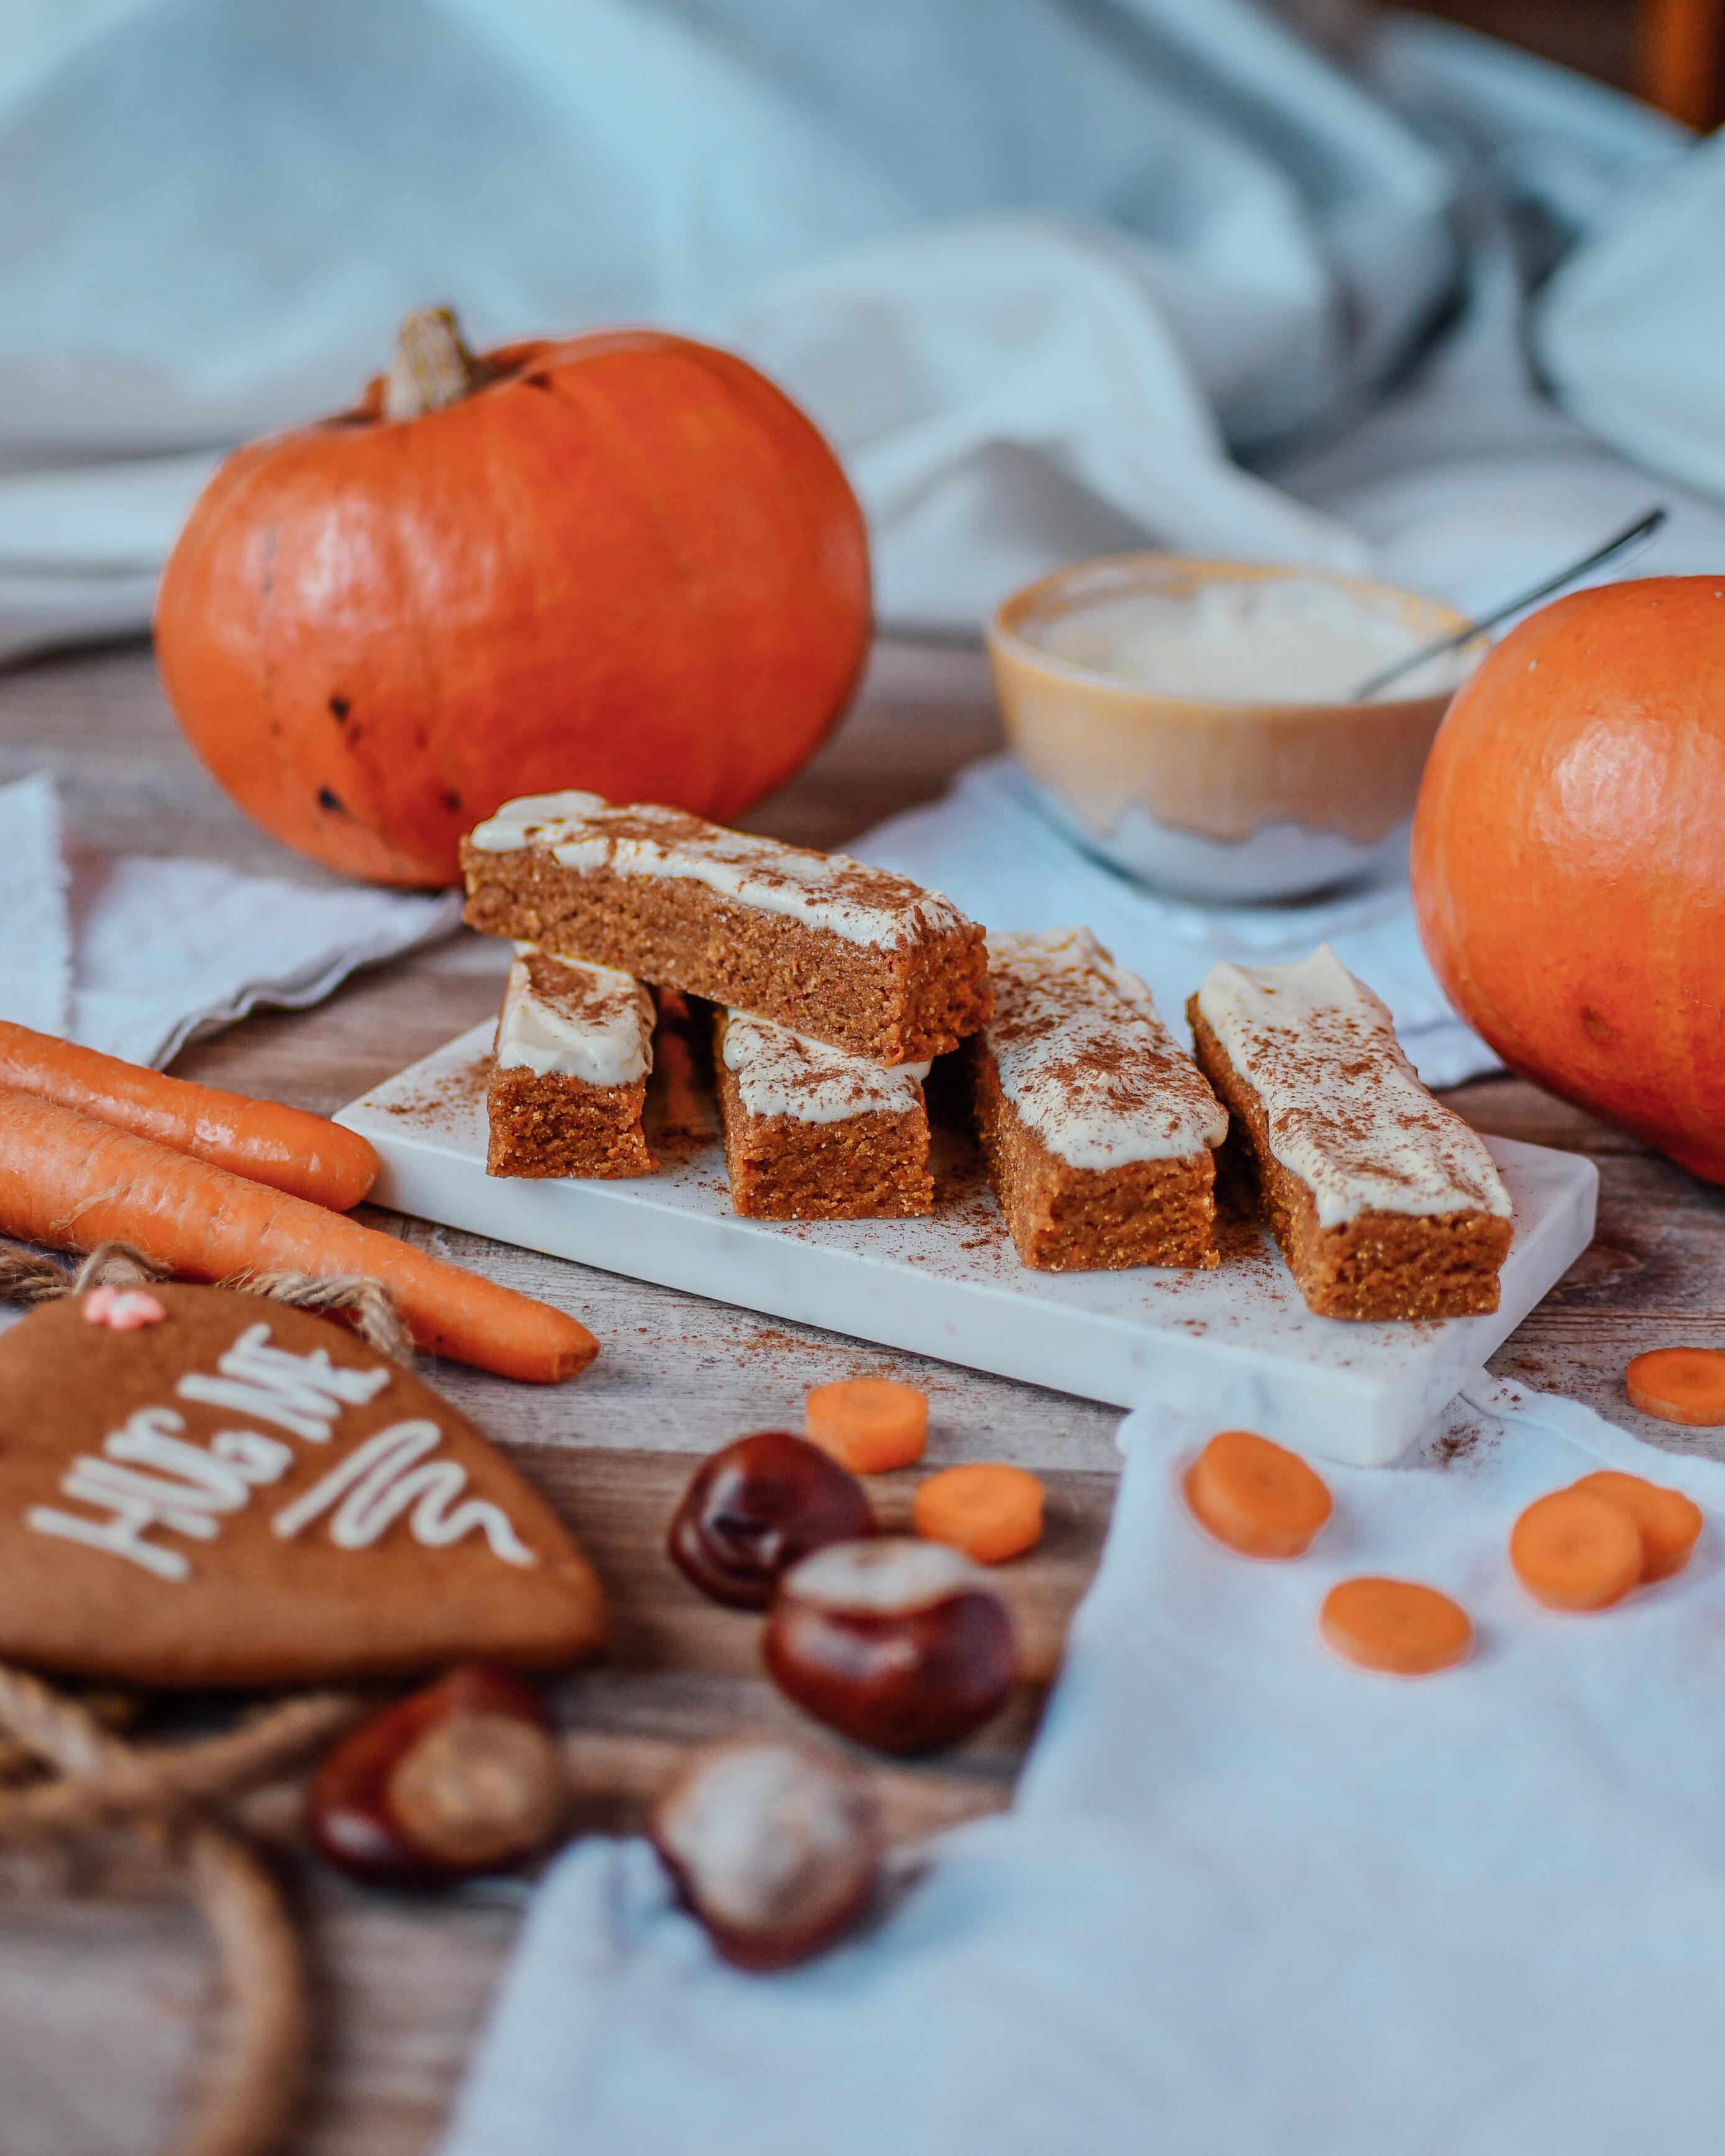
Fitness Karottenkuchen Riegel ohne Mehl – gesund, schnell und einfach!

Fitness Karottenkuchen ohne Meh

Da ihr ja nach mehr deutschen Rezepten gefragt habt kommt hier ein leckeres Karottenkuchen Rezept. Also eigentlich habe ich Karotten Fitness Bars daraus gemacht. Es ist wirklich so unglaublich lecker und köstlich geworden, dass ihr gar keine andere Wahl habt als es auszuprobieren! 🙂 

Backen mit Gemüse

Gerade im Herbst verwende ich sehr viel Gemüse um süße Nachspeisen zu machen. Zucchini, Süßkartoffel, Karotten und Kürbis geben den Gerichten einen ganz neuen lieblichen Geschmack. 
Hier muss man oft ein bisschen out of the box denken und einfach mal was neues probieren. Süßkartoffelbrownies sind zum Beispiel richtig lecker. Sollte ich auch mal ein Rezept dazu teilen. 🙂 Backt ihr manchmal mit Gemüse? Let me know in the comments! 

Fitness Karottenkuchen ohne Meh

Fitness Approved

Mein Karottenkuchen enthält weder Zucker, Butter noch Mehl. Also alle „bösen“ Zutaten wurden mit gesundheitsbewussteren Alternativen ausgetauscht.
Statt dem gewöhnlichen Weizenmehl verwende ich Nussmehl. Nussmehl hat viel weniger Kohlenhydrate. Natürlich dafür mehr Fett, aber auch mehr Protein. 
Die Butter habe ich durch Mandelbutter ersetzt. Auch hier habt ihr weitaus weniger Fett aber dafür eine extra Portion Protein dabei. 
Den Zucker habe ich durch meinen Küchenliebling Erythrit ersetzt. Erythrit ist ein natürlicher Zuckeralkohol und enthält keine Kalorien. 

Fitness Karottenkuchen ohne Meh

Raw & Vegan 

Bei diesem Karottenkuchen braucht ihr auch gar keine großen Kochkünste. Ihr mischt eigentlich alles nur in einer Schüssel zusammen und stellt es dann kalt. Das Rezept ist eigentlich auch vegan. Ich habe nur dieses Mal ein Protein verwendet welche auch etwas Molkeprotein zugesetzt hatte, was es dann nicht ganz vegan gemacht hat. Wenn ihr aber ein normales veganes Protein nehmt ist alles gut 🙂 

Ich war wirklich fasziniert von der Einfachheit aber auch dem Geschmack von diesem Karottenkuchen Riegeln. Es schmeckt einfach wie Weihnachten 🙂 

Fitness Karottenkuchen ohne Mehl

Das Rezept 

Nachdem ich nun so davon geschwärmt habe kommt hier nun das Rezept: 

Fitness Karottenkuchen ohne Mehl
Yields 6
Super leckerer Snack für Zwischendurch
Write a review
Print
Prep Time
10 min
Prep Time
10 min
Riegel
  1. 1 Becher feines Hafermehl
  2. 1/2 Becher Kokosnussmehl
  3. 1/2 Becher Protein Pulver (Fit Vanilla)
  4. 2 EL Xylit oder Erythrit
  5. 1 TL Zimt
  6. 1 TL Lebkuchengewürzmischung
  7. 1/4 Becher Mandelbutter
  8. 1⁄2 Becher Dattelsirup
  9. 1/2 Becher fein geraspelte Karotten oder Karottenpüree 1 TL Milch
Frosting
  1. 1 Messlöffel Fit Vanilla Protein Pulver 1/4 Becher Frischkäse
  2. 1 EL Milch
Instructions
  1. In einer großen Schüssel Hafermehl, Proteinpulver, Xylit, Zimt, und die Gewürzmischung gut zusammen mischen.
  2. In einer mikrowellengeeigneten Schüssel die Nussbutter und das Dattelsirup vermischen und kurz erhitzen. Nun die flüßige Masse mit der trockenen vorsichtig vermischen. Nun noch die Karotten hinzufügen und vermengen bis eine feuchte, bröckelige Masse entsteht.
  3. In eine mit Klarsichtfolie beklebte Auflaufform geben und fest zum Boden und an den Rand drücken. Kühl stellen für mindestens 30 Minuten. Für das Frosting das Vanilleproteinpulver, den Esslöffel Milch und den weichen Frischkäse in einer Schüssel vermengen. Das Frosting über die kalten und geschnittenen Bars streichen und bei Bedarf mit etwas Zimt noch bestreuen.
Notes
  1. Ich habe die Masse als erstes zu Riegel geschnitten bevor ich das Frosting aufgetragen habe.
carinaberry.com https://carinaberry.com/
Suchst du noch nach mehr leckeren Herbstrezepten? Dann schau mal bei meine Pumpkin Spice Porridge, Healthy Crumble oder Zwetschgenfleck vorbei! 

Hast du das Rezept nachgemacht?

Dann tagge mich mit @carina_berry auf Instagram verwende den Hashtag #carinaberry

Ich teile immer wieder nachgemachte Rezepte auf meiner Instastory  <3

xoxo,


Weiterlesen

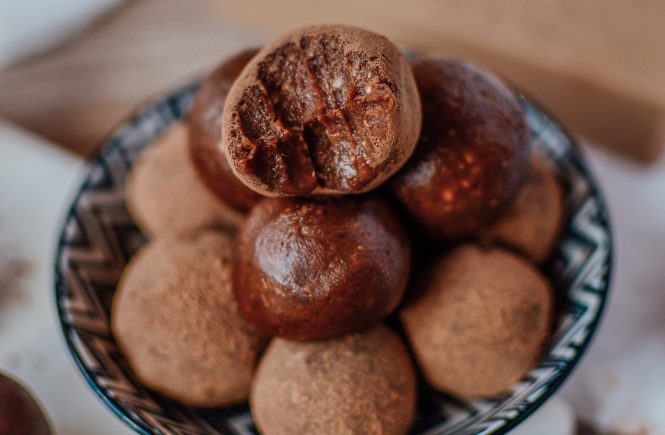
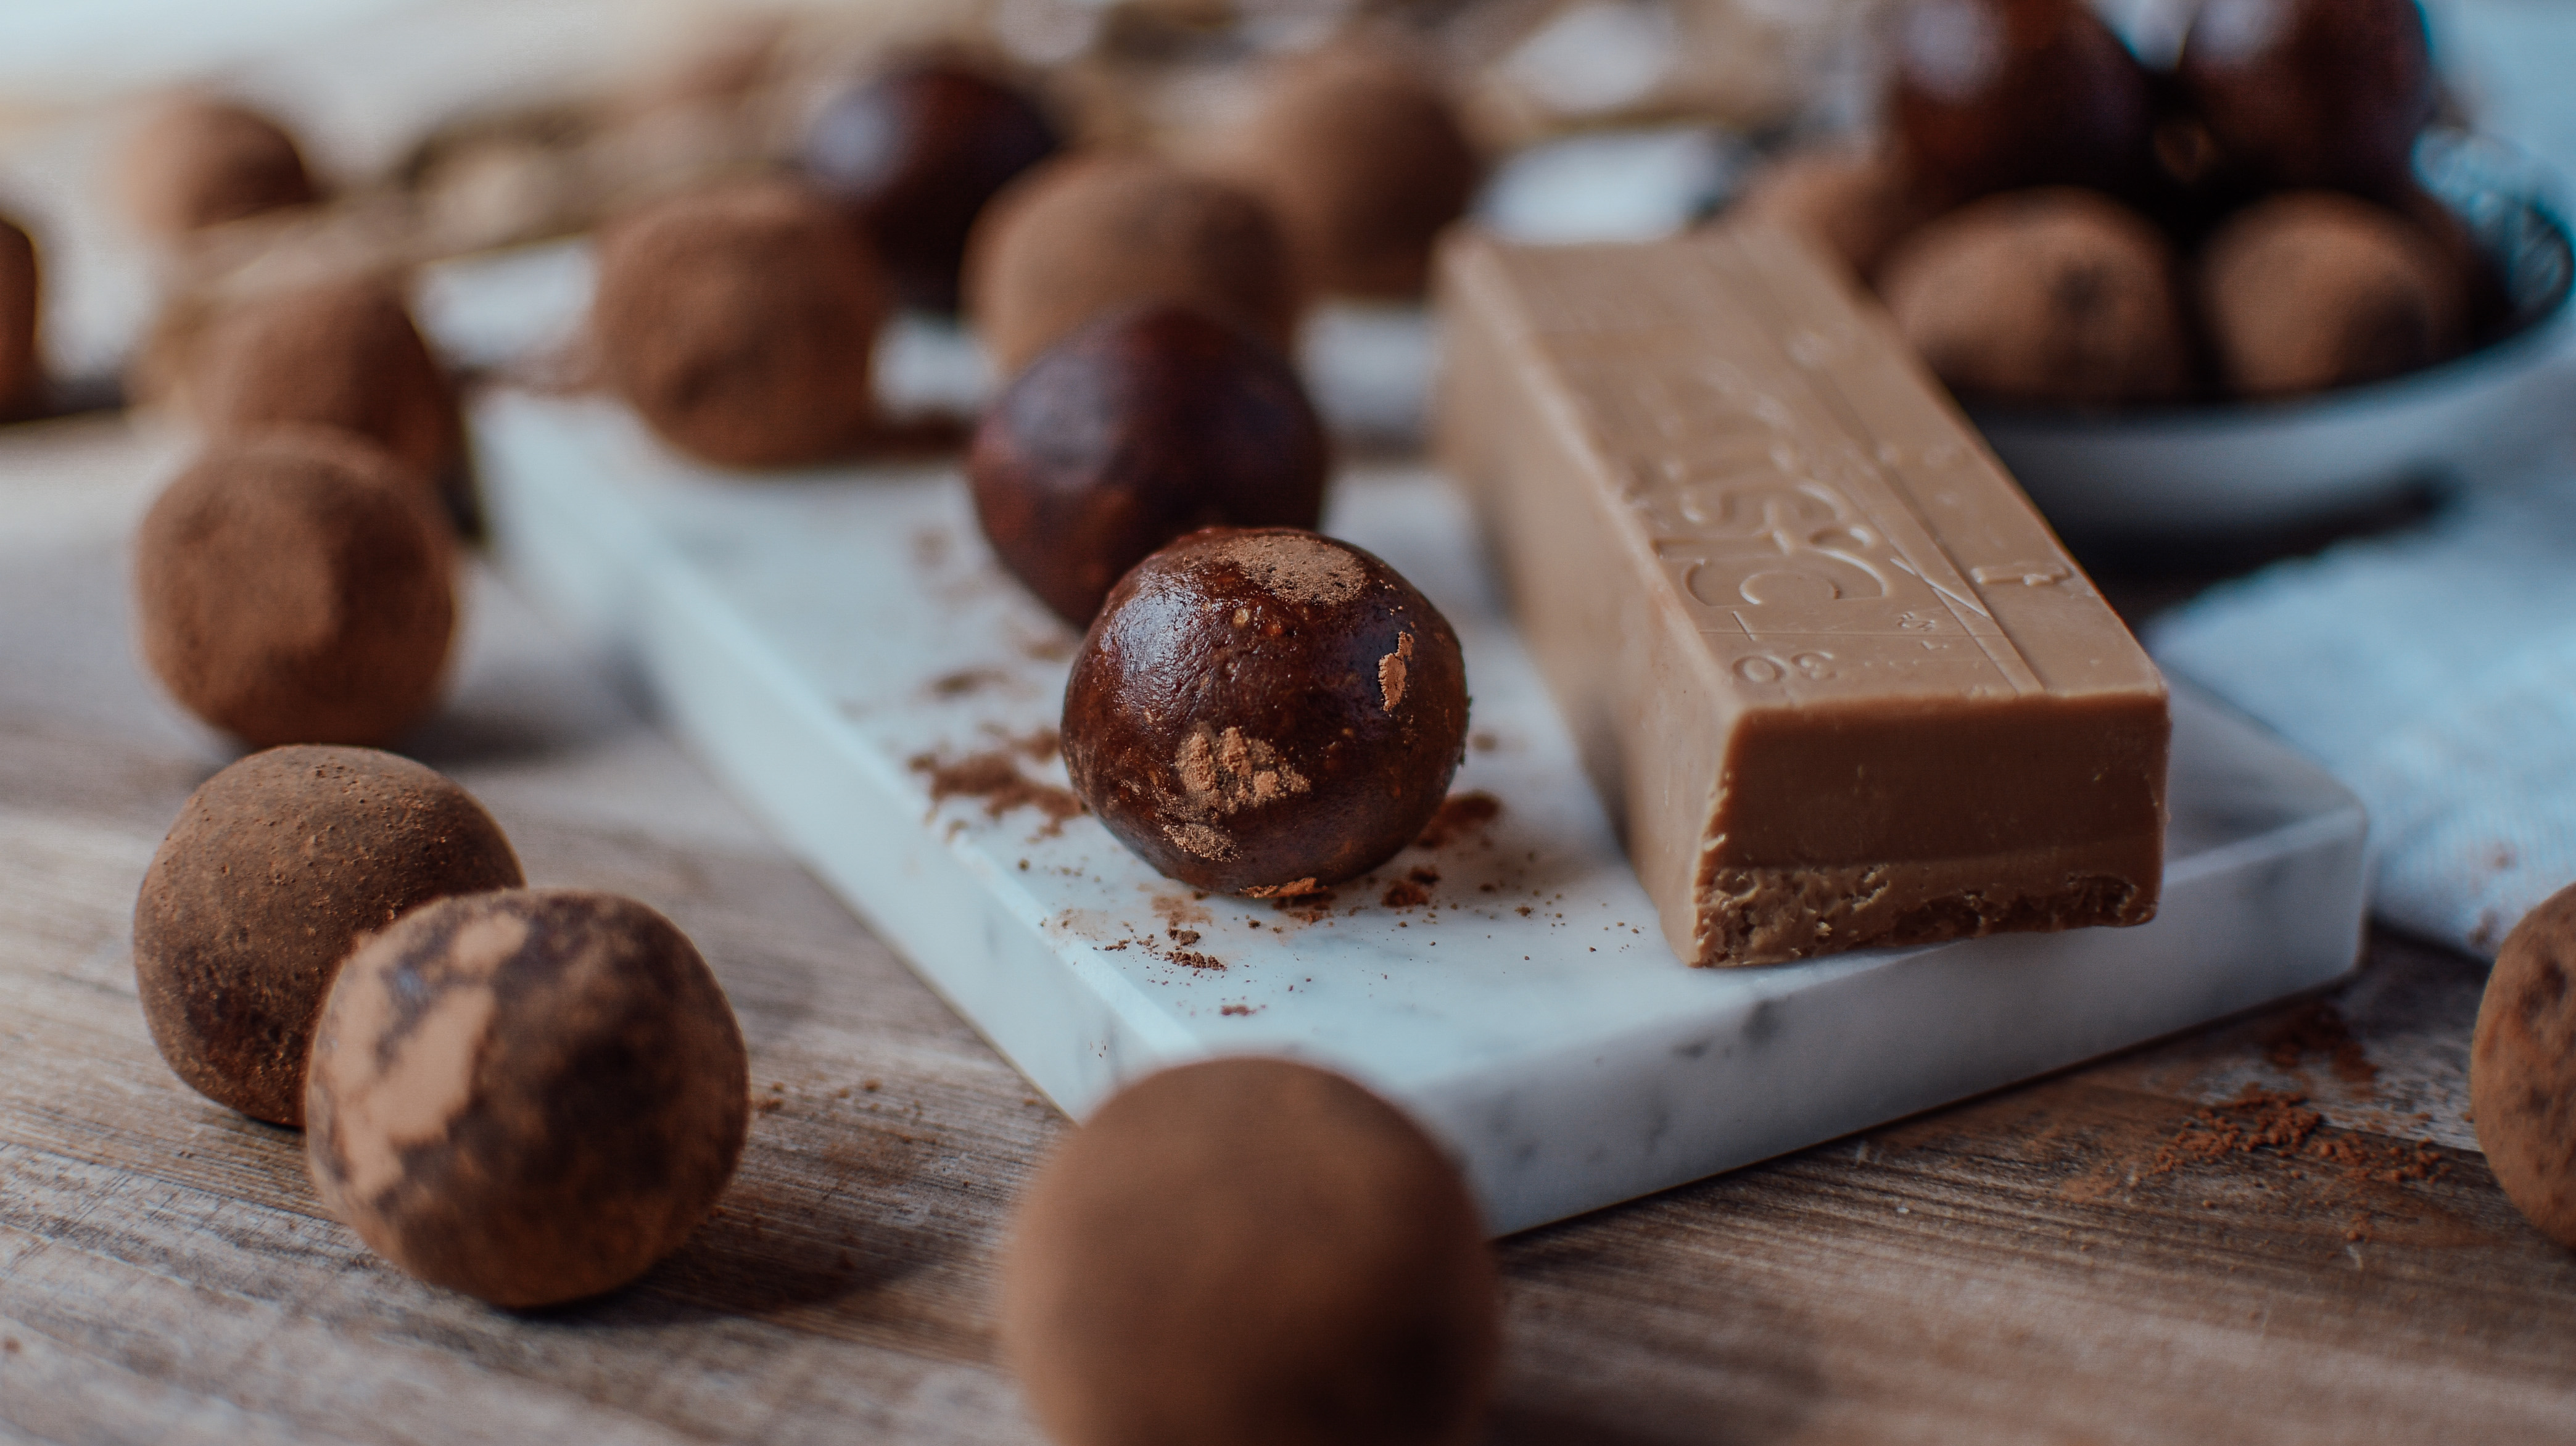
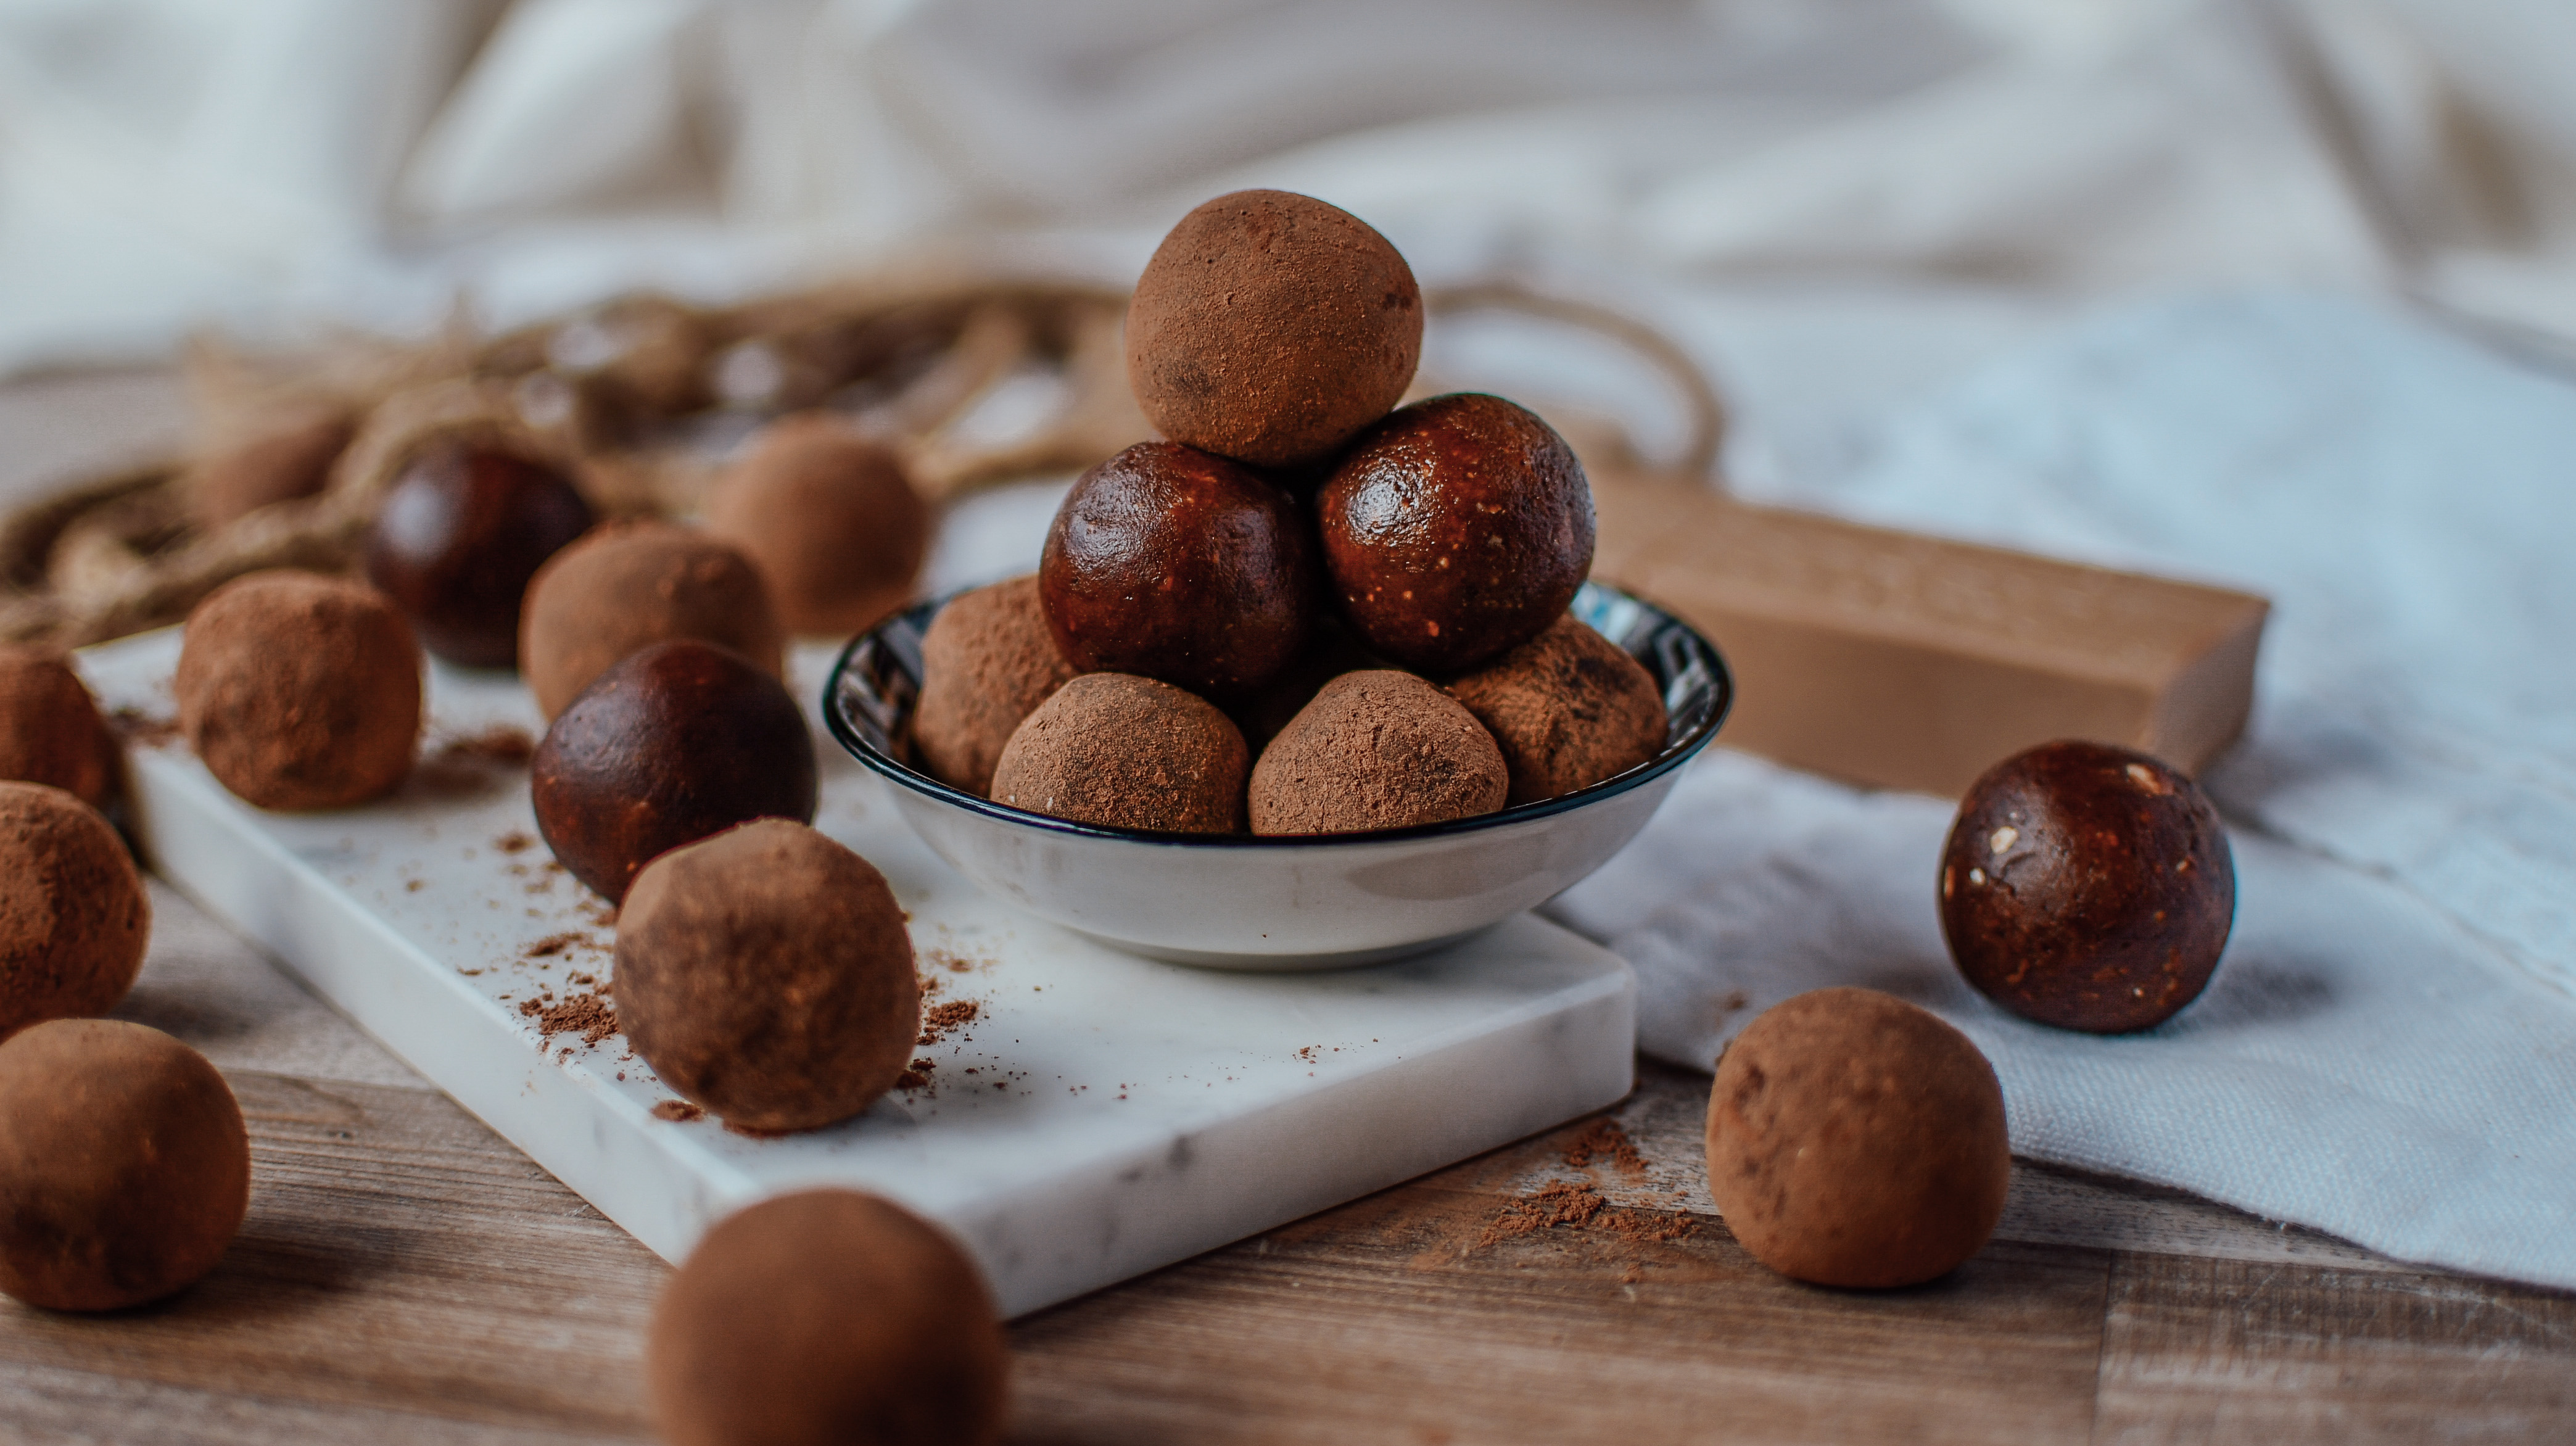
Dattelkonfekt – Cashew Fudge Bällchen

Dattelkonfekt

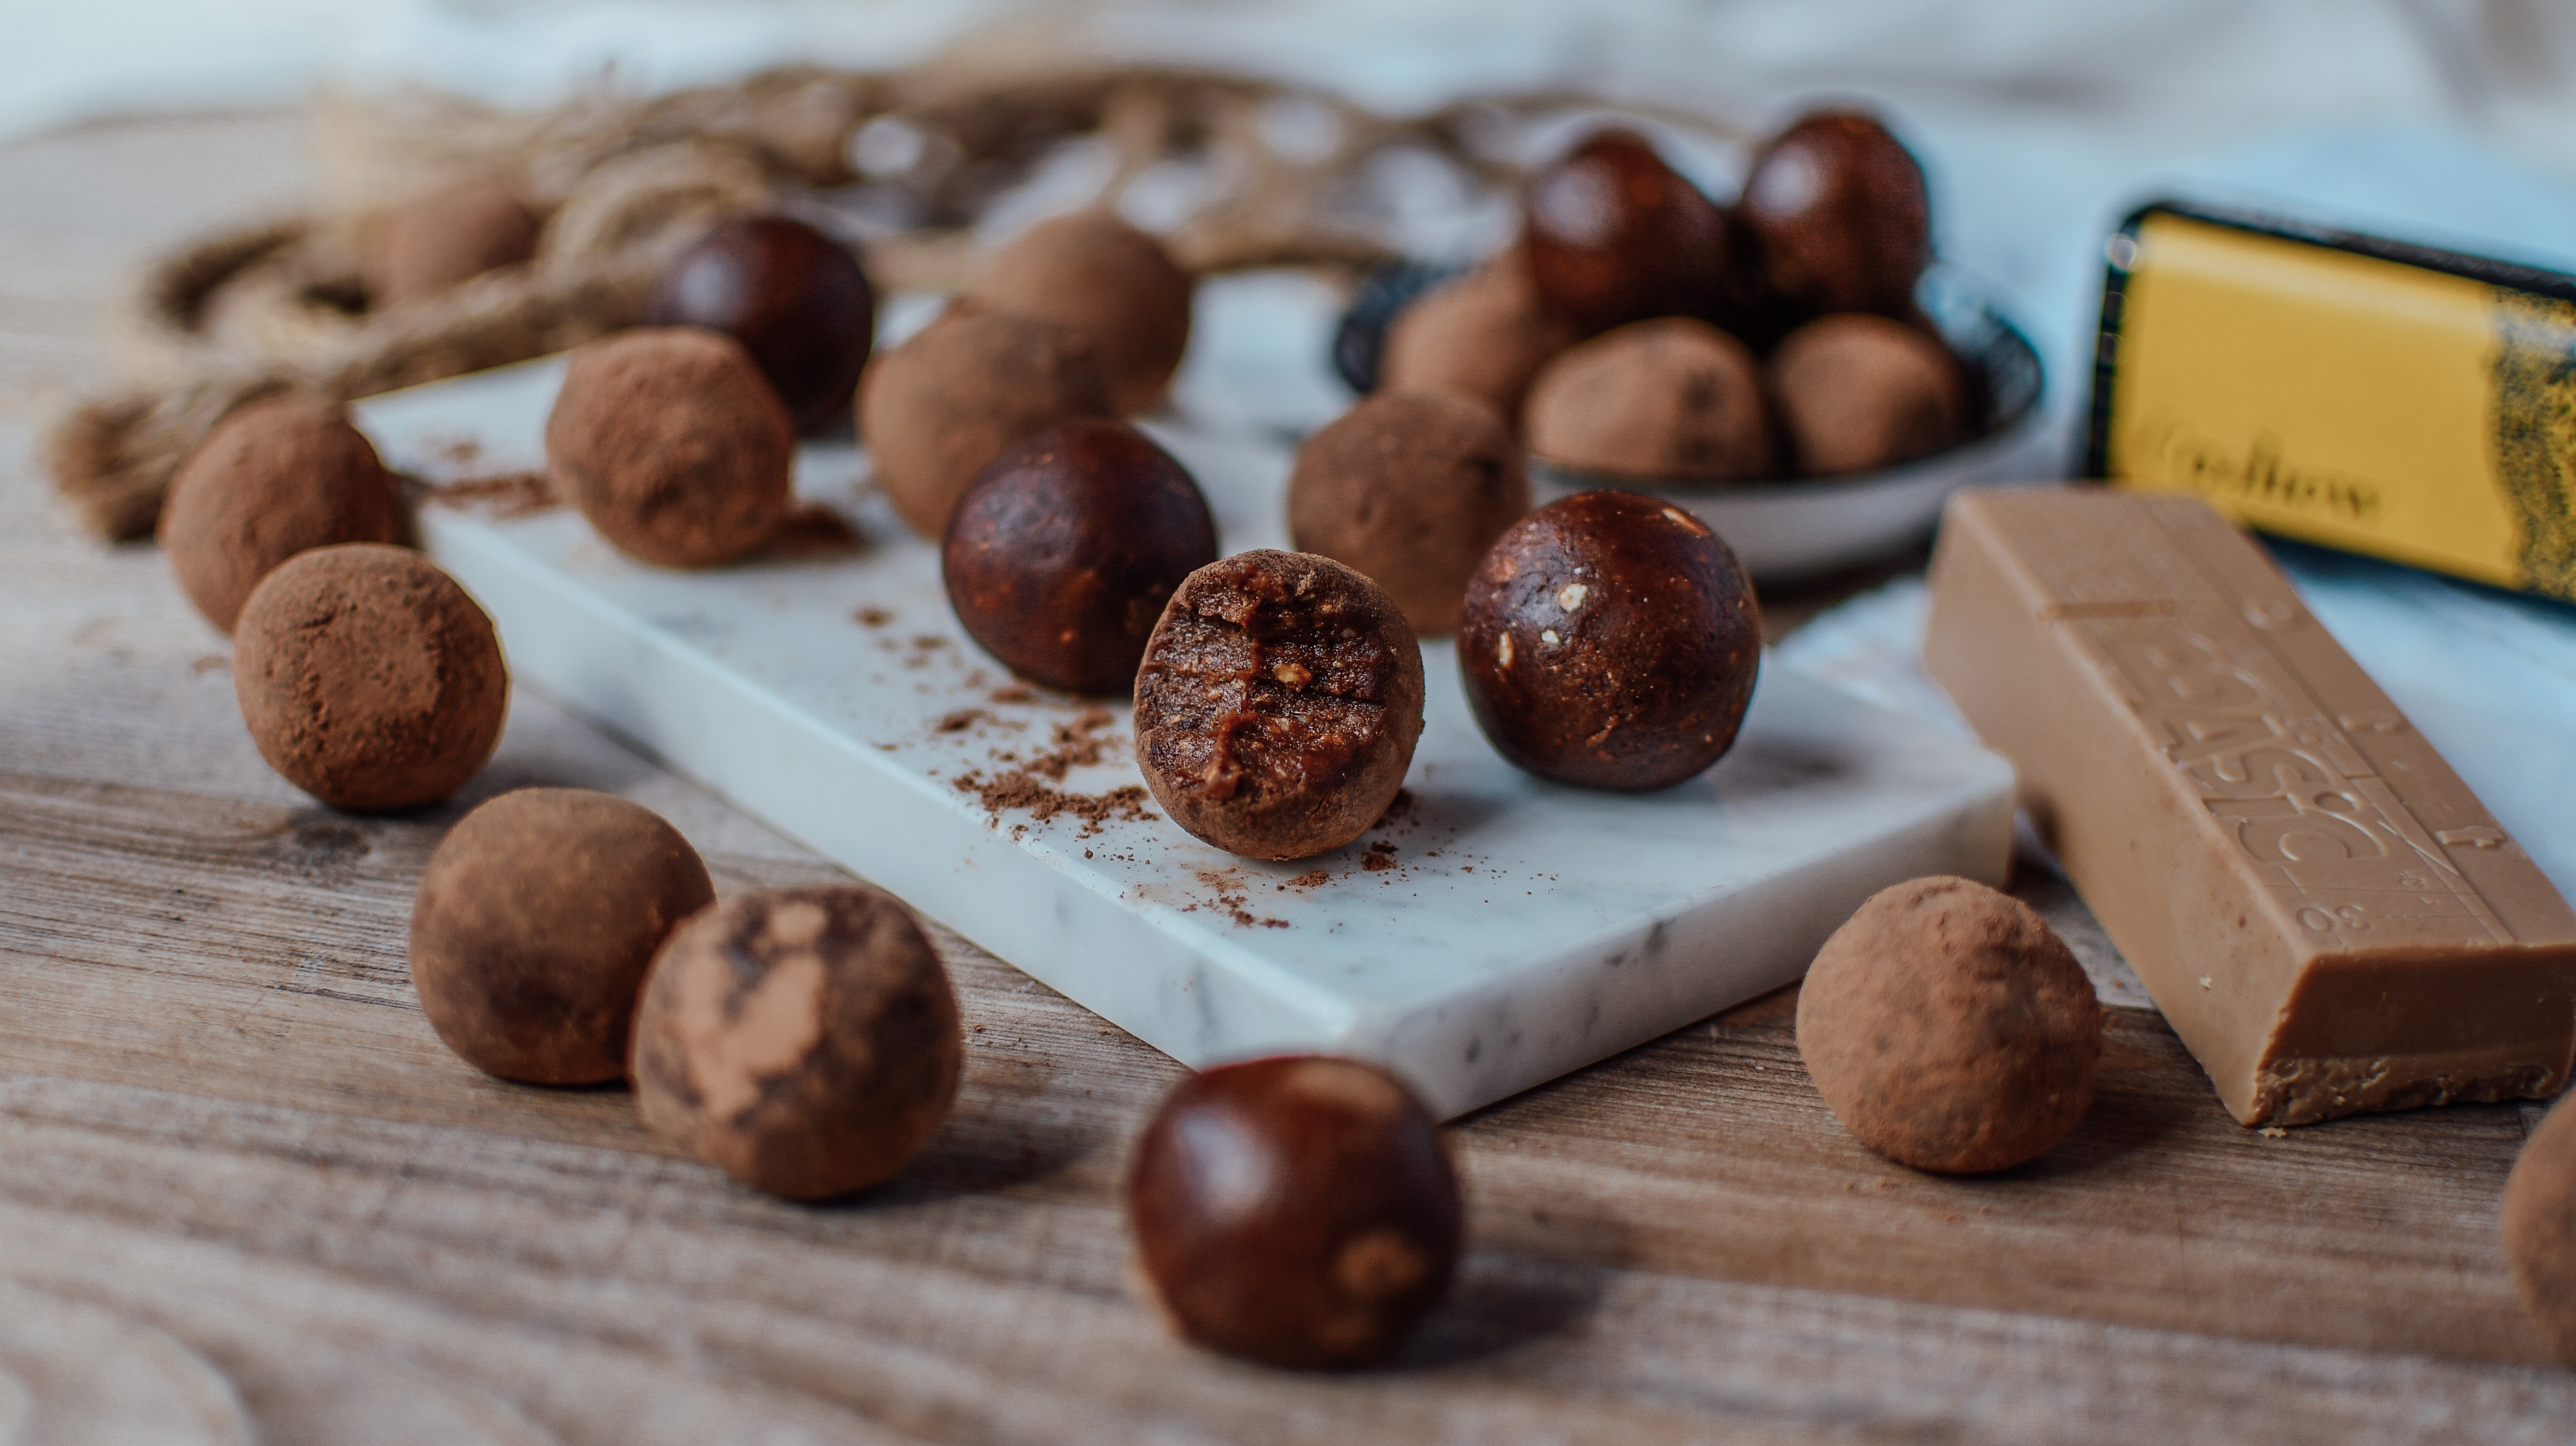
*Werbung* Cashew Fudge Bällchen for the win! Habt ihr schon mal Dattelkonfekt selber gemacht? Dieser kostet ja normalerweise im Supermarkt ein kleines Vermögen. In diesem Blogpost möchte ich euch zeigen wie ihr den leckeren Dattelbällchen ganz einfach selber machen könnt. 

Dattelkonfekt-Cashew Fudge Bällchen

Dattelkonfekt selber machen 

Mit wenigen, einfachen Zutaten könnt ihr diese leckeren Dattelbällchen selber machen. Dattelkonfekt kann man in ganz vielen verschiedenen Variationen machen. Ich habe mich diesmal für Schokobällchen entschieden. 

Dattelkonfekt-Cashew Fudge Bällchen

Gastbeitrag bei Zotter 

Für dieses Rezept habe ich mich mit der einzigartigen Schokoladenmanufaktur Zotter zusammengeschlossen, um eine ganz besondere Kreation mit ihrem Cashew Nougat zu entwicklen. 
Hierfür durfte ich einen schönen Gastbeitrag auf dem firmeneigenen Blog schreiben. 

Wenn ich euch nun neugierig gemacht habe und ihr wissen wollt wie man die kleinen Cashew Fudge Bällchen zubereitet dann klickt einfach hier, um zu meinem Gastbeitrag bei Zotter zu gelangen. 

Dattelkonfekt-Cashew Fudge Bällchen

Falls ihr noch nach mehr interessanten süßen Rezepten sucht, seht euch mal meine Rezeptkategorie Desserts auf meiner Homepage an. 

xoxo,

Carina Berry

Weiterlesen

Pumpkin Porridge – healthy and vegan

Pumpkin Porridge

Pumpkin porridge for the fall season! Sweet and creamy with just a couple ingredients, totally vegan and ready in 15 minutes!

Bye summer, hello fall

Alright guys we have to admit it. Summer is over. Bye, bye see you next year. Time to bring out those cosy socks, warm sweaters, cool leather jackets and nice boots for the colder season of the year. 

With this post I want to share one of my favorite fall recipes. You might not know this but I have a secret pumpkin obsession. During October and November almost every meal includes some kind of pumpkin. Also my breakfast. Since I absolutely looove this recipe I had to share it with you in a dedicated blog post. This pumpkin porridge is so creamy and warming. 

Spiced Pumpkin Porridge

Fitness Pumpkin Porridge Variations 

If you would like to add some extra protein this is the perfect opportunity to mix in an extra scoop of your favorite protein. I can recommend using vanilla, but chocolate is also super yummy! 
For vegan fitness versions of this pumpkin porridge I have used hemp protein and sunflower protein in the past and it was also super tasty. Only the hemp protein gave it a slightly different taste than it usually has. 

Pumpkin Porridge Toppings

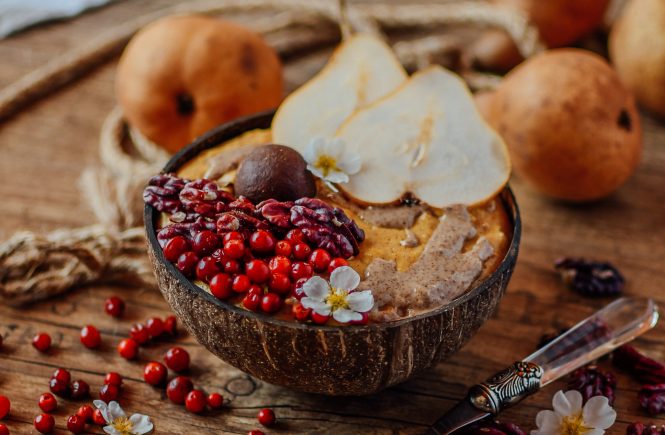
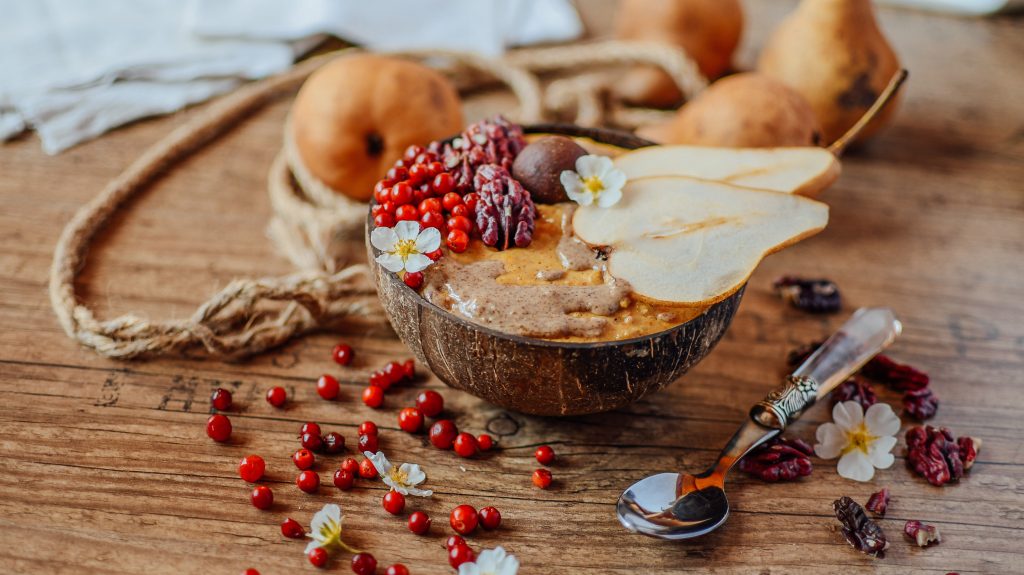
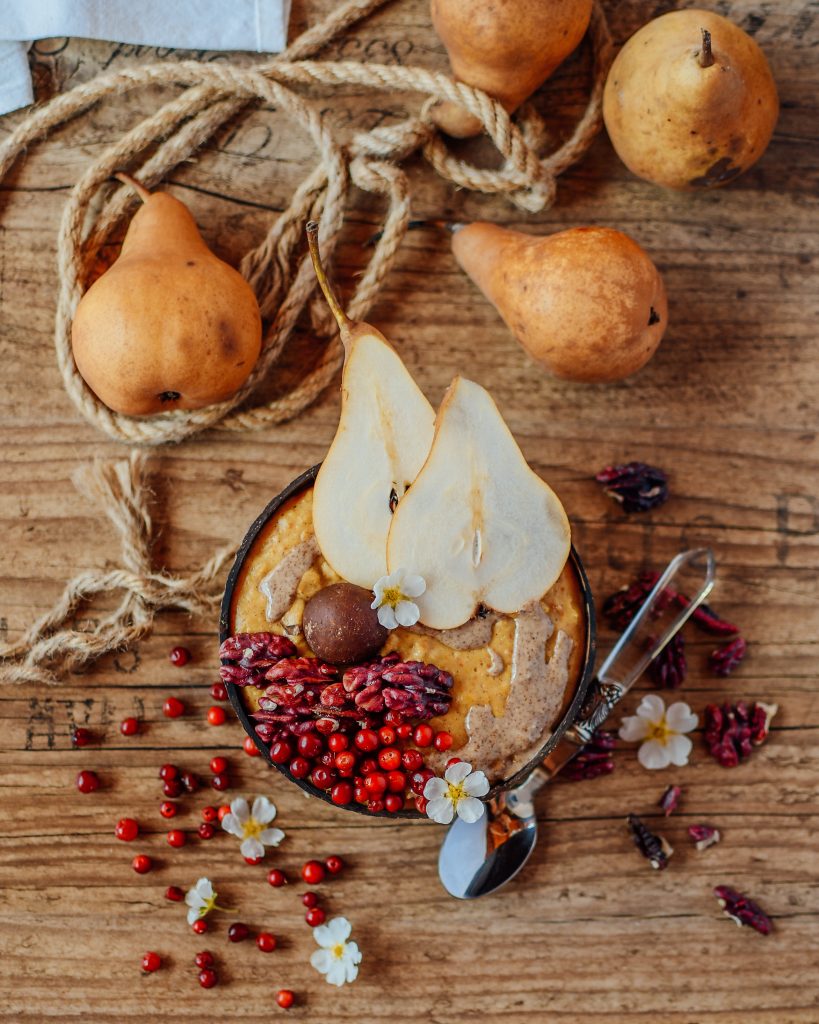
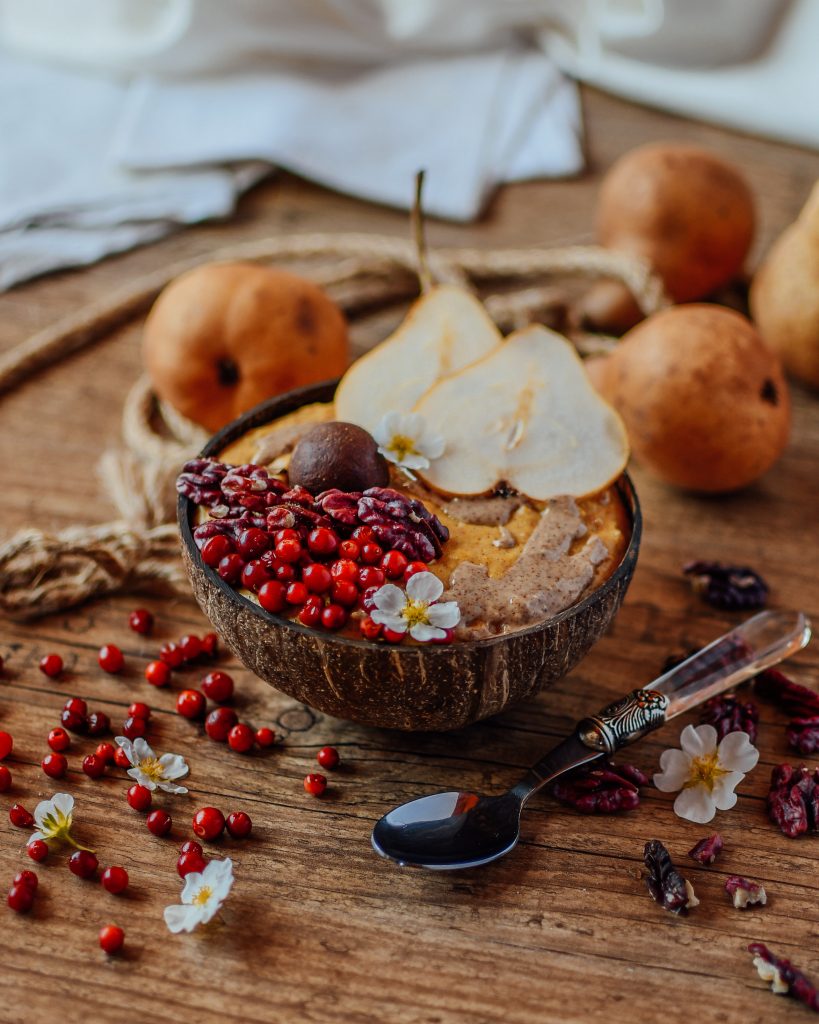
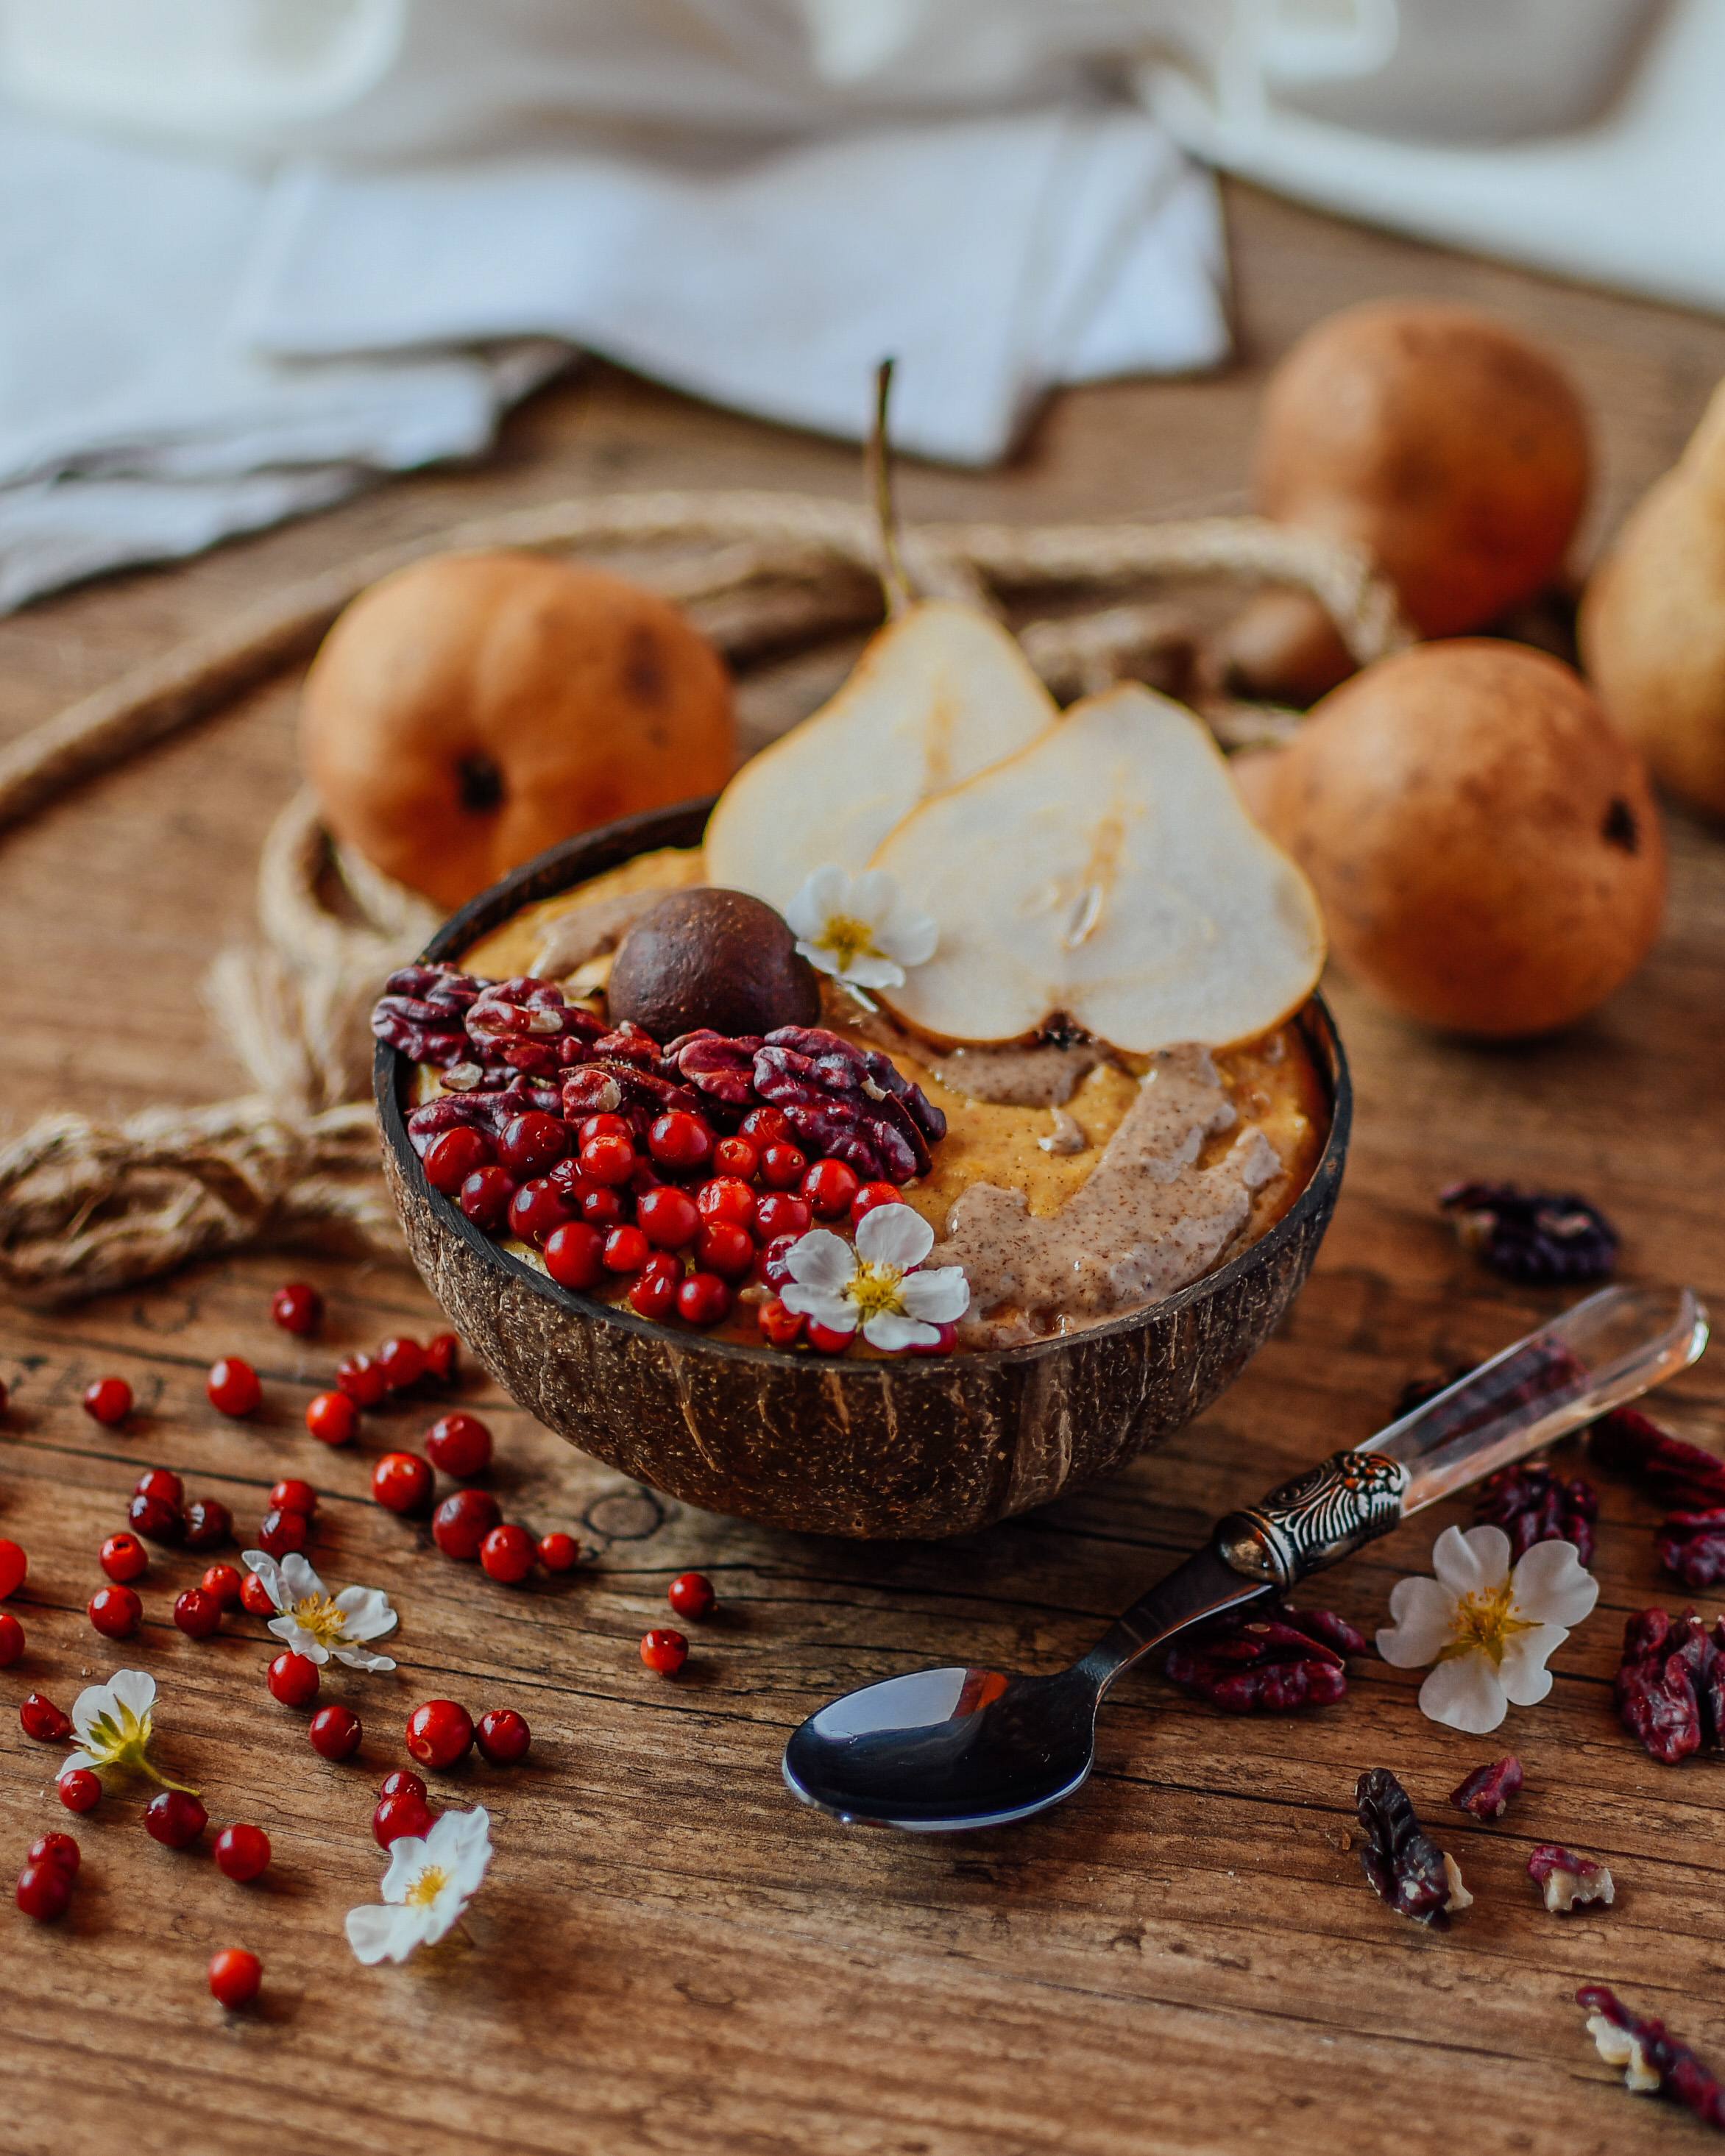
Since this is a hearty and smooth fall composition I would recommend topping it with fall fruit like pears or apples.
I would also prefer slightly simmered apples or pears instead of raw ones. Like this the flavors evolve better and if you add some cinnamon and honey its just the perfect topping.
When I make it I usually use nut butter as well which adds so much extra delicious flavor to the pumpkin porridge . In the pictures you see peanut butter I put on top of the yummy bowl. I also really like cashew butter, but that didn’t came out so well on the picture 😉  
Another topping I can recommend are nuts. I used very special red nuts that my grandma has in her garden. But regular walnuts, pecans or almonds will do as well. 

Spiced Pumpkin Porridge

The ingredients

For this easy pumpkin porridge you will just need a handful of ingredients. 
It is super easy to make and will take you only 15 minutes. 
Regarding the type of pumpkin I only have made it with Hokaido. I like to use this kind of pumpkin because of the beautiful orange color. I am sure the other ones will work fine too. 
As I usually do I substituted regular refined sugar with Erythrit again to save quite a bit of calories. If you don’t have that at home you can use honey or regular sugar or Xylit.

Pumpkin Porridge

I hope you will find great use of this recipe this fall season. I can promise you its worth a try for every pumpkin lover out there!

Pumpkin Porridge
Serves 1
A smooth and creamy breakfast for the fall season
Write a review
Print
Total Time
15 min
Total Time
15 min
Ingredients
  1. 100ml almond milk
  2. 20g oat flour
  3. 50g pumpkin puree
  4. 20g erythrit or xylit
  5. 1 tsp of pumpkin spice
  6. 1/2 scoop of protein powder
  7. nut butter
  8. apples or pears for topping
Instructions
  1. In a pot boil the oats in milk under consistent stirring.
  2. Once thickened add in the pumpkin purree, sweetener of choice, protein powder and pumpkin spice.
  3. Stir until well combined.
  4. Put in a bowl and top with nut butter of choice and apples or pears.
Notes
  1. Make double the portion if you are really hungry 😉
carinaberry.com https://carinaberry.com/
Are you looking for more vegan and healthy breakfast recipes? Have you seen my vegan breakfast waffles without sugar? If not check them out here

If you are looking for more recipes and photo inspiration you always have the chance to check my Instagram @carina_berry

Did you make this recipe? 

Did you make this recipe?

Tag #carinaberry and get the possibility for a shoutout on my Instagram! 

Finally, I always love to see your wonderful creations and it makes me so happy to see you guys actually making my recipes. 

xoxo,


Weiterlesen

Vegane Waffeln ohne Zucker

Vegane Waffeln ohne Zucker

Habt ihr schon mal vegane Waffeln ohne Zucker probiert? Ihr denkt euch wohl, dass kann ja gar nicht schmecken. Vegan und dann auch noch ohne Zucker? Lasst euch von diesem gesunden Fitnessrezept verzaubern. Mit nur ganz wenigen Zutaten könnt ihr in kurzer Zeit ein leckeres Meisterwerk herstellen. 

Als ich das Rezept zum ersten Mal gemacht habe kam mein kleiner Bruder in die Küche und meinte „Was riecht denn hier so lecker“. Ich habe ihm gesagt, dass ich gerade dabei bin Waffeln zu machen und er wollte sie unbedingt probieren. Nach dem ich alle Fotos geschossen habe durfte er sie dann kosten und ich war unglaublich überrascht von seiner Reaktion. Er hat nämlich gleich den ganzen Teller aufgegessen. Ziemlich ungewöhnlich für meinen Bruder der von veganer Ernährung nicht gerade begeistert ist und lieber Burger, Pommes und Pizza bevorzugt. Der beste Beweis also, dass dieses Rezept wirklich lecker ist! Obwohl es vegan ist und ohne Zucker! 

Vegane Waffeln ohne Zucker

Die Zutaten

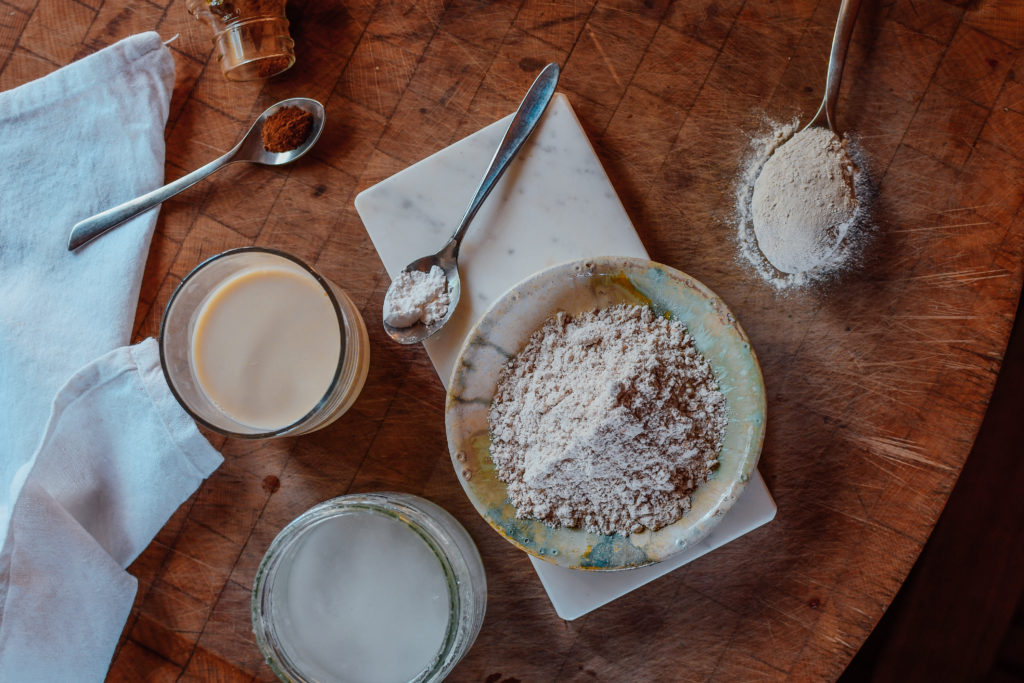
Ihr benötigt insgesamt sieben einfache Zutaten um die Waffeln zu machen. Ich habe in diesem Rezept bewusst die Menge an Dinkelmehl reduziert und mit veganem Protein ersetzt. Ich verwende im Rezept 100% Sonnenblumenprotein. Ihr könnt es aber durch jedes andere vegane Protein auch ersetzen. In meinem Rezept habe ich Mandelmilch verwendet. Auch hier könnt ihr den Pflanzendrink gegen Soja-, Hafer- oder Reismilch tauschen. 

Außer Backpulver, Zimt und Kokosöl braucht ihr dann noch Erythrit oder Xylit. Da das Rezept ja ohne Zucker is brauchen wir dennoch eine Alternative um es zu süßen. Hier greife ich immer auf diese zwei Zuckeralternativen zurück. Xylit auch bekannt als Birkenzucker hat um 40% weniger Kalorien als normaler Zucker. Erythrit oder Erythritol hat keine Kalorien und ist ein natürlicher Zuckeralkohol. Beides lässt sich beim Kochen und Backen genauso wie Zucker verarbeiten. 

Wo bekomme ich veganes Protein und den Zuckerersatz?

Die meisten Sportnahrungsonlinestores haben mittlerweile ein veganes Protein im Sortiment. Hier gibt natürlich Qualitätsunterschiede. Ich habe im Rezept reines Sonnenblumenprotein aus dem Biomarkt verwendet. Dieses besteht wirklich zu 100% aus Sonnenblumenkernen. Wenn ihr euch ein Proteinpulver bestellt achtet darauf, dass nicht viele Zusatzstoffe wie Süßungsmittel, Farbstoffe oder Aromen zugesetzt worden sind. Am besten ist es wirklich 100% Hanf-, Erben-, Reis-, oder Sonnenblumenprotein zu kaufen. 

Xylit oder Birkenzucker bekommt man in Österreich eigentlich schon in jedem Supermarkt. Sogar die Discounter haben das bereits im Sortiment. Erythrit und Erythritol kann man allerdings nur online bestellen. 

Vegane Waffeln ohne Zucker

Zubereitungsdauer

Generell würde ich euch empfehlen, dass ihr euch für diese Waffeln etwas mehr Zeit nehmt als ich das sonst für normale Waffeln machen würdet. Da hier kein Ei verwendet wird welches den Teig bindet ist es etwas schwieriger damit im Waffeleisen zu arbeiten und es ist große Vorsicht geboten. Das ganze Rezept wird in etwa 15 bis 20 Minuten benötigen. 

Anleitung für die veganen Dinkelwaffeln ohne Zucker 

Trockene Zutaten:

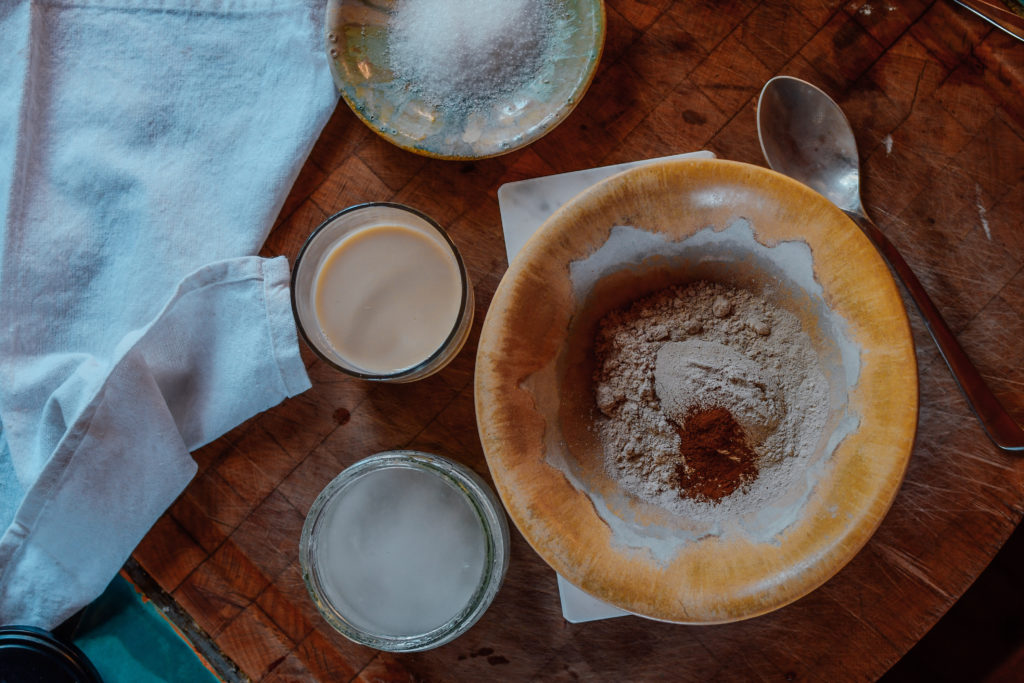
Beginne zuerst alle trockenen Zutaten in einer Schüssel zusammen zu mischen. Hier kommt das Protein, Xylit, Mehl, Zimt und Backpulver zusammen. Einmal gut umrühren und beiseite stellen. 

Flüssige Zutaten: 

In einer zweiten Schüssel das Kokosöl mit der Mandelmilch verrühren und nun Stück für Stück zu den trockenen Zutaten dazu geben. Hier immer wieder umrühren bis eine homogene Masse entsteht. 

Vegane Waffeln ohne Zucker

Den Teig kurz beiseite stellen während das Waffeleisen eingeölt und erhitzt wird. Nun ist alles bereit um die leckeren Waffeln heraus zu backen! 

Zubereitungstips für vegane Waffeln

Da wir bei diesem Rezept weder Ei noch Zucker verwenden, darf man das Endergebnis natürlich auch nicht 1:1 mit der Konsistenz von normalen Waffeln vergleichen. Ihr werdet sehen, dass auch die gebackenen Waffeln innen noch weich sind und nicht ganz fest werden. Hier fehlen einfach die Klebeeigenschaften. Schmecken tuts aber genauso lecker 🙂 

Ich empfehle euch das Waffeleisen auf die höchste Stufe zu drehen und die Waffeln überdurchschnittlich lang drinnen zu lassen, da sie sonst kleben bleiben. Auch unbedingt das Waffeleisen gut einölen und immer kleine Mengen an Teig heraus backen. 

Vegane Waffeln ohne Zucker

Warum kleben vegane Waffeln? 

Dadurch, dass kein Ei verwendet wird kleben die Waffeln einfach nicht so gut zusammen. Deshalb ist es wichtig im Waffeleisen kleine Waffeln zu formen die nicht bis zum Rand hinausgehen. So kann man sie leichter mit einer Holzspachtel vom Deckel lösen wenn sie kleben bleiben. 

Alternative zu Dinkelmehl 

Wer noch einen Schritt weitergehen möchte kann auch noch einen Teil des Mehls durch Chiamehl ersetzen. Das habe ich auch schon ausprobiert. Hier spart ihr euch nochmal einiges an Kohlenhydraten und erhöht den Proteingehalt des Gerichts. Falls ihr das ausprobiert würde ich euch aber raten keine Waffeln im Waffeleisen zu machen sonder lieber kleine Pancakes, da sie sonst sicherlich kleben bleiben. Als kleine Pancakes kann man sie in der Pfanne viel leichter umdrehen. 
Chiamehl bekommt ihr übrigens in vielen Naturkostläden und großen Onlineshops. 

Vegane Waffeln ohne Zucker

Toppings

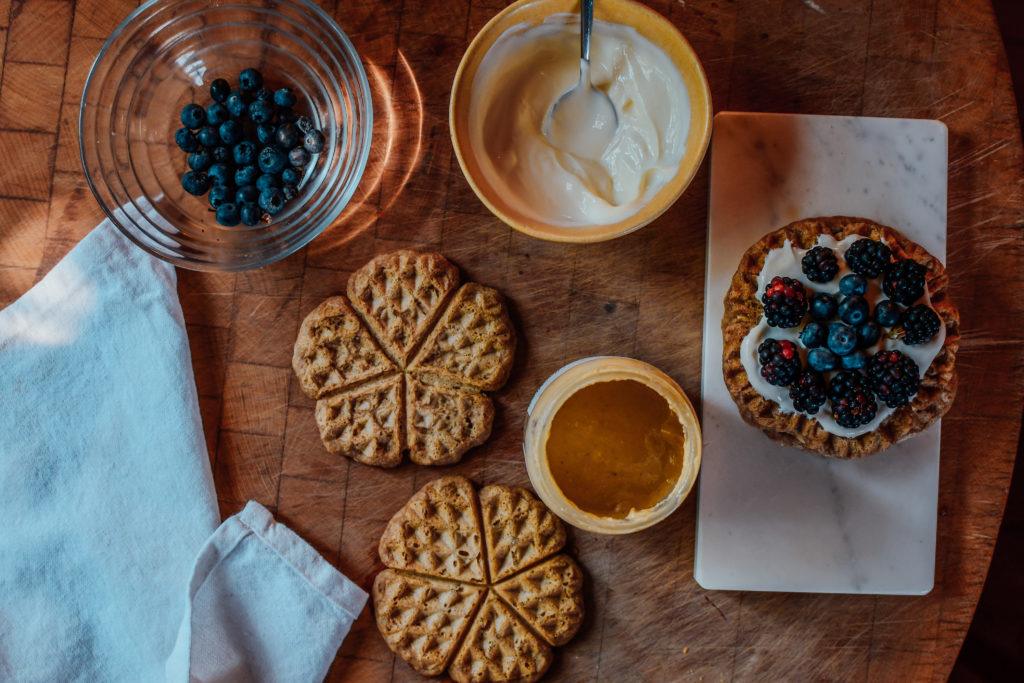
Sobald ihr mal die Waffeln fertigt habt, seid ihr vollkommen frei in der Gestaltung eurer Toppings. Ich habe in diesem Rezept Sojajoghurt verwendet und dunkle Beeren, welche perfekt damit harmonieren. Jegliches Nussmus (Mandel, Erdnuss, Cashew) schmeckt auch unglaublich lecker mit den Waffeln. Dann noch ein paar Bananen darauf und ihr habt eine weitere leckere Kreation. 

Hier noch ein paar Topping Ideen: 

  • Peanut Butter and Jelly (Erdnussbutter und Marmelade) 
  • Schokoaufstrich und Banane (Achtung nicht vegan!) 
  • (Soja)joghurt mit Beeren 
  • Mandelmus mit Rohkakao und Bananen 

Die perfekte Präsentation 

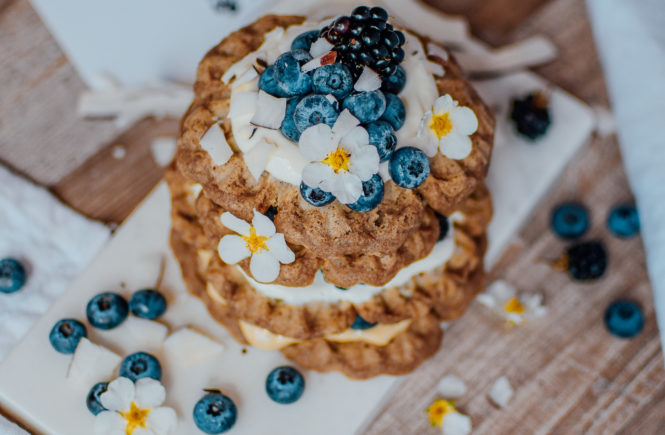
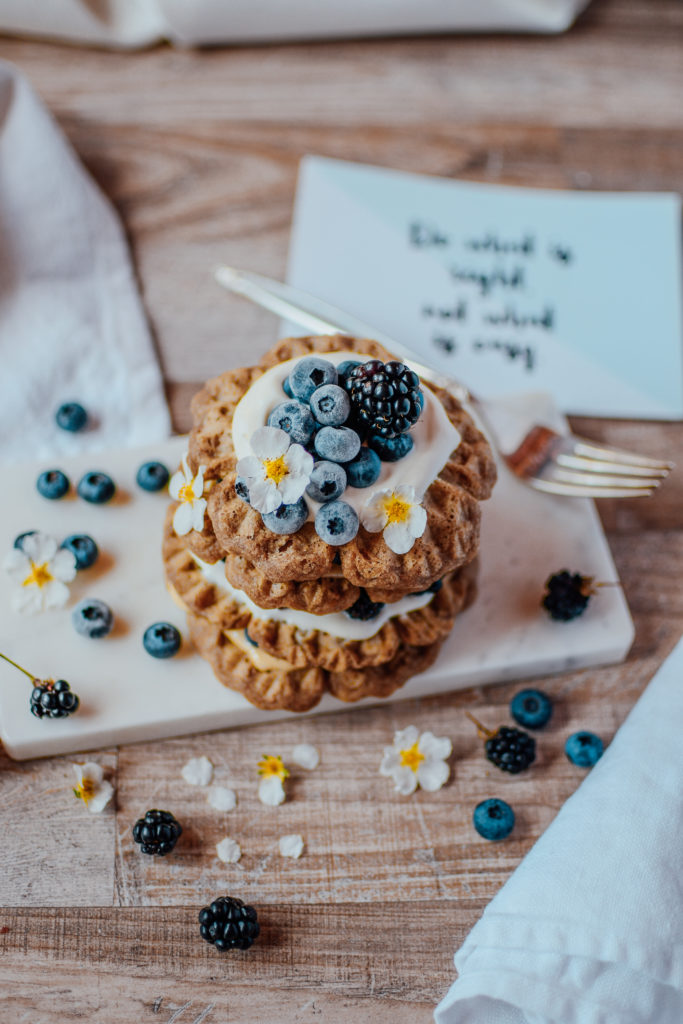
Zum Abschluss kann ich mir es als Food Blogger natürlich nicht nehmen lassen euch noch einen super Dekorationstip zu geben! Am besten sehen eure veganen Waffeln ohne Zucker aus wenn ihr diese als Turm schlichtet und immer eine Schicht Joghurt/Mandelmus/Schokoaufstrich dazwischen aufträgt. Ganz oben kommen dann noch ein paar Beeren oder Bananenscheiben drauf. Dann huscht noch schnell in den Garten und findet eine kleine Blume die ihr ganz oben platzieren könnt und fertig ist euer Meisterwerk. 

Viel Spaß beim Kochen!

Ich hoffe ich konnte euch einen guten kleinen Überblick geben wie ihr am besten vegane Waffeln ohne Zucker zubereiten könnt. Als ich das Rezept das erste Mal gemacht habe war ich wirklich begeistert wie lecker es schmeckt und mache es mittlerweile fast wöchentlich. 

Ich finde es ist ein optimales Brunch Rezept für das Wochenende, da man dafür schon etwas mehr Zeit benötigt als der oft stressige Arbeitsalltag unter der Woche erlauben würde. Solltet ihr also mal vegane Freunde zu Besuch haben, wisst ihr nun mit welchem Frühstücksrezept ihr sie beeindrucken könnt 🙂 

Vegane Waffeln ohne Zucker
Ein gesundes Frühstücksrezept ganz ohne Zucker!
Write a review
Print
Waffeln
  1. 100ml Mandelmilch
  2. 1 Esslöffel Kokosöl
  3. 40g Dinkelmehl
  4. 1 Esslöffel veganes Proteinpulver
  5. 25g Xylit oder Erythrit
  6. 1 Teelöffel Backpulver
  7. 1 Messerspitze Zimt
Topping
  1. (Soja)Joghurt, Mandelmus, Beeren
Instructions
  1. Beginne damit alle trockenen Zutaten in einer Schüssel zu verrühren.
  2. Danach vermische die flüßigen Zutaten nach und nach mit den trockenen bis eine homogene Masse entsteht.
  3. Das Waffeleisen gut einölen und bei stärkerer Hitze etwas länger als normal herausbacken.
  4. Vorsicht beim öffnen des Waffeleisens, da die Waffeln kleben bleiben können.
  5. Zum Schluss die Waffeln mit eurem Topping nach Wahl toppen und noch heiß genießen.
Notes
  1. Da die Waffeln ohne Ei gemacht werden kleben sie auch nicht so gut zusammen wie normale Waffeln. Daher muss gerade beim Öffnen des Waffeleisens vorsichtig gearbeitet werden.
carinaberry.com https://carinaberry.com/

Hast du das Rezept nachgemacht?

Dann tagge mich mit @carinaberry auf Instagram verwende den Hashtag #carinaberry

Ich teile immer wieder nachgemachte Rezepte auf meiner Instastory  <3

xoxo,

Weiterlesen