Wrapped Rhubarb Cake

Wrapped Rhubarb Cheesecake

The first sunny days brightened up the country and summer is almost in sight. This week I discovered how fast the rhubarb in my garden had grown and was super motivated to create the first summer recipe of the season. That is why I am sharing a wonderful wrapped rhubarb cake recipe with you today!

I have a soft spot for rhubarb. It’s just like asparagus such a seasonal speciality. It barely has any calories and simply such a unique and awesome taste. I love that it grows right in my garden – fully organic. 

I wanted to create something extremely special to celebrate the start into my favorite season of the year. Since I love rhubarb and also cheesecake I thought why not combine both of my addictions into one explosion of deliciousness and therefore created a wrapped rhubarb cheesecake. 
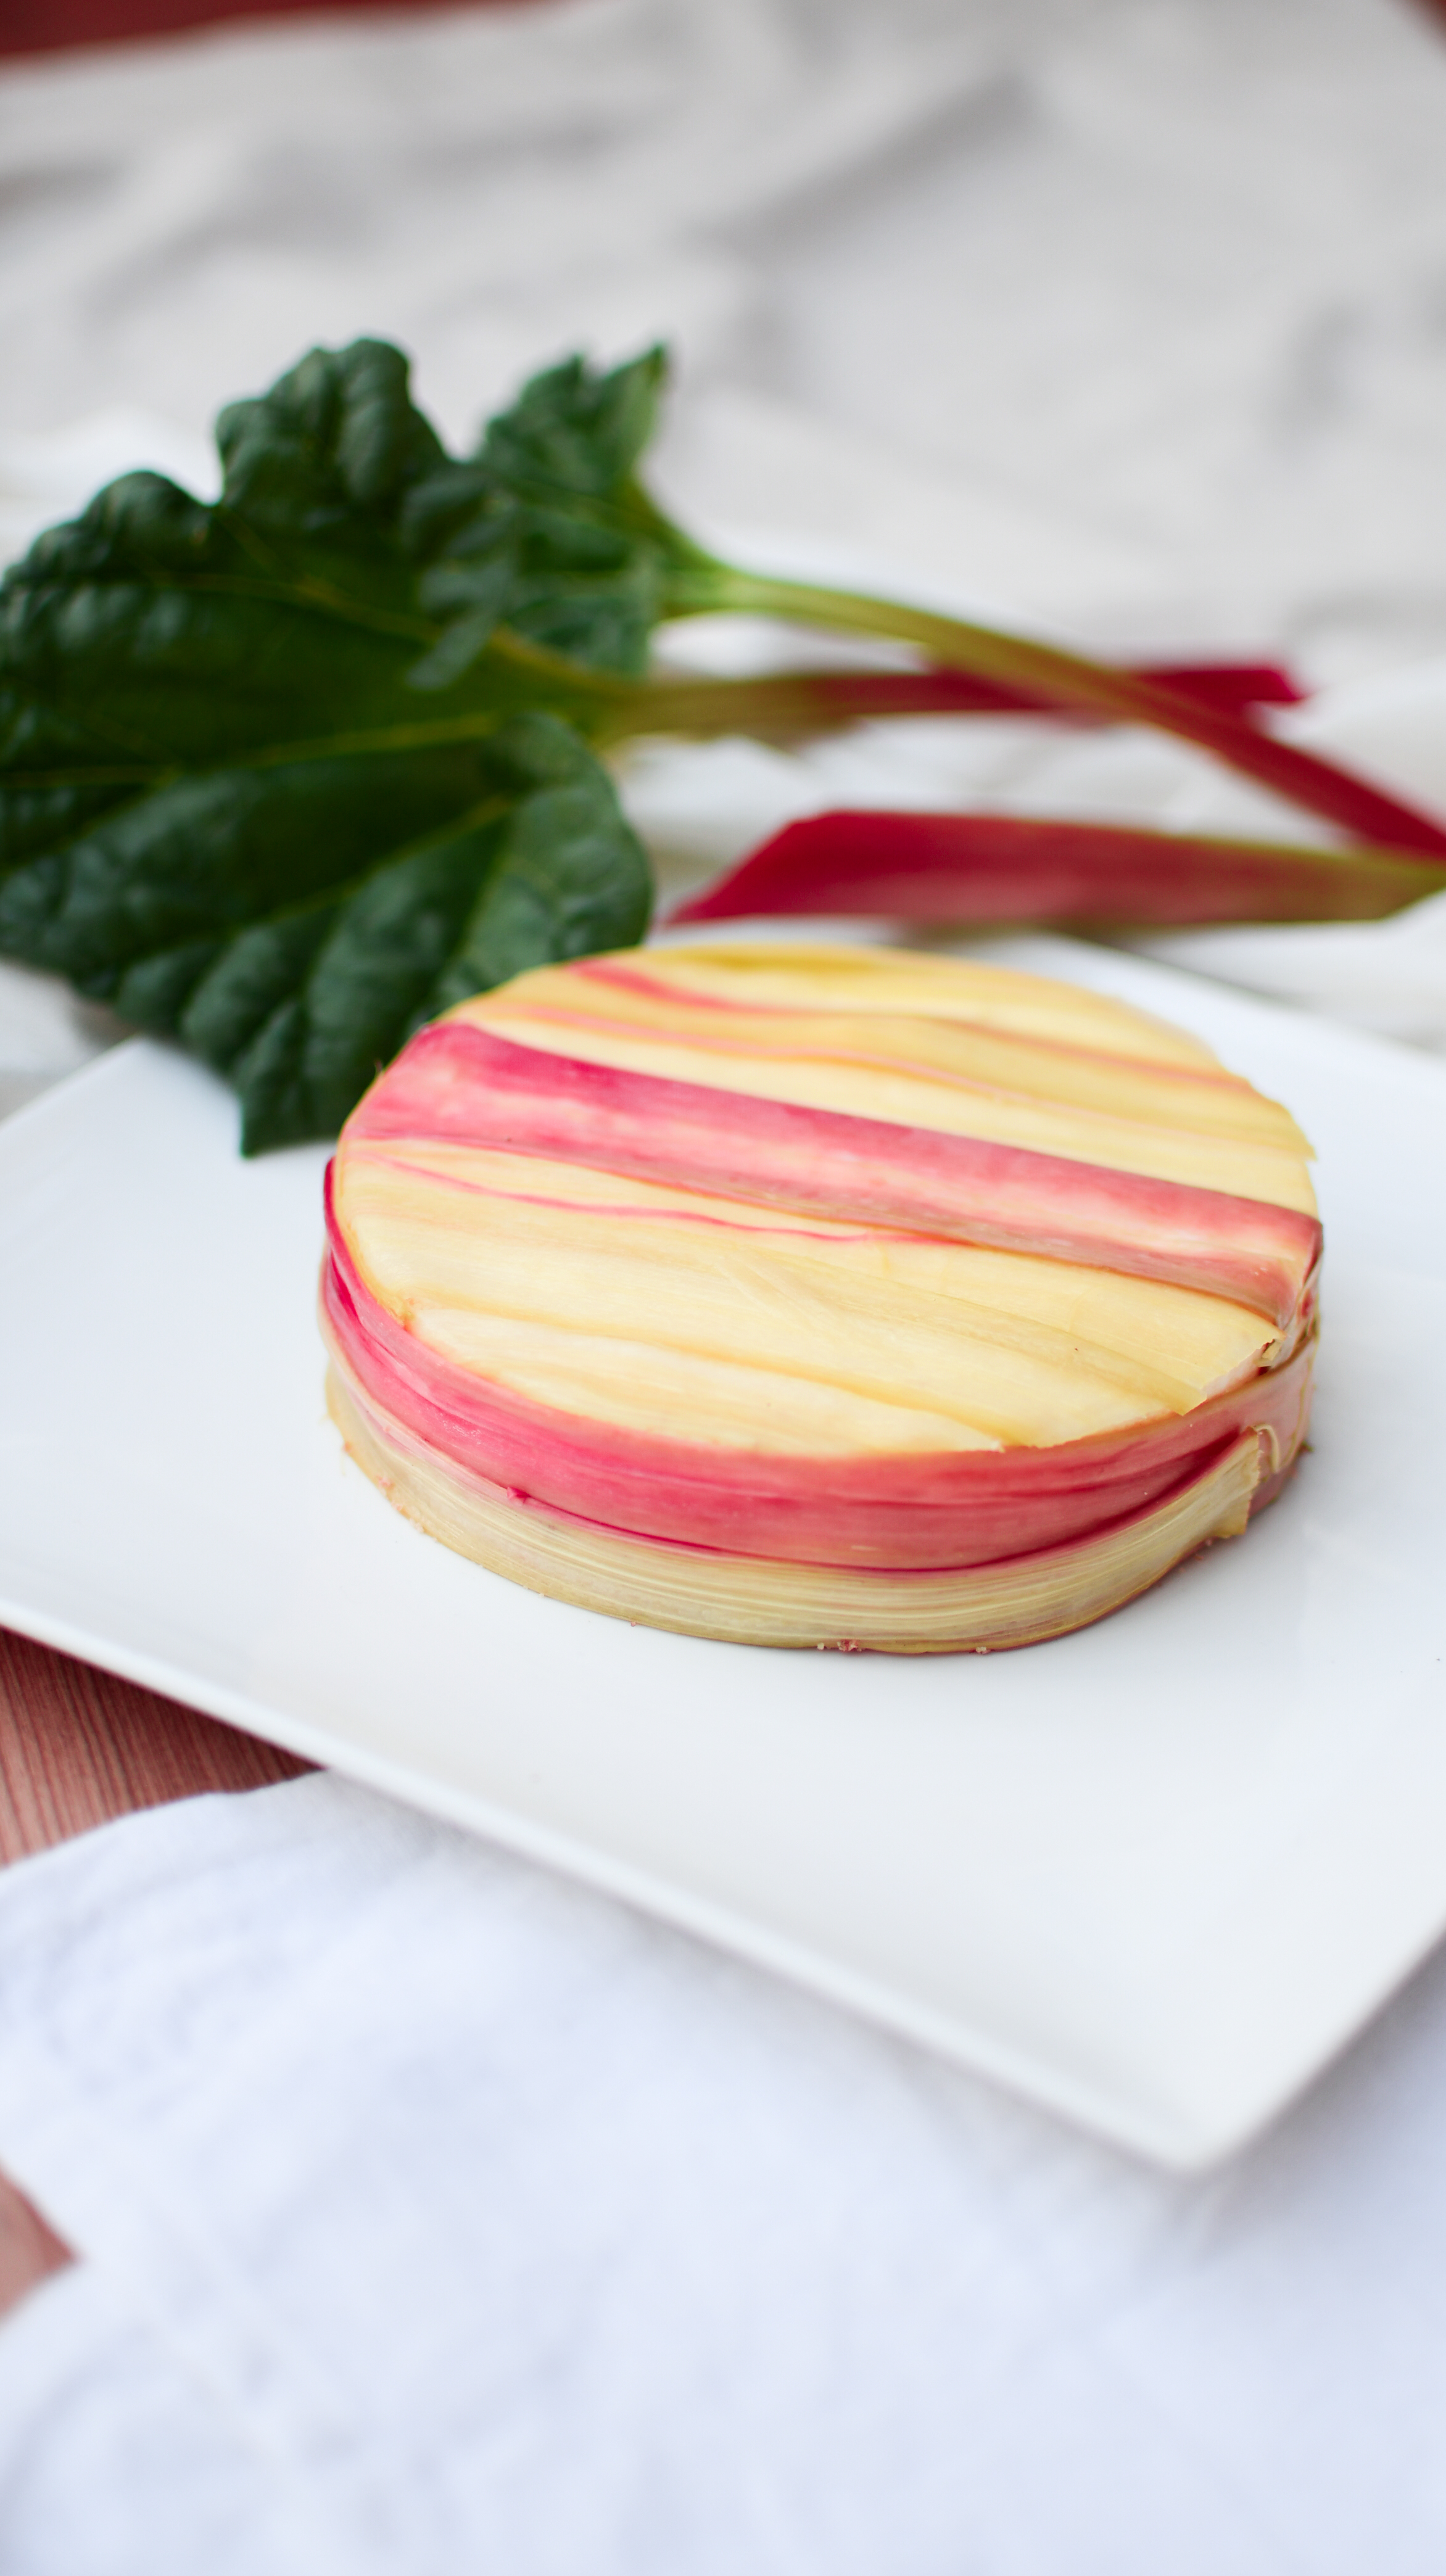
 

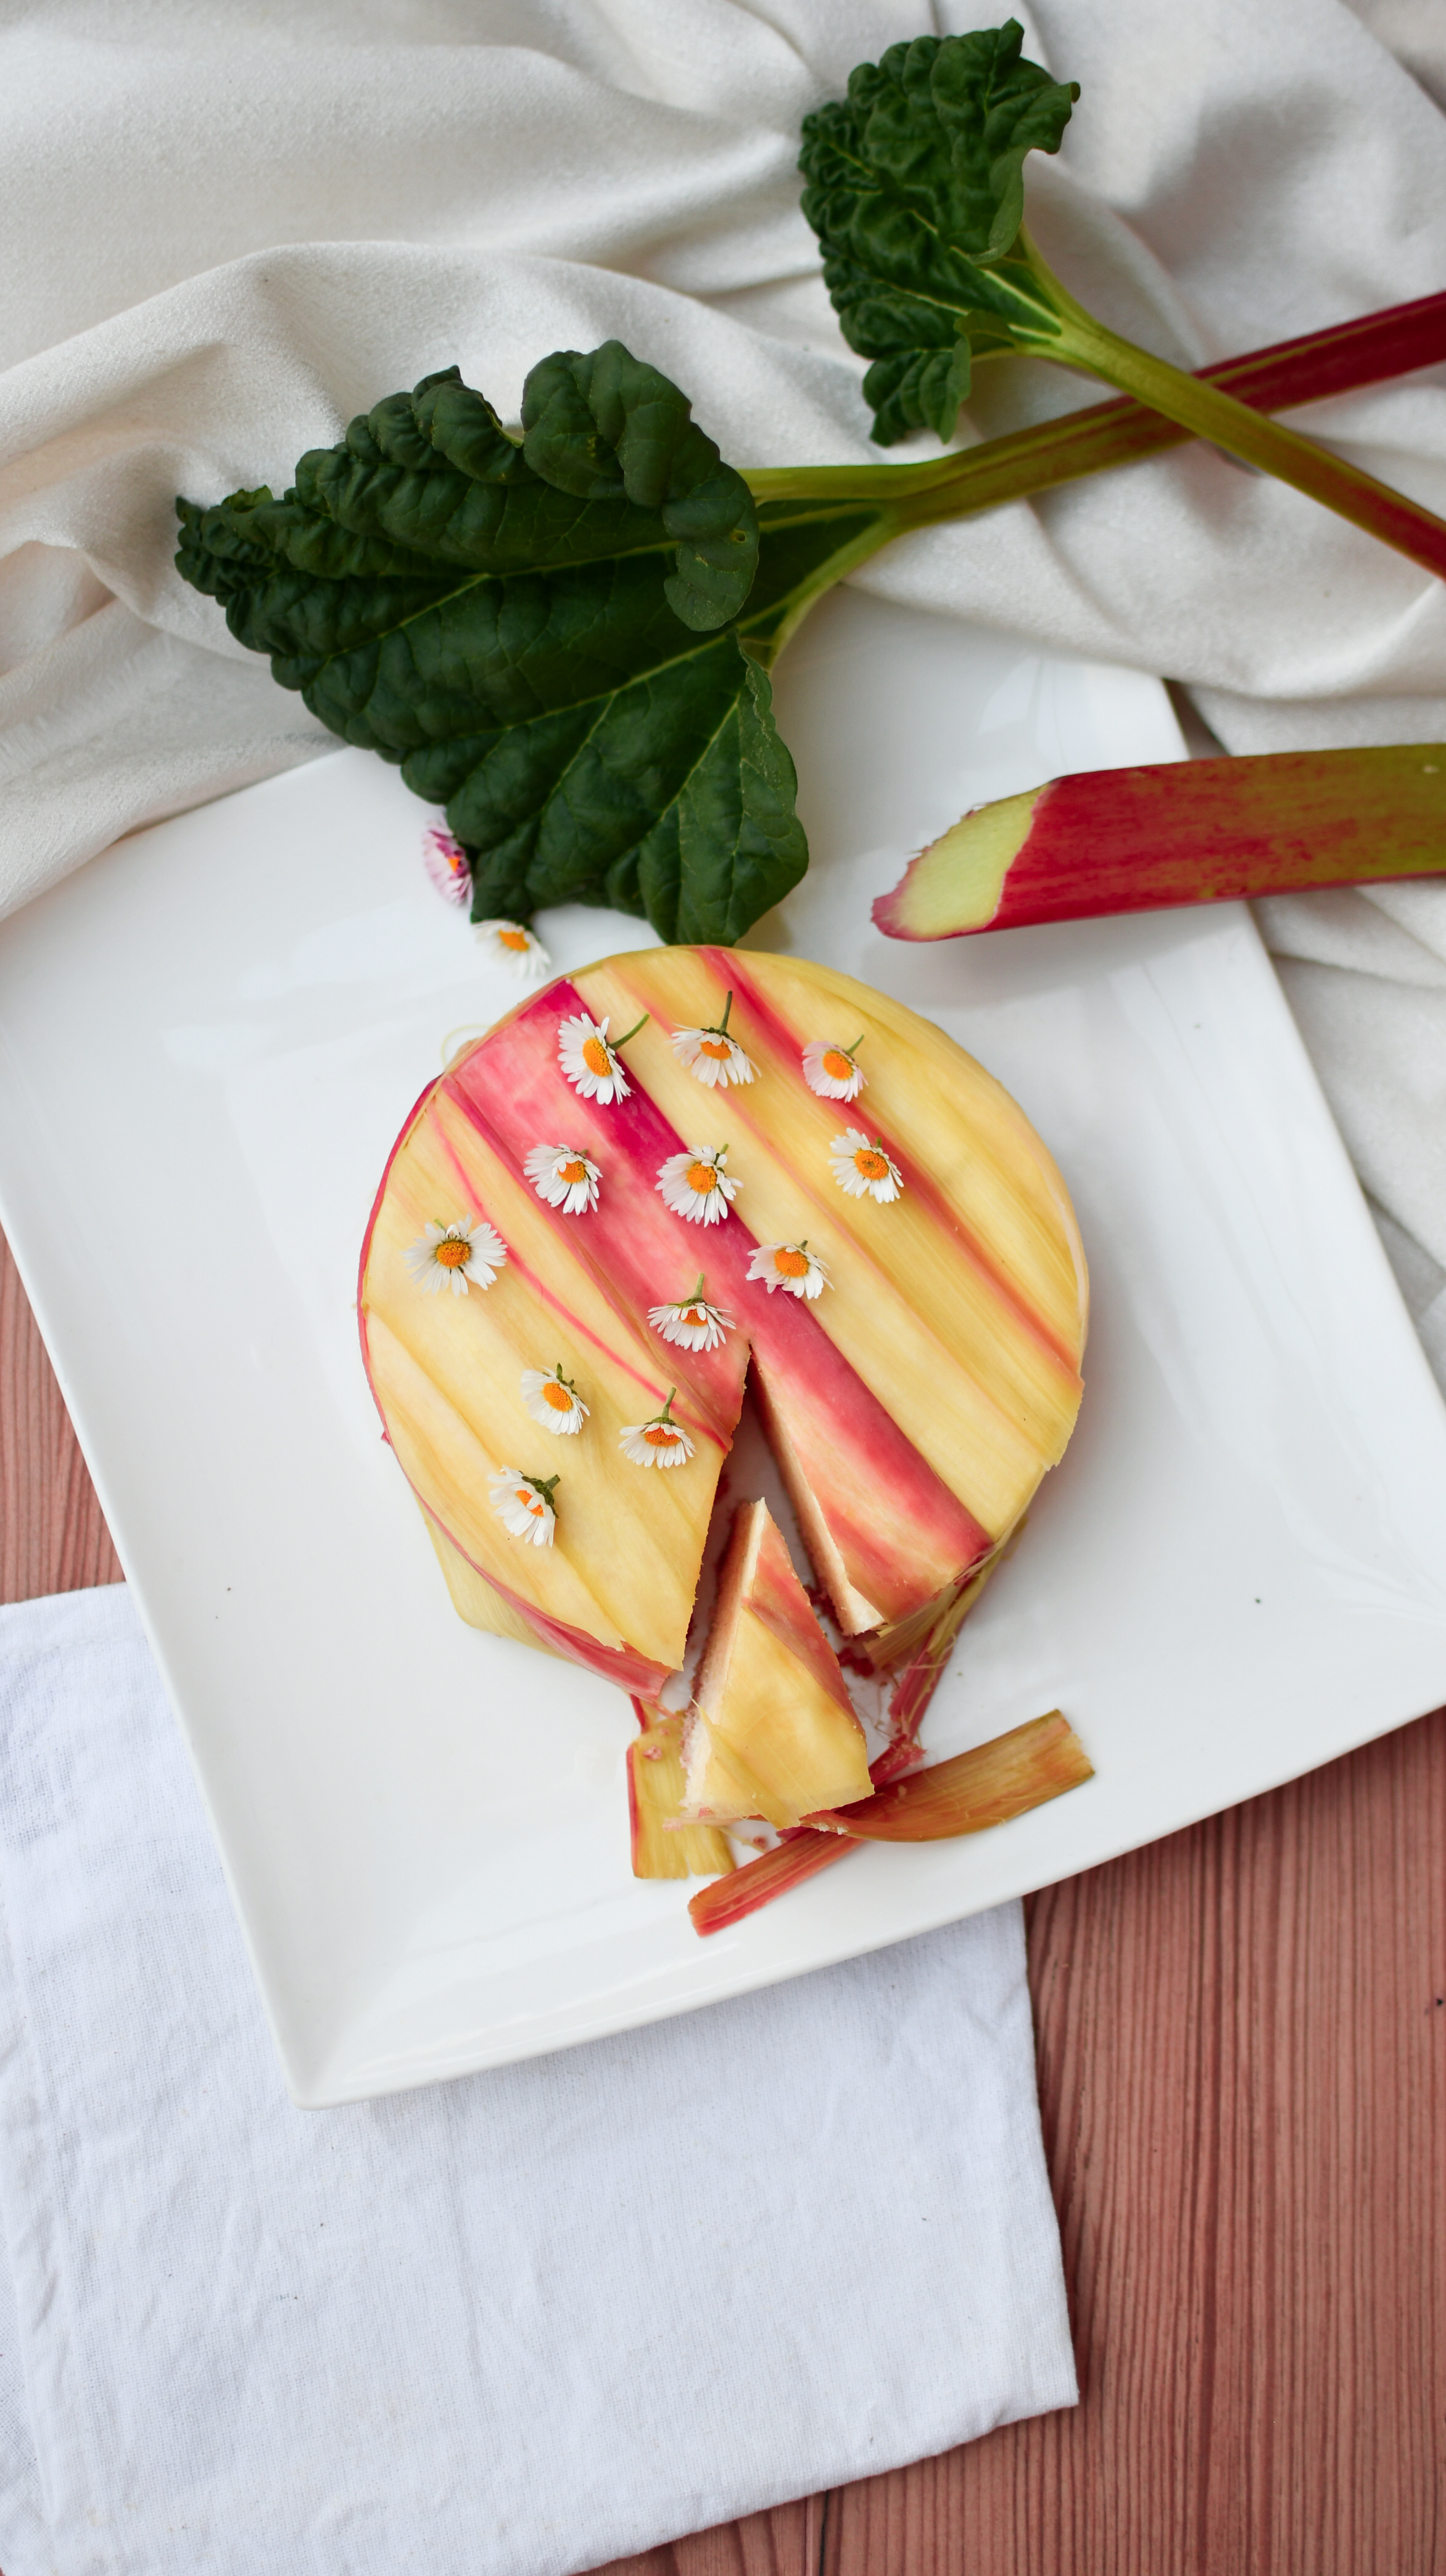
What I love about this special cake is that it looks so beautiful with its subtle pink colors. Almost too beautiful to cut and eat. The rhubarb stalks give the wrapped rhubarb cake almost a bit of an ombré effect which is simply breathtaking. 

This was the first time I made a more difficult recipe and it actually took me quite some time to prepare it.  It is by no means a difficult recipe, but there are simply many different steps with a lot of waiting time in between. However, if you have time on the weekend this could be a super fun project for one of your mornings. 
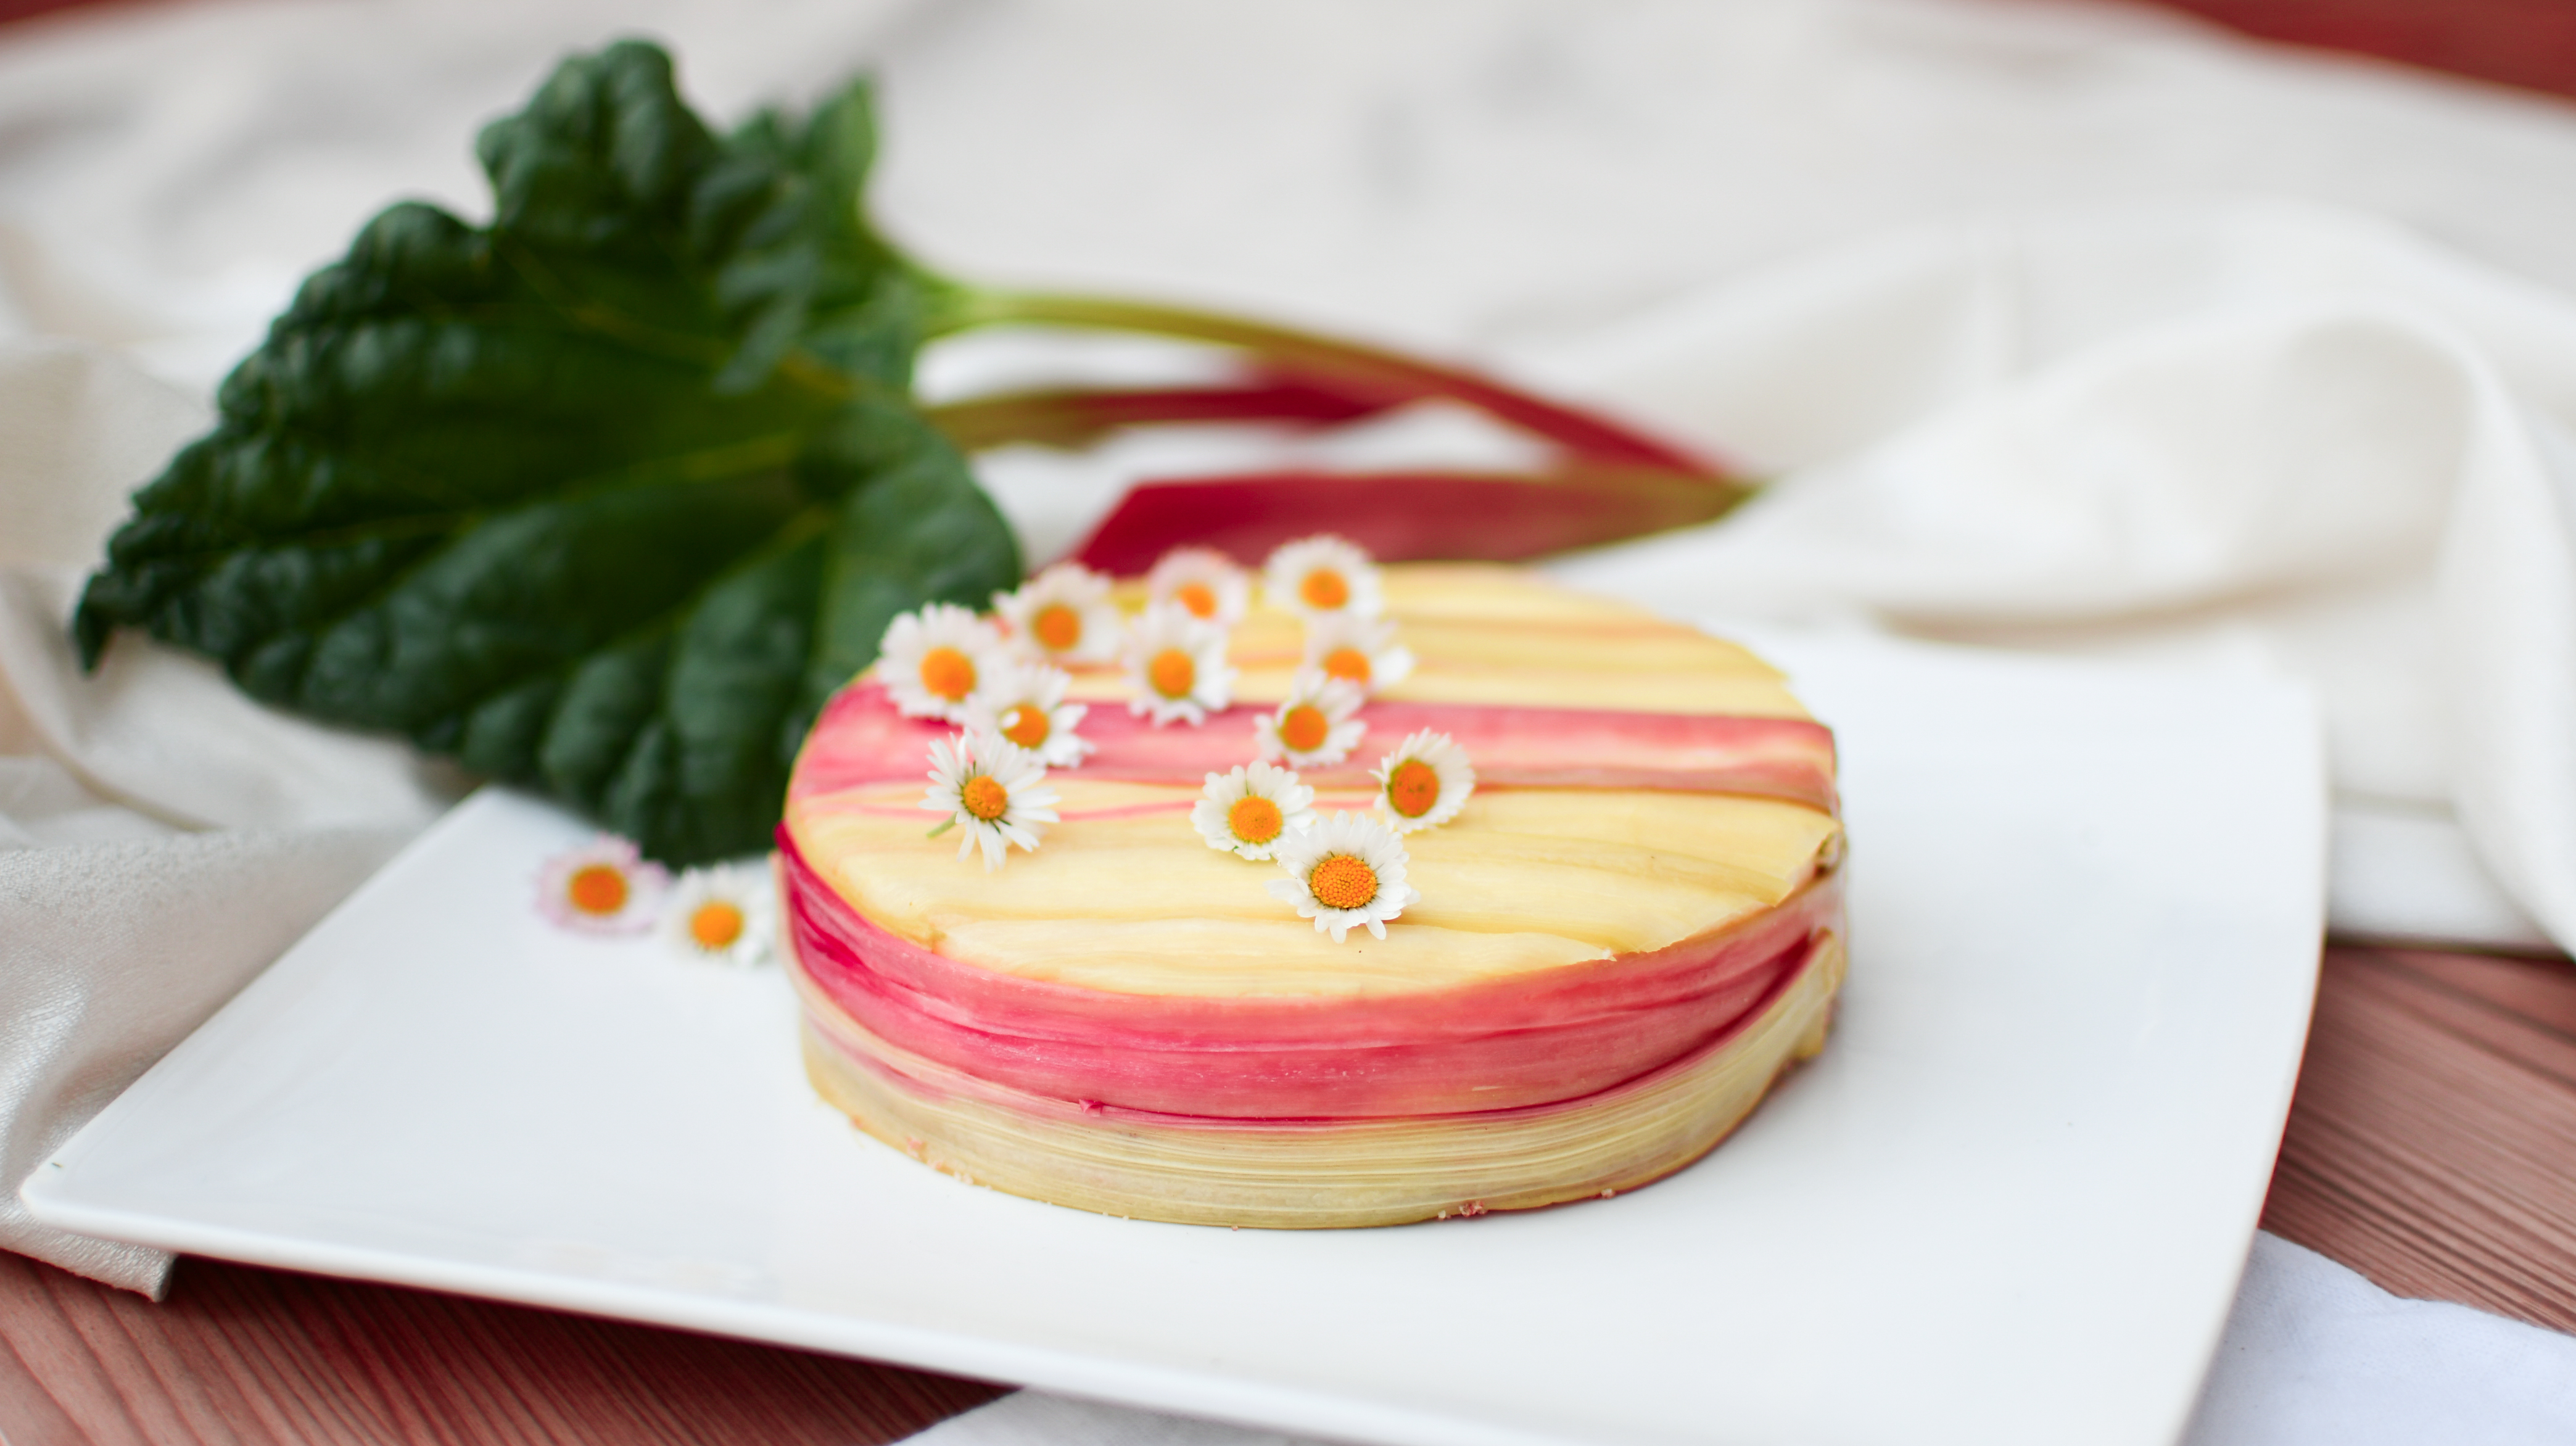
Wrapped Rhubarb Cheesecake

Most of the recipe consists of only mixing things together in a food processor. However there is one tricky part which is boiling the rhubarb stalks. The only super important thing is to not let them cook for too long or otherwise you will have rhubarb noodles 😀 
http://www.sprinklebakes.com/

Once you have the cake ready you need to make sure to slowly let it thaw in the fridge. Stil serve it cold and impress everyone at your summer party with this easy to make delicious and sugar-free cake! 

Tip: Make sure you use a very sharp knife for cutting.
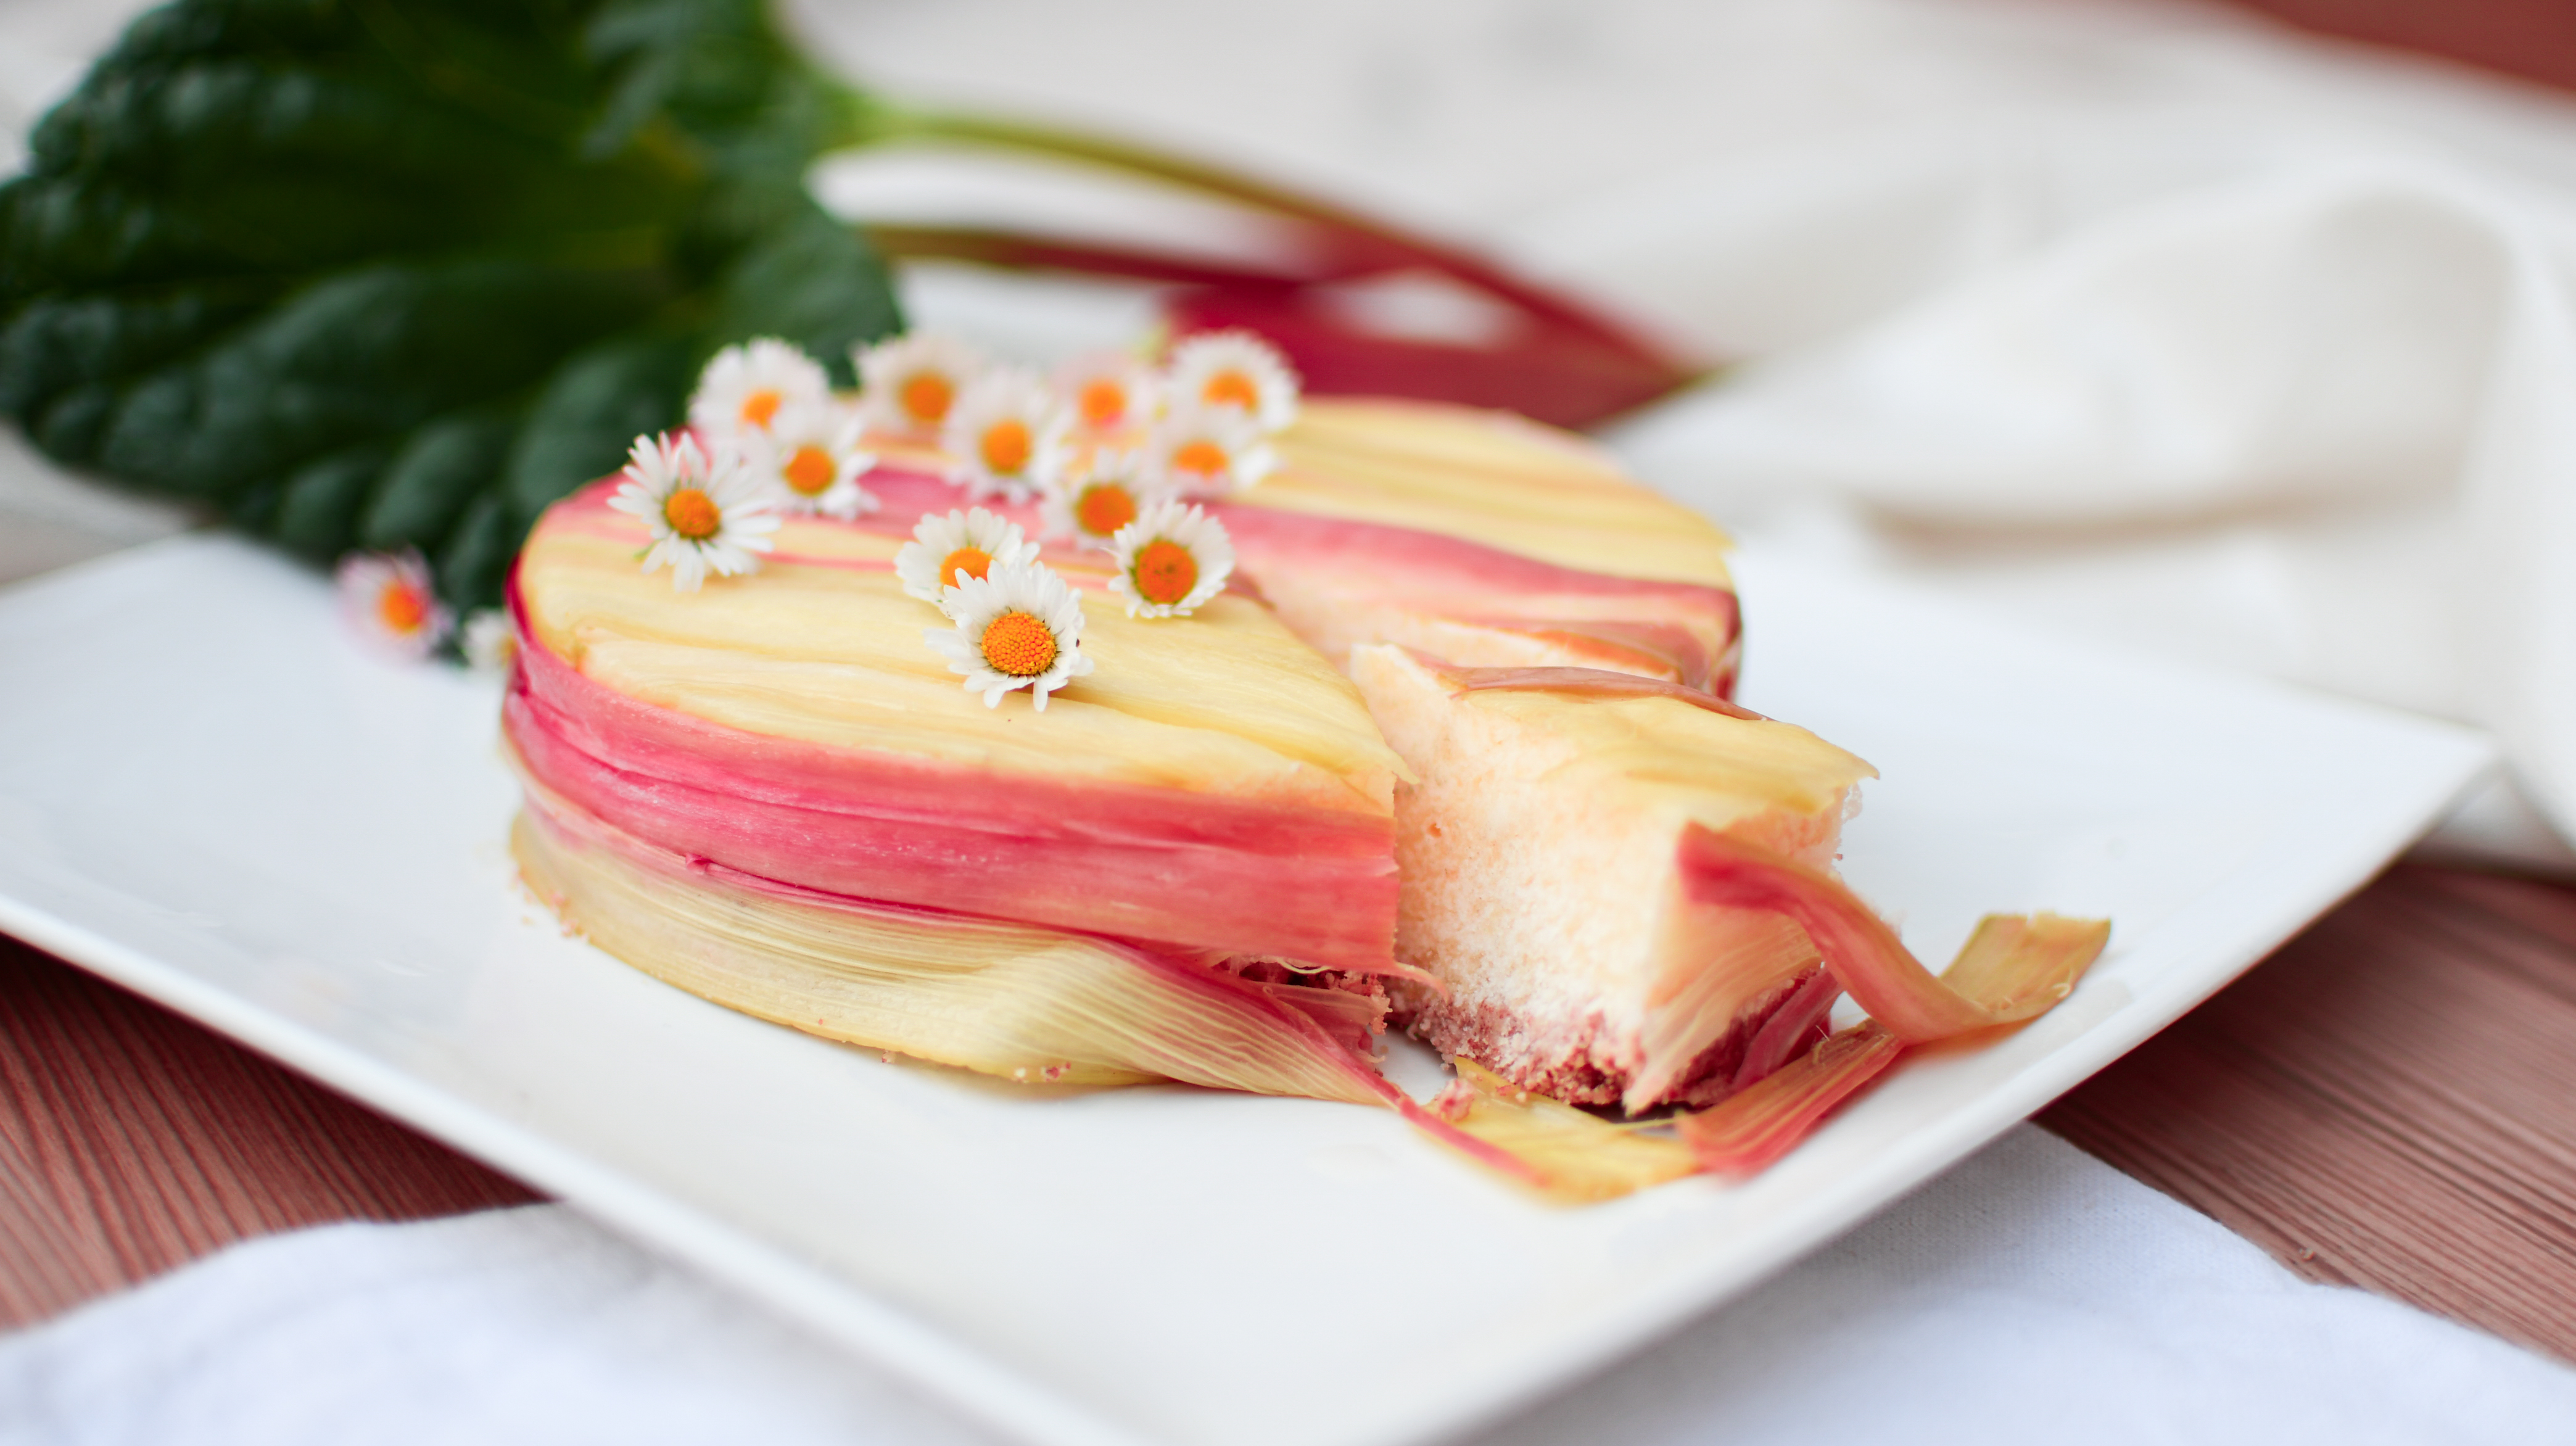
Wrapped Rhubarb Cheesecake

Let’s jump into the wrapped rhubarb cake recipe. You will see, it is easier than it looks! This recipe is adapted from Sprinklesbakes 
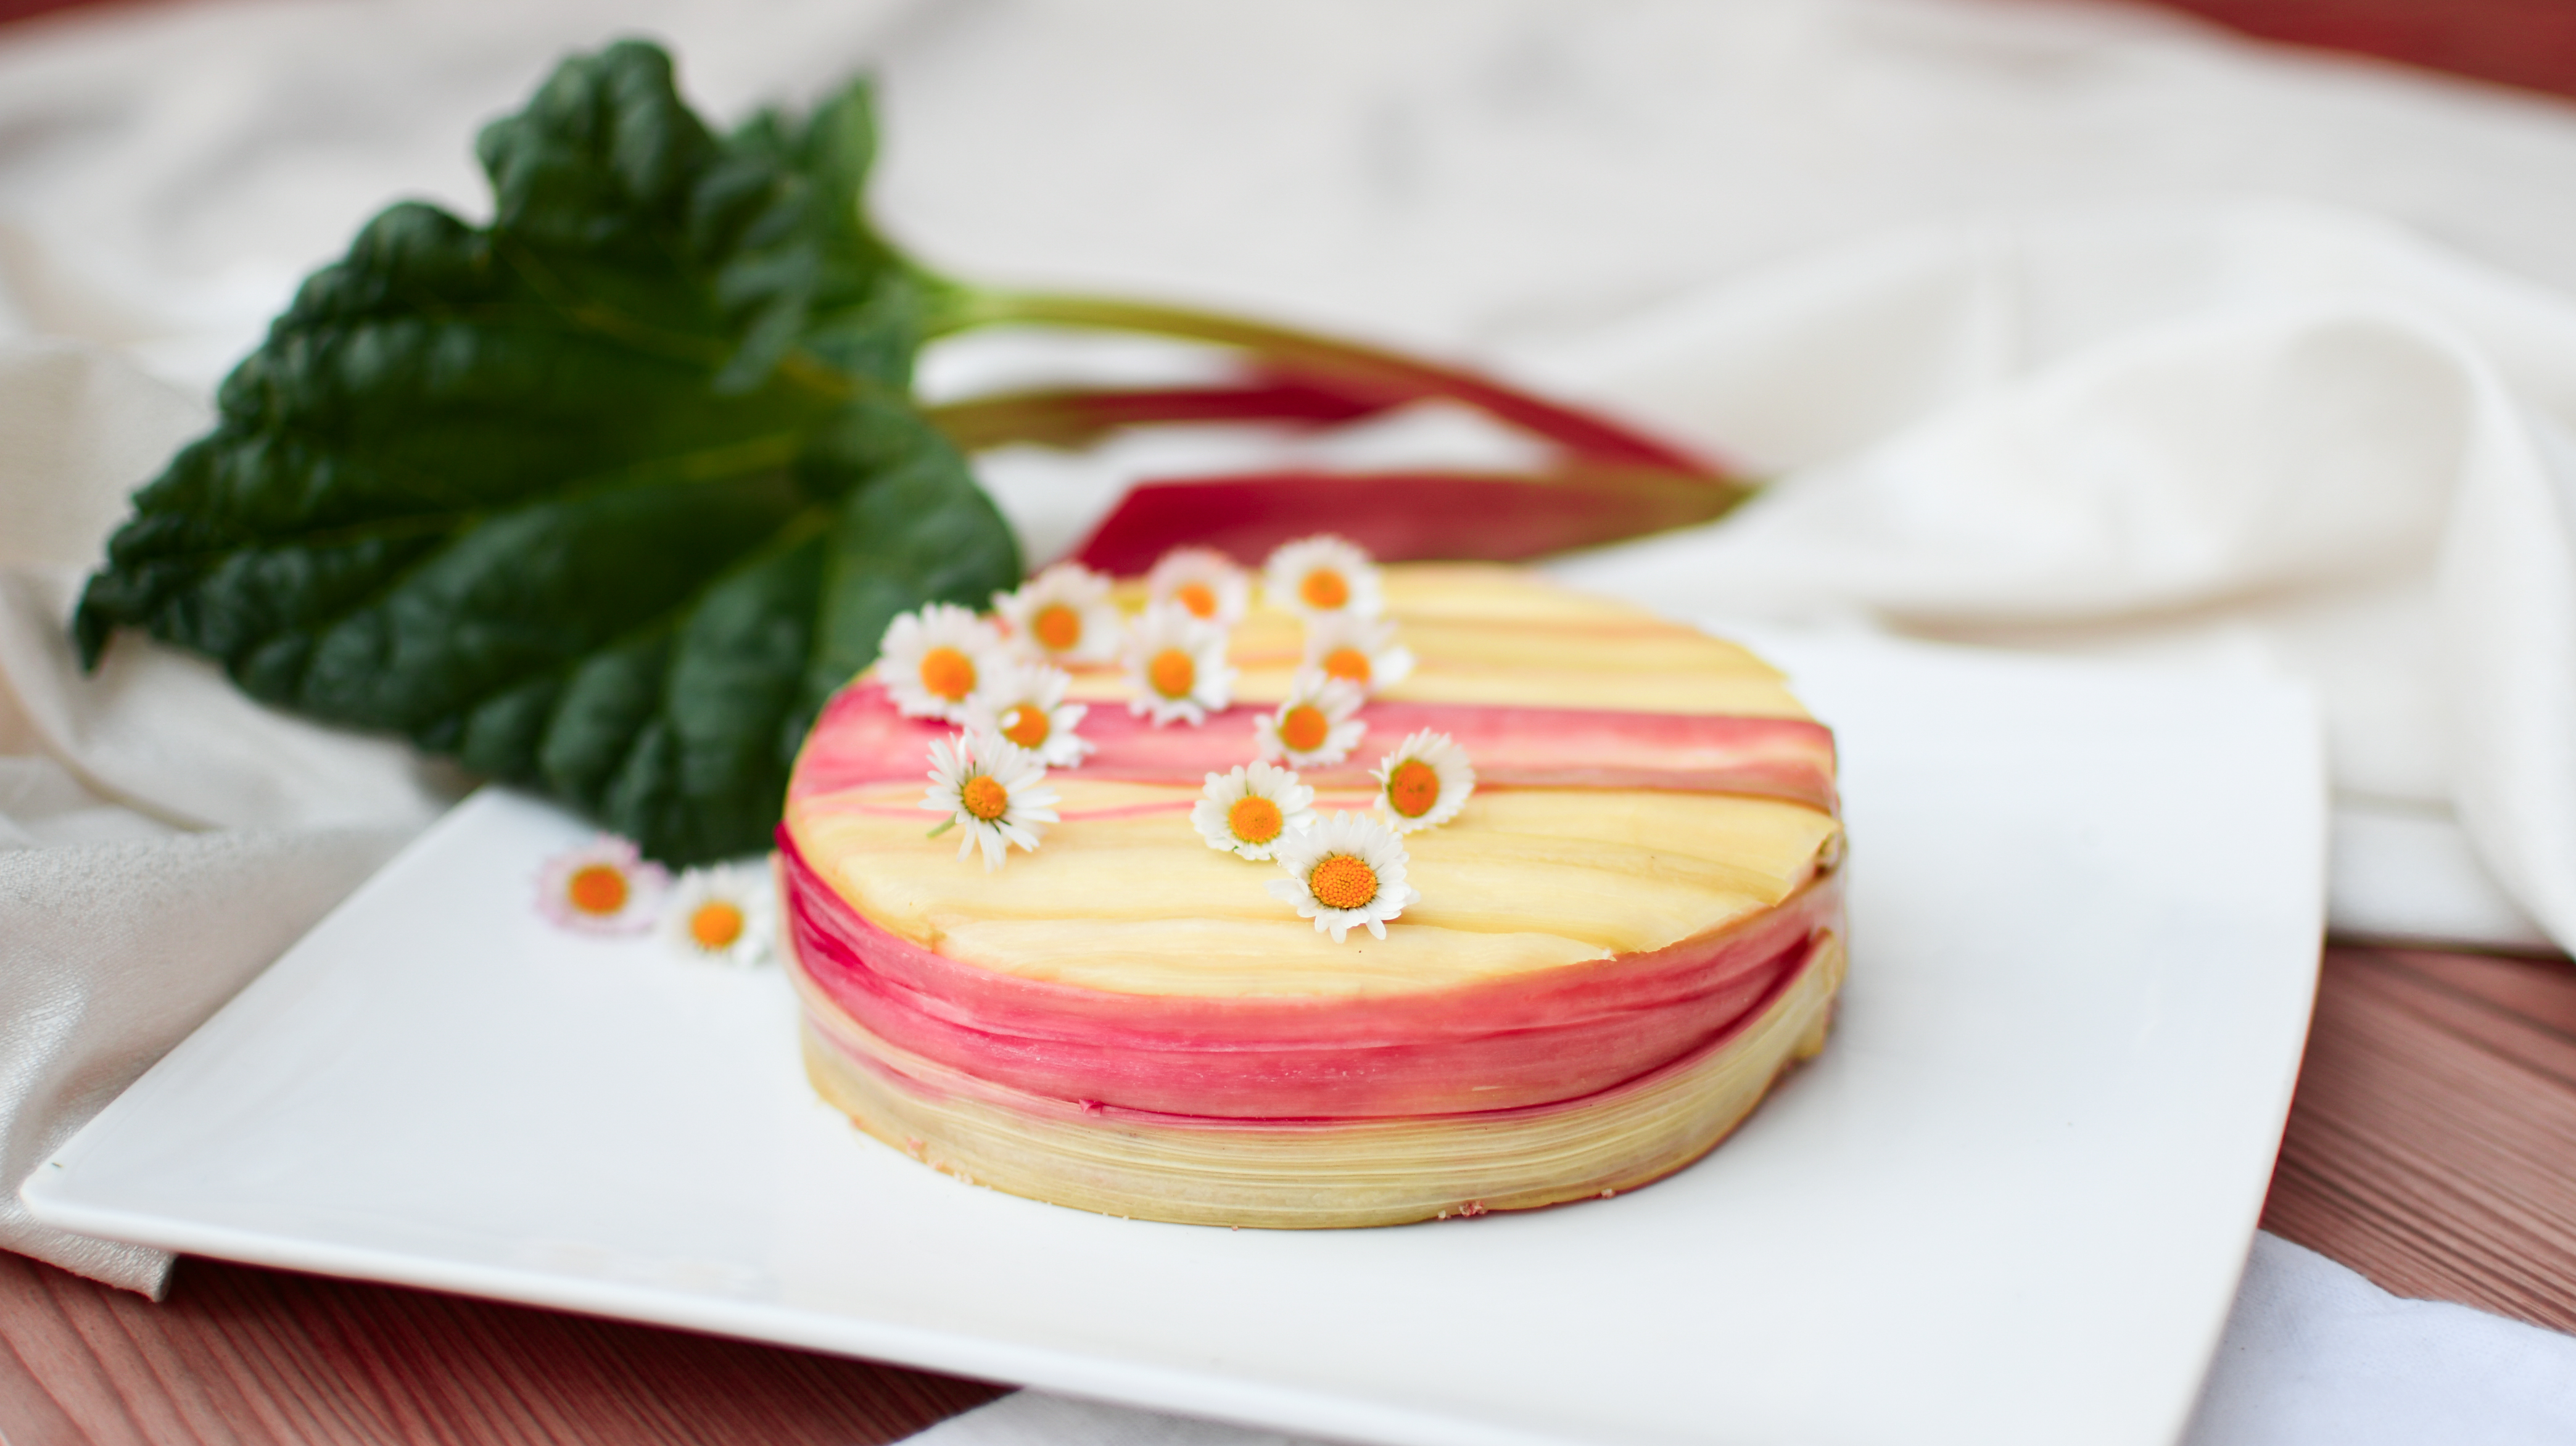
Wrapped Rhubarb Cheesecake
Serves 12
A sugar-free summer cake
Write a review
Print
Ingredients
  1. Crust
  2. 1 cup packed pitted dates*
  3. 1 cup raw walnuts
  4. Filling
  5. 2 1/2 cups raw cashews (covered with water and soaked for 8 hours)
  6. 1 tbsp vanilla bean paste
  7. 1/2 cup pure maple syrup
  8. 1/4 cup melted virgin coconut oil
  9. 1/2 cup lemon juice
  10. 1/4 cup water
  11. pinch of salt
  12. Rhubarb Coating
  13. 1 cup water
  14. 1/2 cup sugar
  15. 6-7 long rhubarb stalks
Instructions
  1. In a food processor mix the dates until well blended. Put them into a bowl and set aside.
  2. Now blend the raw walnuts until you also have a very smooth mixture.
  3. Mix both parts together and press into the bottom of a silicone form. The crust should be around half an inch.
  4. Drain your cashews that have been soaking for at least 8 hours and combine them with all the other ingredients for the filling in a food processor. Make sure to mix them until you get a very smooth blend.
  5. Pour into the silicone form and freeze for 3 hours
  6. Now moving on to the rhubarb coating use a vegetable peeler and shave the rhubarb stalks into paper thin strips.
  7. Take a pot and let the sugar and water boil together. Don’t place more than three stalks in the water at the same time and only let them cook for about 20-30 seconds.
  8. Let the cooked rhubarb strips drain on a paper towel.
  9. To decorate the cake, lay the strips on top of the cake first until the whole surface is covered completely. Trim away the excess with kitchen scissors. Since the cake is frozen the stalks will stick perfectly onto the cake.
  10. Now wrap the remaining stalks around the cake. If your rhubarb has different shades of pink you can even create an ombre look.
  11. Place the cake in the fridge and let thaw. Cut with a very sharp knife.
Notes
  1. Don't cook rhubarb for too long.
carinaberry.com https://carinaberry.com/


I hope you enjoyed this wrapped rhubarb cake recipe and will try it yourself someday. In case you are looking for another vegan recipe I can recommend you check out my vegan waffles without sugar or my vegan avocado cheesecake

DID YOU MAKE THIS WRAPPE RHUBARB CAKE?

Tag @carinaberry on Instagram and hashtag it #carinaberry

I’ll always be giving shoutouts on my Instastory for those who are making my recipes. <3

xoxo

Weiterlesen

Vegan Blueberry Cheesecake

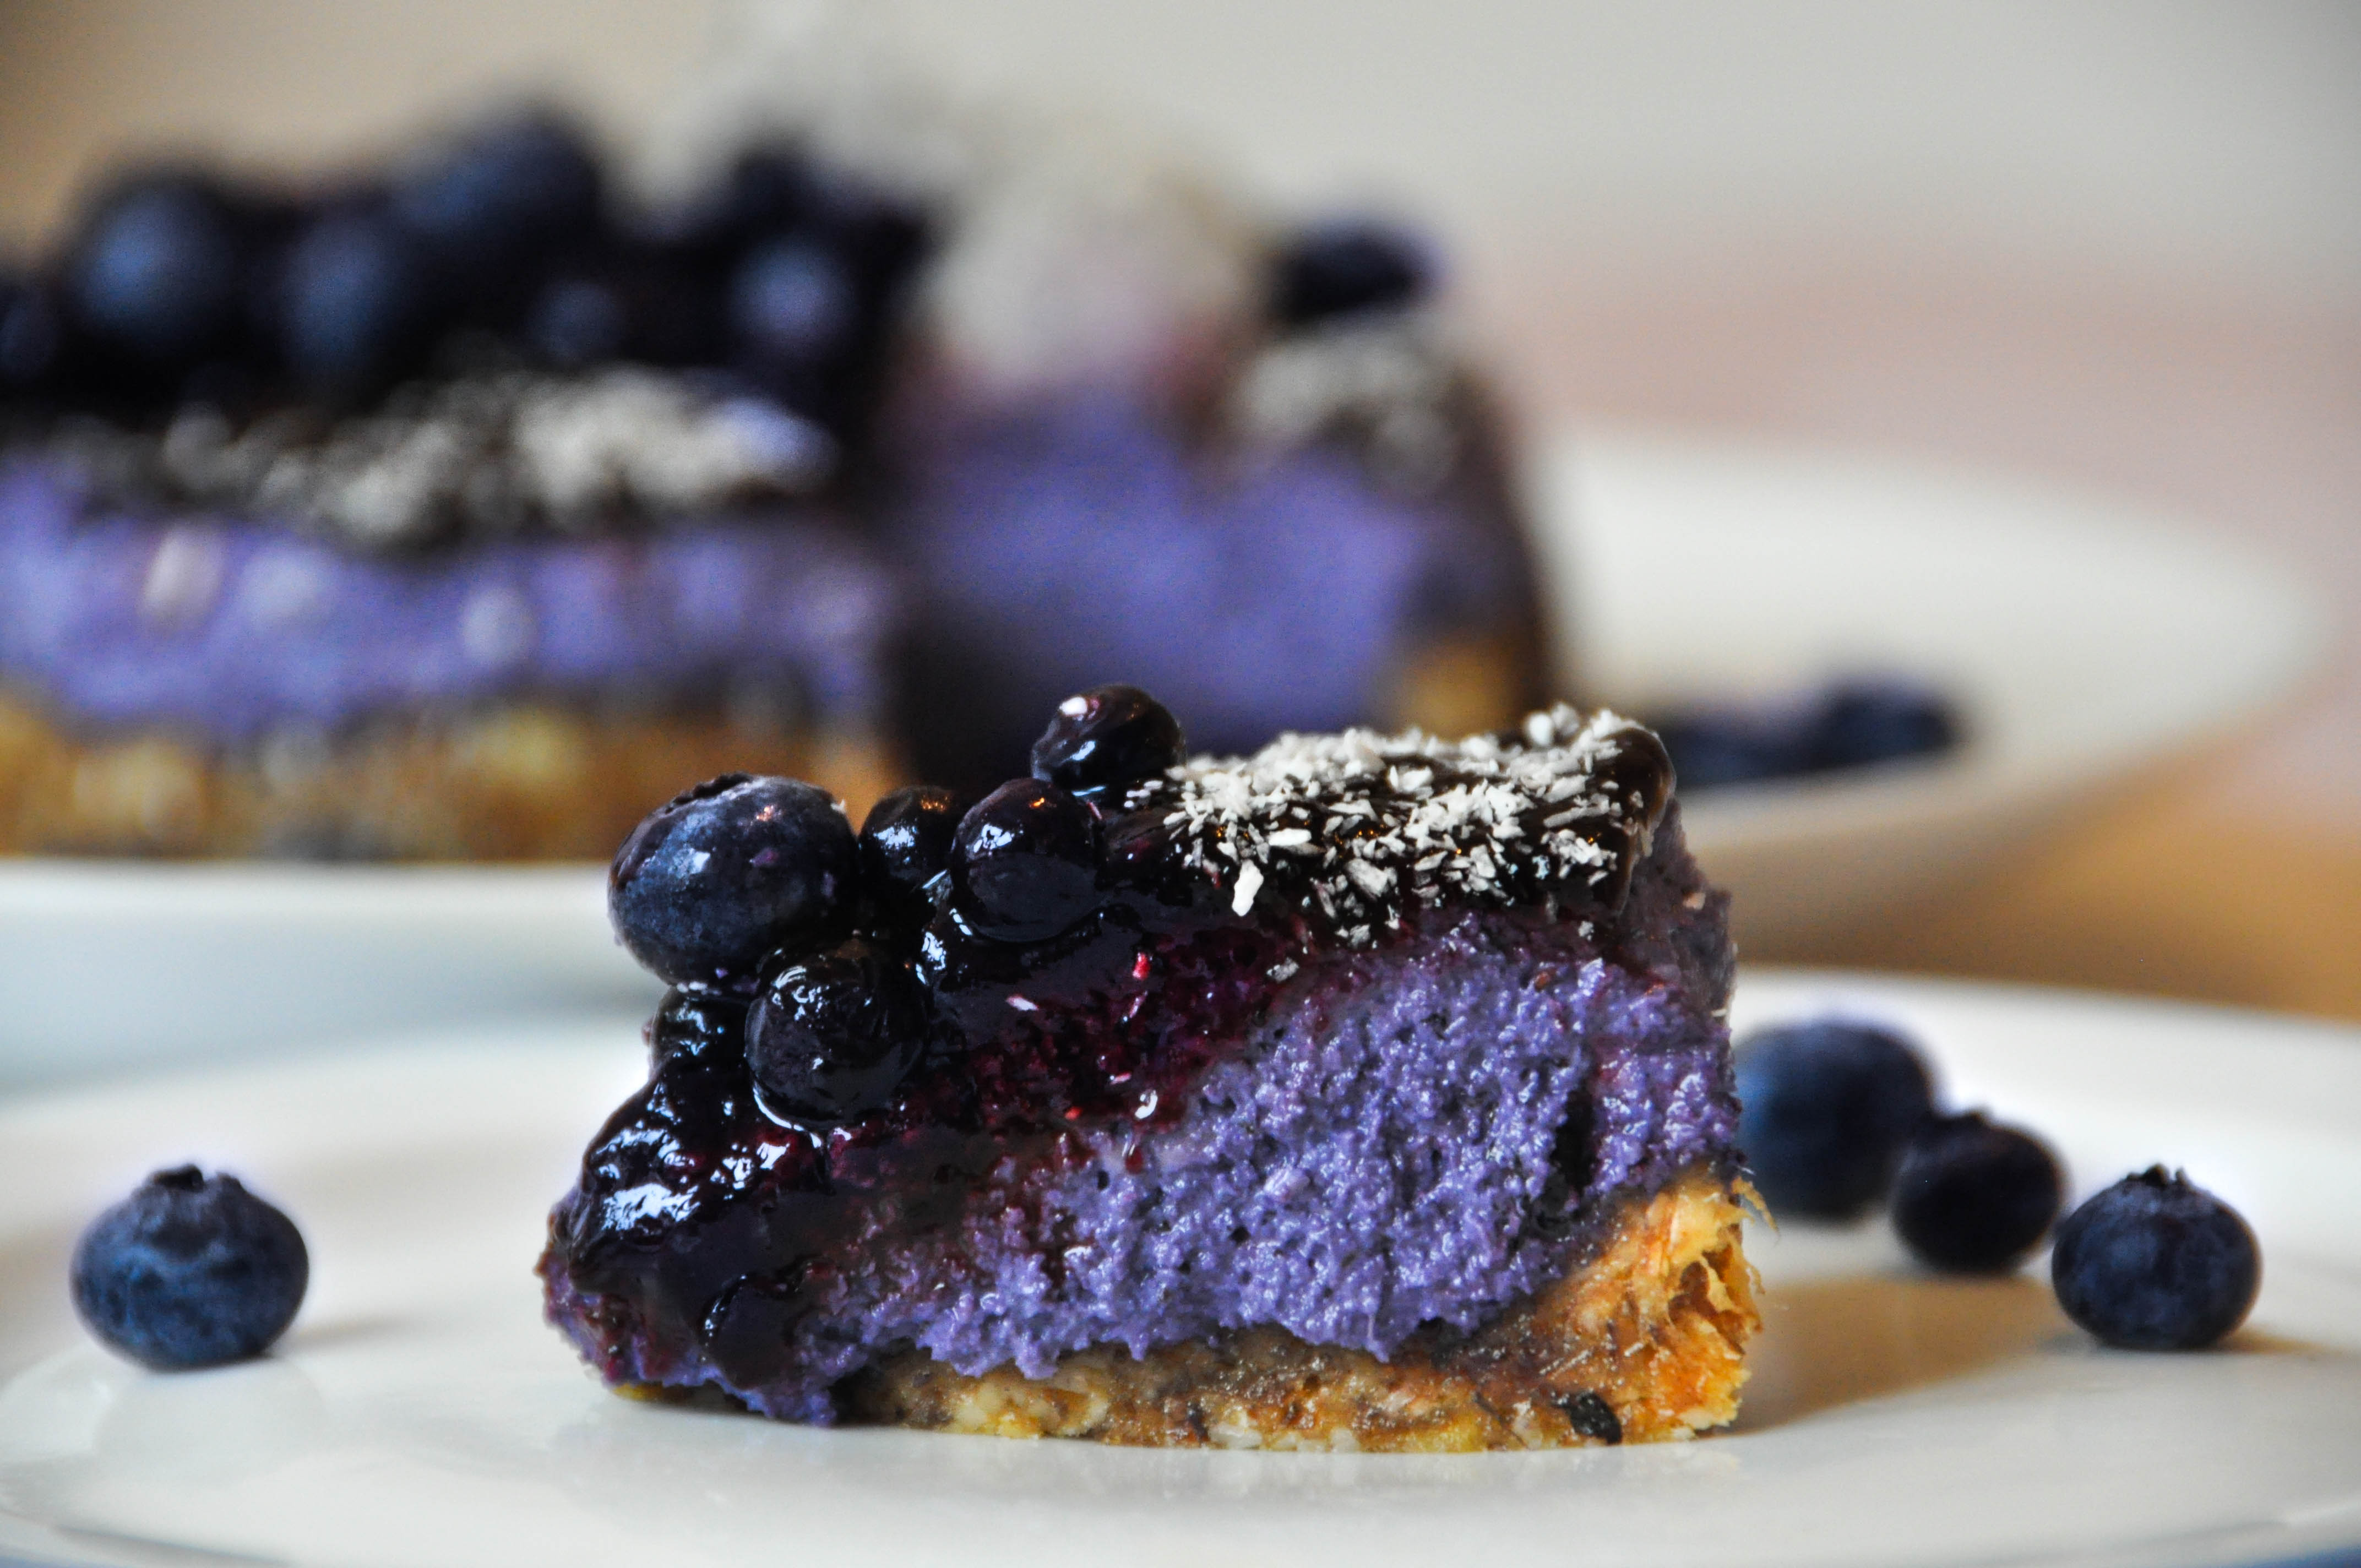
Vegan Blueberry Cheesecake – doesnt that sound delicious?!?


Ever since I lived in America Cheesecake definitely is one of my favouite desserts to eat. Not sure if someone has ever been to the Cheesecake Factory in the US, but it is one of those places I like to spend a lot of time in when I’m there. 

They have all kinds of magical cheesecake varieties you could only have imagined in your wildest dreams there. 


However, since normal cheesecake unfortunately is not very fitness approved or healthy I wanted to develop a recipe that still tastes amazing, but is way better for you than the sugary stuff you get to buy elsewhere. 


How I sweeten the cheesecake


Since I am also super fond of vegan recipes I took on the challenge to make a vegan cheesecake with delicious blueberries. I used Xylit as a sweetener which has 40% less calories than regular sugar. Also there is no kind of flour, oil or butter in this recipe, which makes it extra fitness approved! 🙂 

This recipe is really easy to make. All you need is a good blender. Since this is a raw cake you won’t even have to bake it. The cashew blueberry filling tastes so incredibly good – you will see! I would pick this cheesecake anytime over a regular one. 

The Recipe

Vegan Blueberry Cheesecake
Serves 6
Write a review
Print
Prep Time
30 min
Cook Time
30 min
Total Time
1 hr
Prep Time
30 min
Cook Time
30 min
Total Time
1 hr
Filling
  1. 400g cashews
  2. 200g frozen blueberries
  3. 40g xylitol
Crust
  1. 250g dates
  2. 50g grated almonds
  3. cinnamon
Topping
  1. 100 fresh blueberries as decoration
  2. Low Sugar Blueberry Fruit Spread
Instructions
  1. Soak cashews in water overnight. The next day drain the cashews and blend them well with the frozen blueberries in a mixer. Stir in the xylit sugar.
  2. For the crust mix the dates with the grated almonds. Take a little pie form and press the crust gently onto the bottom until it covers the whole surface. Now layer the cashew-blueberry "dough" over it. Put the cake into the fridge for an hour and allow it to harden.
  3. Now take out the cheesecake and evenly cover it with sugarfree blueberry jam.
  4. To decorate the pretty cheesecake place some blueberries on top of it and sprinkle some coconut flakes over it.
Notes
  1. Make sure to keep this pie cold.
carinaberry.com https://carinaberry.com/

DID YOU MAKE THIS RECIPE?

Tag @carinaberry on Instagram and hashtag it #carinaberry

I’ll always be giving shoutouts on my Instastory for those who are making my recipes. <3

xoxo
Weiterlesen

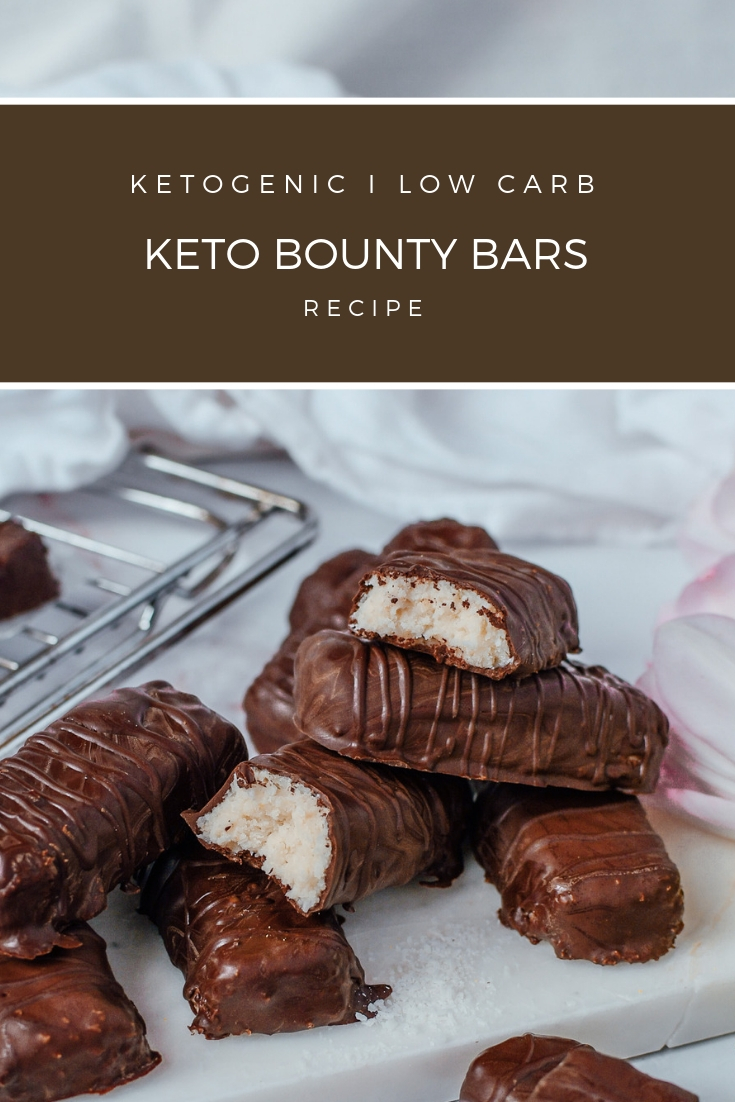
Keto Bounty Bars – a low carb snack!

Keto Bounty Bars

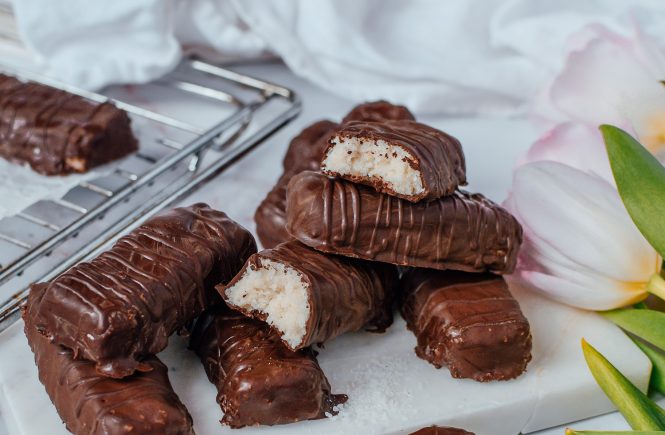
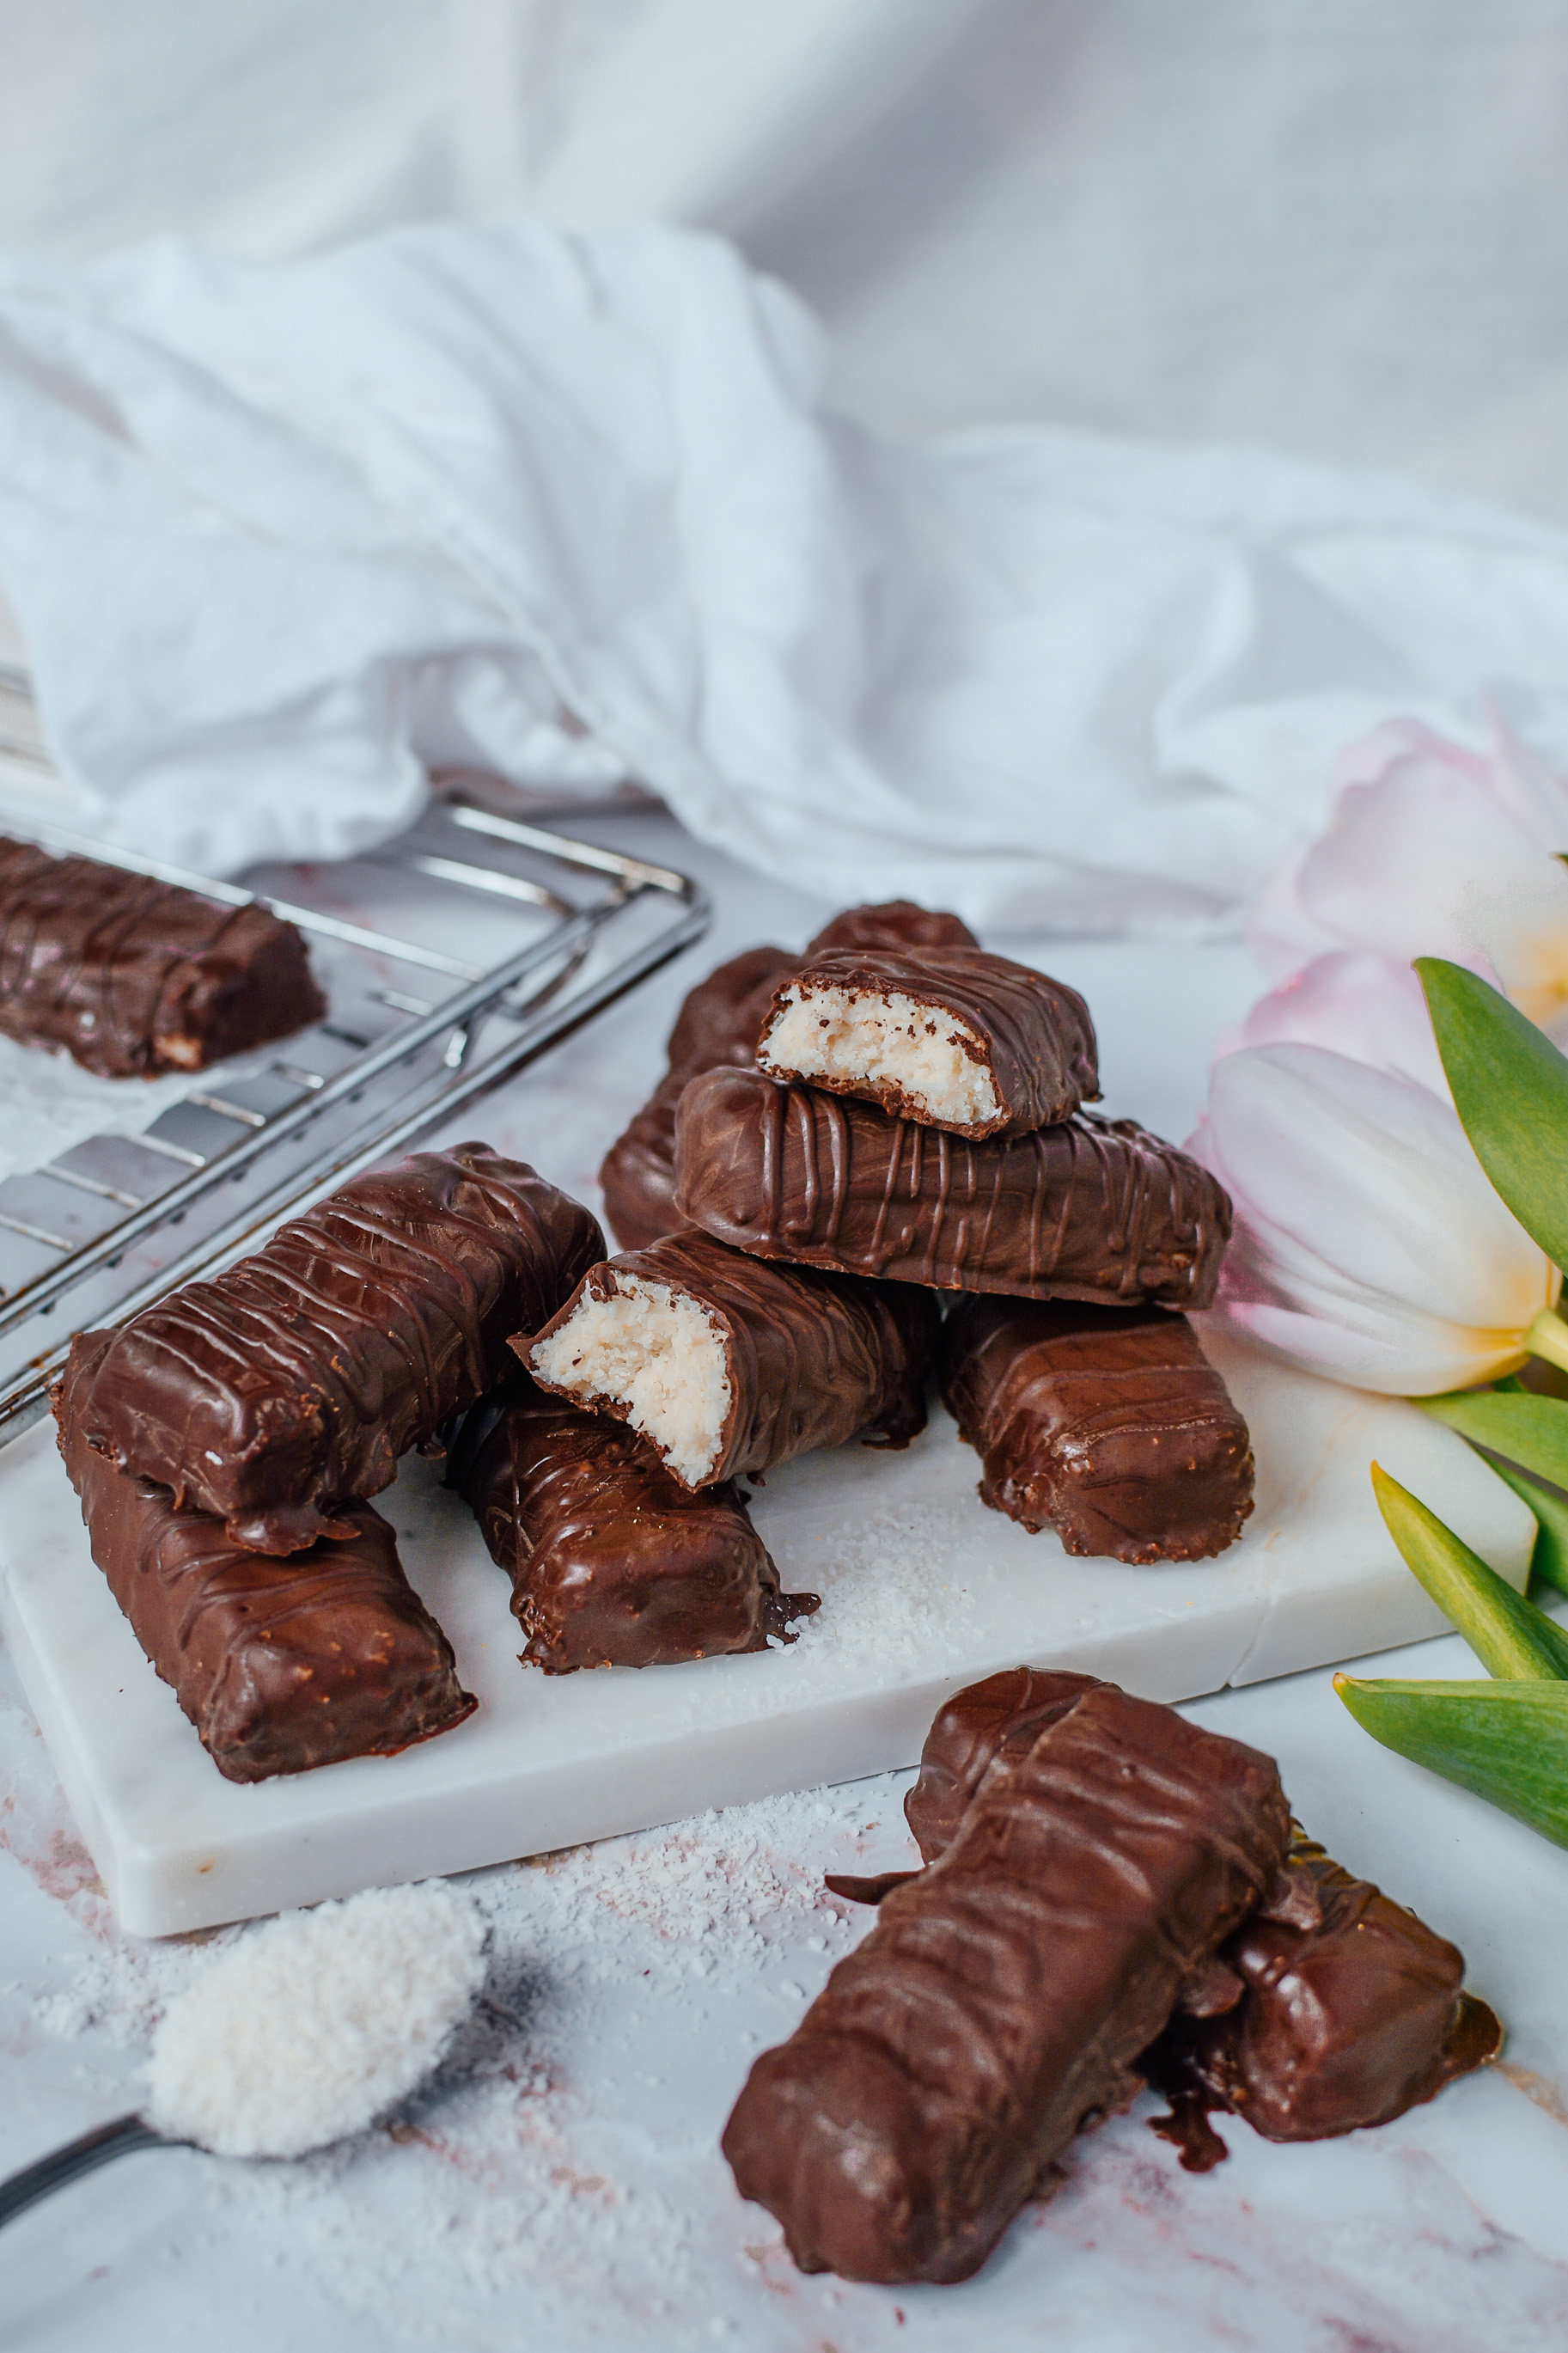
Since I am currently on a keto diet, which is a very extreme form of a low carb diet, I wanted to share one of my favorite sweet recipes with you. When you are on keto it is seems to be quite hard to still satisfy your sweet tooth, however, with these delicious low carb keto bounty bars you won’t even miss the real sugar!  <3

My take on a keto diet

Being on a low carb diet can be quite tricky. Especially when you are trying to eat something sweet. On a ketogenic diet especially you have to cut out most of your carbs and replace them with fats. These tasty keto bounty bars will provide you with a good amount of healthy fats from the coconut. Your nutrition intake should be somewhere between eating 60-70% fat each day. Research says proteins should take up 25% and carbs only 5%.

The longest I have been on a keto diet was for 5 weeks. It has helped me tremendously to fix a bacterial problem I had in my stomach as the bacteria was survived by eating carb. Once I cut out all the carbs I was able to starve the harmful bacteria and was fine again. So a keto diet can actually have great health benefits. I would not suggest this diet to be your general way of eating though. I find it to extreme and at some point I believe your body will be missing valuable nutrients you get from eating fresh fruit for example. 

Keto Bounty Bars

How to make keto bounty bars

So, this is another really easy recipe. As you know my recipes usually don’t take longer than 15 minutes and this also a really quick one – no cooking skills required!

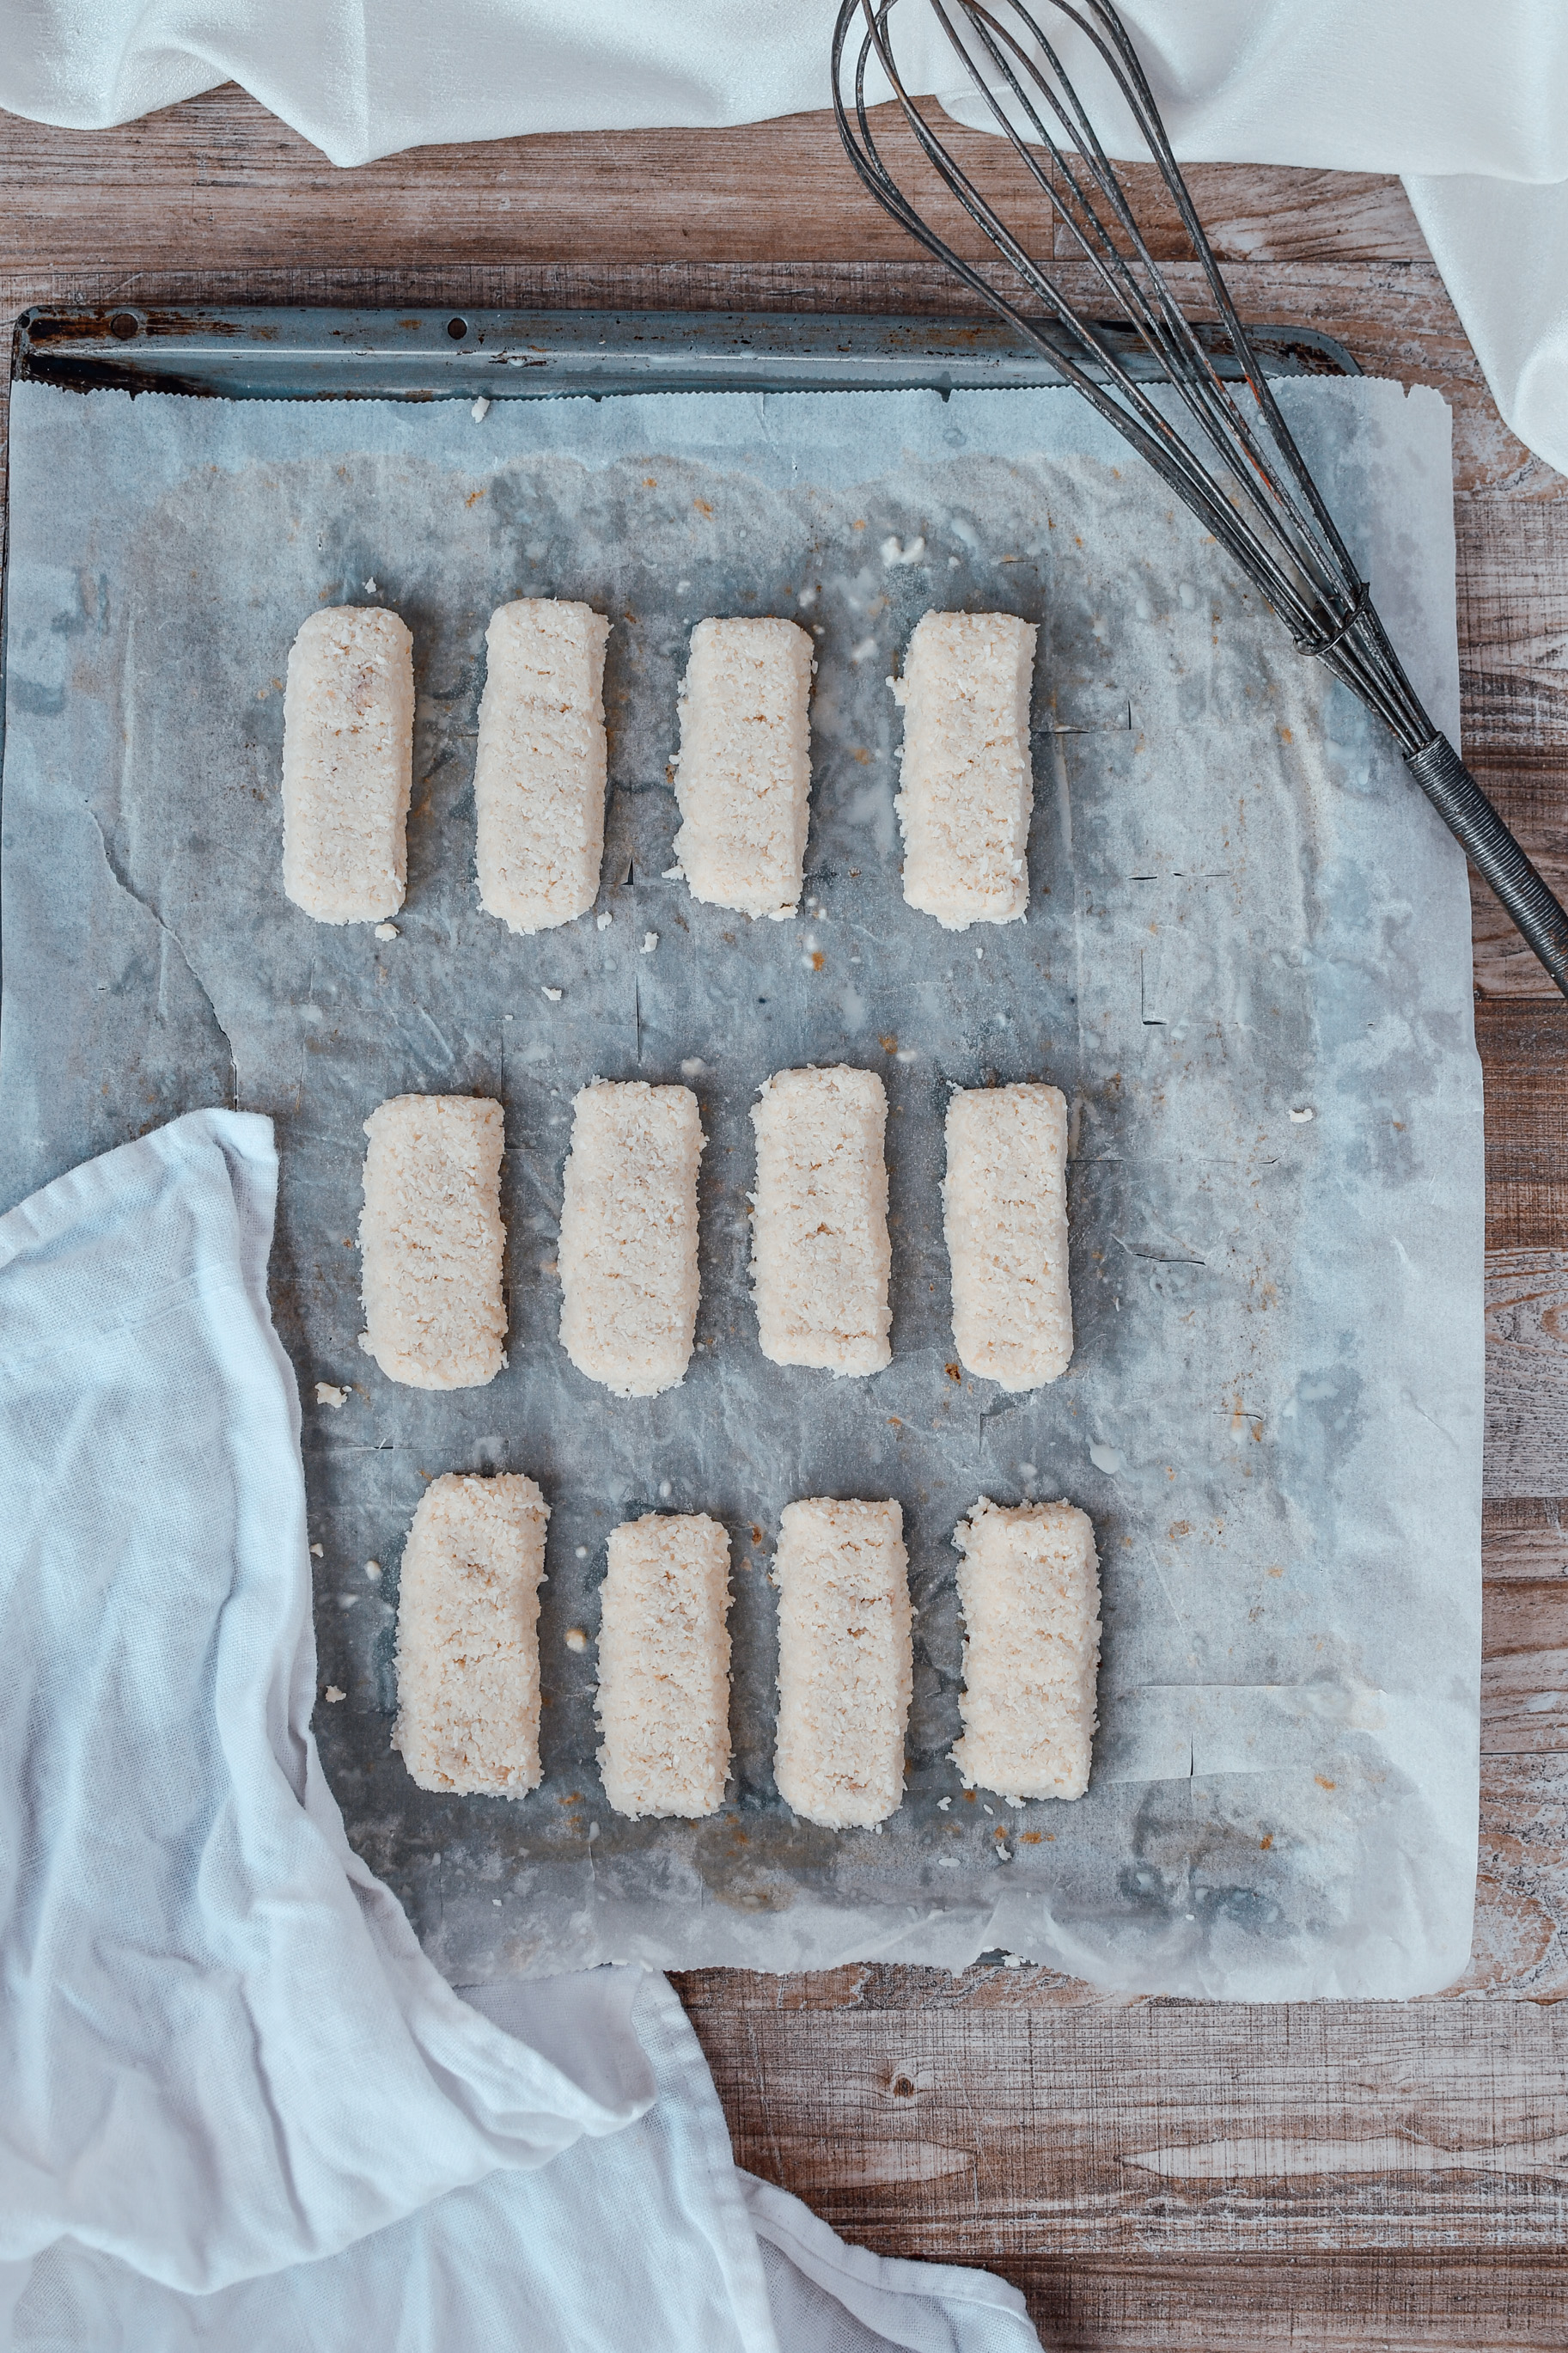
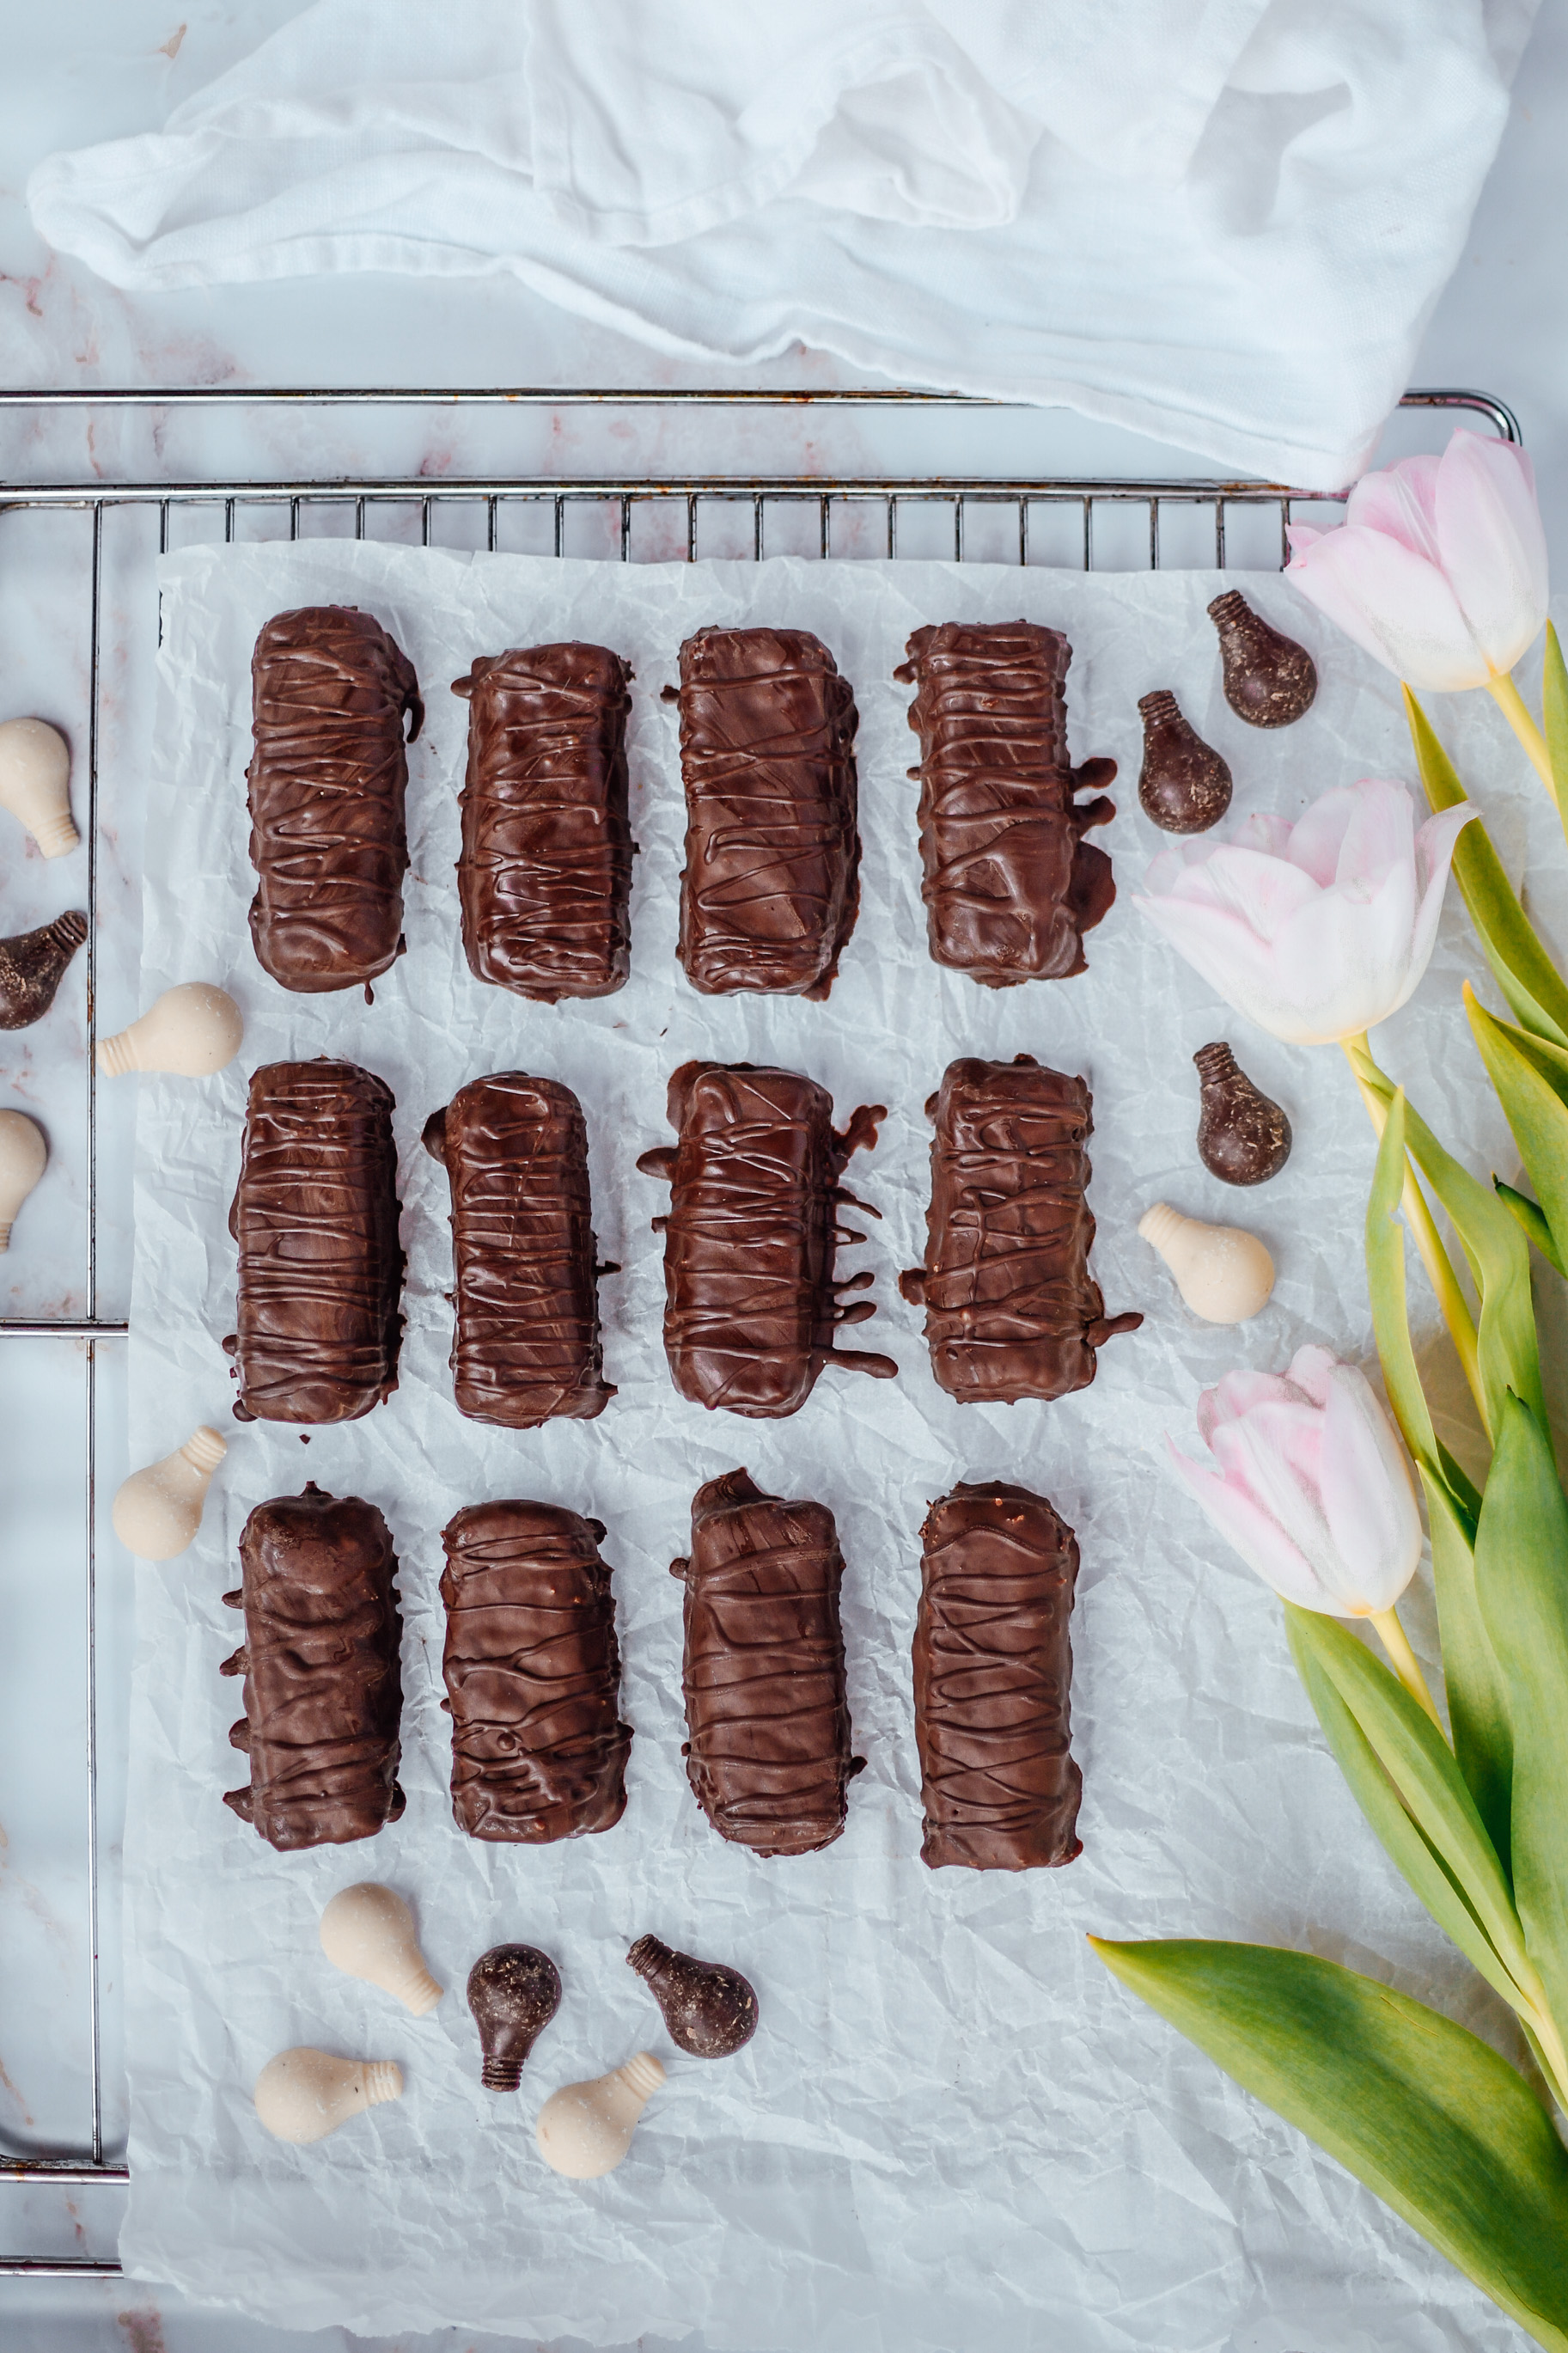
First you start out by making the filling. Simply put all ingredients together and mix well until you get a crumbly mixture. It should be moist and stick together. Shape the filling into little bar shapes and place them on a baking sheet. Let them harden in the fridge for 2 hours. They should be really cold when you take them out! You can even put the keto bounty bars in the freezer for a bit so they will harden faster. 

Ketogenic Bounty Bars

The next step is to make the chocolate coating. The darker your chocolate is the less carbs you will have. Of course a 99% dark chocolate also tastes bitter. I usually shoot somewhere between 75 and 80%. 

Melt the chocolate in a medium heat proof bowl. I usually do it in the microwave because it is faster, but if you want to do it the proper way then melt it over the steam of boiling water or at 45 degrees in the oven. I like to add a bit of coconut oil to my coating so it is easier to distribute over the keto bounty bars and also hardens better after.

Low Carb bounty bars

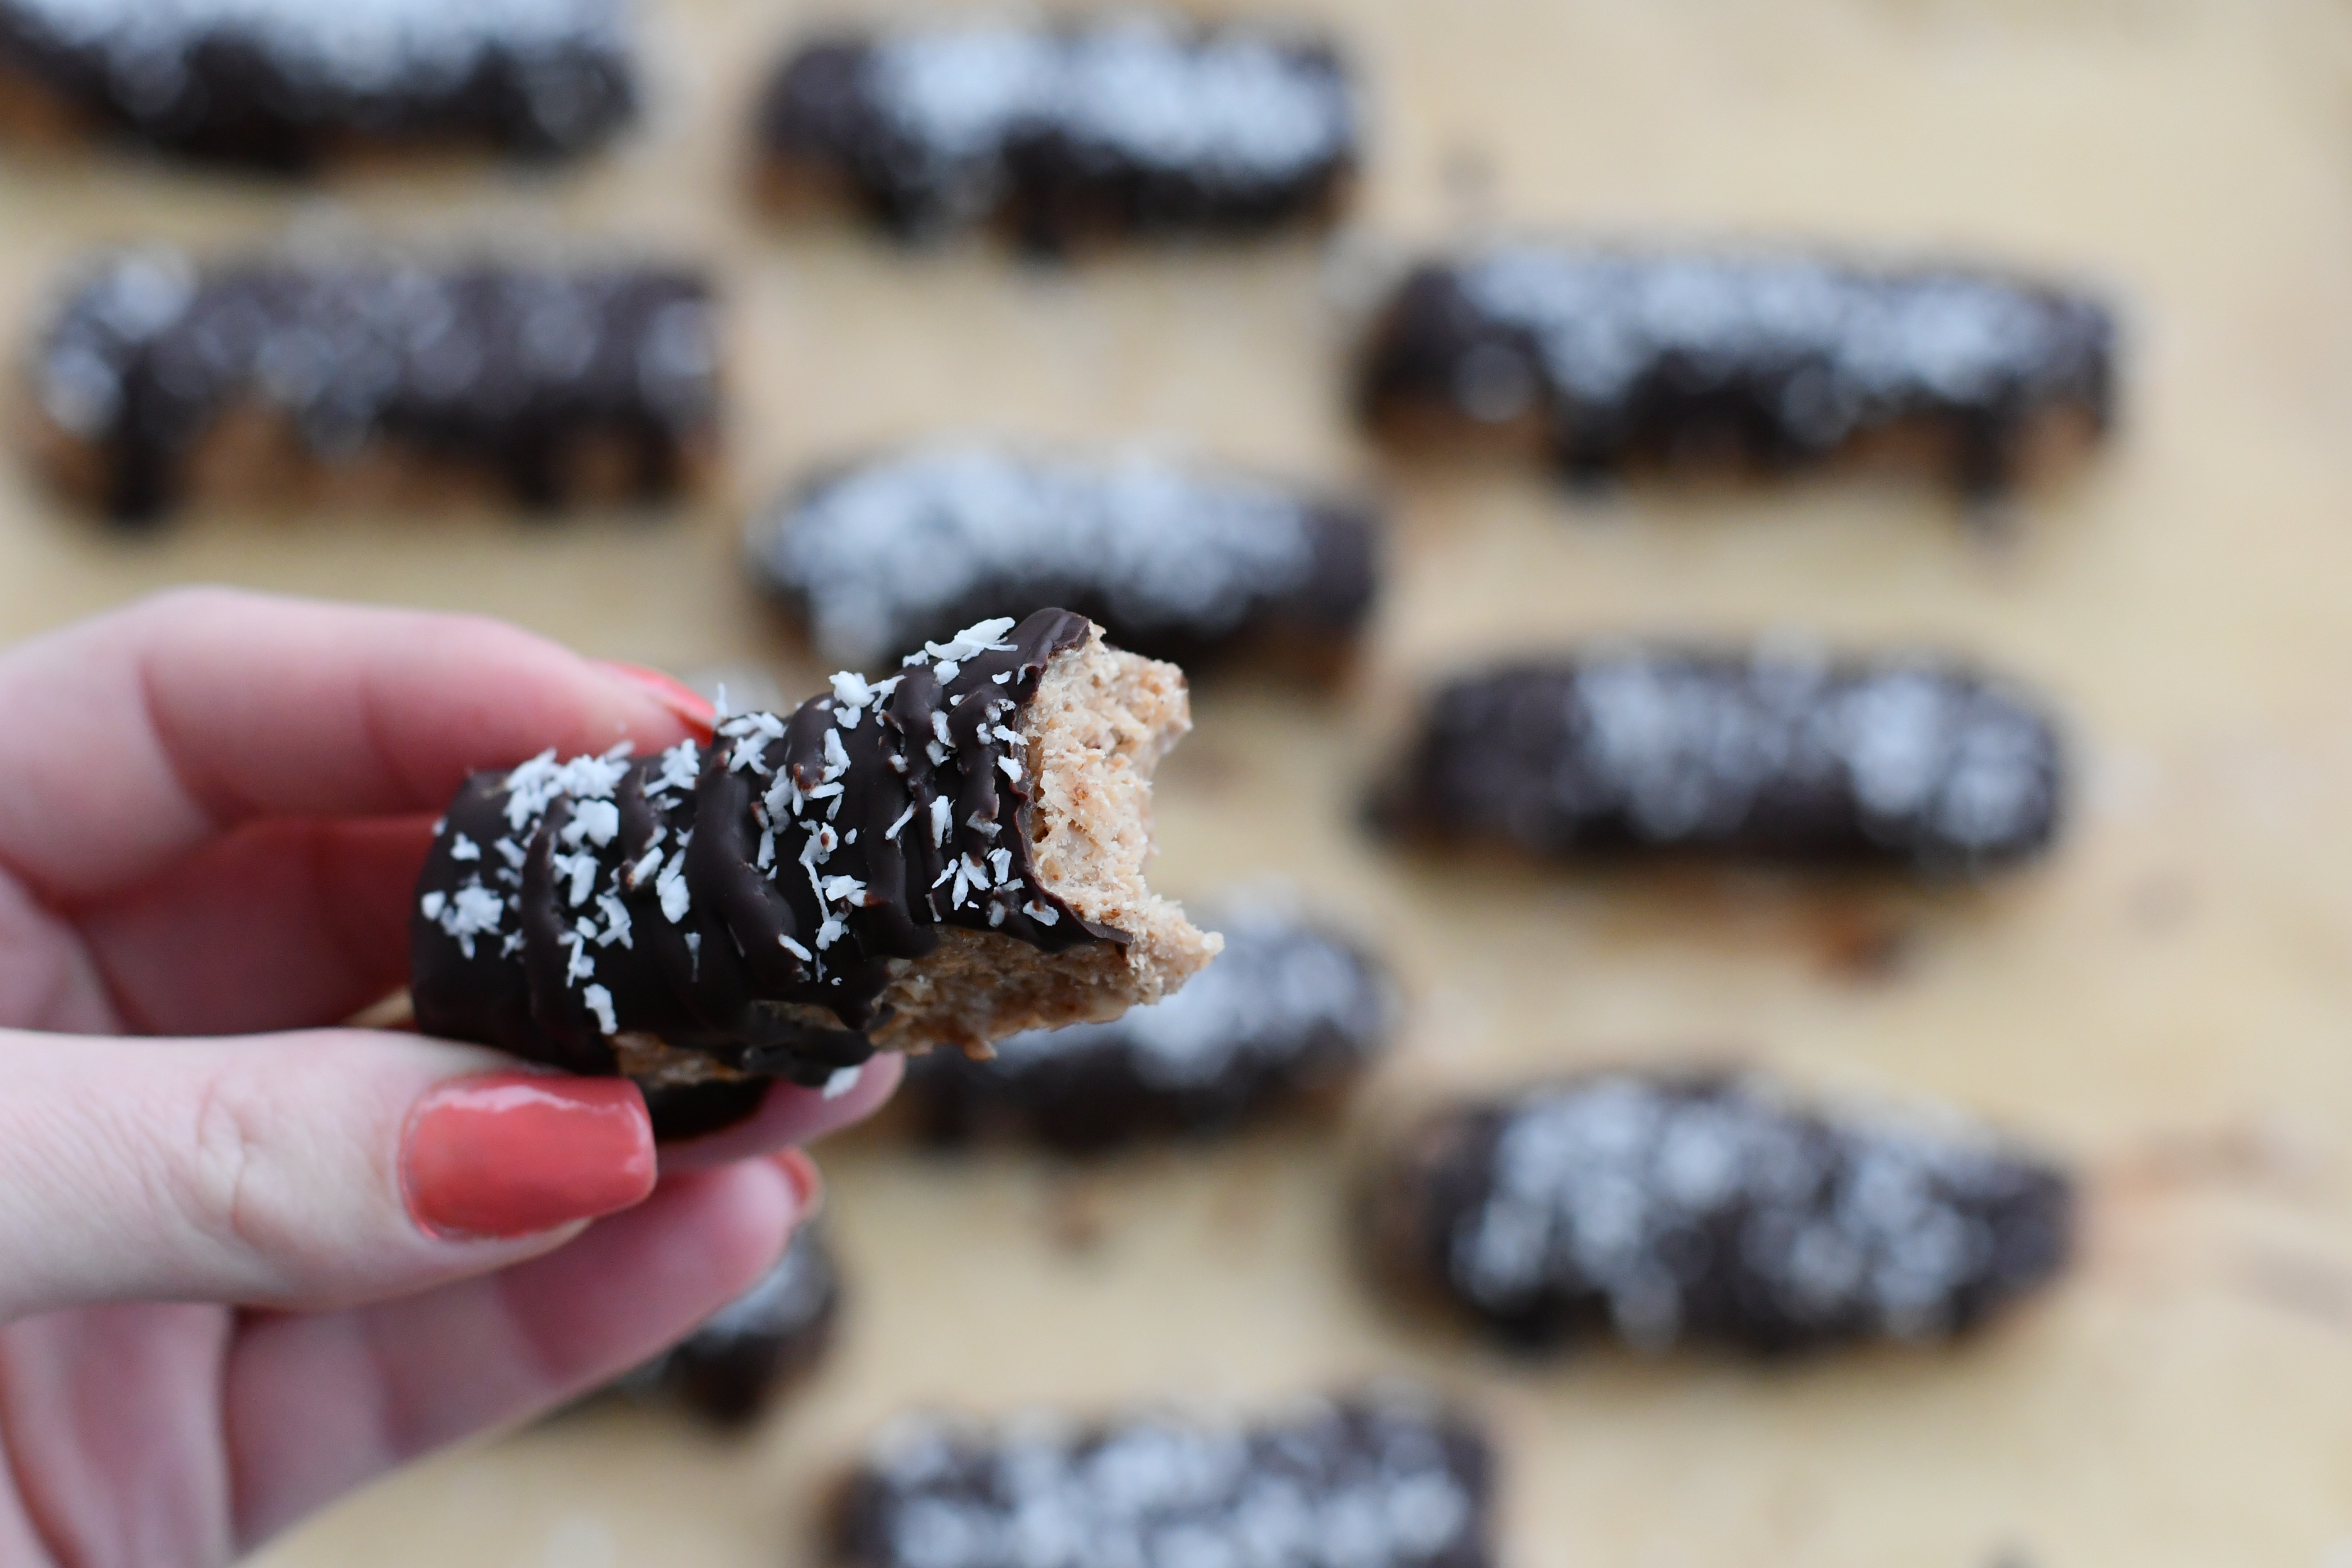
Take out the cold bars from the fridge or freezer and dip them into the chocolate. Let the superfluous chocolate drip off the bars and gently place them on the baking sheet again. If you want you can sprinkle them with coconut flakes now. Best you let them cool in the fridge again for another hour. 

You see how easy this recipe is. Done are your easy keto bounty bars. 🙂 I hope you will try this low carb recipe soon! 

keto bounty bars

Below I have summarized the recipe in a printable version for you: 

Ketogenic Bounty Bars
Yields 20
Write a review
Print
Prep Time
15 min
Prep Time
15 min
Ingredients
  1. 200g of coconut flakes
  2. 50g of coconut oil
  3. 100g of Phiadelphia cream cheese full fat
  4. 50g of whey or vegan protein
  5. 5-8 Flavdrops Vanilla
Topping
  1. 70g dark chocolate 90%
  2. 1 tbsp coconut oil
  3. Coconut flakes
Instructions
  1. Put the coconut flakes into the over at 180 degrees for about 7 minutes until they turn golden.
  2. Put them into a bowl and stir liquid coconut oil, Philadelphia cream cheese, whey protein and the Flavdrops in. Now form little bars and put them on a baking sheet.
  3. Put them into the fridge for half an hour.
  4. Melt the chocolate with the extra coconut oil. Pour chocolate over the bars and sprinkle with more coconut flakes. Now cool them again in the fridge.
Notes
  1. Nutrition values for 1 bar: 120kcal, 35g fat, 2g carbs, 15g protein
carinaberry.com https://carinaberry.com/
I hope you enjoyed this easy recipe. You can store them in the fridge for like a week and always have a low carb snack at hand! Check out my super clean protein Rafaello snack recipe too. I am sure you would love it! 

And did you know I am also on YouTube? I am sharing tons of helpful food blogger advice there and show you some of my favorite recipes as well! 

Keto Bounty Bars

DID YOU MAKE THIS RECIPE?

Tag @carinaberry on Instagram and hashtag it #carinaberry

I’ll always be giving shoutouts on my Instastory for those who are making my recipes. <3

xoxo

Weiterlesen