Golden Milk – super healthy turmeric tea!

golden Milk-Turmeric tea

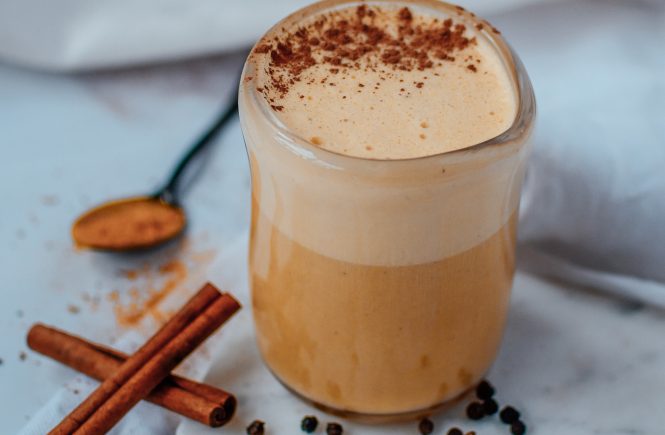
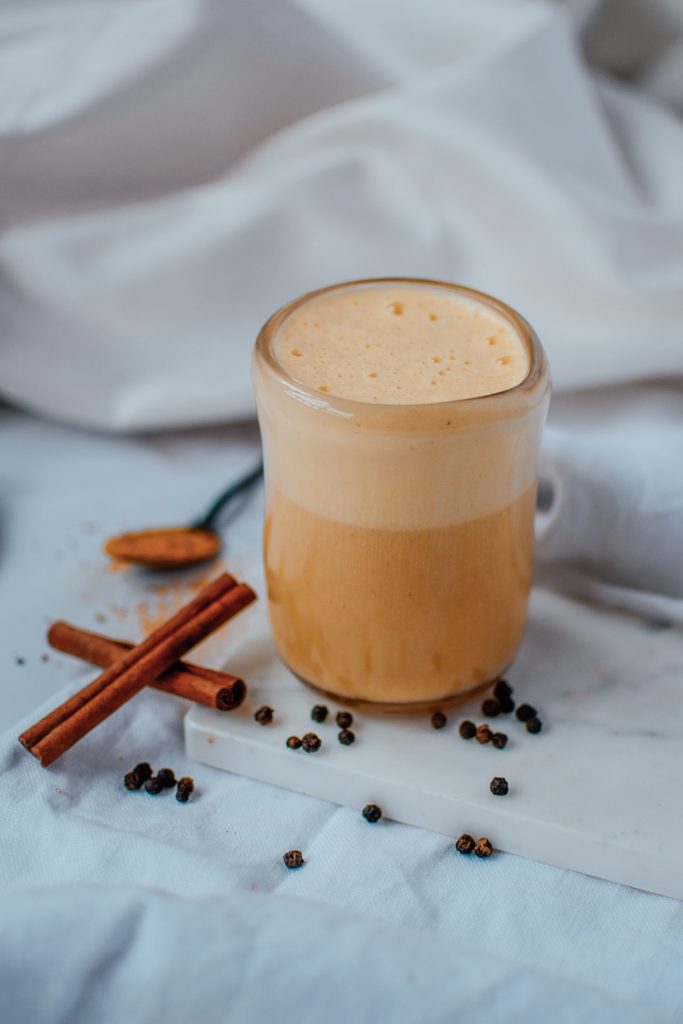
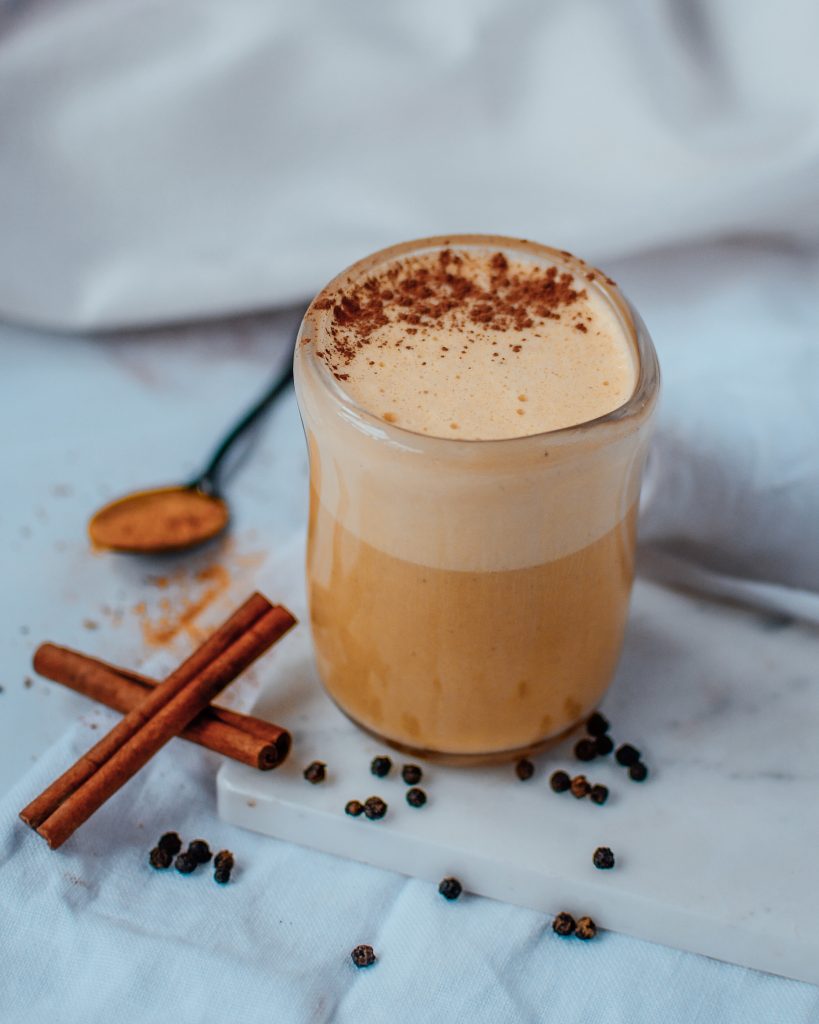
Traveling through Mexico last year gave me tons of food inspiration. One particular trend I picked up there was „golden milk.“Its a creamy, but dairy free hot drink that is filled with nutrients! Something that could be found in almost every healthy & vegan café. In this blog post I want to show you how to make the vitamin cocktail yourself!  

Golden milk – a trend beverage with additional health benefits 

It is said that golden milk has a ton of benefits due to all the wonderful spices used in the drink. Many studies have linked turmeric, which is the main ingredient, with wide-ranging anti-inflammatory effects. This super creamy drink will warm your heart and also bring you a soothing sleep! Rumor has it that drinking golden milk at night will help you to relax and sleep better. 

golden Milk - turmeric tea

The drink is packed with antioxidants and inflammatory ingredients. Let’s look at some of the ingredients and their health benefits that I researched accordingly on the internet: 

  • Black Pepper: Is supposed to help with weight loss and should help to prevent cancer. I also found out that it should reduce memory impairment and cognitive malfunction. 
  • Almonds: Almonds are rich in vitamin E, magnesium and filled with healthy unsaturated fats. It is also said that it helps to prevent diabetes.
  • Honey: I love to use honey as a sweetener because it is a good source of energy, benefits the skin and has a lot of mineral.
  • Ginger: There are so many health benefits to ginger I don’t even know where to start. For example I always take it when I have a cold, sore throat or a cough and it always helps me to feel better. It is also said to treat kidney infections, stimulates the digestive system and boosts the immune system. 
  • Turmeric:  Turmeric is said to be anti-inflammatory and is rich in antioxidants. Its good for your digestion and helps to detoxify. 
  • Cinnamon: besides the fact that I simply love the taste of it cinnamon should regulate your blood sugar levels, reduce your cholesterol and relief joint pains. 
  • Coconut: I like to use a bit of coconut cream as well because it gives it a creamy texture and makes it easier for your body to absorb the fat-soluble turmeric. 

All in all the power spice in the drink is really the turmeric and listing all its health benefits would exceed the length of this blog post. However, if you would like to read more about the health benefits and uses for turmeric I recommend you click here and check out this wonderful article explaining in great detail how one single spice can boost every facet of your health!

golden Milk - turmeric tea

Functional Food

I love recipes like this golden milk because they don’t only taste great, but they also have amazing benefits for your body. Each ingredient of this delicious and creamy hot drink was carefully selected to merge this drink into an explosion of an immune boosting vitamin cocktail for you!

So, if you haven’t tried golden milk yet, you are really missing out on something big! I love it because if I drink it before bedtime I can satisfy my cravings for something sweet with it, do something great for my health and get some restful sleep in addition!
I usually watch a series at night time every once in a while and simply loved to eat something while doing that. Well, now I replaced my extra meal with golden milk, save a bunch of calories, get to satisfy my sweet tooth and dream away smoothly at night. Amazing right?!

turmeric tea - golden milk

How to make golden milk

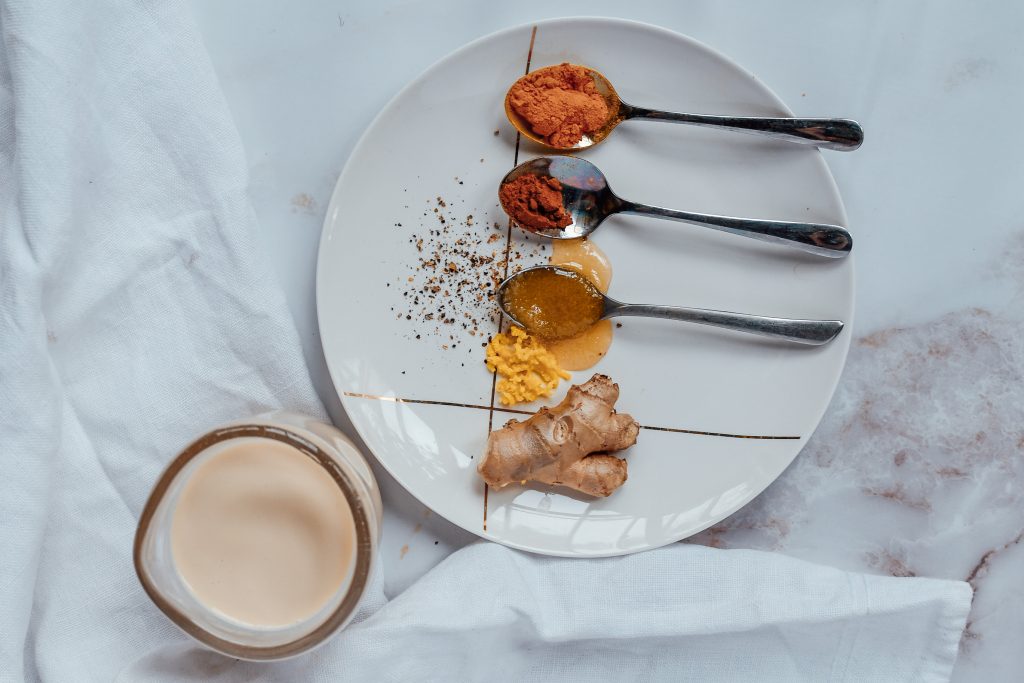
The recipe is really fairly easy. You simply need some basic spices at home. Golden milk is made from turmeric, ginger, black pepper, cinnamon and honey.

Ingredients:

  • 200ml unsweetened almond milk
  • 1 tsp honey
  • 1 tsp turmeric
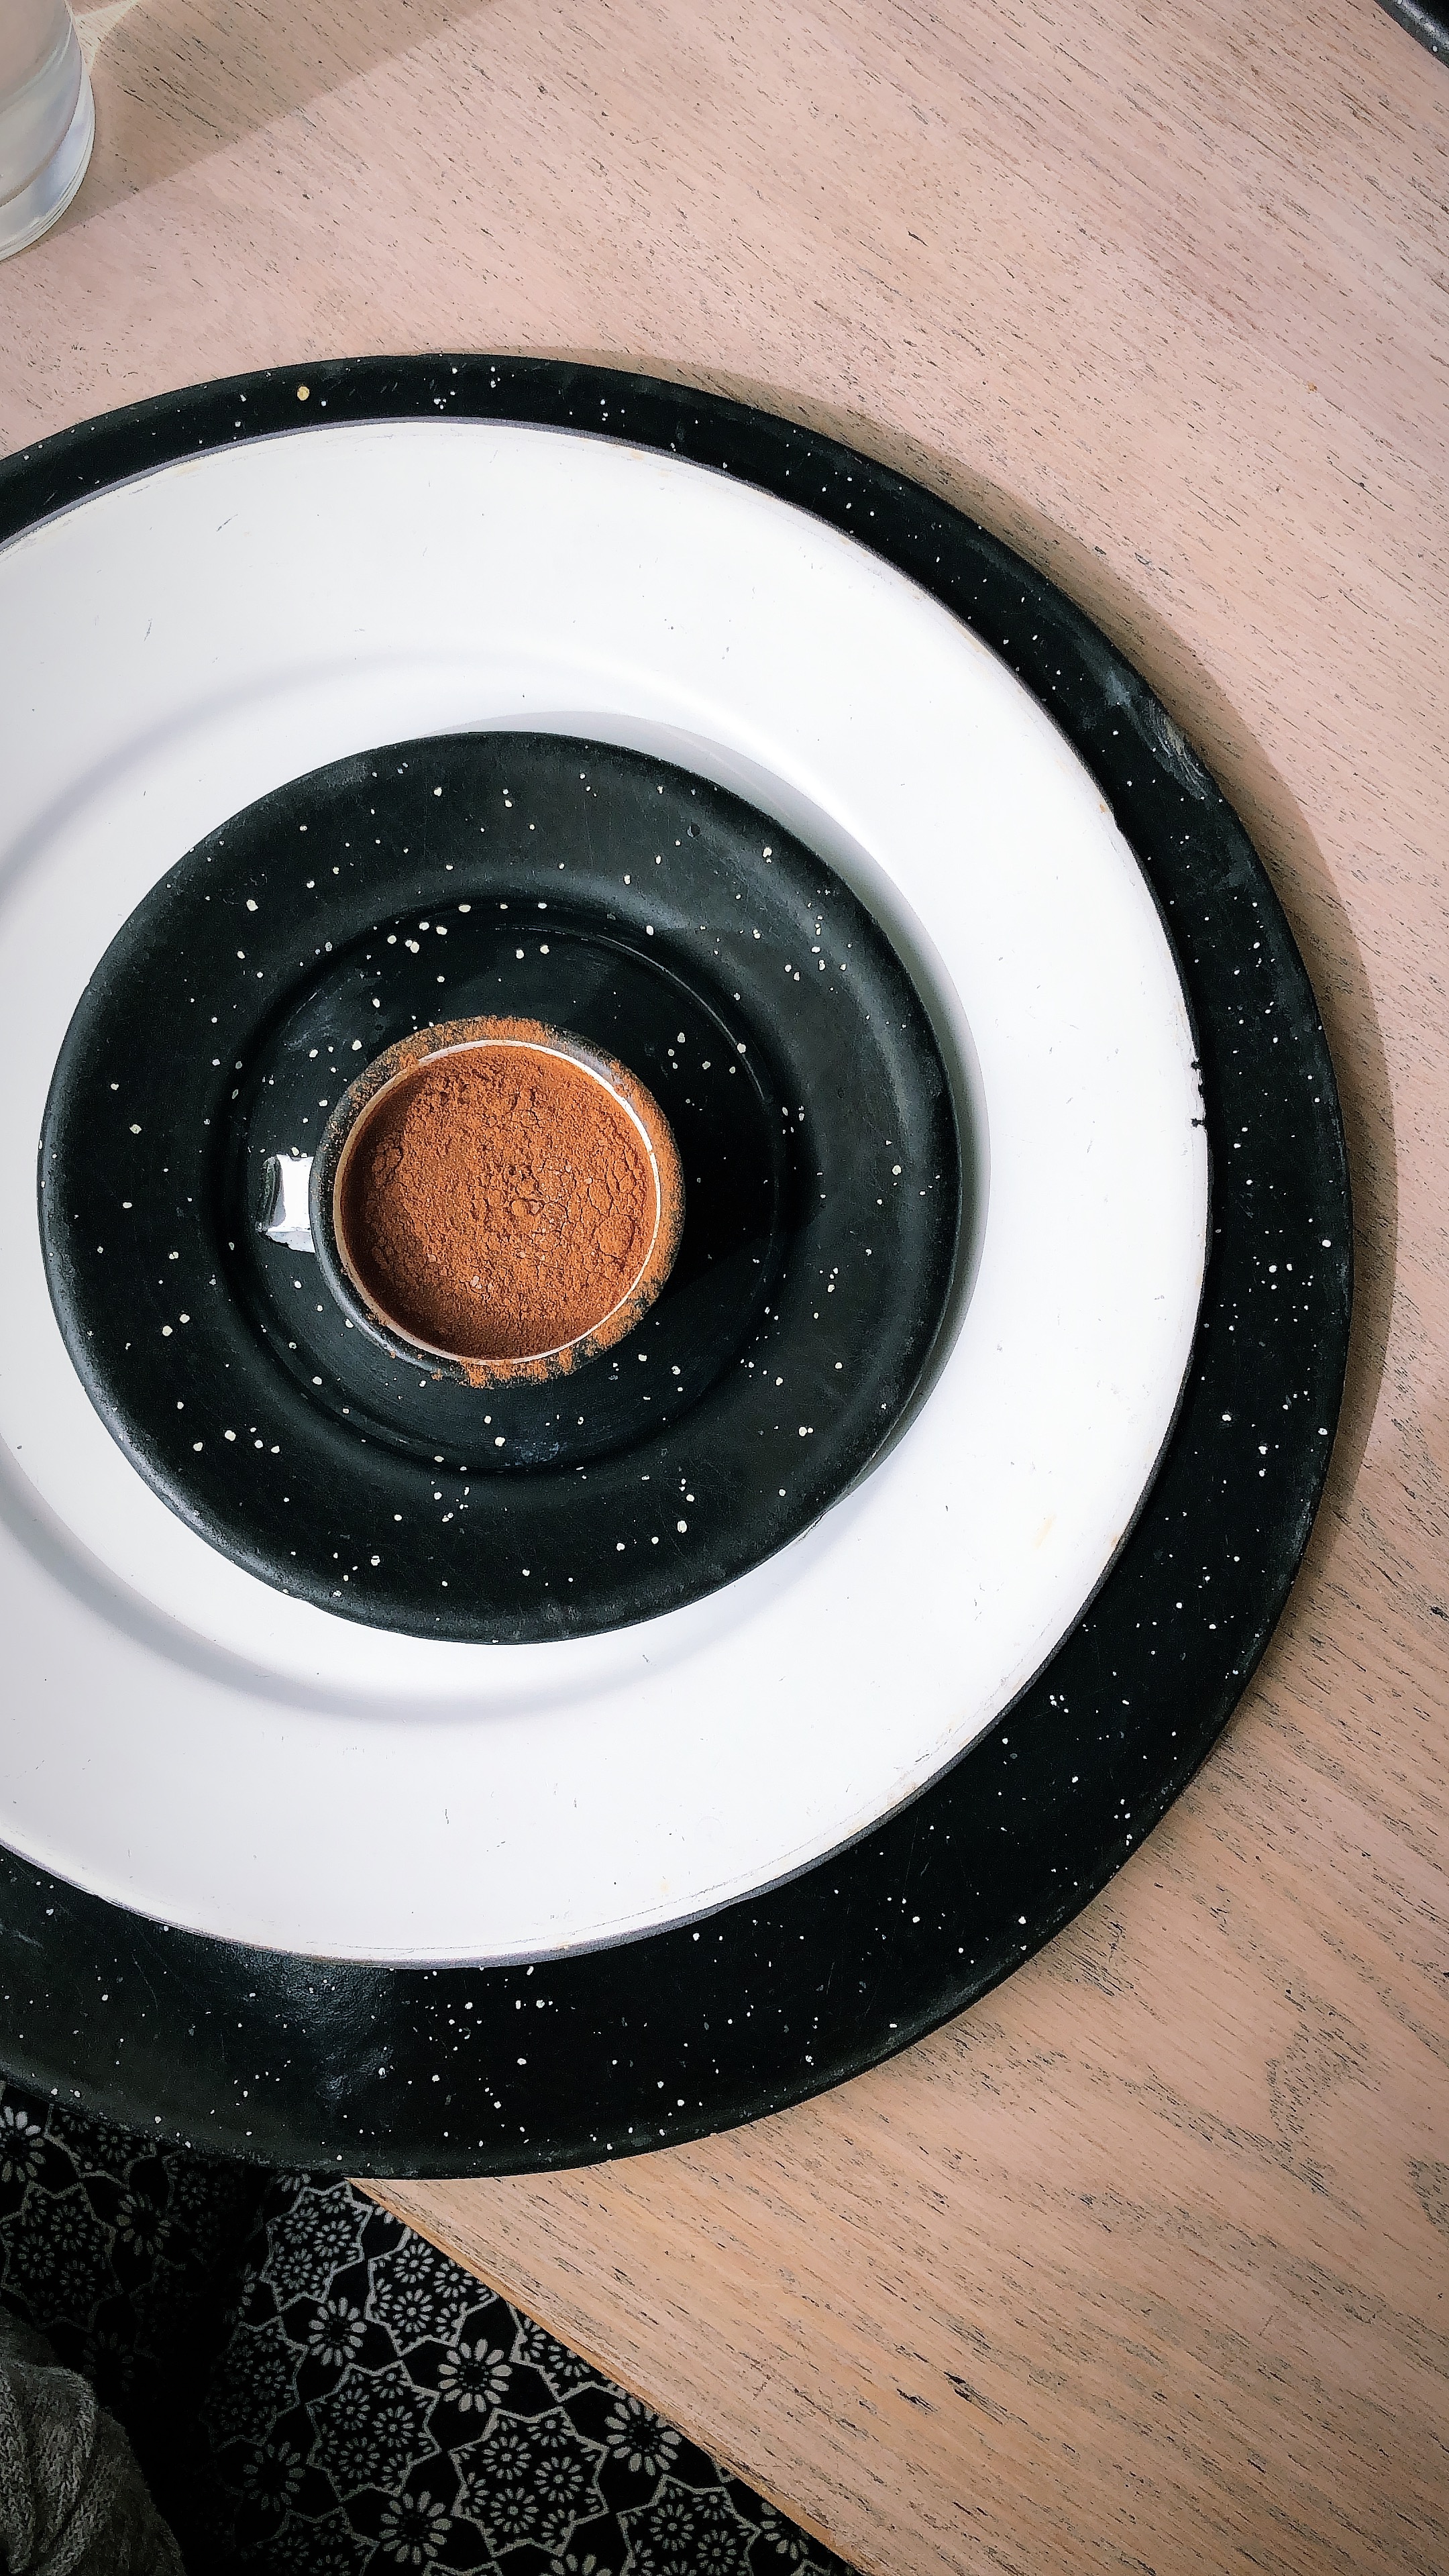
  • 1/2 tsp cinnamon
  • 1/2 tsp fresh pressed ginger (otherwise 1/4tsp ground ginger)
  • 1/4 tsp ground pepper
  • 1 tsp coconut cream

Method:

  1. Heat the almond milk in a pot.
  2. Mix in all the other ingredients and stir well.
  3. Pour into a glass and enjoy while warm.
  4. Feel free to add a bit more honey if you want it sweeter!

golden Milk-Turmeric tea

Drinking golden milk has become a great new habit I introduced in 2019. Try it yourself and I am sure you will love it too 🙂 If you are looking for another great detox inspiration make sure to read my blog post about my recent smoothie cleanse. Hope you enjoyed the recipe! Let me know if you would like to see more of those beneficial superfood drinks in the future!  

Did you make this recipe? 

Did you make this recipe?

Tag  @carina_berry and use the Hashtag #carinaberry to get the possibility for a shoutout on my Instagram! 

Finally, I always love to see your wonderful creations and it makes me so happy to see you guys actually making my recipes. 

xoxo,

Golden Milk - Turmeric Tea

Weiterlesen

Smoothie Detox – meine kleine Entgiftungskur

Smoothie Detox

Dieses Jahr wollte ich gleich mal mit einem Smoothie Detox startet um meinen Körper zu entgiften und neue Energien zu sammeln!
In diesem Blogpost möchte ich meine Erfahrungen mit euch teilen und euch auch meine Smoothie Rezepte, welche ich mir so gemacht habe weitergeben. 

Mein Fasten Hintergrund 

Seitdem ich 19 Jahre bin mache ich eigentlich jedes Jahr einmal eine Heilfasten Kur. Ich habe das schon immer bei meinen Eltern gesehen, die machen auch jedes Jahr so eine Entgiftungskur. Nur ein bisschen extremer als ich, da die dann meistens 10-14 Tage wirklich nichts essen und nur Wasser + Tee trinken. Ich mache das Heilfasten immer nur 5 Tage. Hier übrigens der Blog Post dazu vom letzten Jahr. 
Auf jeden Fall wollte ich zu Beginn des Jahres auch mal wieder meinen Körper entgiften, da die letzte Fastenkur schon sehr lange her war. Komplettes Heilfasten war mir dann aber doch etwas zu viel und so habe ich mich für einen Smoothie Detox entschieden. Diesen wollte ich schon immer ausprobieren. 

Ich habe mich in den letzten Tagen also ganz viel damit beschäftigt und viel darüber gelesen und möchte euch nun meine Erfahrungen weitergeben und ein paar Rezept teilen, welche ihr vielleicht auch bei eurem Smoothie Detox einmal ausprobieren könnt. 

Generell möchte ich auch noch kurz dazu sagen, dass ich nun nach dem Vergleich zum Heilfasten sagen kann, dass ein Smoothie Detox wirklich viel VIEL einfacher ist als 5 Tage gar nichts zu essen. Es ist quasi die Einsteigerversion und perfekt für alle die zum ersten Mal  eine Art „Fastenkur“ ausprobieren möchten. 

Wie funktioniert ein Smoothie Detox?

Im Prinzip war meine einzige Regel nur flüßige Nahrung zu mir zu nehmen. Ich habe meist bis Mittags wirklich gefastet und nur Tee getrunken. In der Früh habe ich immer mit einem kleinen Morning Mineral Cocktail gestartet. Das war kaltes Wasser mit frischem Zitronensaft und Himalayasalz. Ein Tip vom bekannten Personal Trainer Aubrey Marcus.
Mittags machte ich mir dann den ersten Smoothie. Ein zweiter folgte dann gegen 15.00. Abends machte ich mir dann immer Suppe, da ich gerne einmal am Tag etwas warmes hatte. Zwischendurch nahm ich noch von Ringana täglich ein Cleansing Pack für die Verdauung und einen Detox Shot. Dies ist aber wirklich kein muss, ich hatte nur die Produkte gerade zu Hause und sie passten gut in die Entgiftungskurs mit rein. Generell ist es einfach super wichtig, dass ihr wirklich viel trinkt. Vor allem ganz viel Wasser und Tee zwischen den Smoothies 🙂

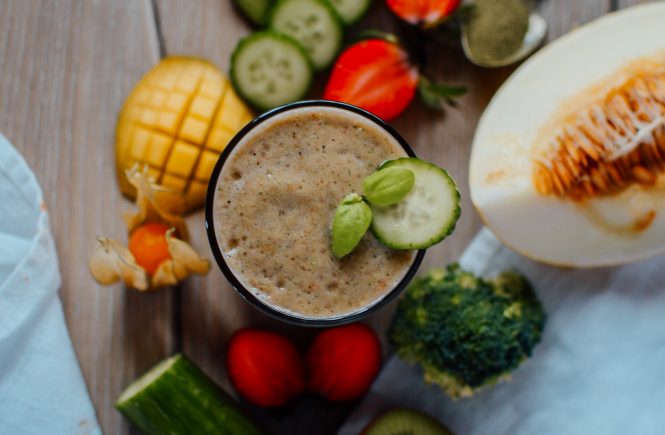
Für meine Smoothies lies ich mir auch sehr viel Freiraum und mixte zusammen auf was ich gerade Lust hatte, immer mit dem Hintergedanken Zutaten zu verwenden, welche positive & reinigende Eigenschaften auf den Körper hatten. So nahm ich zum Beispiel Grüntee als Base der auch die Fettverbrennung unterstützt, mischte Leinsamen hinein die über super gesunde Fette verfügen oder verwendete Spirulina und Moringa aufgrund des hohen Anteils an Vitalstoffen. 

Ich habe euch nun untenstehend einen kleinen Smoothie Baukasten zusammen gestellt. Dieser soll euch helfen eigene Smoothies zusammen zu stellen, falls ihr auch mal einen Smoothie Detox plant! 

Smoothie Baukasten

  • Basis: Kokoswasser, Grüntee, Fruchtsaft, Pflanzendrinks, Wasser
  • Früchte für die Süße: Banane, Apfel, Birne, Ananas, Mango, Kiwi, Beeren, Granatapfel, Melone,…
  • Gemüse für extra Chlorophyl: Spinat, Broccoli, Gurke, Salat, Avocado,…
  • Zum Verdicken: Mandelbutter, Haferflocken, Kokosfleisch, Chia Samen, Leinsamen 
  • Für den Power Boost: Spirulina, Matcha, Moringa, Protein Pulver, Kurkuma, Ingwer

Einfach von jeder Kategorie eine oder mehr Zutaten wählen und ihr habt den perfekten super clean detox smoothie!

Hat man Hunger während des Smoothie Detox?

Viele von euch haben mich gefragt wie hungrig man während der drei Tage fasten ist. Hier kann ich euch wirklich beruhigen. Da man ja eigentlich ständig am trinken ist und durch die Smoothies auch einiges über den Tag verteilt zu sich nimmt ist es mit dem Hunger wirklich nicht so schlimm. 
Hier und da verspürt man zwar so einen Hungerschwall, aber dann trinkt man einfach ganz schnell einen Tee oder den nächsten Smoothie und dann geht das auch gleich wieder weg. 
Jedoch gehört eine gute Portion Disziplin und Durchhaltevermögen zu solchen Fastenkuren dazu. Man muss mehr als einmal stark bleiben um nicht irgendwo etwas zu essen was man nicht sollte. 

Rezepte

Hier nun ein Auszug aus meinen Smoothie Rezepten, welche ich in den letzten Tagen getrunken habe. Mega hilfreich bei so einer Smoothie Kur ist natürlich ein guter Blender. Ein Pürierstab geht natürlich auch, aber ich würde euch einen Standmixer sehr empfehlen weil er einfach leistungsstärker ist. Während meiner Detox Kur habe ich den KMix von Kenwood verwendet, welcher einfach der Wahnsinn war! (PR-Sample) 

Morning Mineral Cocktail – gleich nach dem Aufstehen

1 Glas kaltes Wasser
3g Himalaya Salz
1/4 frisch gepresste Zitrone

Grüner Smoothie – Mittags 

Hier ein Smoothie Rezept vom zweiten Tag: 

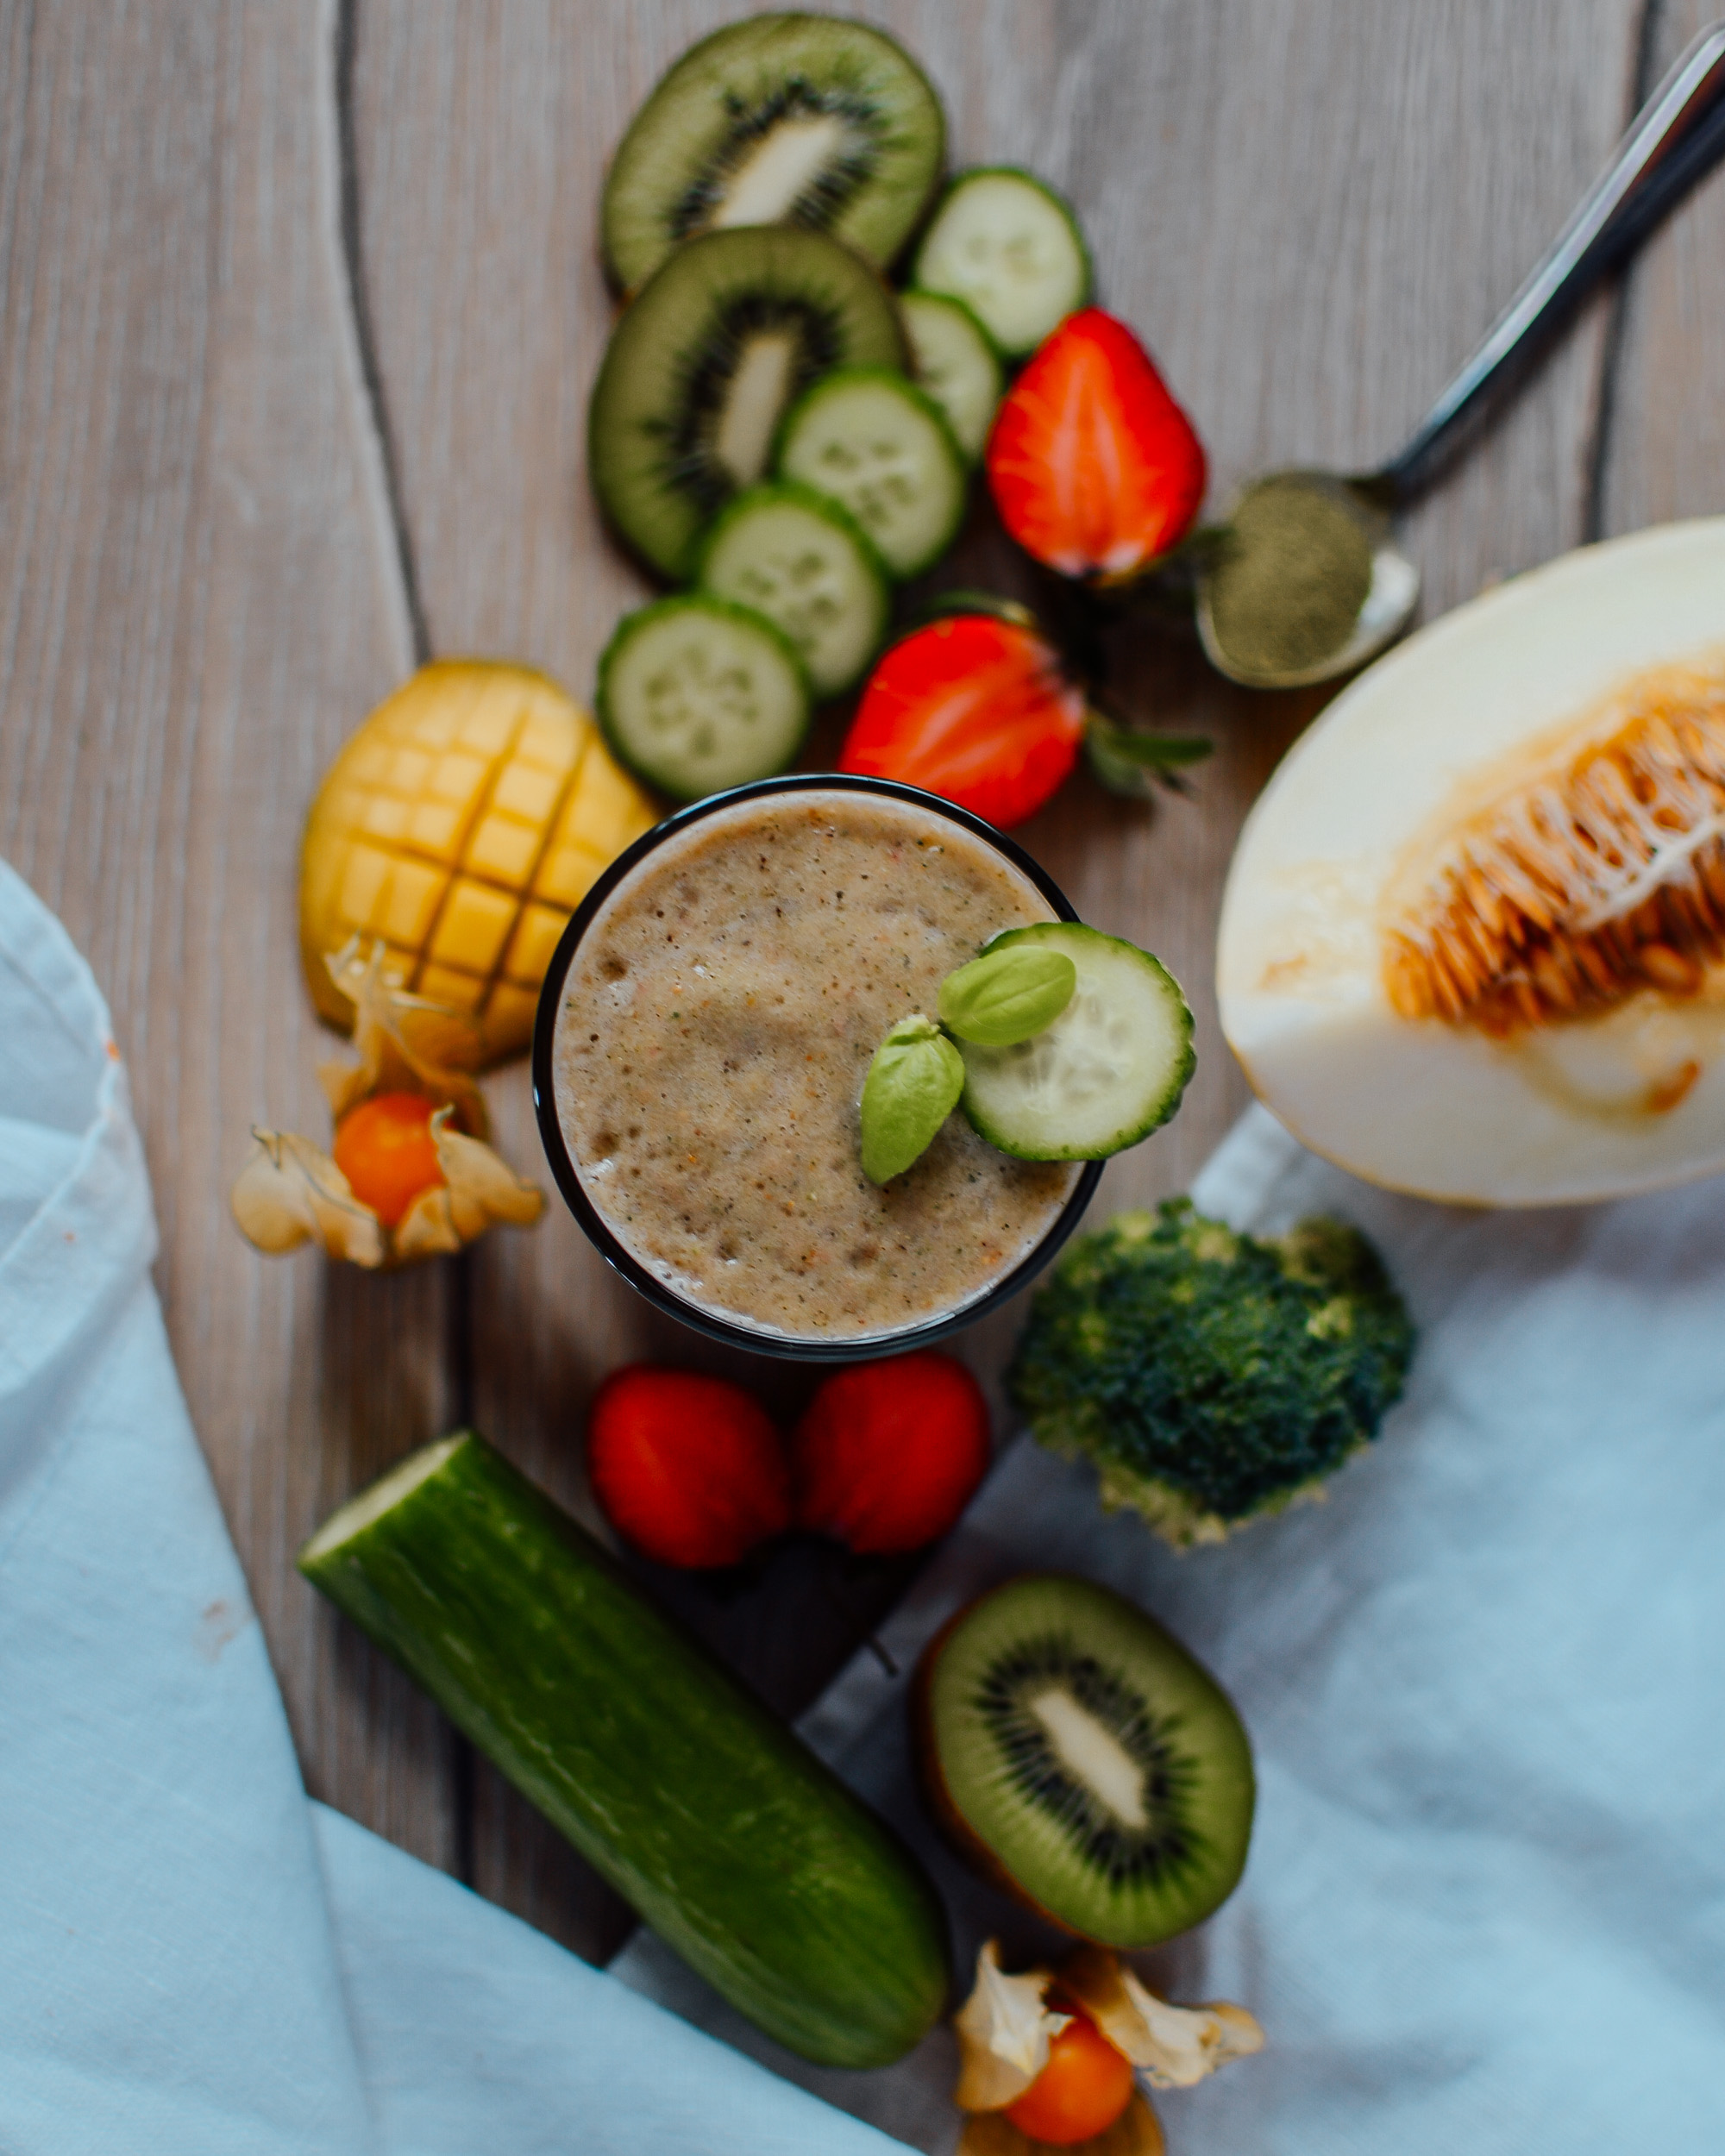
1 Kiwi
1 Minigurke
3 Erdbeeren
1/4 Mango
40g Broccoli 
1/4 Honigmelone
1 TL Moringa, Matcha oder Spirulina 
200ml Kokoswasser

Smoothie Detox

Protein Smoothie – Nachmittags

1 TL Mandelbutter (gesundes Fett)
1/2 Banane (Energy Booster)
1 EL Proteinpulver (Eweißquelle)
200ml Mandelmilch (Mandeln helfen gegen Herzkrankheiten)
1 TL Flohsamen (Ballaststoffquelle, gut für die Verdauung)
1 TL Matcha (hoch an Antioxidantien)

Optional auch noch mit Avocado und Rohkakao. 

Smoothie Detox-

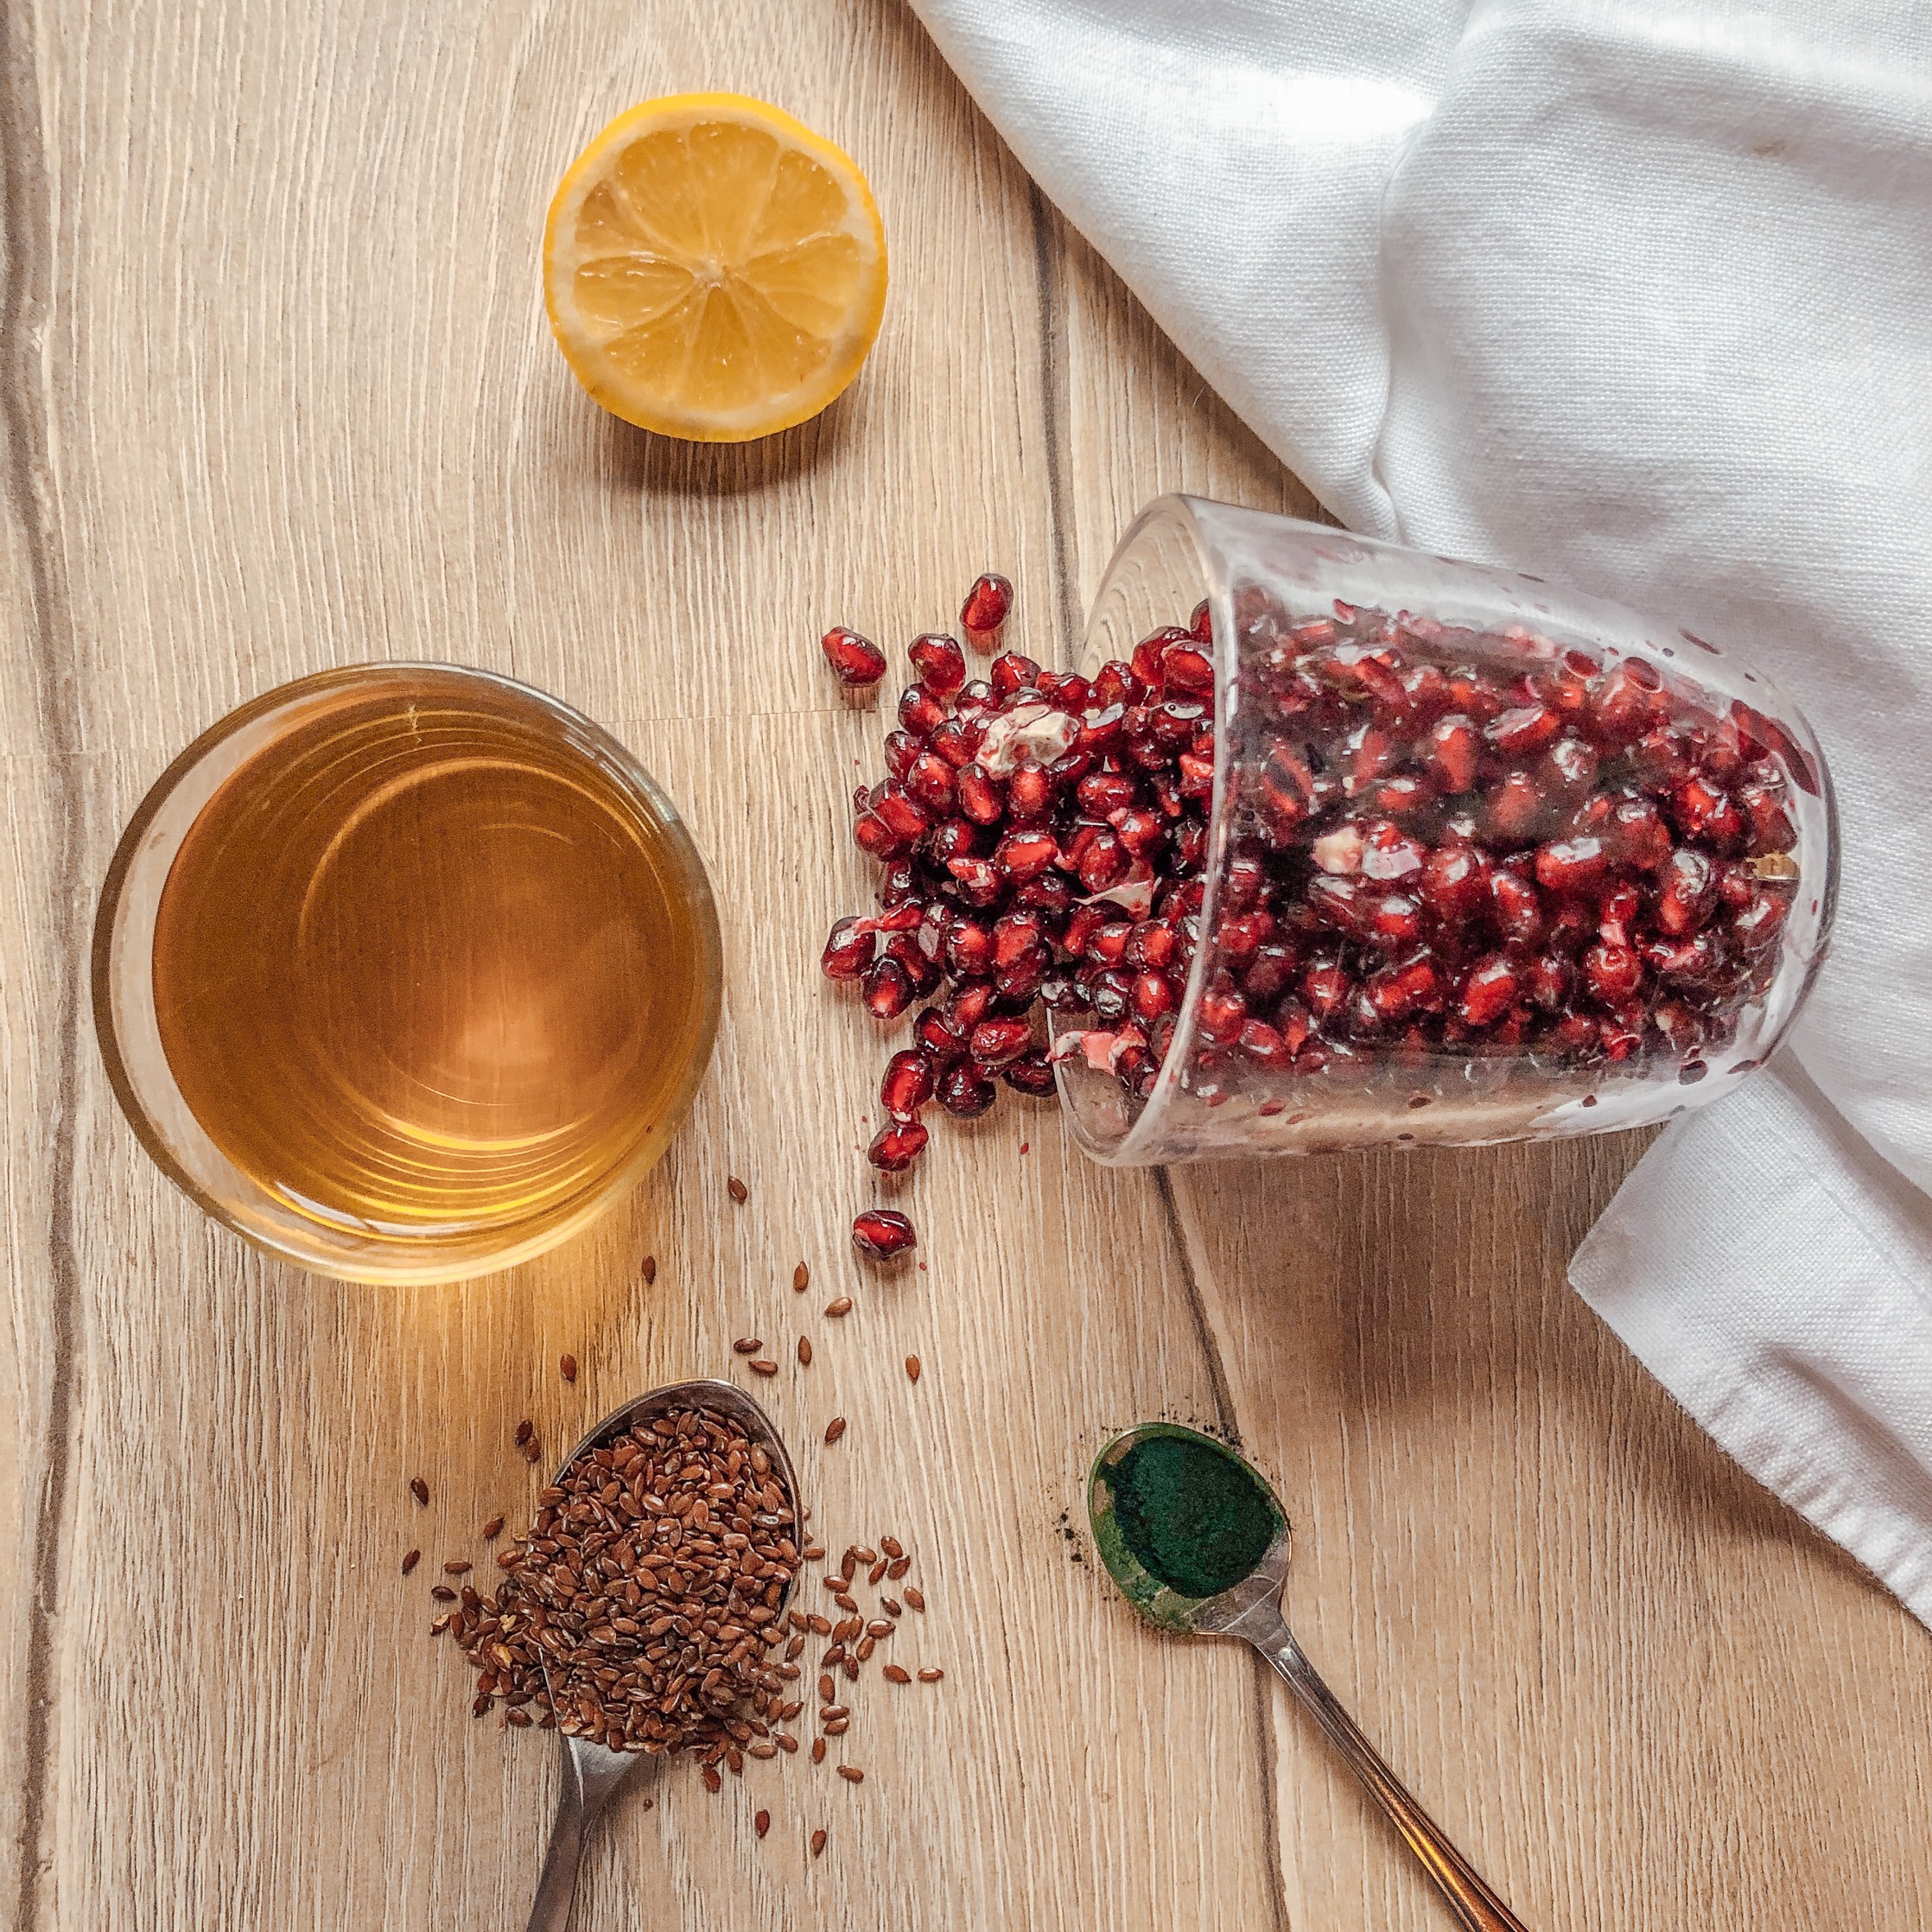
Granatapfel Spirulina Smoothie – dazwischen 

1/5 Zitrone (für das Immunsystem)
250ml Grüntee (hilft bei Fettverbrennung)
100g Granatapfelkerne (soll vor Krebs und vorzeitiger Hautalterung schützen)
1 EL Leinsamen (Omega 3 & Ballaststoffe)
1 TL Spirulina (entzündungshemmend und entgiftend, vorsicht – Geschmack ist nicht gerade lecker)

Smoothie Detox-

Warme Tomatensuppe – „Abendessen“

Einmal am Tag wollte ich meist was warmes essen. Deshalb habe ich mir einen Gemüse Smoothie namens Suppe gemacht 😀 
Hier ein tolles Rezept meiner Lieblingssuppe währen der Detox Kur! 

Zutaten: 
300g Wurzelgemüse (Knollensellerie, Karotten, Lauch)
1 Kartoffel
Kräuter
Bio-Suppenwürfel 
3 EL Tomatenmark 

Zubereitung: 

Das Gemüse in kleine Stücke schneiden und in einem Suppentopf mit Wasser kochen. Tomatenmark und Suppenwürfel unterrühren. Gekochtes Gemüse aus der Suppe abseihen und für die Aufbautage im Kühlschrank aufbewahren. Frische Kräuter hacken und als Topping auf die Suppe geben. 

Smoothie Detox

Ich hoffe ihr habt dieses Blogpost spannend gefunden und ich konnte euch auf für eine zukünftige Smoothie Detox Kur begeistern. Es ist wirklich toll so etwas mal auszuprobieren. Falls ihr noch genauere Fragen habe könnt ihr mir sie gerne in die Kommentare schreiben. 

xoxo, 

Weiterlesen

Glücksschweinchen für Silvester – Backen zu Neujahr

Glücksschweinchen für Silvester

Prosit Neujahr! Ich hoffe ihr seit alle gut in das neue Jahr gestartet. Kurz vor Silvester bin ich dieses Jahr auf ein wahnsinnig geniales Rezept gestoßen welches mir meine Mama gezeigt hat. Ich möchte das Rezept der Glücksschweinchen für Silvester nun mit euch teilen damit ihr die kleinen Glücksbringer auch selber nachmachen könnt!

Rezept Inspiration

Zwei Tage vor Neujahr fing meine Mutter auf einmal an zu Backen und ich war ganz begeistert als ich sah was sie in der Küche zauberte. Vor einiger Zeit hat ihr eine Freundin das Rezept der Glücksschweinchen für Silvester aus Topfenteig gegeben. Die sind einfach perfekt als kleine Mitbringsel für Silvesterparties oder zum Herschenken als Glücksbringer am Neujahrestag! 

Glücksschweinchen für Silvester

Super einfaches Silvester Rezept

Das Rezept an sich ist auch wirklich total unkompliziert. Ich musste dafür nicht mal einkaufen gehen, da wir alles schon im Kühlschrank dafür hatten. Den Teig zu machen dauert nicht lange. Das einzige wofür ihr euch dann schon etwas mehr Zeit nehmen müsst ist das Formen der Gesichter der kleinen Glücksschweinchen für Silvester. 

Ihr braucht für das Rezept drei verschiedene Runde Ausstechformen. Hier bin ich sehr kreativ geworden. Für das Gesicht habe ich einfach ein Glas verwendet, für die Ohren eine kleinere Keksausstechform und für die Nase den Verschluss einer kleinen Flasche. So hatte ich drei verschiedene runde Kreise ohne extra etwas kaufen zu müssen. 

Glücksschweinchen für Silvester

Glücksschweinchen für Silvester – das perfekte Mitbringsel

Der Geschmack der fertig gebackenen Schweinchen ist eher neutral. Man kann es mit einer Semmel vergleichen. Deshalb rate ich euch die Schweinchen mit etwas Aufstrich zu essen. Sie sind also auch die perfekte Beilage für das morgendliche Frühstück. 

Ich habe die Glücksschweinchen für Silvester zu zwei Parties mitgenommen und sie waren der absolute Highlight des Abends! Alle haben sich so gefreut eine so süße Kleinigkeit zu bekommen. 

Das Rezept

Hier das einfache Rezept für den perfekten Start in das neue Jahr:

Glücksschweinchen für Silvester
Yields 20
Der kleine Glücksbringer für das neue Jahr
Write a review
Print
Prep Time
45 min
Cook Time
15 min
Prep Time
45 min
Cook Time
15 min
Ingredients
  1. 200g Topfen
  2. 50ml Milch
  3. 50ml Sonnenblumenöl
  4. 300g Mehl
  5. 1Pkg. Backpulver
  6. Brise Salz
  7. 40 Stk. Pfefferkörner
Instructions
  1. Topfen, Milch und Öl in einer Schüssel verrühren. Salz, Backpulver und Mehl vermischen. Die Hälfte der Mehlmischung nun unter den Topfen rühren, danach das restliche Mehl dazugeben und gut durchkneten. Den Teig für 30 min zugedeckt im Kühlschrank rasten lassen.
  2. Die Arbeitsplatte mit Mehl bestäuben und den Teig auf der Platte mit einem Nudelholz ca. 0,5cm dick ausrollen.
  3. Man benötigt drei runde Ausstecher (2,5cm, 4 cm & 5,5xm Durchmesser) Jeweils 20 Scheiben ausstechen. Für die Nase den kleinen Kreis verwenden und mit einem Spieß zwei Löcher in die Nase stechen.
  4. Für die Ohren den mittleren Kreis halbieren, zusammenfalten und die Ohren oben auf den großen Kreis drücken. Den kleineren Kreis als Nase in der Mitte setzen.
  5. Dotter mit der gleichen Menge Wasser verrühren. Mit einem Pinsel die Schweinchen einstreichen. Zwei Pfefferkörner als Augen ins Gesicht drücken.
  6. Backrohr aus 175 Grad Umluft aufheizen. Die Schweinchen auf ein Backblech legen und ca. 15 Min. backen.
Notes
  1. Am besten mit einem Aufstrich wie Liptauer oder Philadelphia genießen.
carinaberry.com https://carinaberry.com/
Glücksschweinchen für Silvester

Ich wünsche euch einen wunderschönen Start in das neue Jahr. Ich wünsche euch ganz viel Glück und Zufriedenheit! Danke, für eure Zeit welche ihr mir hier am Blog schenkt – ich schätze sie sehr 🙂 

Hast du das Rezept nachgemacht?

Dann markiere mich mit @carina_berry auf Instagram verwende den Hashtag #carinaberry

Ich teile immer wieder nachgemachte Rezepte auf meiner Instastory  <3

xoxo,

Glücksschweinchen für Silvester

Weiterlesen

Puebla Food Guide – top 12 best restaurants and food spots

Puebla Food Guide

So excited to share this Puebla food guide with you all. Puebla is in my opinion the heart of gastronomy in Mexico. It is super well known for its incredible cuisine and extravagant restaurants. After having lived here twice I feel like I know my way around the best food spots in town pretty well and would love to share them with you now. 

The amount of cool, unique trendy places is really astonishing in Puebla. It was something I certainly didn’t expect when I came here the fist time. I can honestly say our restaurants & cafés in Austria don’t even come close to the awesome food spots you will find here! 

Gastronomy is super important for the city of Puebla. In almost every university you will find a gastronomy major, which is also what I studied during my exchange semester here. It is the soul and beating heart of the Mexican haute cuisine. The food is really so unbelievably good here and in this Puebla food guide I want to present you my top food choices of the city!

Puebla Food Guide

Breakfast

Here a list of my favorite breakfast spots in Puebla:

1. Olivia

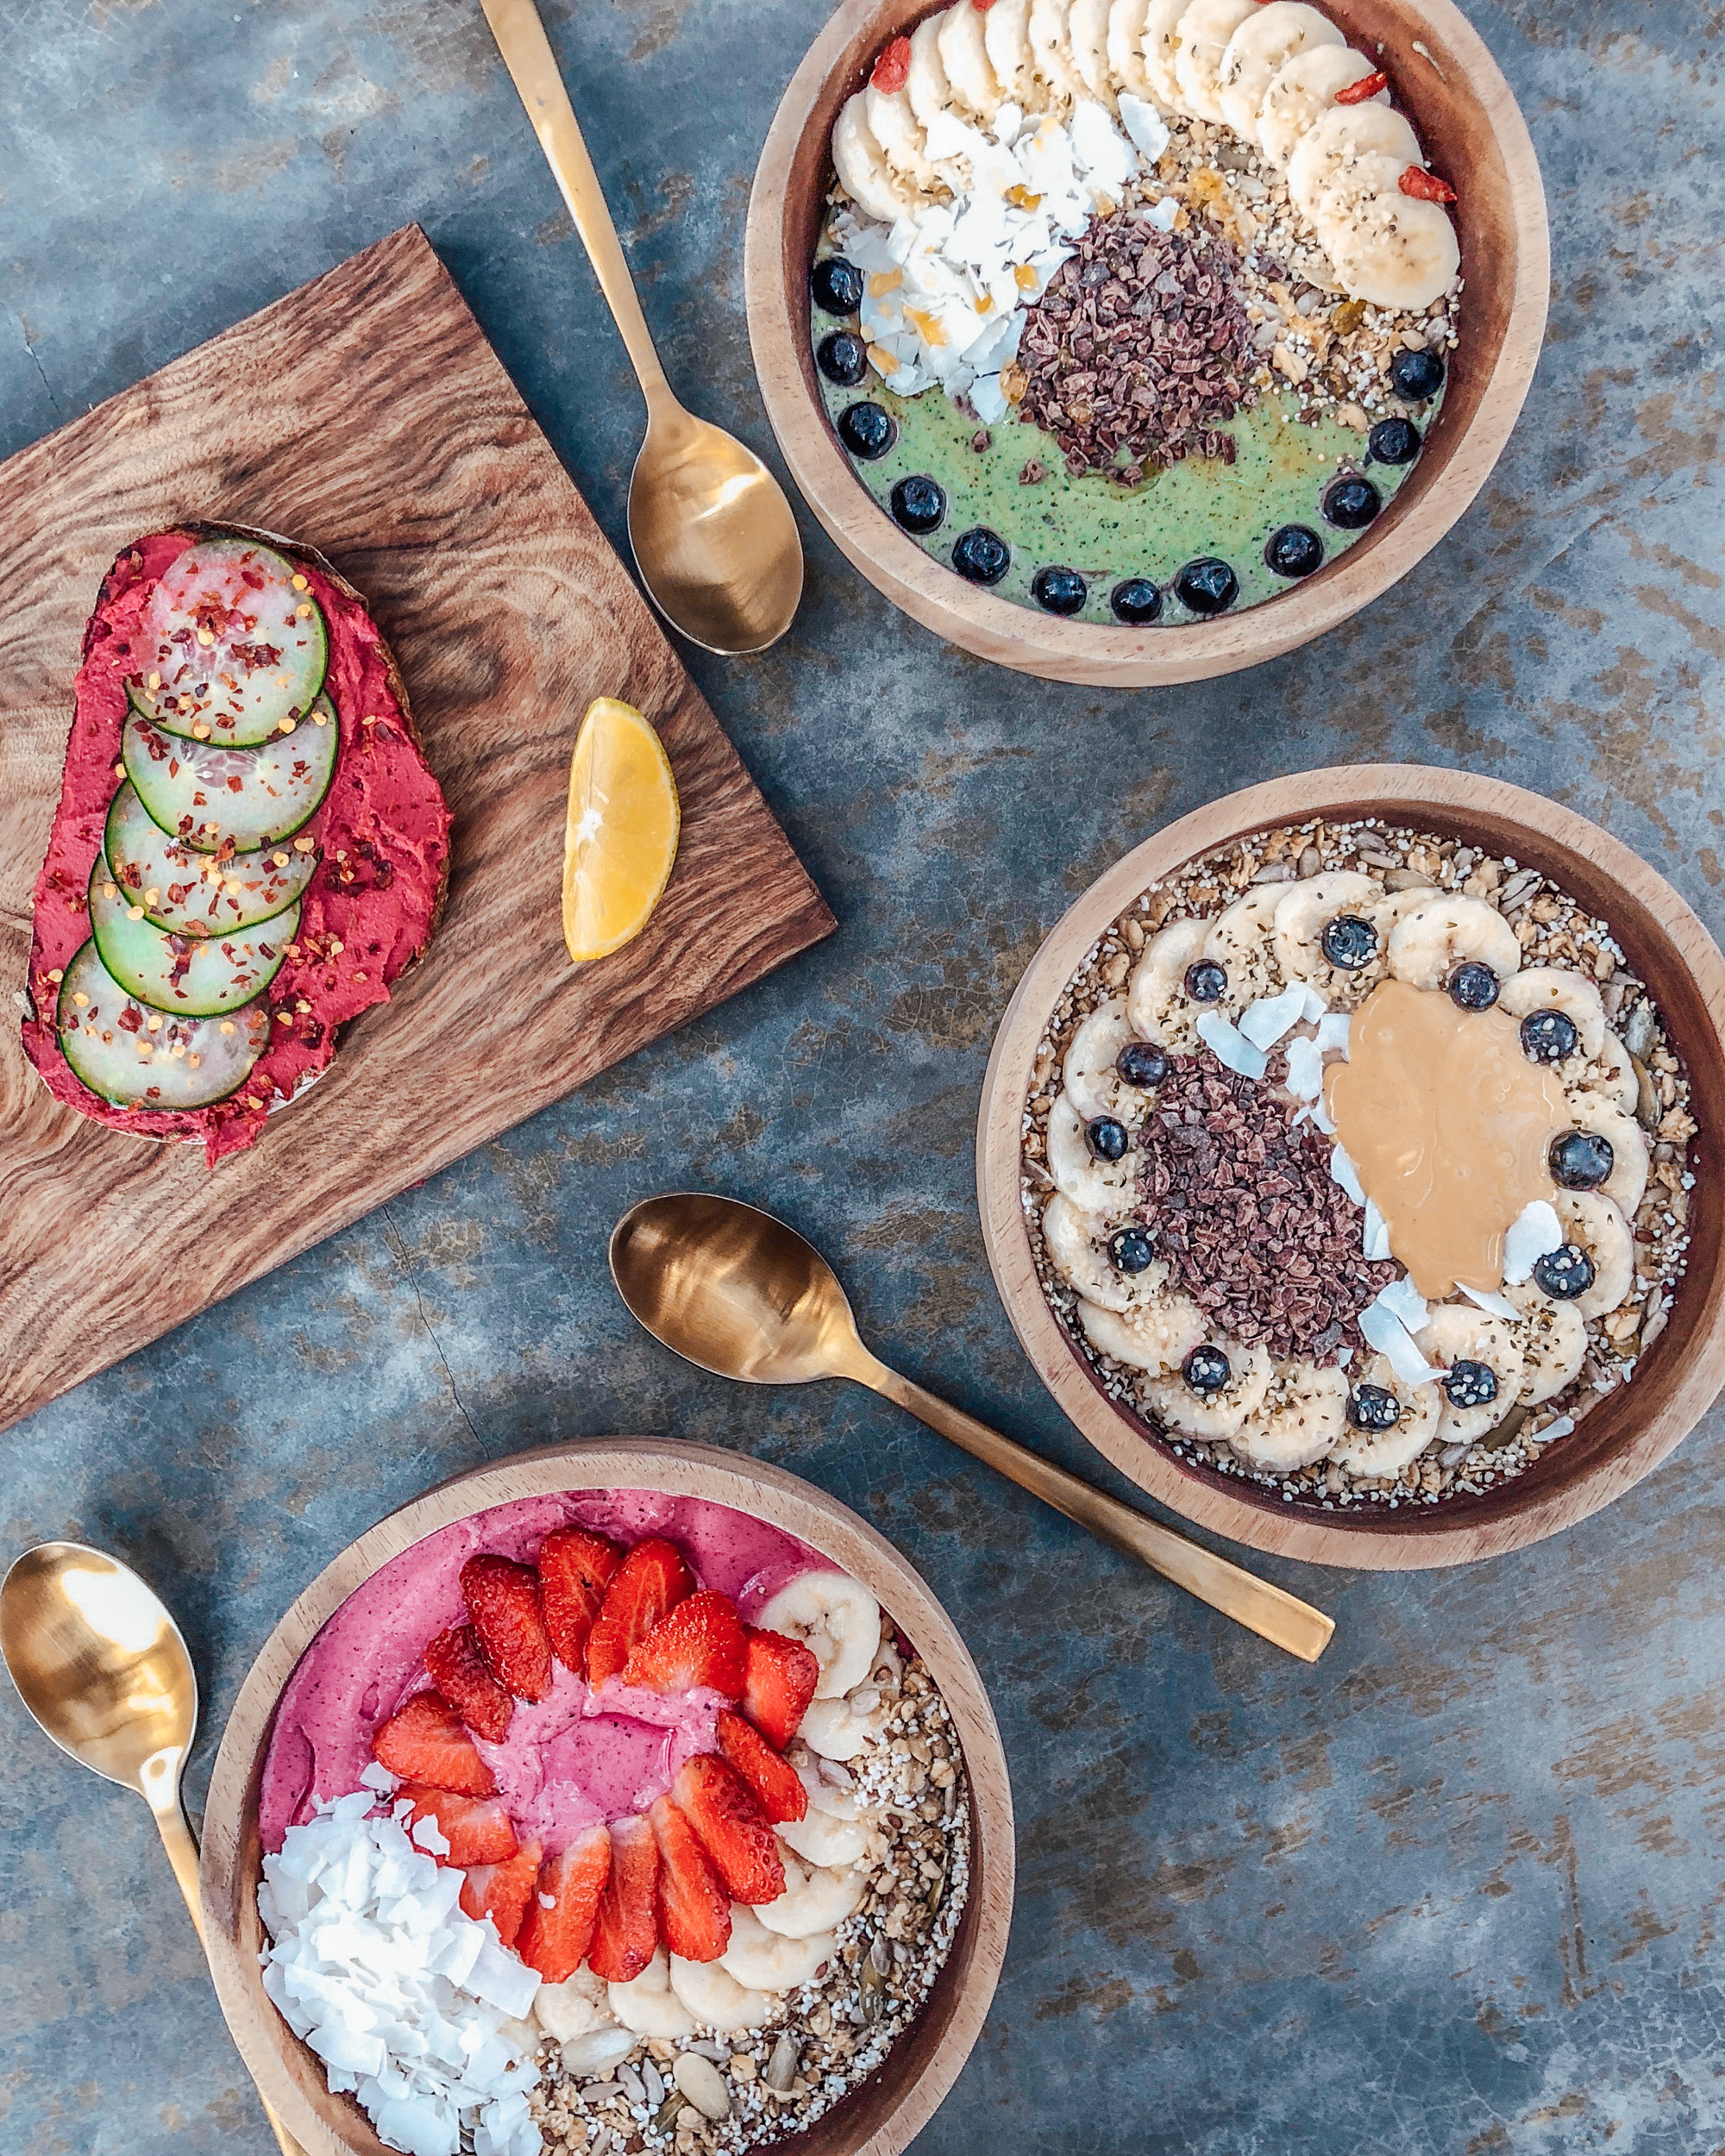
I adore this place and therefore it is on top of my list for my Puebla food guide. The vibe, the atmosphere, the healthy food and the fair prices. When I go I always get the „Dejalo Fluir“ Detox shot at Olivia, which is a mix of apple vinagre, himalayan salt, honey, cinnamon and cardamon. A perfect start into the day! The matcha pancakes, smoothies and Açai bowl are my top choices there. They have a good internet connection as well and I love to work from there every once in a while. 

Puebla Food Guide

2. Mama Elena

I love this place because of the beautiful view onto the cathedral of Cholula. Its a super cute restaurant and they have a couple of healthy options. I unfortunately couldn’t make it there this year, but I remember from last year I loved their chia pudding and the fresh pressed juice is also really good. Check for special events there. Last year we went for a five course Valentines dinner with a view onto the cathedral. Mama Elena is really a magical place!

3. Tonico 12 

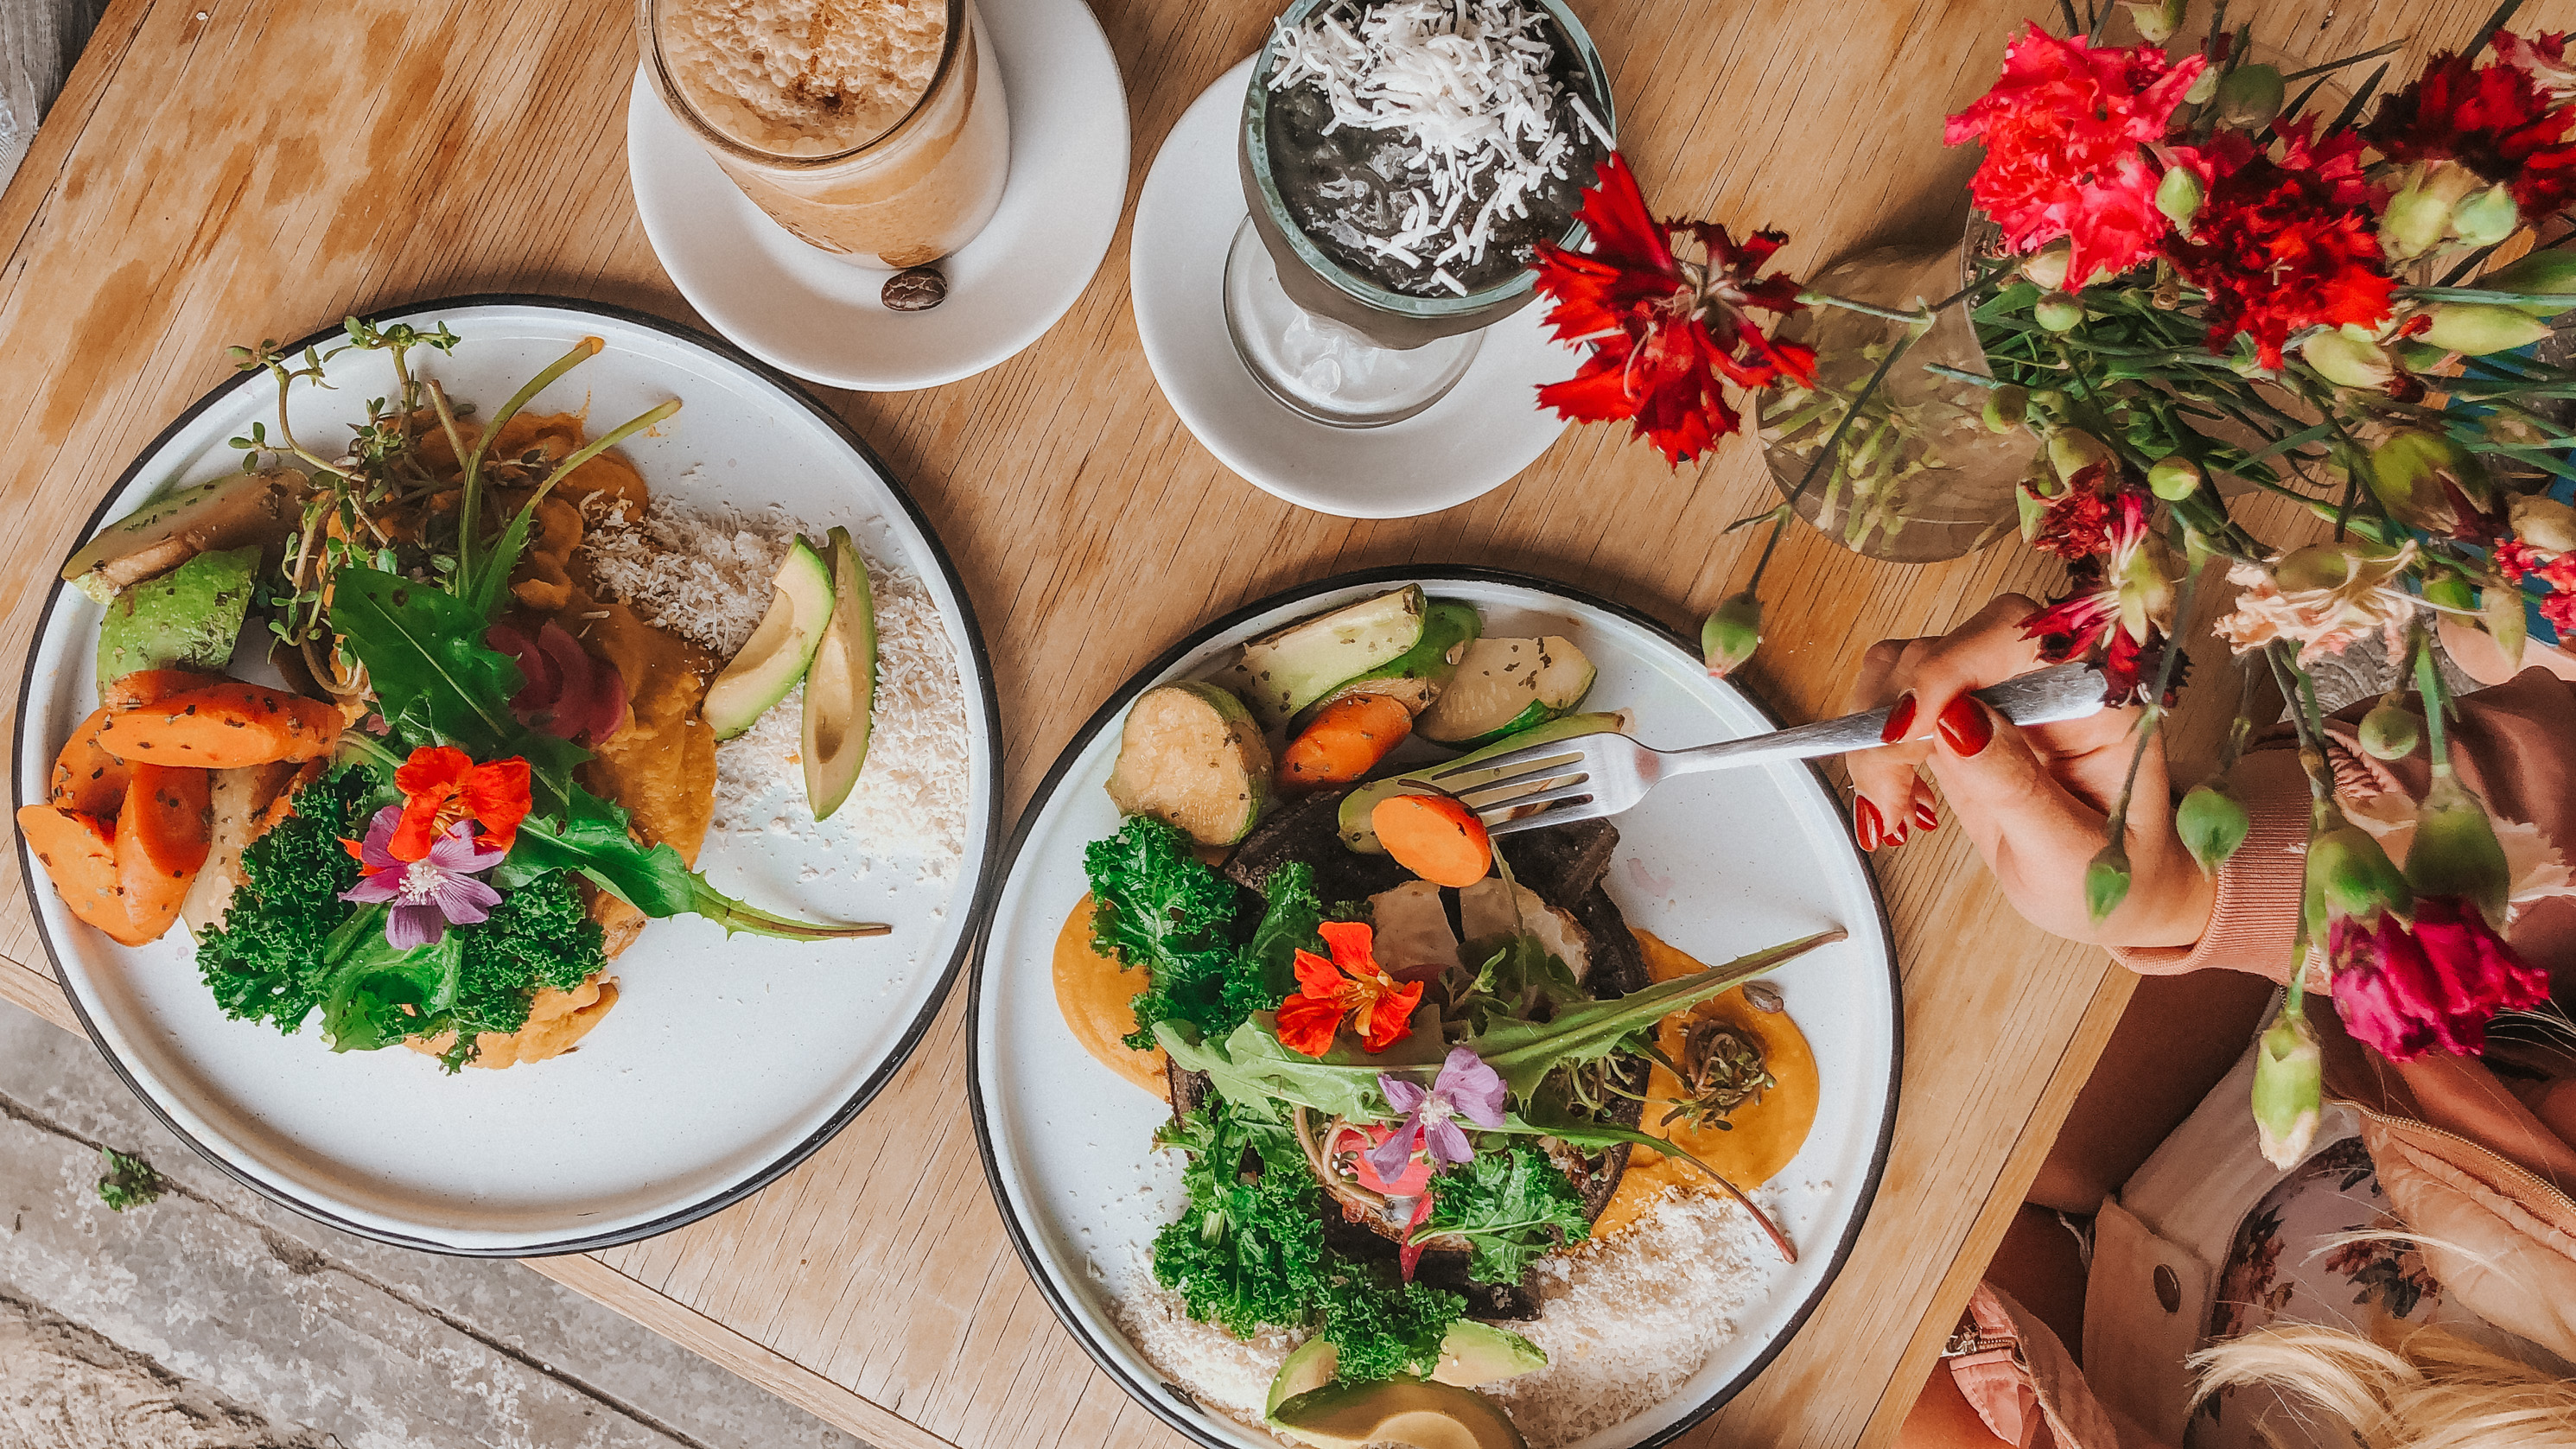
This place is definitely on top of my food list here in Puebla. What ever you order will guarantee an explosion of color on your plate. Everything is homemade and super high quality ingredients are used. Tonico 12 has many vegan and vegetarian options and uses a lot of superfood for the dishes. I had characol pancakes and a characol smoothie which tasted amazing! What I also really liked was how they decorate the dishes.  Tonico 12 is on my list for breakfast places, but I also recommend it for a healthy lunch or dinner option! 

Puebla Food Guide

4. La Cupula 

This is a restaurant downtown in the center of Puebla. Its a rooftop restaurant so you have an amazing  360 degree view over the entire city. We went there for breakfast which I can highly recommend. It is a buffet and only costs 150 pesos (like 8 euros) and you have a huge selection and can also get fresh Chilaquiles, Enchiladas and Omlettes from the kitchen. Highly recommend checking out la Cupula!

5. La Chula 

This is a tiny little juice bar in Cholula. Everything is made right there in front of you. The ingredients are super fresh and the choice of healthy juices are amazing! They also offer a small breakfast menu including omlettes (which were incredible) and bowls (even better). We had the crazy monkey bowl which included peanut butter and banana! 

6. Soul Vali

Tulum vibes coming right up with this one. A visit at Soul Vali feels like a short term vacation. The tropical and chill atmosphere makes eating there super enjoyable. It is situated in a little garden with beautiful white hammock chairs and wooden tables. They have a huge selection of healthy bowls and decorate them like top food bloggers! I think we spent like three hours there soaking in the atmosphere. Soul Vali also has Wifi so its a good place for a little work session as well. 

Puebla Food Guide

Lunch & Dinner

7. Casona de los Sapos

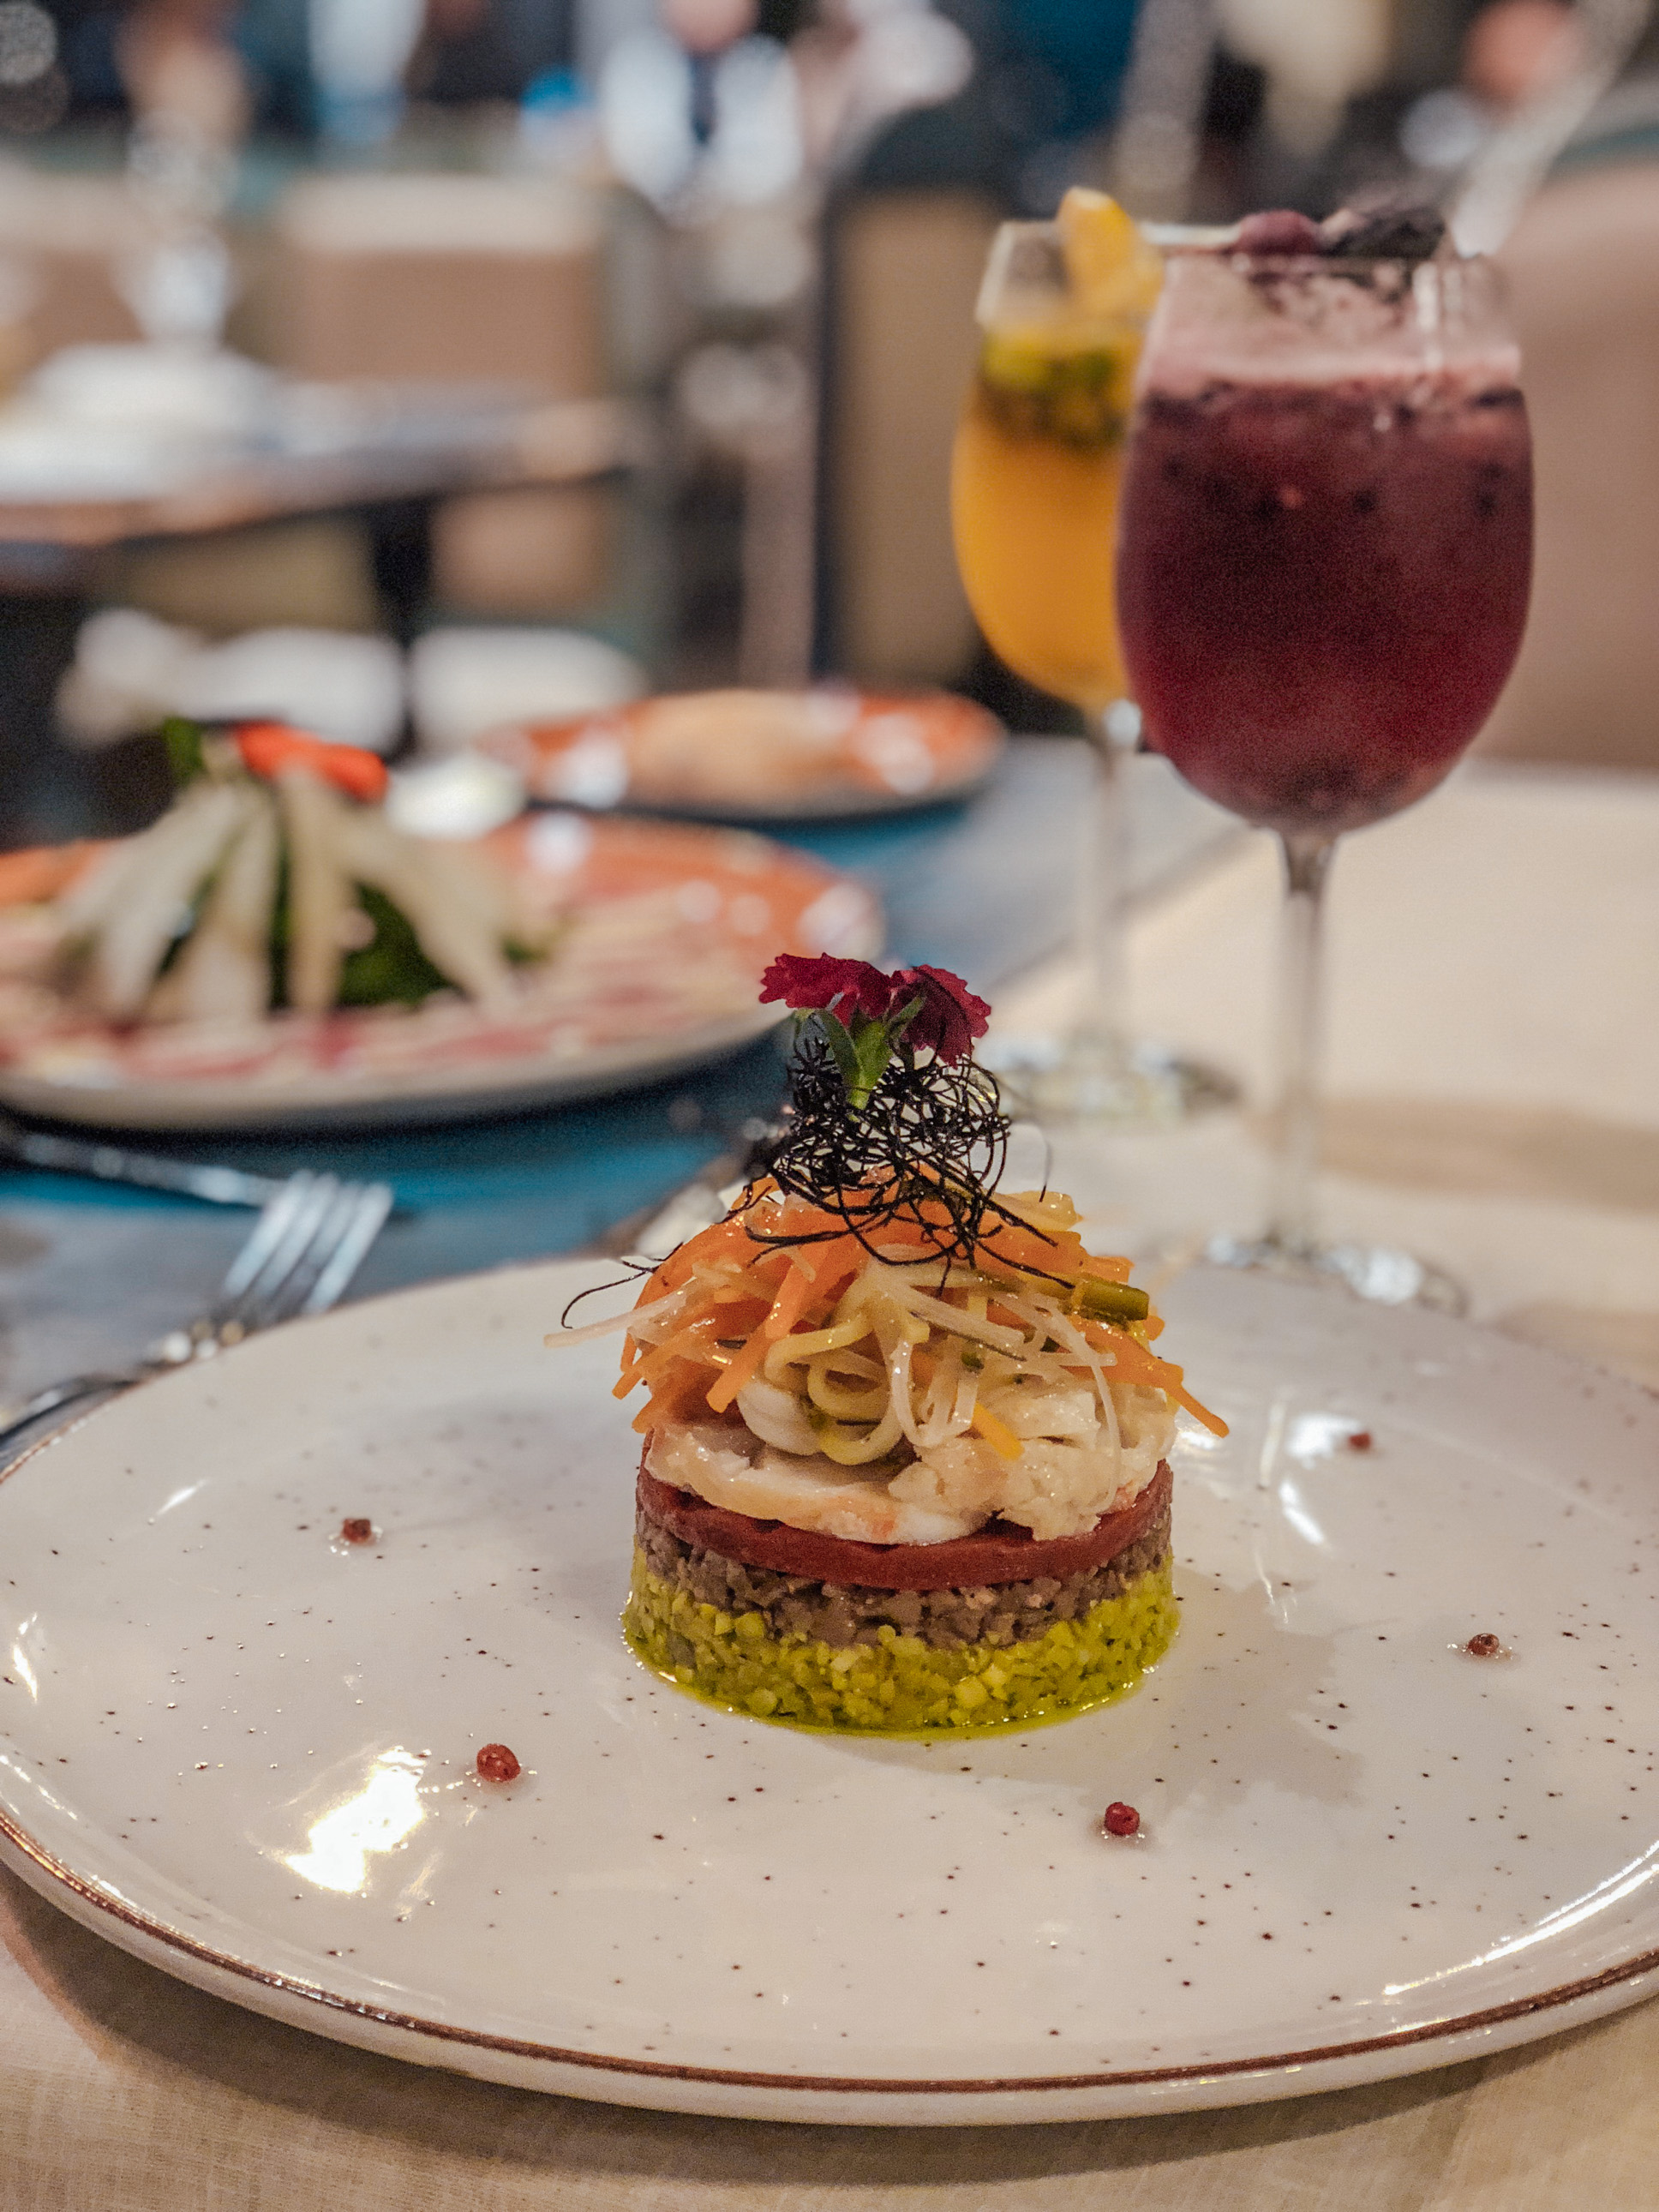
I am putting this place first on my Puebla food guide regarding dinner & lunch choices.  Out of all the places we went to it definitely impressed me the most with their dishes and quality of food. Casona de los Sapos is a small boutique hotel with only 19 super luxury rooms hosting three restaurants and one French bakery.

We had dinner at Osteria del Rospo and were stunned by professional service and haute cuisine sent from the kitchen. We treated ourself to a three course meal there and were so happy about all the healthy low carb options that can be found in the menu. The combination of flavor we found in all dishes were so well balanced, but also challenged your senses at the same time. This is really what I call a unique food experience. The next morning we had breakfast in their French restaurant. We were offered some of the fresh pastries from the bakery and ordered some main dishes.  I rarely ate such a good salmon omelette. 

Puebla Food Guide

8. Textileria

This place is simply so cool. Honestly I wish we had a restaurant like that in my city at home. The interior is super stylish and has a modern/vintage twist. The service is world class and the waiters make you feel like the most important person in the room. Although I consider Textileria quite fancy the prices are absolutely affordable for any European. As a starter they bring you this fantastic bread with different kinds of sauces to try. I was feeling a bit adventurous when we went there and ordered the grasshopper tacos. I also had salmon there one time which was incredible and needs to mentioned on my Puebla food guide. 

9. Intro 

This is probably one of the higher priced restaurants in Puebla and has made quite a name for itself. My host sister is managing the bar so I simply had to come and check it out and go for a drink there. After a super delicious non-alcoholic matcha cocktail at Intro we got some food there as well.  I ordered the cauliflower with feta cheese, which was really yummy and my friends had octopus and ceviche. Expect to pay a bit more here than in other places, but also expect top class food and amazing service. When we sat down the chef send a little greeting fro the kitchen with was also super yummy! I loved the interior and classy style of the place.

10. La Berejena

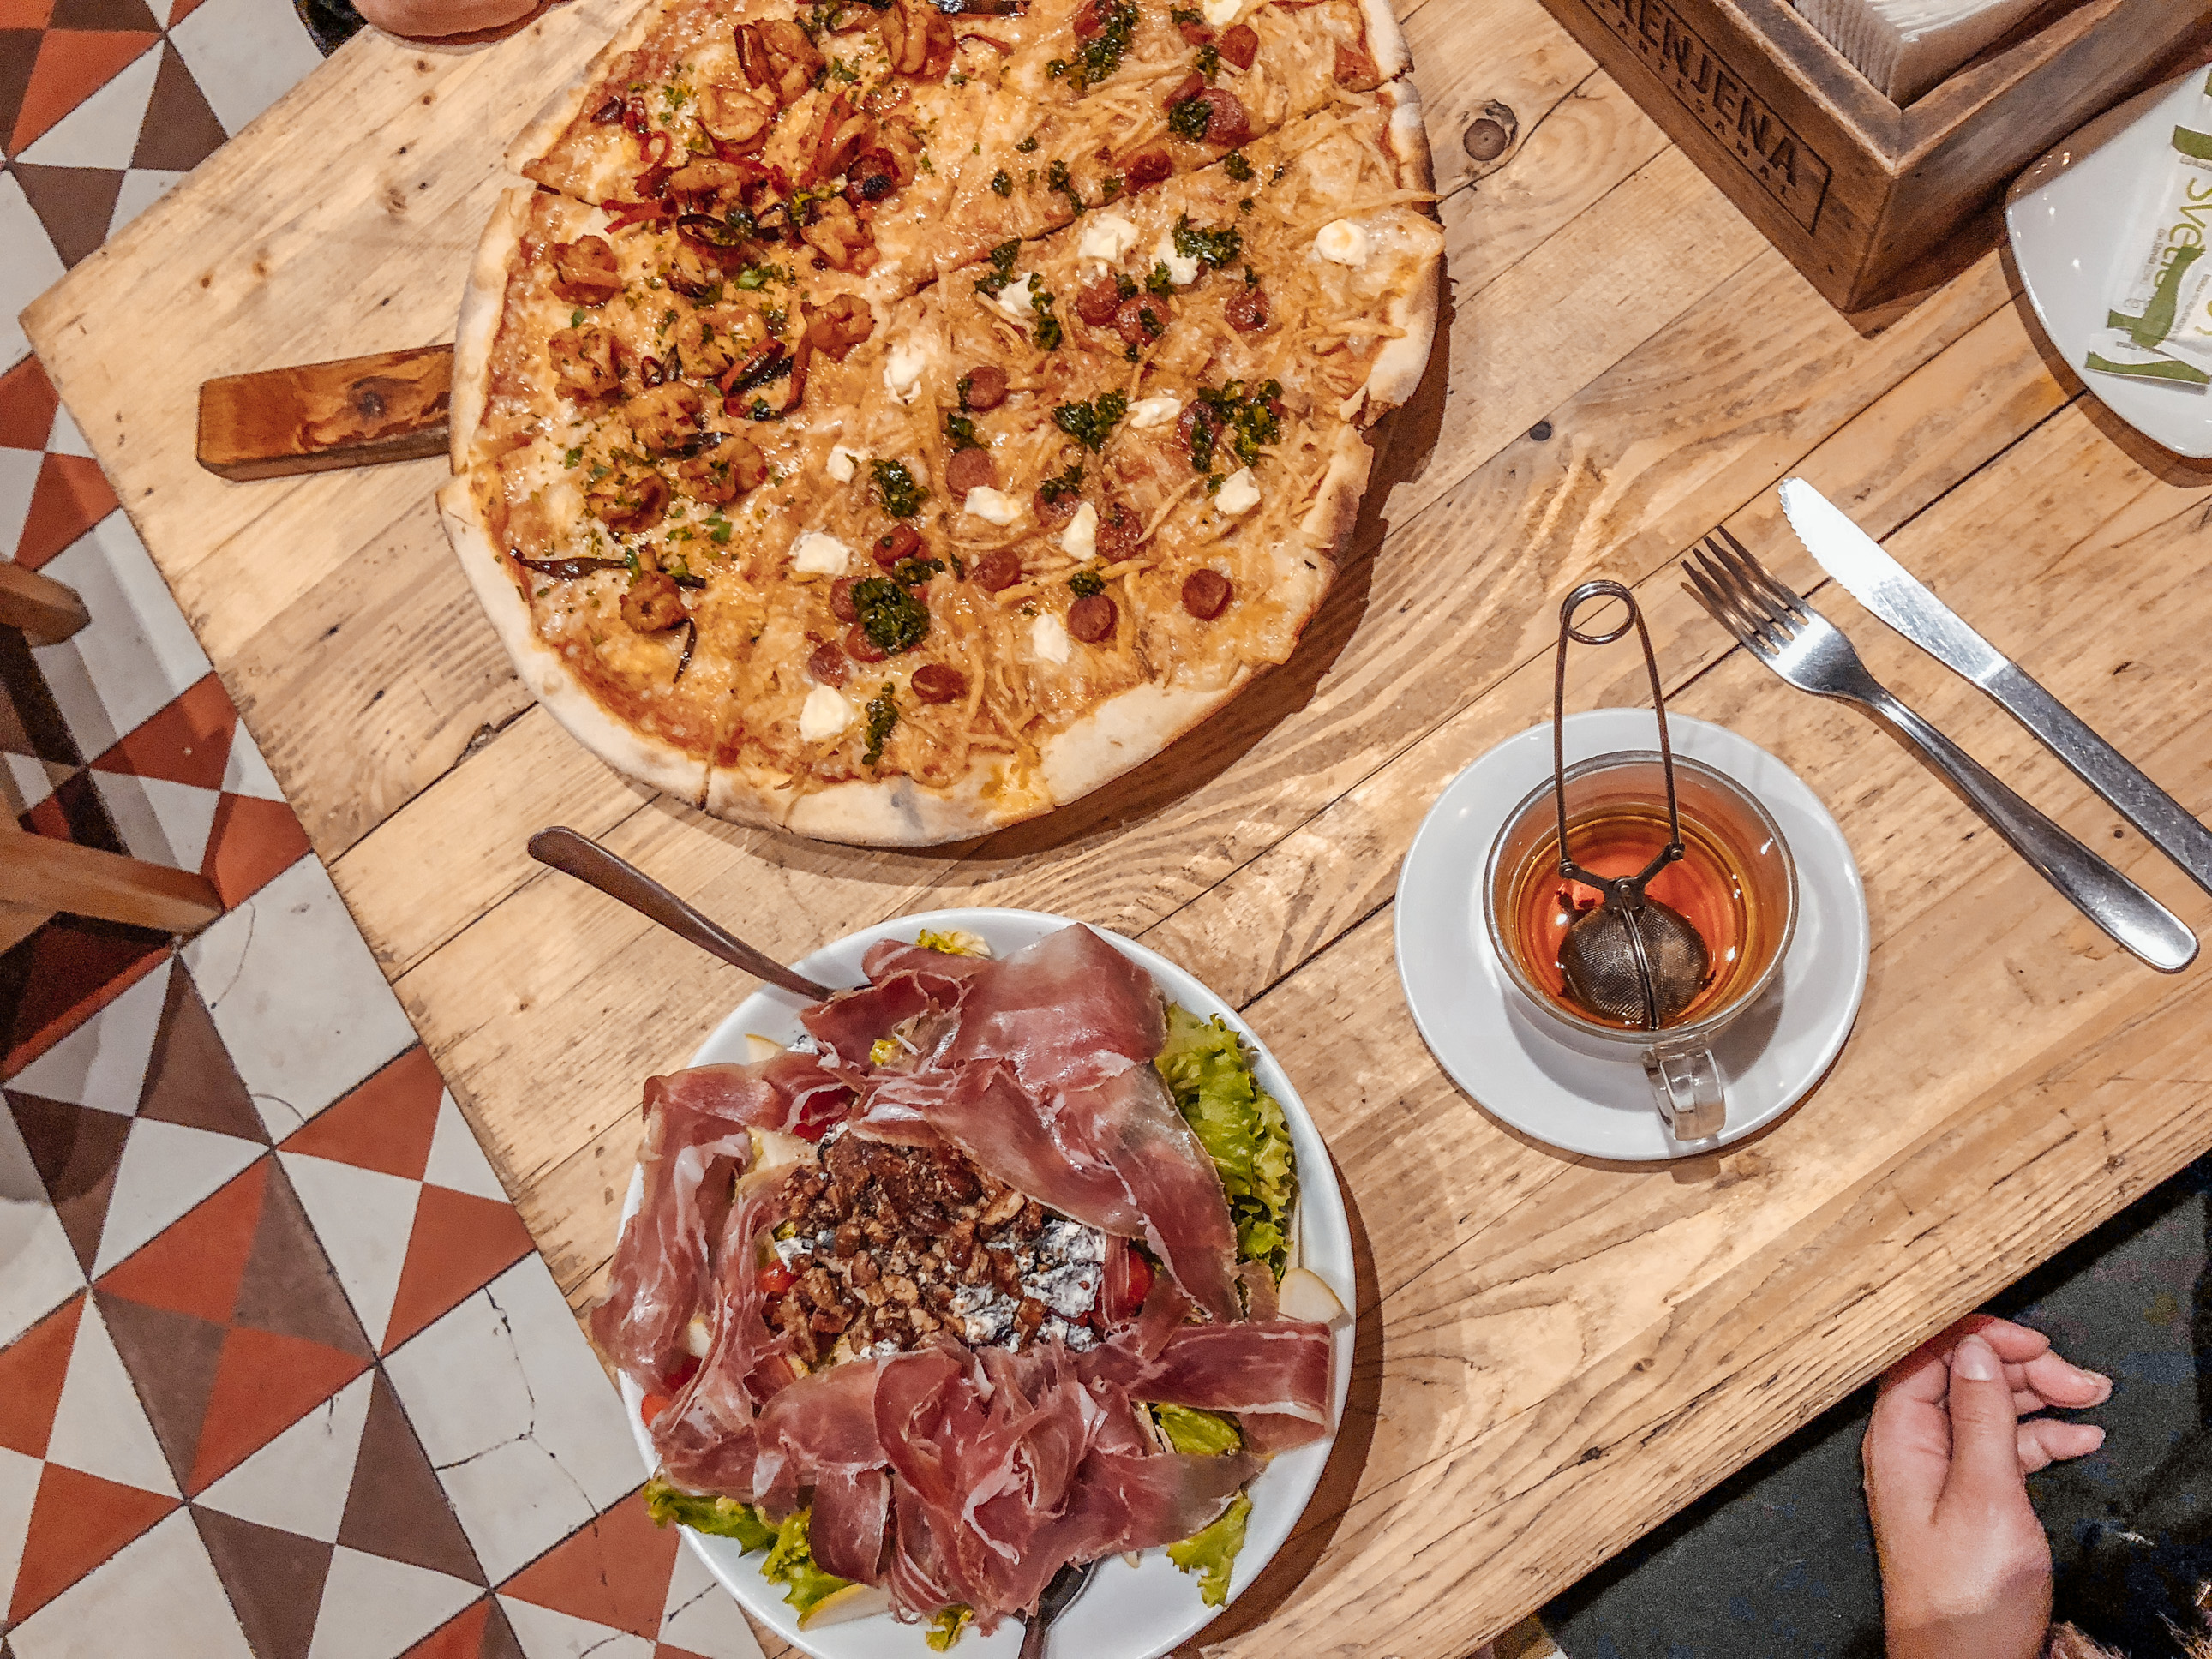
You might not expect to find good pizza in Mexico, but la Berejena will prove you wrong. They have a super creative pizza menu, offering different combinations of flavors you have never tried before on a pizza. The place is usually packed, but after a short while waiting we got a table. The decoration of the restaurant is super hip & trendy. I ordered a salad because it just sounded so amazing. It was with caramelized pecans, goat cheese, apple slices and jamón serrano. I also shared a pizza with my boyfriend which was delicious. 

Puebla Food Guide

11. The Ocho30 

Another hipster food spot in Puebla that needs to be mentioned in my Puebla food guide.  There are a couple Ocho30 restaurants in Puebla, each one specializing in one specific meal (paninis, pizza,…) What I really love about 80.30 is the interior decoration. It is just so cool! My two favorite ones are in Cholula and in Lomas de Angelopolis. I ate lasagne there last time, which was great. The prices are super affordable, but don’t expect huge portions. Perfect for not gaining weight though 😉 

12. Sushi-iito

Okay I simply had to put this one on my Puebla food guide list because I went there so many times. This is not the traditional high end restaurant you would expect. It is a pretty basic sushi chain with an AMAZING offer I simply was not able to resist. So, I absolutely love sushi and Sushi-iito has this offer from Monday to Thursday where you order one roll and get the second one for free! Whaaat?! Yes you heard correctly!

The best thing, one roll costs like 100 pesos (4 euros) and it is actually really good sushi. Totally recommend you to check it out when you are here. We loved going to the one in Lomas de Angelopolis because it has a nice atmosphere as well. Oh and by the way don’t go to Shirushi. OMG I absolutely hated that place. That was my worst food experience in Puebla. So if you are on the lookout for sushi go to Sushi-iito instead! 

Top chefs in Puebla 

Since I studied here for half a year in the field of gastronomy & mixology I was also able to get to know a lot of people working in this area here. Many of my friends are top chefs and bartenders here who are also being flown around internationally to cook in different countries. The Puebla food guide would not be complete if you didn’t get to know some of the chefs behind the scenes. Here I would like to present two of my favorite talents of the city. 

Elena Centeno

Puebla Food GuideThis sweet girl is actually my host sister. Elena has an incredible talent for creating the most amazing cocktails and is head of bar at Intro, one of the finest restaurants in the city. She has entered various mixology competitions and impressed the judges more than once! 
Since I don’t really drink alcohol she made me a super special „healthy“ matcha cocktail. I was really impressed by the taste and creativity of the drink. 
Her signature drink Green Velvet is also super healthy. Its with avocado, egg white and matcha! Sounds like a pure fitness drink, right?! 

Daniel Nantes

Puebla Food GuideThis guy has some real skills! Daniel is of the uprising stars in Pueblas gastronomy world who was just recently flown to Russia to cook for the Mexican embassy in Moscow! His skill to innovate new dishes and combine all kinds of ingredients into a firework of flavors is unique. During the time I was here I was lucky enough to have tasted a three course meal he and Elena put together (they are dating by the way – what a power couple in the kitchen).

Make sure to check out their Insta for some real high class food inspo! 


My love for Puebla

I hope you enjoyed this Puebla food guide and will check some of these places out if you ever get to the city! I promise you will be stunned the by the high quality and unique restaurants & cafés you find in the city. If you are looking for more food tips in Mexico I recommend you check out my Tulum food guide

Puebla Food Guide

I honestly really love Puebla and I have a close connection to this city because I lived here for quite a while and have made tons of friends here. It has such a charm and besides the food there are also so many things to see and do. They have this super cool VIP and 4Dx cinema that makes every movie experience so memorable. Also visiting the markets, taking a spin on the Estrella de Puebla and shopping at some of their fancy malls is a ton of fun.

Let me know if you still have any questions and I am happy to answer them in the comments! 

xoxo, 
 

Weiterlesen

Kekse ohne Zucker – weihnachtliches Protein Lebkuchen Rezept

Kekse ohne Zucker - gesunder Lebkuchen

 Kekse ohne Zucker sind ja gerade in der Weihnachtszeit selten gesehen. Hier vergisst man schnell alle Regeln der gesunde Ernährung und lässt sich von Vanillekipferln und Linzeraugen verführen. Nicht so mit diesem Rezept. Mein Protein Lebkuchen ist ohne Butter und ohne Zucker und spart euch einiges an Kalorien!

Kekse ohne Zucker - gesunder Lebkuchen

Zuckerfreie Kekse – keine Butter, kein Zucker, extra Protein

Protein Lebkuchen 

Solltet ihr mir schon länger folgen kennt ihr bestimmt meinen Hang zu Proteinpulver. Ich liebe es einfach und verwende es super gerne beim Backen und kochen. Ihr habt dabei auf anhieb bessere Nährwerte bei jedem Rezept, spart euch Kohlenhydrate und Zucker. 
Für Lebkuchen und Weihnachtskekse hatte ich es allerdings noch nicht verwendet. Das Rezept ist wirklich super spontan in der Küche entstanden. Da ich gerade hier in Mexiko bin und die Tradition des Lebkuchen es nicht bis hierher geschafft hatte und ich unbedingt Plätzchen ausstechen wollte kam ich auf die Idee ihn einfach selber zu machen – Protein style selbstverständlich. Meine gesunden Kekse ohne Zucker werden euch beeindrucken, soviel kann ich versprechen! 

Da ich unbedingt kleine Lebkuchenmänner backen wollte als Deko für meine anderen Rezepte musste die Konsistenz vom Teig stimmen um ihn auch ausrollen zu können, was auch super gut geklappt hat. Meine Plätzchen ohne Zucker sind zum Ausstechen richtig gut geeignet. Ich war wirklich verblüfft wie sehr der Teig einer echten Lebkuchenmasse ähnelte! 

Kekse ohne Zucker - gesunder Lebkuchen

Fit durch die Weihnachtszeit

Wo man in der Weihnachtszeit auch hingeht, gefühlt werden einem überall frisch gebackene Plätzchen angeboten, nicht wahr? Am schlimmsten sind die Vorweihnachtsbesuche bei meiner Oma, die mit Leidenschaft gerne 20 verschiedene Keksorten bäckt. Hier ist es einfach super schwierig zu widerstehen und die Summe der Kalorien schlägt sich dann immer recht schnell auf mein Gewicht nieder. Wisst ihr dass die meisten Weihnachtskekse eigentlich nur aus Butter, Zucker und Mehl bestehen? Drei Zutaten dich ich IMMER versuche in allen meinen Rezepten zu vermeiden. 

Kekse ohne Zucker - gesunder Lebkuchen

Man kann es fast nicht glauben aber ein Vanillekipferl hat ganze 97kcal. Und wie schnell hat man da fünf Stück sich in den Mund gesteckt?! 
Meine gesunden Kekse ohne Zucker haben gerade mal die Hälfte davon! 

Heute möchte ich euch ein Rezept zeigen, welches viel besser für euch ist als der herkömmliche Keksteig! Butter und Zucker habe ich weggelassen. Mehl musste ich für die Konsistenz aber trotzdem verwenden. Dafür aber Vollkorndinkelmehl! 

Das Schöne an dem Rezept ist auch, dass ihr wirklich nicht viele Zutaten benötigt und das meiste bestimmt schon in eurer Küche habt. Vielleicht neu kann für euch das Erythrit sein. Ich verwende das total gerne als Zuckerersatz. Es ist ein natürlicher Zuckeralkohol ohne Kalorien und man kann es total easy online bestellen. Falls ihr das nicht zu Hause habt oder euch kaufen wollt kann ich Xylit empfehlen. Das ist auch als Birkenzucker bekannt und hat um 40% weniger Kalorien als herkömmlicher Zucker. 

Statt der Butter habe ich Erdnussmus genommen. Dieses enthält einen hohen Anteil an ungesättigten Fettsäuren, welche ganz wichtig für euren Körper sind. Außerdem liebe ich einfach den leckeren Geschmack und brauche keine Butter verwenden! 

Kekse ohne Zucker - gesunder Lebkuchen

Das Rezept – weihnachtliche Kekse ohne Zucker

Hier nun das Rezept zu meinen leckeren Keksen ohne Zucker für die Weihnachtszeit:

Kekse ohne Zucker - Protein Lebkuchen
Yields 20
Kein Zucker, keine Butter, extra Protein!
Write a review
Print
Prep Time
25 min
Cook Time
10 min
Total Time
35 min
Prep Time
25 min
Cook Time
10 min
Total Time
35 min
Ingredients
  1. 60g Erdnussbutter
  2. 1 Ei
  3. 2 EL Kokosflocken
  4. 25g Proteinpulver (Schokolade, Vanille, Karamell)
  5. 1 TL Rohkakaopulver 
20g Birkengold Xylit
  6. 1 TL Lebkuchengewürz
  7. 5 EL Dinkelmehl 
1 TL Backpulver
Instructions
  1. Zuerst das Ei mit der Erdnussbutter mit einem Pürierstab fein mixen.
  2. Kokosflocken, Backpulver, Proteinpulver, Kakaopulver, Xylit und Lebkuchengewürz dazumischen und verrühren. Nun das Mehl dazugeben und mit den Händen die Masse kneten.
  3. Es sollte ein fester Teig den man gut ausrollen kann entstehen. Sollte er noch zu flüssig sein einfach immer mehr Mehl dazugeben bis er sich gut ausrollen lässt.
  4. Etwas Mehl auf einer Arbeitsplatte verteilen und den Teig 5mm dick ausrollen.
  5. Kekse ausstechen und die Oberfläche mit einem verquirlten Ei bestreichen damit das Keks dann schön glänzt.
  6. Bei 180 Grad 10-15 Minuten backen.
  7. Gut auskühlen lassen und bei Bedarf noch verzieren.
Notes
  1. Als gesundes Icing könnt ihr Magertopfen mit etwas Proteinpulver mischen und zum Verzieren verwenden!
carinaberry.com https://carinaberry.com/
Ich hoffe wirklich sehr, dass ihr es diese Weihnachtszeit noch schafft mein Rezept auszuprobieren. Ich bin selbst davon komplett begeistert und werde es bestimmt noch ein paar Mal machen 🙂 
Sucht ihr noch nach mehr Weihnachtsrezepten? Dann müsst ihr unbedingt bei meinem Weihnachtsjoghurt vorbei schauen und euch meine Tips für weihnachtliche Food Styling Ideen ansehen. Auf meinen YouTube channel gibt es dann auch noch ein Rezeptvideo zu leckeren Bratäpfeln

Hast du das Rezept nachgemacht?

Dann tagge mich mit @carina_berry auf Instagram verwende den Hashtag #carinaberry

Ich teile immer wieder nachgemachte Rezepte auf meiner Instastory  <3

xoxo,

Kekse ohne Zucker - gesunder Lebkuchen


Weiterlesen

Das perfekte Weihnachtsfrühstück – gesund und lecker

Das perfekte Weihnachtsfrühstück - gesund und lecker

Heute zeige ich euch mein perfektes Weihnachtsfrühstück Rezept. Ich liebe den Dezember und die Weihnachtszeit, da ich mich hier in der Küche so richtig austoben kann. Leider sind ja die meisten Rezepte ungesund, nicht jedoch mein Weihnachtsfrühstück. Mit nur fast 300 kcal ist es der perfekte weihnachtliche Start in den Tag.

Das perfekte Weihnachtsfrühstück

1.Weihnachten in Mexiko

Die Weihnachtszeit ist wirklich einer der schönsten Zeiten im Jahr. Ich liebe die Weihnachtsmärkte, tollen Dekorationen und besonderen Köstlichkeiten die es eben nur im Dezember gibt. Dieses Jahr ist aber einmal alles anders. Ich verbringe nämlich gerade die Weihnachtszeit in Puebla, Mexiko. 

Hier kann man vergeblich nach geschmacksvollen Adventmärkten suchen und sie eher mit blinkenden Neonlichtern in Einkaufshäusern ersetzen. In der Innenstadt leuchtet alles in den verschiedensten Farben und es ist irgendwie ein lustiges Gefühl bei Temperaturen um 20 Grad so viel Weihnachtsdeko zu sehen. Gestern besuchten wir das magische Dorf Atlixco welches zur Weihnachtshauptstadt von Mexiko umfunkioniert worden ist. Wir brauchten 2.5 Stunden um alle Attraktionen zu sehen. Mein Highlight war der Zauberwald wo wir 3D Brillen bekommen haben und alle Lichter auf einmal zu glitzernden Rentieren, Weihnachtsmännern oder Schneeflocken geworden sind. 

Das perfekte Weihnachtsfrühstück - gesund und lecker

2. Inspiration zum Rezept

Ich liebe es mir zu Weihnachten Bratäpfel zu machen. Da ich aber gerade auf Reisen bin und von einem Airbnb zum nächsten wechsle habe ich nicht immer einen Backofen. Deshalb brachte ich den Bratapfel bei diesem Rezept einfach in Form von einem leckeren Apfelkompott auf das Teller. 
Weitere Inspiration bekam ich von den ganzen unglaublich schönen Instagram Postings die ich im Moment auf meinem Feed sehen und die alle so super weihnachtlich aussehen. 

3. Gedünstete Zimtäpfel mit Vanillejoghurt

Ich dachte mir ihr könnt euch im Dezember vielleicht für Rezepte zu einem Weihnachtsfrühstück interessieren. Oft isst man ja das ganze Jahr über immer sehr ähnliche Sachen zum Frühstück und da könnte dieses süße Gericht mal eine willkommene Abwechslung sein. 

Das perfekte Weihnachtsfrühstück - gesund und lecker

Das Rezept

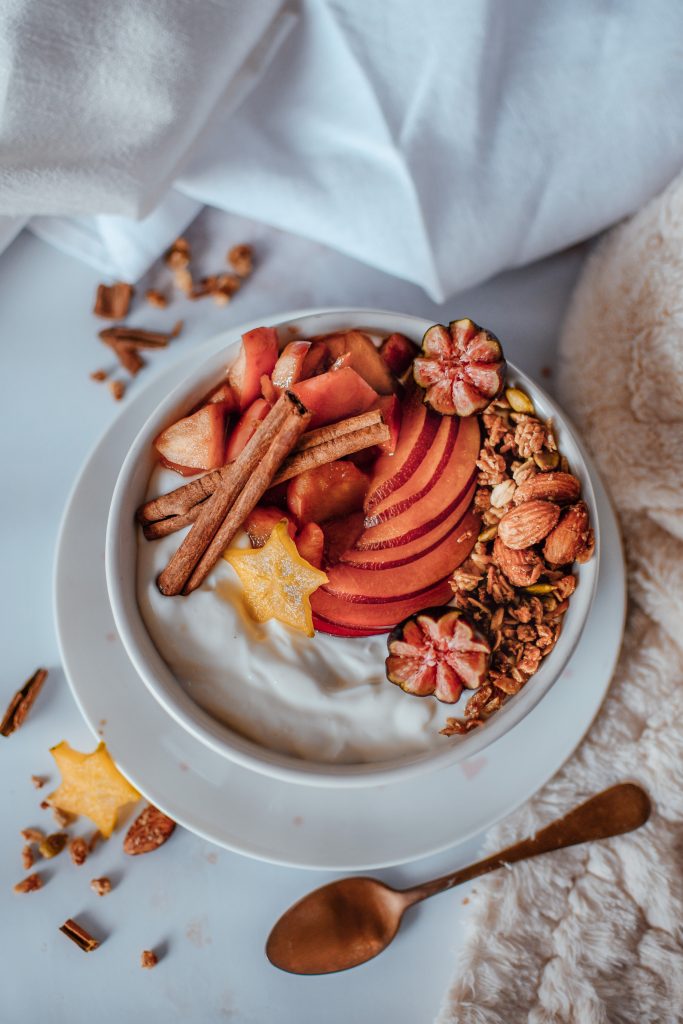
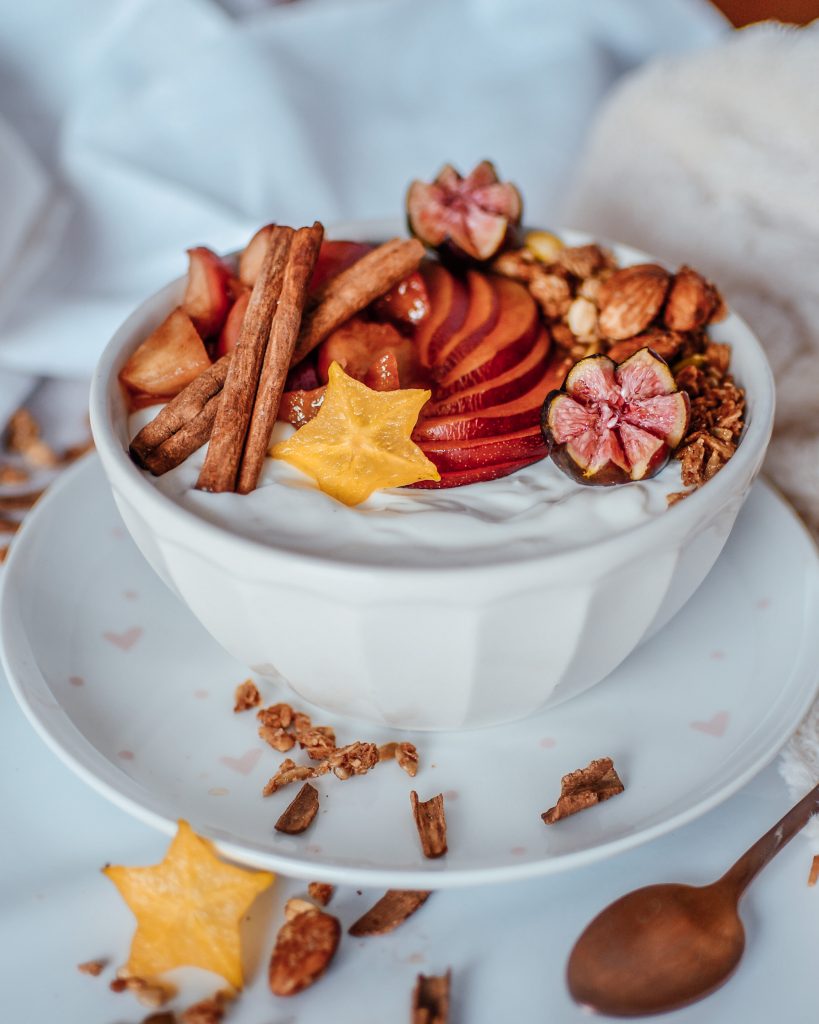
Suchst du nach einem leckeren Adventsfrühstück oder planst eine Weihnachtsfrühstück Einladung für deine Freunde? Dann bist du hier genau richtig. Mein leckeres Apfelkompott Joghurt eignet sich perfekt um in den kalten Dezembermorgen zu starten. Hier das Rezept zum leckeren Adventsfrühstück:  

150g griechisches Vanille Joghurt (Vegane Version: Vanille Sojajoghurt)
1/2 Apfel
1/2 Pflaume
1 EL Granola
1 Feige
25g Xylit
1 Brise Zimt

Zubereitung:

Vanillejoghurt mit 15g Xylit mischen und in eine schöne Schüssel füllen. Den Apfel in kleine Stücke schneiden und mit 10g Xylit sowie dem Zimt langsam dünsten. Das Apfelkompott auf das Joghurt geben. Pflaume und Feige in Scheiben schneiden und auf das Joghurt legen. Einen Esslöffel Granola über den Bowl streuen und fertig ist das Weihnachtsjoghurt!

Suchst du noch nach anderen Weihnachtsrezepten? Schau mal bei meinem versunkenen Birnenkuchen oder den leckeren Bratäpfeln vorbei, die gehen auch super schnell und schmecken richtig lecker. Mehr Rezeptvideos und Food Blogging Tips findest du übrigens auf meinem YouTube Kanal. 

Hast du das Rezept nachgemacht?

Dann tagge mich mit @carina_berry auf Instagram verwende den Hashtag #carinaberry

Ich teile immer wieder nachgemachte Rezepte auf meiner Instastory  <3

xoxo,

Weiterlesen

Weihnachtsporridge mit dem Fly Wheel Cut Messer von Tyrolit

Fly Wheel Cut Messer Tyrolit

Werbung – Kooperation mit TYROLIT

Heute möchte ich euch mal eine weihnachtliche Geschenksinspiration geben. Als Food Blogger weiß ich wie wichtig gute Küchenutensilien sind und wie sehr man jemanden der gerne kocht damit Freude bereiten kann! 

Rezept + Produktvorstellung

Anhand eines leckeren Frühstücksrezeptes für die Weihnachtszeit möchte ich euch das Fly Wheel Cut Messer von TYROLIT vorstellen. Meiner Meinung nach gehört ein gutes Küchenmesser zur Standardausstattung und TYROLIT hat nun in der Adventszeit ein verführerisches Angebot für euch. 

Mein persönliches Küchenmesser

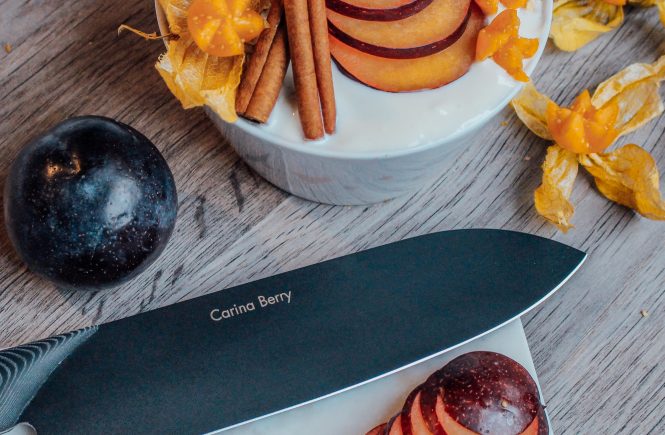
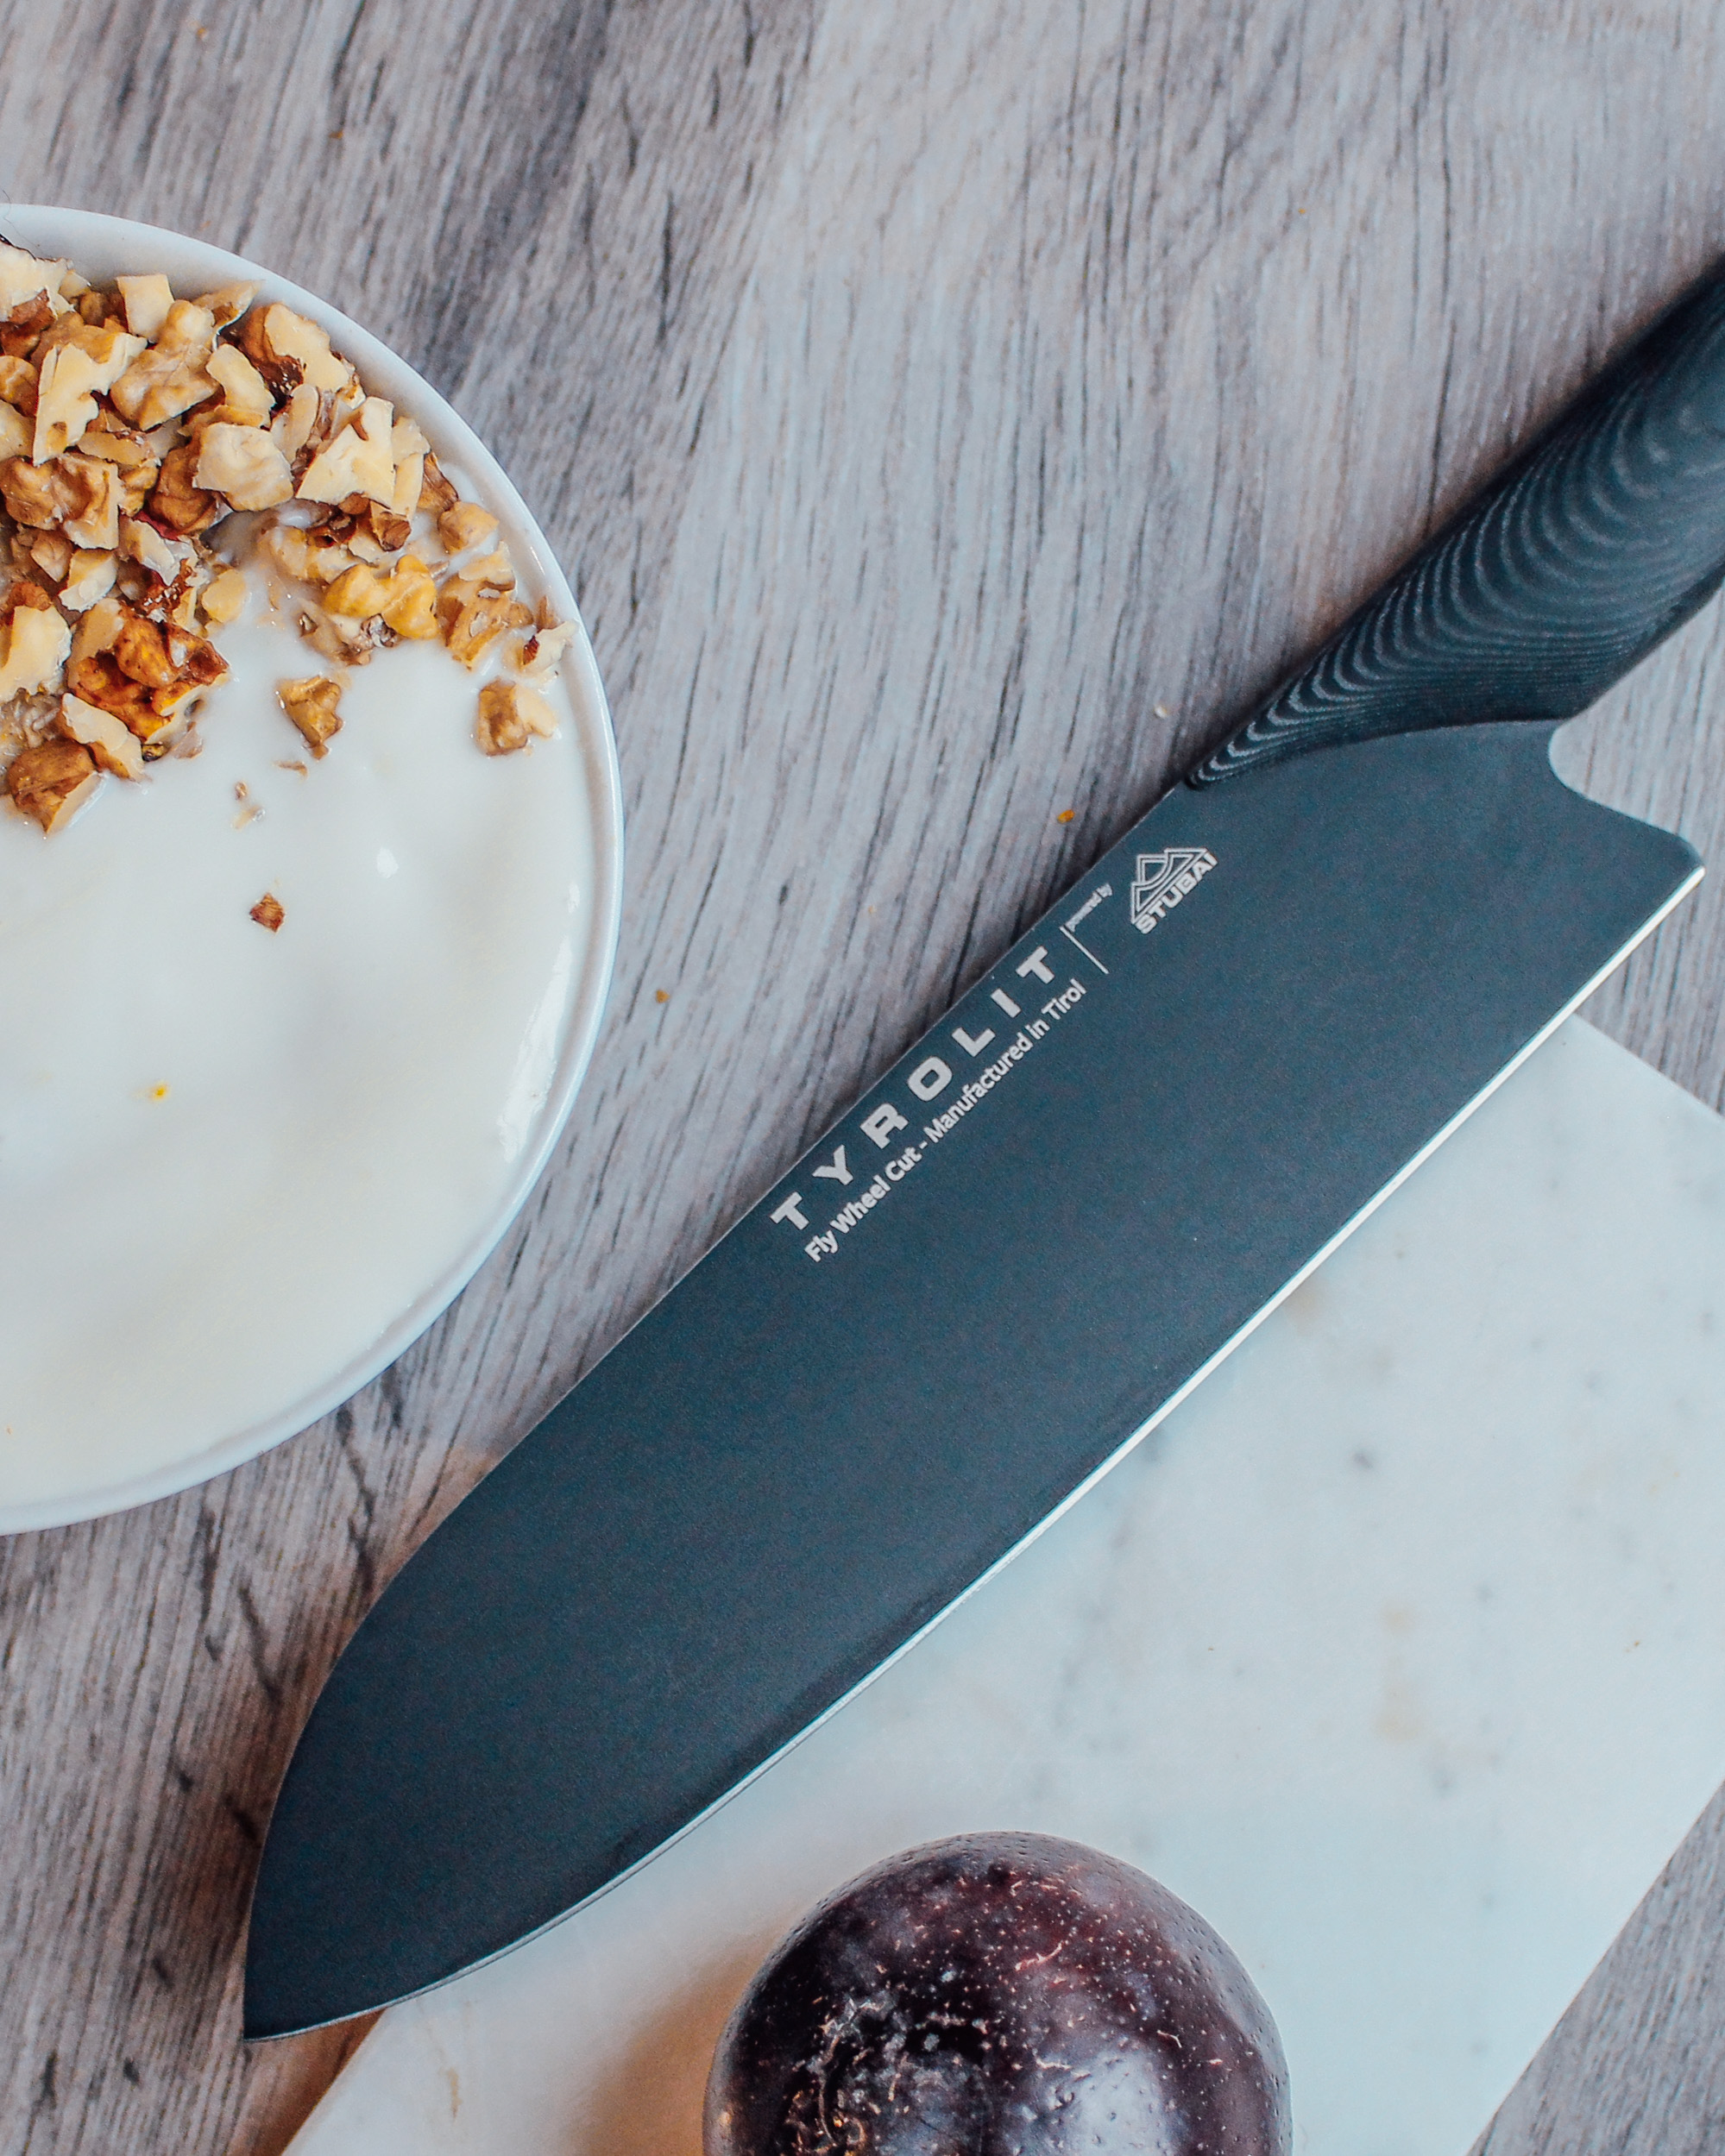
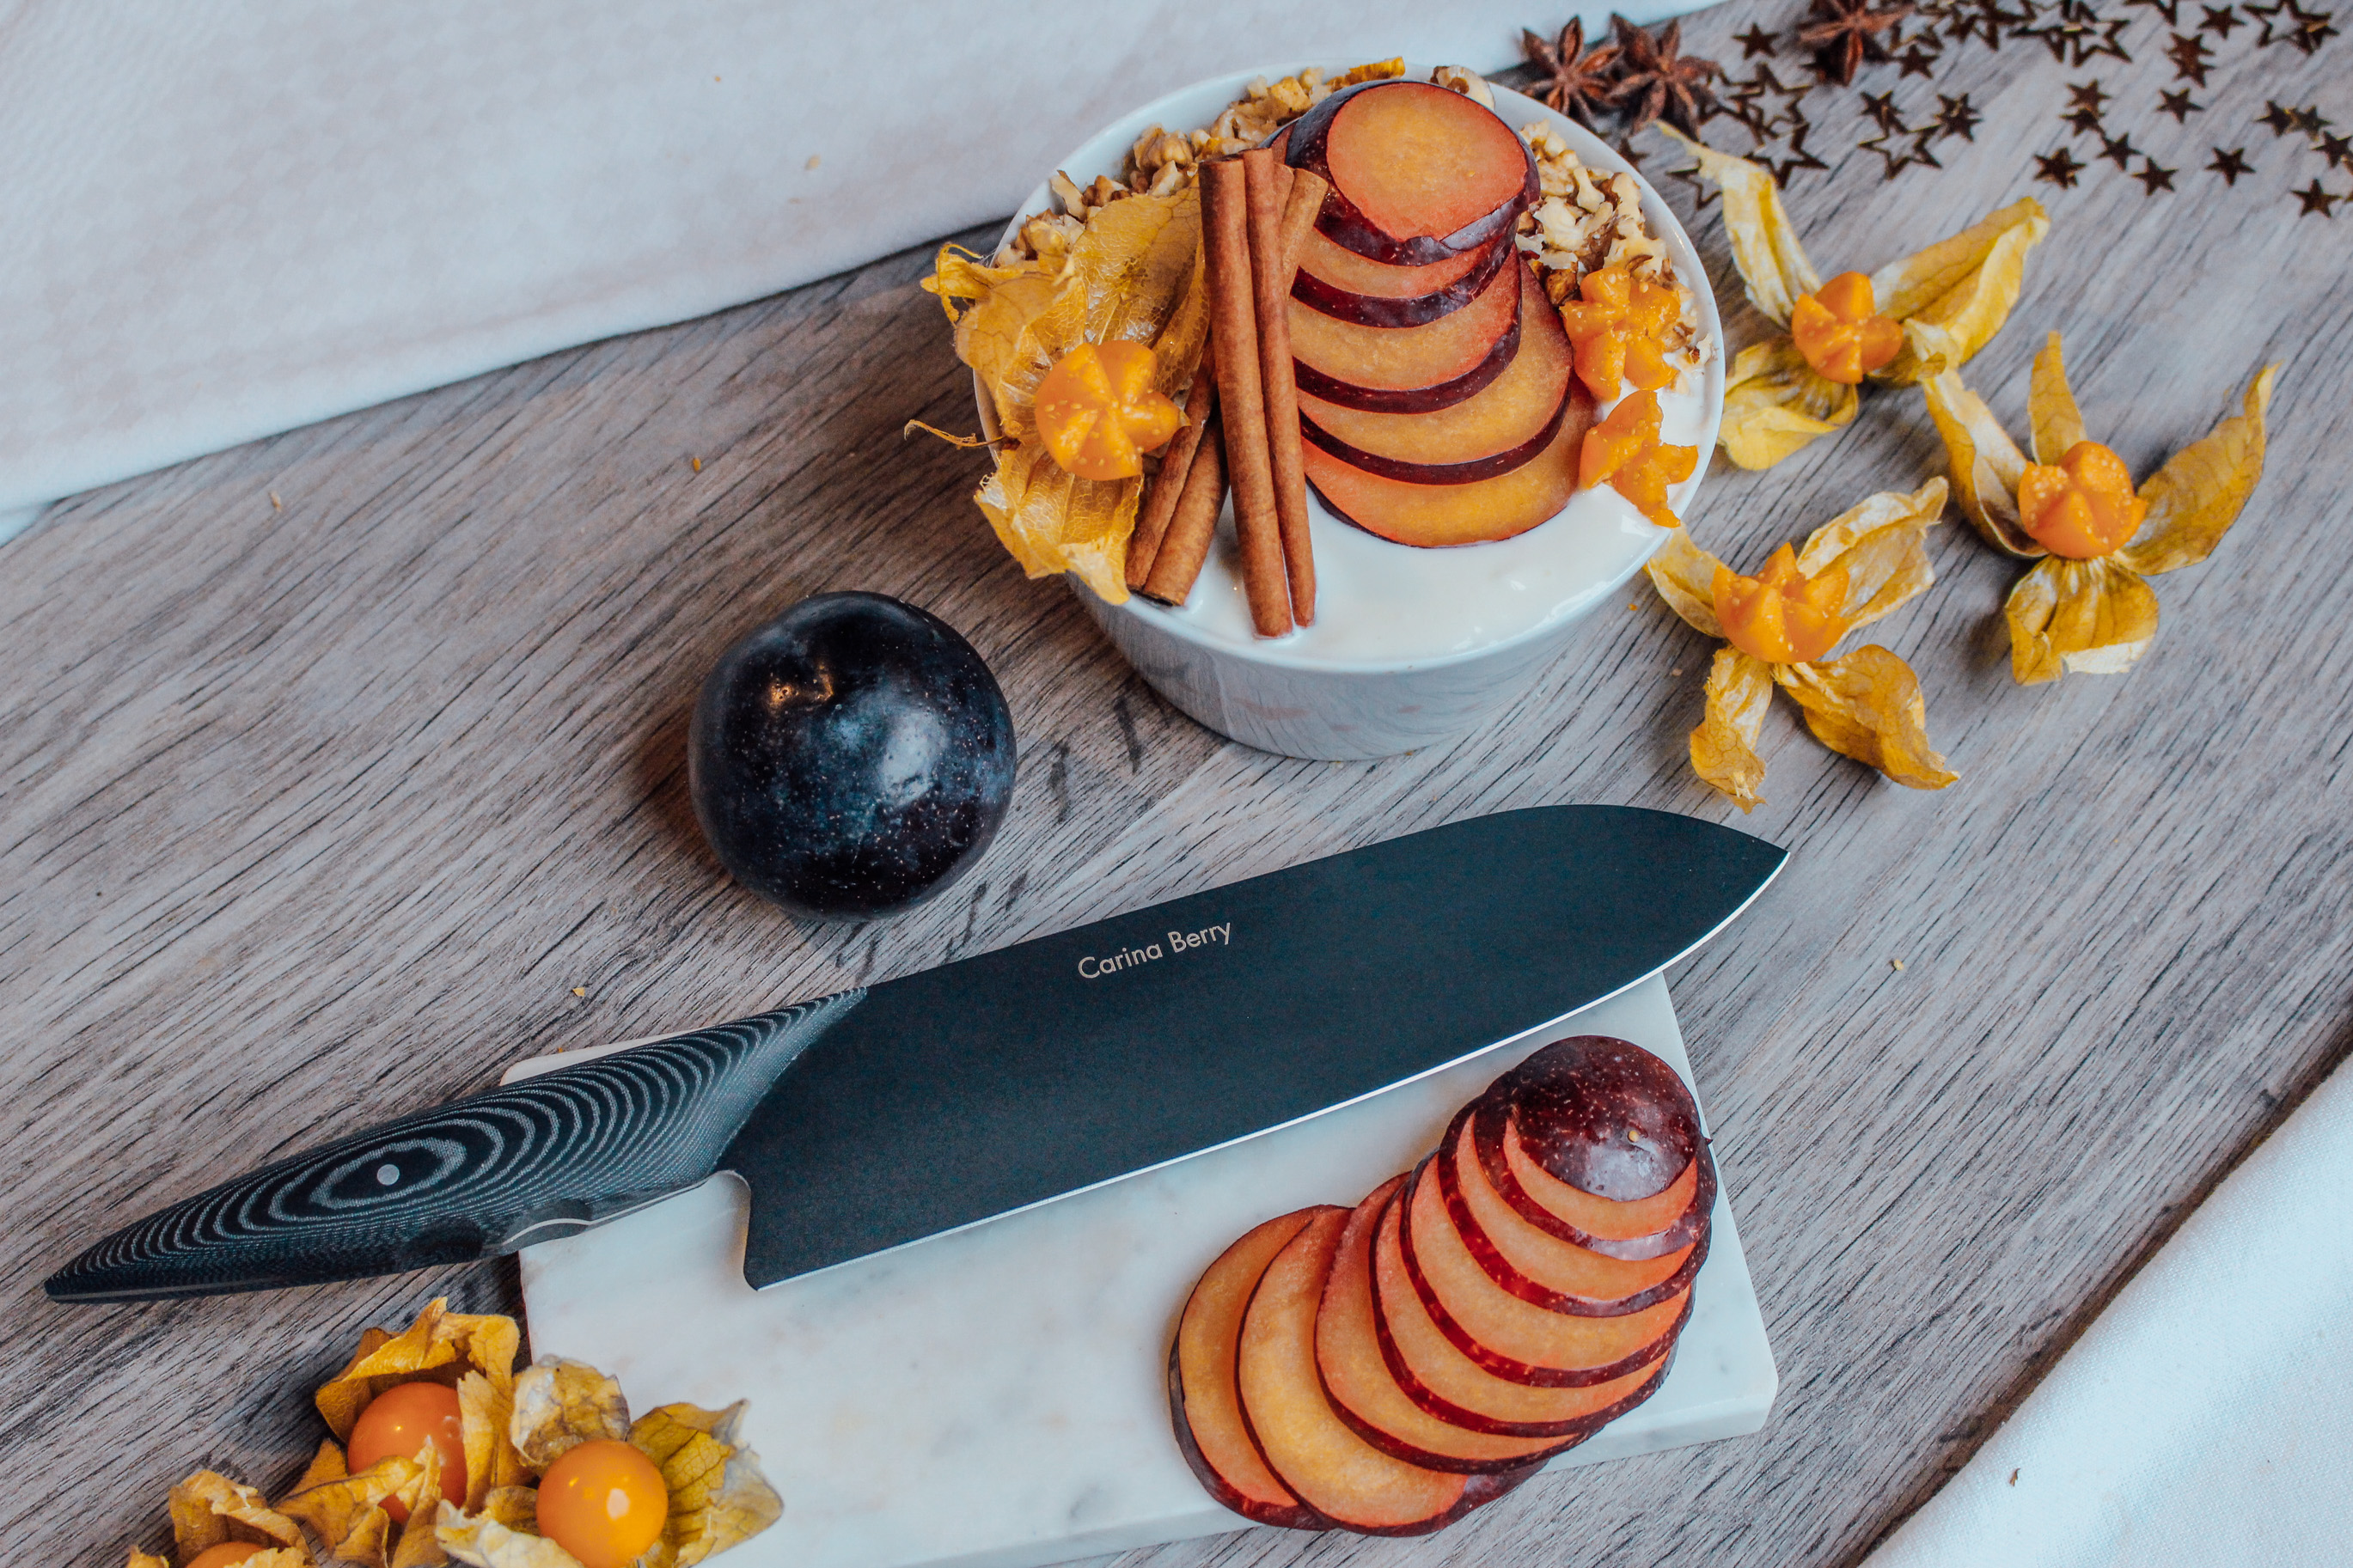
Mir selbst ist das Küchenmesser vor ein paar Wochen zugeschickt worden und ich bin immer noch fassungslos wie wahnsinnig gut es schneidet und wie sehr es meine Arbeit in der Küche vereinfacht. Was ich ganz besonders toll und einzigartig an dem Fly Wheel Cut Messer finde ist, dass man es mit seiner persönlichen Gravur bekommt. Ich habe mir somit meinen Blogger Namen „Carina Berry“ eingravieren lassen. 

Fly Wheel Cut Messer Tyrolit

Qualität aus Tirol 

Lasst mich euch ein bisschen etwas zum Fly Wheel Cut Messer erzählen bevor wir direkt rein ins Rezept starten. 

Das Familienunternehmen der Swarovski Gruppe hat seinen Stammsitz in Schwaz/Tirol. TYROLIT liefert seine Produkte rund um den Globus und ist bekannt für deren Funktionalität & Design. Das Fly Wheel Cut Messer gehört zu den TYROLIT life Produkten, welche mit unglaublich edlem Design und hochwertiger Verarbeitung überzeugen. Die Produkte zeichnen sich durch ihre Langlebigkeit und Premium Qualität aus, welche sie zu einem echten Statement im Haushalt machen. 

Fly Wheel Cut Messer Tyrolit

Das manufakturgefertigte TYROLIT life Fly Wheel Cut Messer  wir bei Tiroler Werkzeugexperten in 64 Arbeitsschritten hergestellt. Was ich sofort bemerkt habe ist die außergewöhnliche Schnittleistung und das edle Design in „All-Black“. Das Messer hat außerdem nur 155 Gramm – also ein echtes Leichtgewicht.
2018 wurde dieses Küchenmesser mit dem Prädikat „Winner“ in der Kategorie „Kitchen“ beim German Design Award ausgezeichnet. Die hohe und lange Klinge verringert die Verletzungsgefahr beim Schneiden, weil der Daumen und Zeigefinder das Ende der Klinge stabilisieren. Somit bleibt die Spitze des Messers immer auf dem Schneidebrett. Ein sauberer Schnitt also ohne abzurutschen. 🙂

Als Weihnachtsaktion ist das Fly Wheel Cut Messer im Moment zum vergünstigten Preis von € 219,90 (statt € 299,90) und mit persönlicher Gravur erhältlich. Wie ihr in den Fotos sehen könnt habe ich Carina Berry eingravieren lassen und bin so happy damit! 

Weihnachtsporridge mit TYROLIT 

Schritt für Schritt möchte ich euch nun durch das weihnachtliche Porridge Rezept führen und euch erklären wofür ich hier mein neues Messer verwendet habe. 

 Fly Wheel Cut Messer Tyrolit .   Fly Wheel Cut Messer Tyrolit

Der Porridge

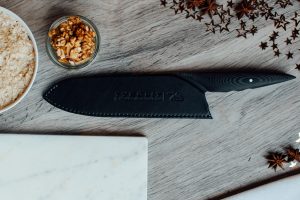
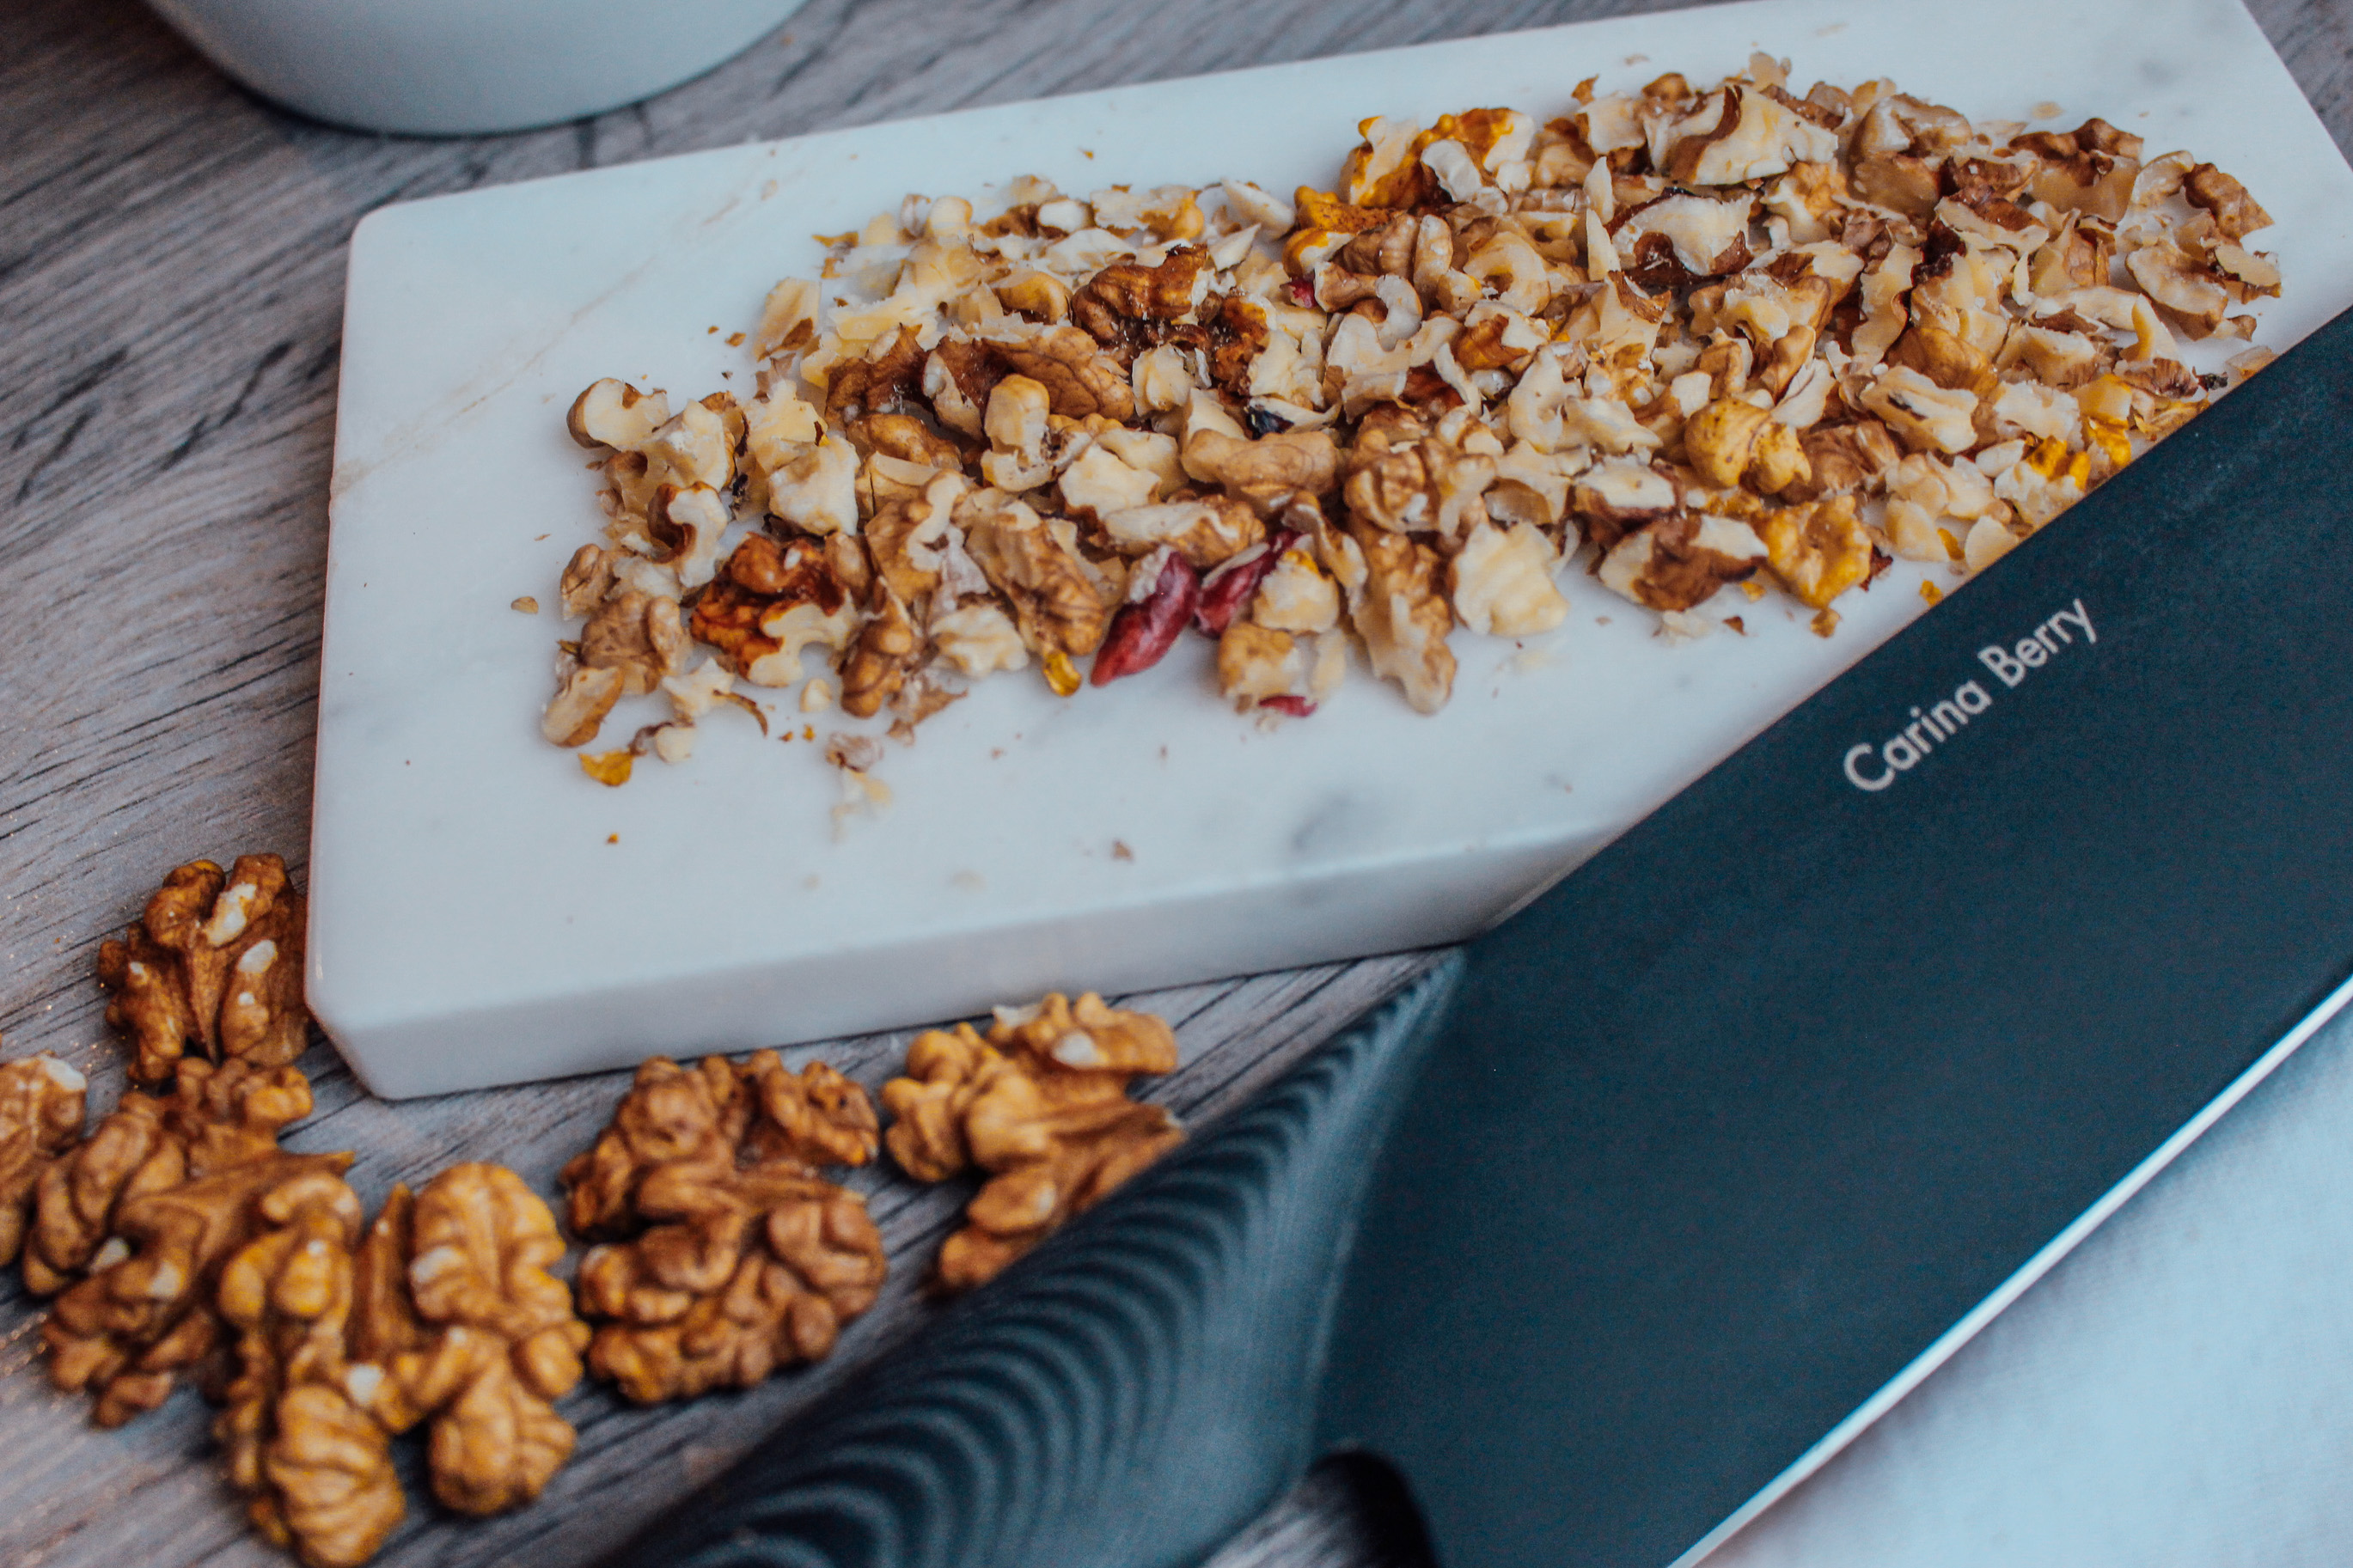
Zu Beginn starten wir mit dem Porridge. Hier habe ich gleich zu Beginn das Fly Wheel Cut Messer verwendet um die Walnüsse für die Porridgemasse zu hacken. Schon beim Auspacken hat mich das Messer mit dem hochwertigen Klingenschutz aus Leder beeindruckt. Die Klingenlänge ist 20cm und lässt sich somit ziemlich gut für alle Rezepte verwenden. Im Gegensatz zu anderen Messern ist es wirklich sehr leicht und das merkt man auch beim Schneiden. Somit war es eine Leichtigkeit die Nüsse klein zu hacken. 

  • 150ml Mandelmilch
  • 20g Haferflocken
  • 1 TL Zimt
  • 20g Birkenzucker
  • 25g Walnüsse

Haferflocken und Mandeln zusammen kurz aufkochen lassen und immer gut umrühren. Gehackte Nüsse, Zimt und Birkenzucker unterrühren und vom Herd nehmen. Die Masse in einen Bowl füllen.
  Fly Wheel Cut Messer Tyrolit

Die Toppings

Im zweiten Schritt machen wir uns an die Dekoration des Bowls. Auch hier war mein neues Messer eine große Hilfe. 

  • 1 Pflaume
  • 4 Physalis
  • 3 EL griechisches Joghurt 
  • 15g gehackte Walnüsse

Fly Wheel Cut Messer Tyrolit

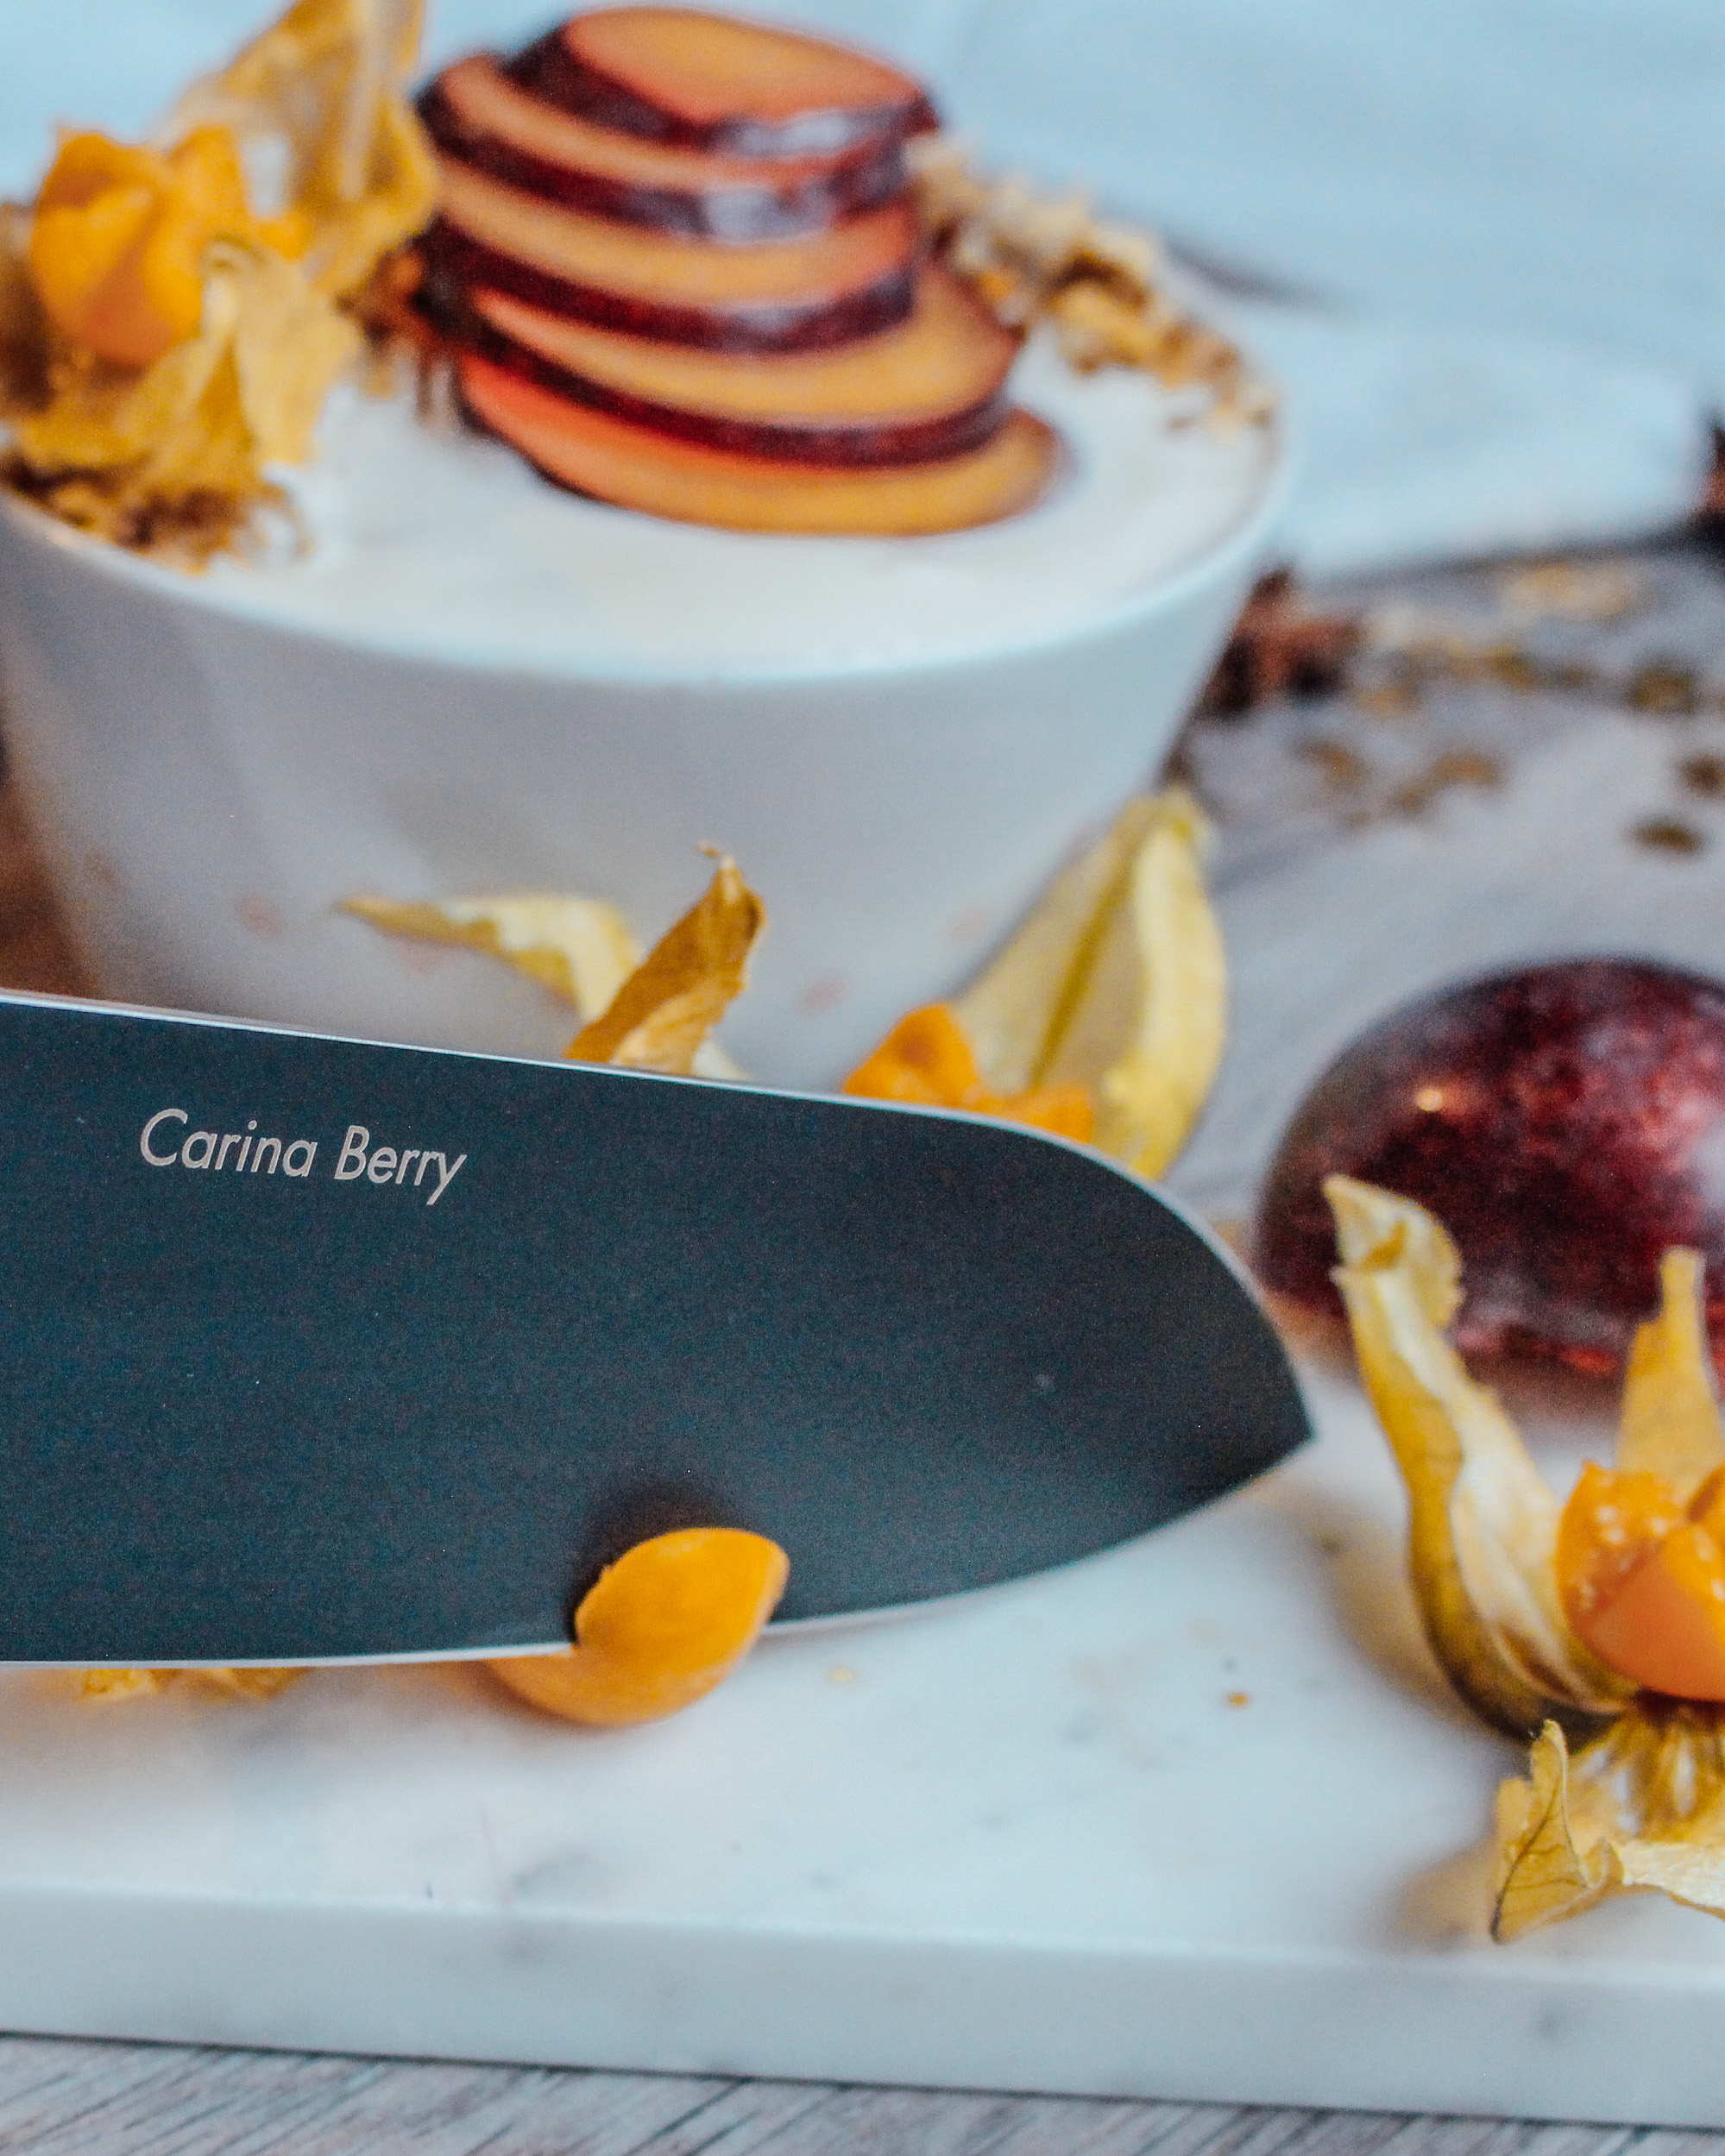
Zu Beginn das Joghurt am Bowl verteilen bis die gesamte Oberfläche bedeckt ist. Am Schneidebrett die dunkle Pflaume in feine, dünne Scheiben schneiden. Hier war ich zum Beispiel von der Präzision des Messers begeistert. Man weiß wie schwierig es sen kann glattes Obst und Gemüse normalerweise mit einem Messer zu schneiden, aber mit dem Fly Wheel Cut Messer war das gar kein Problem. Auch die Physalis konnte ich perfekt mit meinem neuen Messer verzieren und einkleines Muster in die Frucht mit der Spitze des Messers stechen. 

Fly Wheel Cut Messer Tyrolit

Die aufgeschnittene Pflaume, die Physalis und die gehackten Nüsse nun auf den Bowl legen und das leckere Weihnachtsrezept genießen! So schnell und einfach bekommt man ein gesundes, leckeres und weihnachtliches Frühstück! 

Fly Wheel Cut Messer Tyrolit

Ich hoffe euch hat der Blogpost gefallen und ihr habt vielleicht eine Inspiration für ein tolles Weihnachtsgeschenk bekommen ? Solltet ihr vielleicht nach noch mehr Dekorationsvorschläge für die Weihnachtszeit suchen könnt ihr euch meinen Food Styling Blogpost mit vielen Tips noch ansehen.

Merry Christmas!

Xoxo,


Weiterlesen

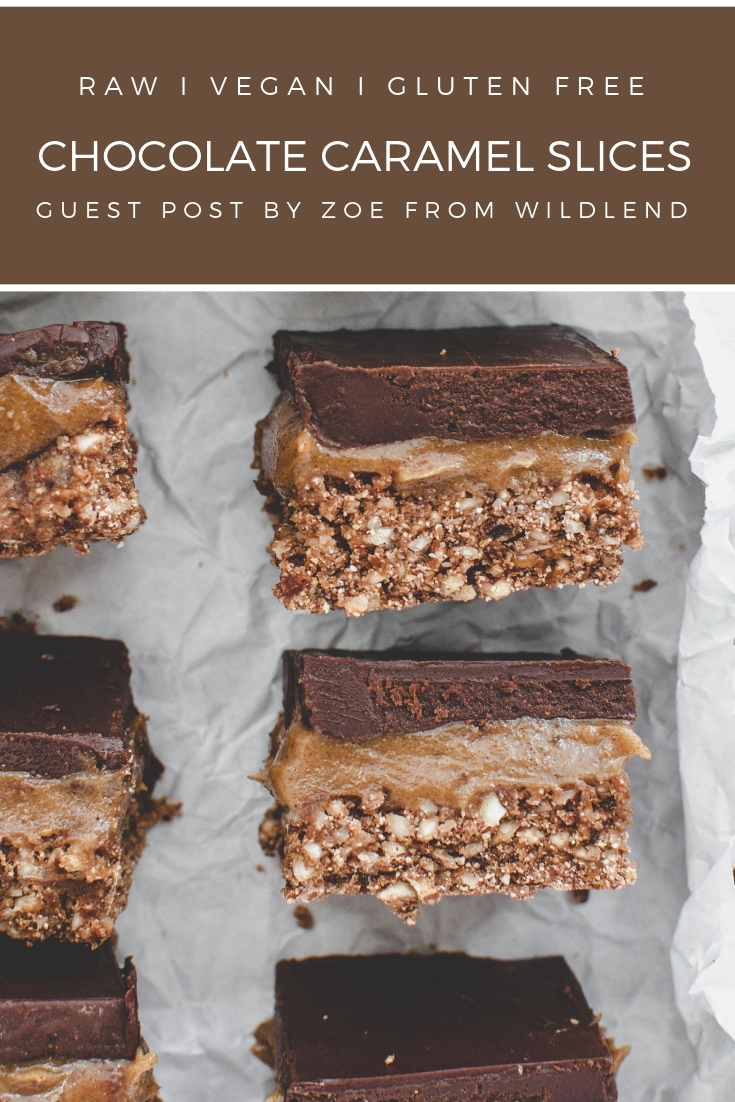
No-bake chocolate caramel slices

Chocolate Caramel Slice

 Welcome to this special blog post! Today I would like to introduce one of my best foodie friends Zoe! She will tell you a bit about herself and share a delicious treat (chocolate caramel slices) with you in the end!

A wild blend 

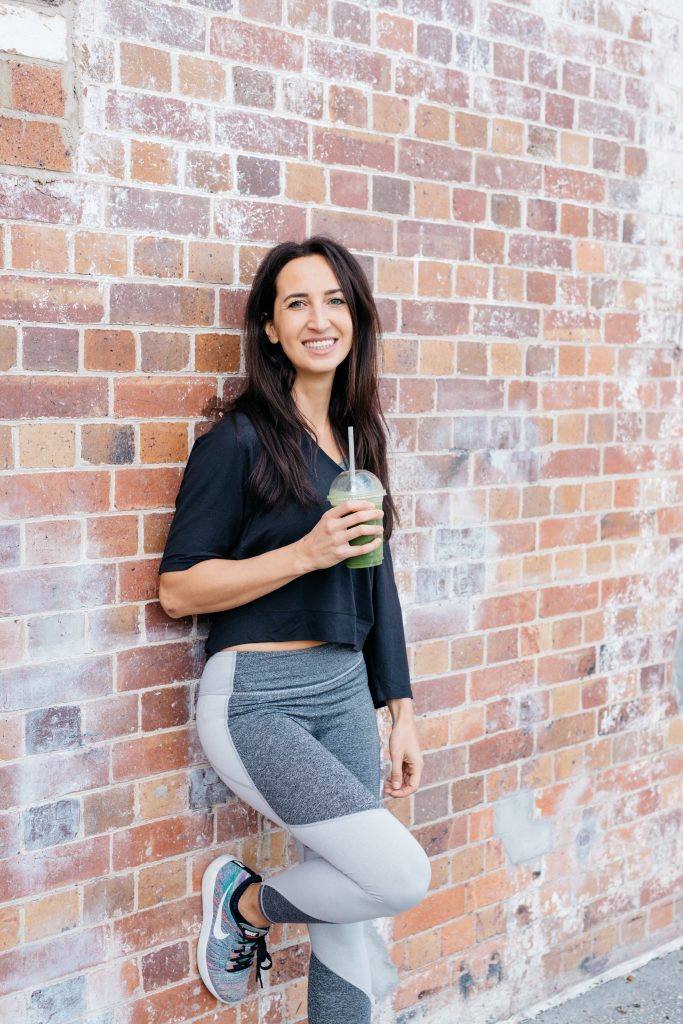
Zoe and I met on Instagram actually and are planning on meeting up in February when Zoe comes to visit her parents in Graz. She is originally from Austria, but moved to Australia a long while ago where she married and had the most wonderful wedding. I keep melting away every time she posts one of her wedding photos.
I connect with Zoe on multiple levels. She also really loves to work out and lift weights, has a sweet tooth like me and adores all kinds of natural food. I love her mantra of eating wild, natural foods that nourish the body and soul. She created her label Wildblend which transmits the love for everything that is wild & natural. Zoe’s recipes are focused on fresh seasonal ingredients, and celebrate unprocessed, healthy whole foods with a dash of superfoods. Sounds amazing, right? Thats why I love to follow this girl and her recipes on Instagram 🙂

Zoe_WildBlend

But her blog topics go well beyond the love for fitness food. Zoe also talks about a balanced lifestyle in her blog posts, shares her photography knowledge and foodie travel tips. I especially love her food guides for Hong Kong and Shanghai!

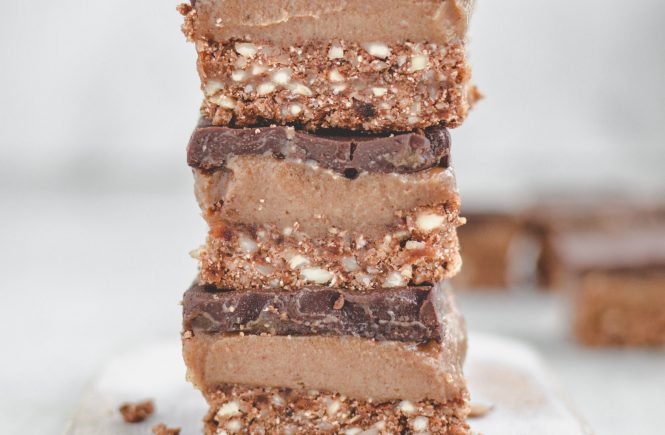
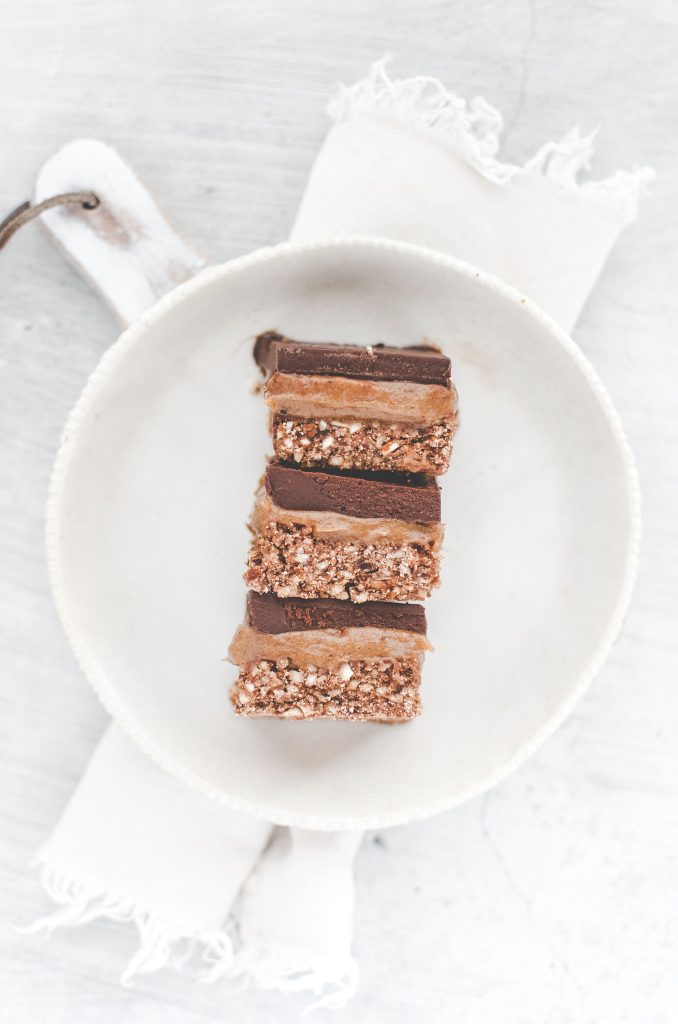
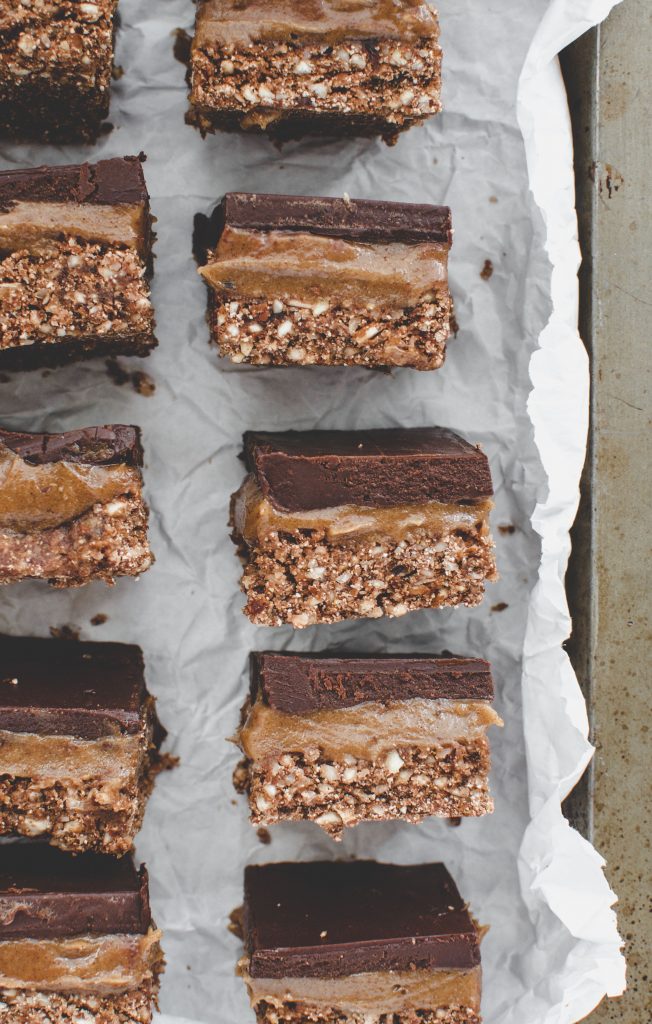
Today Zoe is sharing one of her most popular recipes on my blog. Her healthy no-bake chocolate caramel slices. Delicious caramel sandwiched between a healthy chocolate and gluten-free biscuit layers will rock your taste buds. This recipe is totally guilt free since it is vegan, paleo, no bake and refined sugar free!

So lets hand it over to Zoe to guide you through the recipe:

Let’s get to know Zoe

Hi there,

My name is Zoe and I’m a blogger, recipe writer and food photographer from Brisbane, Australia. My label Wildblend is here to inspire people to create healthy dream foods that taste amazing, look amazing and are also really good for you. If looking at my Instagram feed makes you smile then I’ve accomplished my mission. I love sharing my passion for fresh seasonal ingredients, natural food colours, and unprocessed, healthy whole foods. Growing up, my mum taught me how to cook from scratch and since then I’ve been curious about turning just about every recipe I loved as a child into a healthy gluten-free and dairy-free version that anyone can enjoy.Zoe_WildBlend

On my blog wildblend.co I focus on simple recipes with minimal ingredients. Most of my creations are also Paleo and Vegan-friendly. I host food photography workshops in Australia and hopefully also in other places around the world during my travels next year. Moreover, I love teaching and sharing my passion just as much as I love cooking. Therefore, I hope that my journey will inspire someone else to follow their passion and turn their dream into their day-to-day job. If I can do it, then you can do it too. Instagram has enabled me to collaborate with amazing human beings such as Carina and it’s such a wonderful platform to make friends online and offline.

As I’m writing this, I’m sitting in an Airbnb in Melbourne to apply for my US visa. My husband and I are planning to go on a 12-month honeymoon/work-and-travel adventure around the world and hopefully I’ll get to catch up with Carina along the way. Today, I’m sharing an all-time blog favourite, my Healthy No-Bake Chocolate Caramel Slices. It’s a fan favourite and a huge hit in my household. The secret of this slice are the three layers, nutty base, caramel-y middle, and a chocolatey topping! Trust me, you won’t want to miss out—this is the perfect Christmas holiday treat the whole family will love. Enjoy!

chocolate caramel slices

No-Bake Chocolate Caramel Slices

These no-bake caramel chocolate slices is a healthy twist on classic caramel slice. The caramel made from gooey Medjool dates, soaked cashews and almond butter—is much healthier and easier to make than conventional caramel. Medjool dates have a rich, almost caramel-like taste and a soft, chewy texture. They are bigger, softer and gooier than regular dried dates. If you can’t get them, use dried dates, but be sure to soak them in water to soften them before blending.

This date caramel is so silky, rich, and sweet (everything you’d ever expect from caramel), that you’d never know it’s vegan, dairy-free, and Paleo, with zero added sugar! It’s sandwiched between a 3-ingredient chocolate layer and a crunchy almond and coconut base. I recommend using raw organic cacao powder (over baking cacao) for the chocolate layer to reap the full benefits of it. Raw cacao has more calcium than cow’s milk, over 40 times the antioxidants of blueberries, and is the highest plant-based source of iron. In other words, it’s a true superfood perfect for Vegans. I’m a huge fan of no-bake dessert because you don’t have to turn on the oven to make them. All you need is a freezer and a little bit of patience. I guarantee these decadent treats are worth the wait.

chocolate caramel slices

The recipe

Here is Zoe’s incredible recipe for her chocolate caramel slices:

Ingredients
(makes 16 slices)

Base

  • 1 cups raw almonds
  • ½ cup coconut flour
  • ¾ cup Medjool dates (soaked and pitted)
  • 1 Tbsp raw cacao powder

Caramel

  • 1 cup Medjool dates (pitted)
  • ½ cup cashews (soaked & pitted)
  • 2 Tbsp rice malt syrup
  • 2 Tbsp almond butter
  • 4 Tbsp coconut oil
  • 4 Tbsp coconut milk
  • 1 tsp vanilla extract

Chocolate Layer

  • 1/3 cup raw cacao powder
  • ½ cup coconut oil
  • ¼ cup maple syrup

Instructions:

  1. For the base, add all ingredients to a high-speed blender and blend until a sticky cookie dough forms.
  2. Press base into a lined (20 x 20cm) baking pan until firmly packed. Set aside.
  3. For the caramel add all ingredients to a high-speed blender and blend until creamy and smooth.
  4. Spread the caramel evenly onto the base and place in freezer to set.
  5. For the chocolate top, whisk together the ingredients until smooth.
  6. Once the caramel has set, spread the chocolate sauce evenly on top the caramel layer and smooth it with a silicone spatula.
  7. Place it back in the freezer for 2 hours or until set.
  8. Carefully remove from the pan, slice it up and store in an airtight container in the fridge and ready are your chocolate caramel slices.

Chocolate Caramel Slices

I hope you enjoyed learning how to make these wonderful chocolate caramel slices by Zoe and will check her out on social media, she is a wonderful soul and a great friend! 

If you end up making the caramel slices  make sure to tag us on Instagram @carina_berry & @wilblend we would love to see your creations 🙂 
For more caramel yumminess you can look up my protein caramel cheesecake

xoxo, 

Carina & Zoe 

Save this to your favorite Pinterest board:

Chocolate Caramel Slices

Weiterlesen

Food Styling – 6 Dekorationsideen für Weihnachten

Heute möchte ich mit euch teilen wie ihr am besten eure festlichen Rezepte weihnachtlich stylt. Food Styling ist ja gerade beim Food Blogging super wichtig und kann speziell im Advent perfektioniert werden.
Es ist meine liebste Zeit zum Fotografieren im ganzen Jahr, da ich mich hier immer total mit allen Props austoben kann und ein “zu viel” an Deko gibt es fast gar nicht.

Mit einigen einfachen Food Styling Tricks möchte ich euch zeigen wie ihr das Beste aus euren Rezepten herausholt und im Hand umdrehen eine weihnachtliche Stimmung erzeugen könnt.

Dekorationstips – Top Food Styling tipps

Konfetti

Mein Tipp #1 sind Konfetti. Diese gibt es in allen möglichen Formen. Vom Schneemann, zu Eiskristallen und schönen Sternen. Wenn man diese am Shootinguntergrund etwas vertreut, bekommt man sofort einen bezaubern Glanz am Bild.

Food Styling Tips - Weihnachten

Lichterketten

Lichterketten sind eine tolle Art warmes, festliches Licht aufs Bild zu bekommen. Ich habe sie in verschiedenen Varianten gekauft um diese immer wieder abwechseln zu können.

Food Styling Tips - Weihnachten

Gewürze und Trockenfrüchte

In der Weihnachtszeit duftet es überall nach den herzlichsten Gewürzen. Warum nicht diese auch gleich mit aufs Bild nehmen? Ich liebe den Look der Sternanis oder die rustikalen Zimtstangen. Sie sind gerade perfekt für Food Styling. Sehr gerne trockne ich auch Orangenscheiben und lege diese auf das Bild dazu.

Food Styling Tips - Weihnachten

Kreativ werden

Wann hast du zum letzten Mal etwas gebastelt? Bestimmt schon länger nicht, oder? Mein nächster Tipp ist mal etwas kreatives zum selber machen. Ich schneide total gerne aus Papier Weihnachtssterne aus. Der Scherenschnitt macht richtig Spaß und kann euer Bild super schmücken.

Food Styling Tips - Weihnachten

Geschenkspapier und Weihnachtskugeln

Taking food stying to the next level! Da man bei den Vorbereitungen zum Fest bereits die ganze Dekoration griffbereit hat, verwende ich die eingepackten Geschenke und Kugeln für den Baum gleich immer als Props für mein Setup. Somit könnt ihr eine perfekt festliche Stimmung erzeugen.

Food Styling Tips - Weihnachten

Zuckerstreusel und Kekse

Ein paar hübsche Kekse um das Rezept gelegt zaubert Weihnachten bereits auf das Foto. Ich nehme auch gerne noch ein paar goldene oder silberne Zuckerstreusel um das Bild zu verschönern.

Food Styling Tips - Weihnachten

Ich hoffe euch hat der Blogpost gefallen und ihr konntet das eine oder andere dazulernen 🙂 Für mehr Dekorationsvorschläge könnt ihr euch meinen Blogpost mit vielen Food Tips und den zu meinen liebsten Stylings Tips noch ansehen.

Merry Christmas!

Xoxo,

Weiterlesen

Best time to visit Costa Rica and Panama – avoid the rain season!

Best time to visit Costa Rica

Best time to visit Costa Rica and Panama – avoid the rain saison!

This will be a very open blog post about my experience in Central America in the rainy season. You definitely want to find the best time to visit Costa Rica and Panama and it should definitely not be the rain season.

I visited Costa Rica in October and Panama in November and would love to share my insights on the rain season here with you now.

To start off, when I booked the trip I stupidly enough didn’t research the weather beforehand. This turned out to be a big mistake. I spent 1.5 month traveling through Panama and Costa Rica and literally had rain every single day. I think we got like three afternoons of sunshine in total. The rest it was just pouring rain.

Oh and put aside your concept of rain because I am sure it not nearly describes how much rain you can actually take. When it rains it doesn’t just drizzle a bit, it seriously rains cats and dogs for hours.

The difficult thing is that you cant really trust the weather report. There are so many microclimates and it can change so fast and so much. The weather is very unpredictable and this makes it extremely difficult to plan trips and activities. Every single time we wanted to go out and do an activity we were surprised by a humongous amount of water ruining pretty much everything we had planned. This made it quite hard to enjoy the trip, because I always felt like I would only get half of the experience. Sometimes it would rain all morning and would be nicer in the afternoon and then the next day it would be exactly the opposite.


In Costa Rica we also got quite a bit of fog. So combine rain and fog and you have the perfect weather to do absolutely nothing outside. I remember this one time we wanted to see volcano Poas which has the biggest crater of the world. We were standing centimeters away from the crater and did not see anything because of the rain and fog. It’s like I have never been there. Really sad.

Best time to visit Costa Rica
Seeing nothing at Volcano Poas

Now looking back I think I actually kind of fell into a slight rain depression. I am a person who simply needs sunshine and sunlight to be fully happy. Imagine going 1.5 month without a proper day of sun. It made me really sad, cranky and disappointed! 

One more thing I simply need to add as it also bothered me a lot traveling through Costa Rica and Panama. I just couldn’t get my head wrapped around how crazy expensive they were. Especially Costa Rica. I mean that fact alone would be fine if the quality of life, infrastructure and public transport availability would match the price levels. Unfortunately that was not the case. Besides the fact that it was dirty almost everywhere it was also difficult to get from A to B, I was missing a lot of the tradition cuisine (couldn’t find much more besides beans, rica and plantain) and couldn’t find any really nice restaurants to go to. As a food blogger the national cuisine is always super important to me and I just couldn’t find many traditional dishes or inviting restaurants. Most of them had plastic chairs, plastic banners, loud music and neon lights.

I know this sounds all very negative and there were obviously also some benefits from the rain.  Everything was sooo extremely green and beautiful. You will find any shade of green you can imagine and the entire country is blossoming and flourishing. Another positive thing I need to add is that it never gets cold. It is still going to be so much warmer than Europe – even with the rain.

We got one afternoon without clouds and the sunset was simply magical. I believe I might have also just been really unlucky with the weather. Nevertheless, it simply does rain a lot during that time of the year.

Best time to visit Costa Rica
San Blas with coming storm

I also quickly wanted to share my highlights of the trip if you ever consider going to Panama and Costa Rica yourself:

  • San Blas Islands: These are little indigenous islands in the Caribbean about 2.5 hours outside of Panama City. Beautiful blue water – if the sun is out (which wasn’t the case when we were there). You are hosted by local Kuna people and do boat trips everyday to tiny little islands.
  • Bocas del Toro: A group of islands right by the Costa Rican border. I can recommend Playa Estrella as you will be seeing so many star fish in the water.
  • Panama Canal: I was really impressed by the Panama Canal. My tip: go to the restaurant Atlantic & Pacific for dinner around 4.30pm. Like this you can avoid the expensive visitor center and still see the ships passing through from the terrace of the restaurant.
  • Rincon de la Vieja: This is a volcano in Costa Rica we went to. Even though we didn’t see the actual volcano because of the fog, the hiking trail was stunning and so interesting to see all the boiling and bubbling waters everywhere.
  • Buena Vista Lodge: this is a big adventure lodge in the rain forest north of Costa Rica. We went horse riding there, zip lining and visited beautiful volcanic hot springs.
  • Escalante: this is a nice neighborhood in San Jose filled with cute restaurant. It was the only place in Costa Rica I found restaurants that I actually wanted to go to and spend my money.
Best time to visit Costa Rica
Water Fall by Rincon de la Vieja

So to summarize October and November are the worst months to visit those countries. Therefore the best time to visit Costa Rica and Panama is after those months. They start getting much more sun in December. From December to April its dry season. Still with occasional rain every once in a while, but much much better than if you were to go in the autumn.

I met many travelers throughout the weeks and most of them had the same experience. Others got really lucky with the weather and got some good days of sunshine. I guess it just really depends on luck over there in the rain season.

Sorry for this quite negative blog post on the best time to visit Costa Rica – but it only reflects my experience there. So better an honest post than if I would tell you everything was amazing and you being disappointed if you end up going in October or November to these countries. If you want to read a more upbeat blog post about a place I actually love I recommend you check out my Tulum food guide and my Riviera maya travel tips. Here is also my Instagram for more travel inspo! 

xoxo,

Weiterlesen